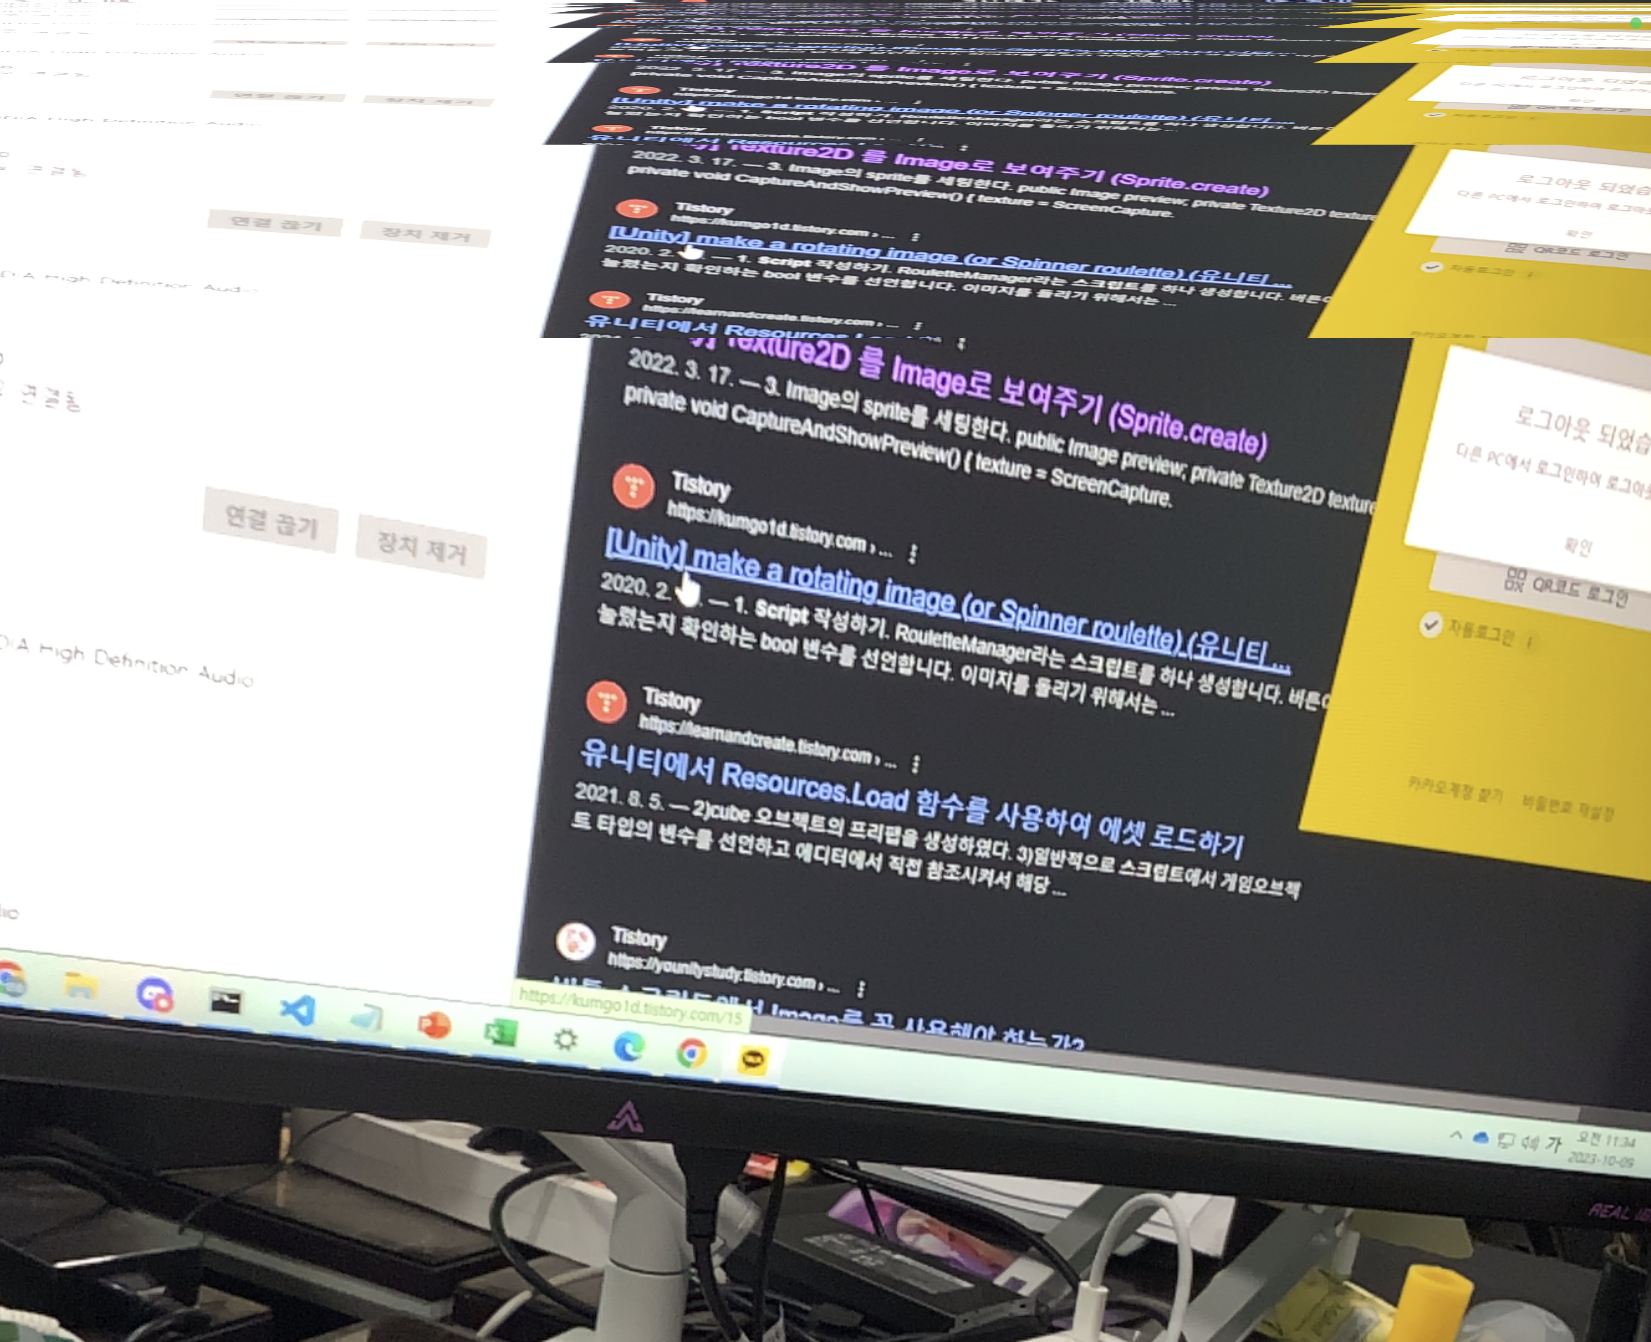
Unity에서 ARkit을 활용하여 프로젝트를 진행하기 위해 AR camera를 이용한 휴대폰 화면의 상단 1/3 지점을 추출할 필요가 있었다.
유니티의 기본 카메라가 아니라 AR camera의 정보를 가져오는 것이므로 어떤식으로 가져와야하나 인터넷을 돌아다니던 중
tex.ReadPixels(new UnityEngine.Rect(0, height, width, height), 0, 0);을 이용하면 카메라의 일부분을 추출할 수 있다는 정보를 얻어 실행에 옮겼다.
처음 완성한 코드는
using System.Collections;
using System.Collections.Generic;
using UnityEngine;
using OpenCvSharp;
using UnityEngine.UI;

public class opencv : MonoBehaviour
{

    public RawImage img = default;

    void Start()
    {

        int width = Screen.width;
        int height = Screen.height;
        Texture2D tex = new Texture2D(width, height, TextureFormat.RGB24, false);
        tex.ReadPixels(new UnityEngine.Rect(0, 0, width, height), 0, 0);
        tex.Apply();

    }

    void Update()
    {

    }
}
위와 같았다. 그 결과는 rawimage에 검정화면만...
생각해보니 위 코드를 Update가 아닌 Start에 넣었기에 시작 시 한 번만 화면을 읽기때문에 첫화면인 검정화면을 띄울 것이라 판단하여 Update에 위치한
using System.Collections;
using System.Collections.Generic;
using UnityEngine;
using OpenCvSharp;
using UnityEngine.UI;

public class opencv : MonoBehaviour
{

    public RawImage img = default;

    void Start()
    {
    }

    void Update()
    {

        int width = Screen.width;
        int height = Screen.height;
        Texture2D tex = new Texture2D(width, height, TextureFormat.RGB24, false);
        tex.ReadPixels(new UnityEngine.Rect(0, 0, width, height), 0, 0);
        tex.Apply();

    }
}
위의 코드로 변경하였고 그 결과는 아래와 같았다.
using System.Collections;
using System.Collections.Generic;
using UnityEngine;
using OpenCvSharp;
using UnityEngine.UI;
public class opencv : MonoBehaviour
{
// 카메라 영상을 받을 위치 지정
public RawImage img = default;
// 카메라 영상을 담을 변수 지정
private Texture2D tex;
void Start()
{
//화면 위치 지정
int width = Screen.width;
int height = Screen.height / 3;
// tex에 화면 정보를 담을 공간 마련
tex = new Texture2D(width, height, TextureFormat.RGB24, false);
}
void Update()
{
int width = Screen.width;
int height = Screen.height / 3;
// 상단 1/3 위치의 화면 정보 읽기
tex.ReadPixels(new UnityEngine.Rect(0, 2 * height, width, height), 0, 0);
// 읽은 화면정보를 tex에 담기
tex.Apply();
// tex에 담긴 Texture2D 정보를 img에 넣어 화면에 출력
img.texture = tex;
}
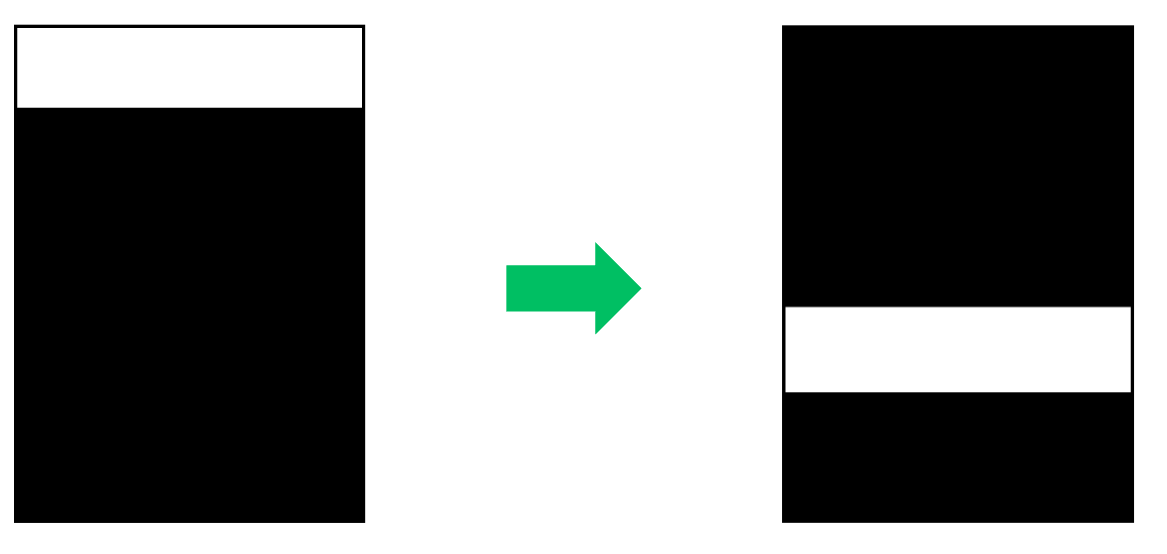
}위의 코드로 변경하니 튕기는 문제는 해결되었다. 그러나 아직 남은 하나의 문제... 바로 여러 층이 쌓이는 현상이었다. 코드도 바꿔보고 여러 방법을 써봤으나 상황은 바뀌지 않았다. 그러다 문뜩
'rawimage의 위치 때문인가?'
는 생각이 들어 rawimage의 위치를 아래와 같이 바꾸니 제대로된 화면이 출력되었다....

꾸준히, 열심히, 즐겁게