해당 포스트는 유튜브 'Wawa Sensei' 채널의 [React Three Fiber Tutorial - Rapier Physics Engine] 강의를 보며 기록한 내용입니다.
https://www.youtube.com/watch?v=OpYtwrtpePY&t=97s
react-three/rapier ?
react-three/rapier은 react-three/fiber을 사용할 때 physics engine, 즉 물리 엔진을 더 쉽게 사용할 수 있도록 해주는 라이브러리이다.
rigidbody, collider 등 물리적인 요소를 다루는 게임을 개발할 때 Unity를 사용하는 것이 훨씬 수월하지만 웹 개발을 할 때도 사용할 수 있는 라이브러리가 많다.
튜토리얼이나 레퍼런스가 많이 부족하다고 느끼지만 해외 강의들과 공식 문서 기반으로 더 깊게 공부해 보려고 한다.
기본 적용
코드
AppRapierPhysics.jsx
import React, { Suspense } from 'react'
import Experience from './RapierPhysics/Experience'
import { Canvas } from '@react-three/fiber'
import { Physics } from '@react-three/rapier'

export default function AppRapierPhysics() {
  return (
    <Canvas shadows camera={{position: [3, 3, 3], fov: 30}}>
      <color attach="background" args={["#ececec"]} />
      <Suspense>
        <Physics debug>
          <Experience/>
        </Physics>
      </Suspense>
    </Canvas>
  )
}
<Physics /> 는 물리 세계의 최상단 컴포넌트이고 <Suspense/> 로 감싸져야 한다.
Experience.jsx
import { Box, OrbitControls } from '@react-three/drei'
import { RigidBody } from '@react-three/rapier'
import React from 'react'
export default function Experience() {
return (
<>
<ambientLight intensity={0.5}/>
<directionalLight position={[-10, 10, 0]} intensity={0.4}/>
<OrbitControls />
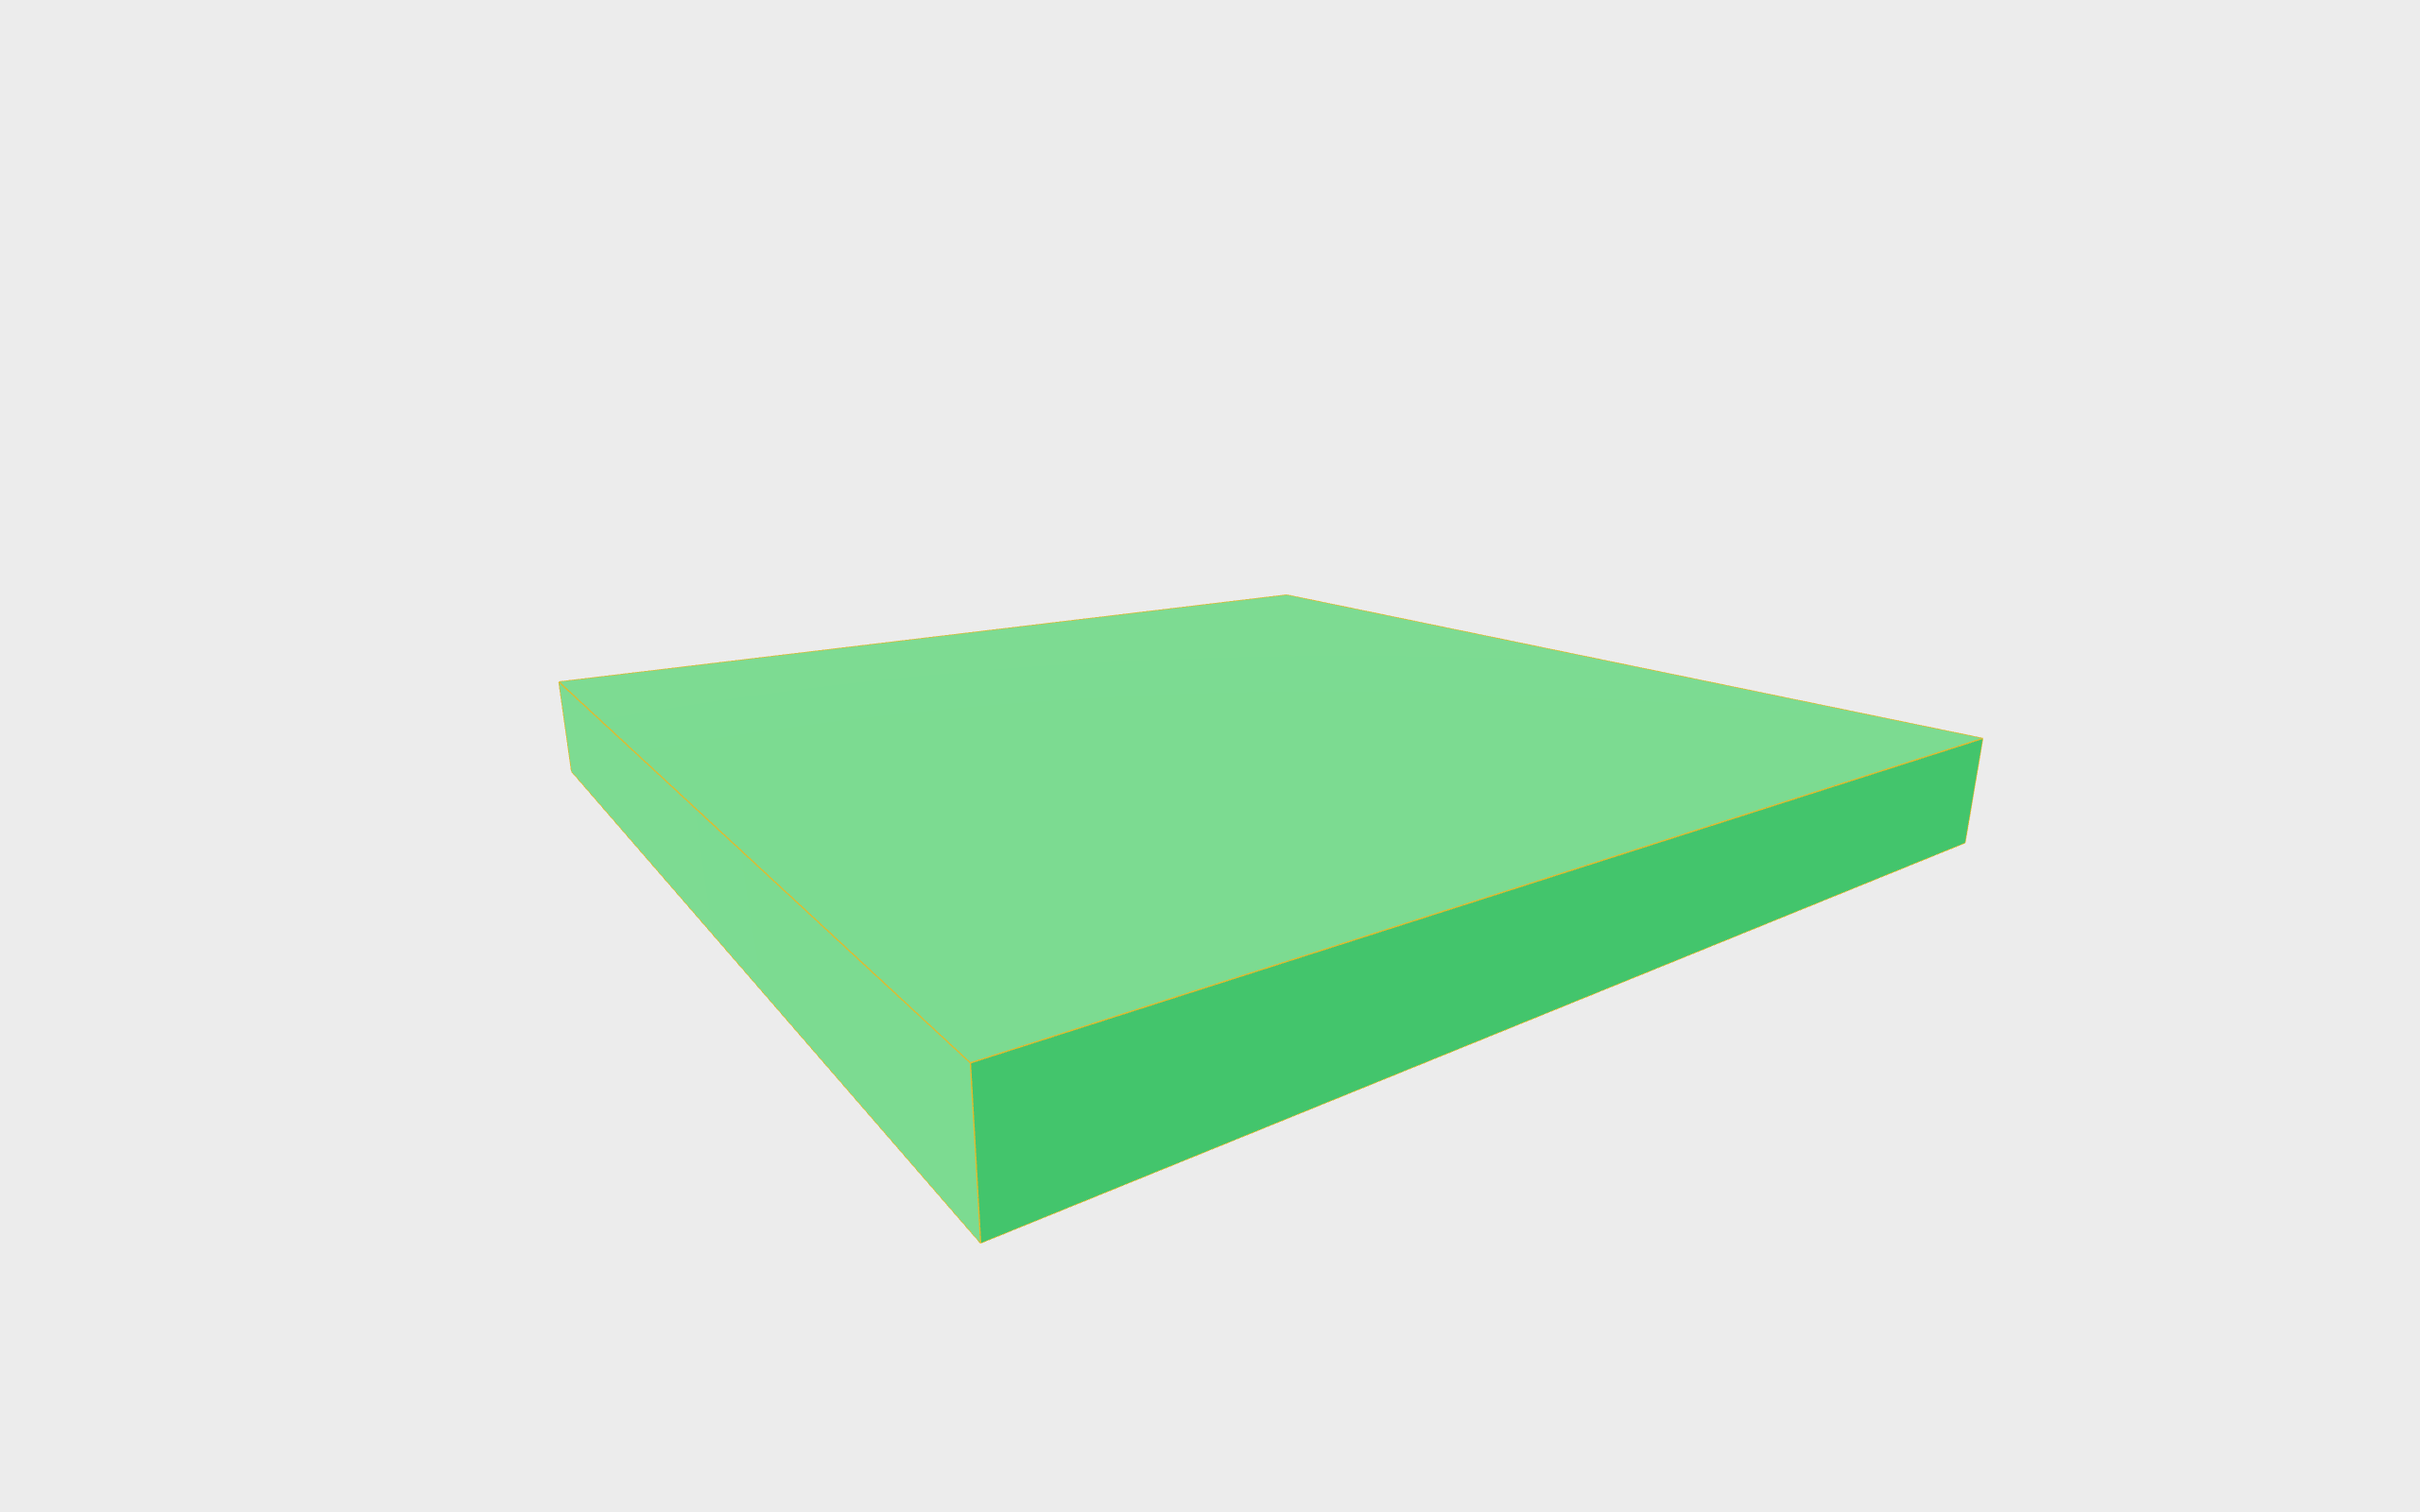
<RigidBody>
<Box position={[0, 0, 0]} args={[10, 1, 10]} >
<meshStandardMaterial color="springgreen" />
</Box>
</RigidBody>
</>
)
}
<RigidBody /> 는 mesh, 즉 오브젝트를 물리 세계에 추가할 때 쓰인다.
추가하고 싶은 mesh들을 컴포넌트 하위에 넣어 감싼다.
이는 mesh 모양에 따라 Colliders 를 자동으로 생성해준다.
실행 화면
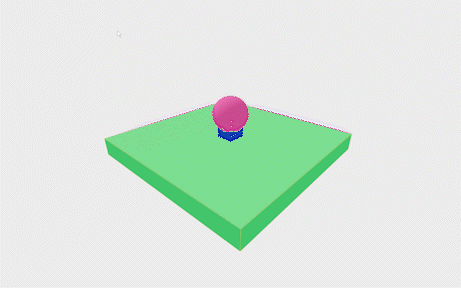
 실행해보면 위와 같이 나타난다.
Box 오브젝트가 아래로 떨어지는 것은 RigidBody에 중력이 작용하기 때문이다.
이를 방지하기 위해 <RigidBody type='fixed'> 와 같이 type 속성을 추가하면 다음과 같은 결과를 확인할 수 있다.
RigidBody type이 fixed 라면 어떠한 힘의 영향도 받지 않게 되고 동적인 물체(dynamic bodies)와는 충돌이 일어나지만 고정된 물체(fixed bodies)와는 충돌처리가 일어나지 않는다.
아래는 구 오브젝트를 추가하기 위한 코드이다.
<RigidBody position={[0, 5, 0]}>
  <Sphere>
    <meshStandardMaterial color={"hotpink"} />
  </Sphere>
</RigidBody>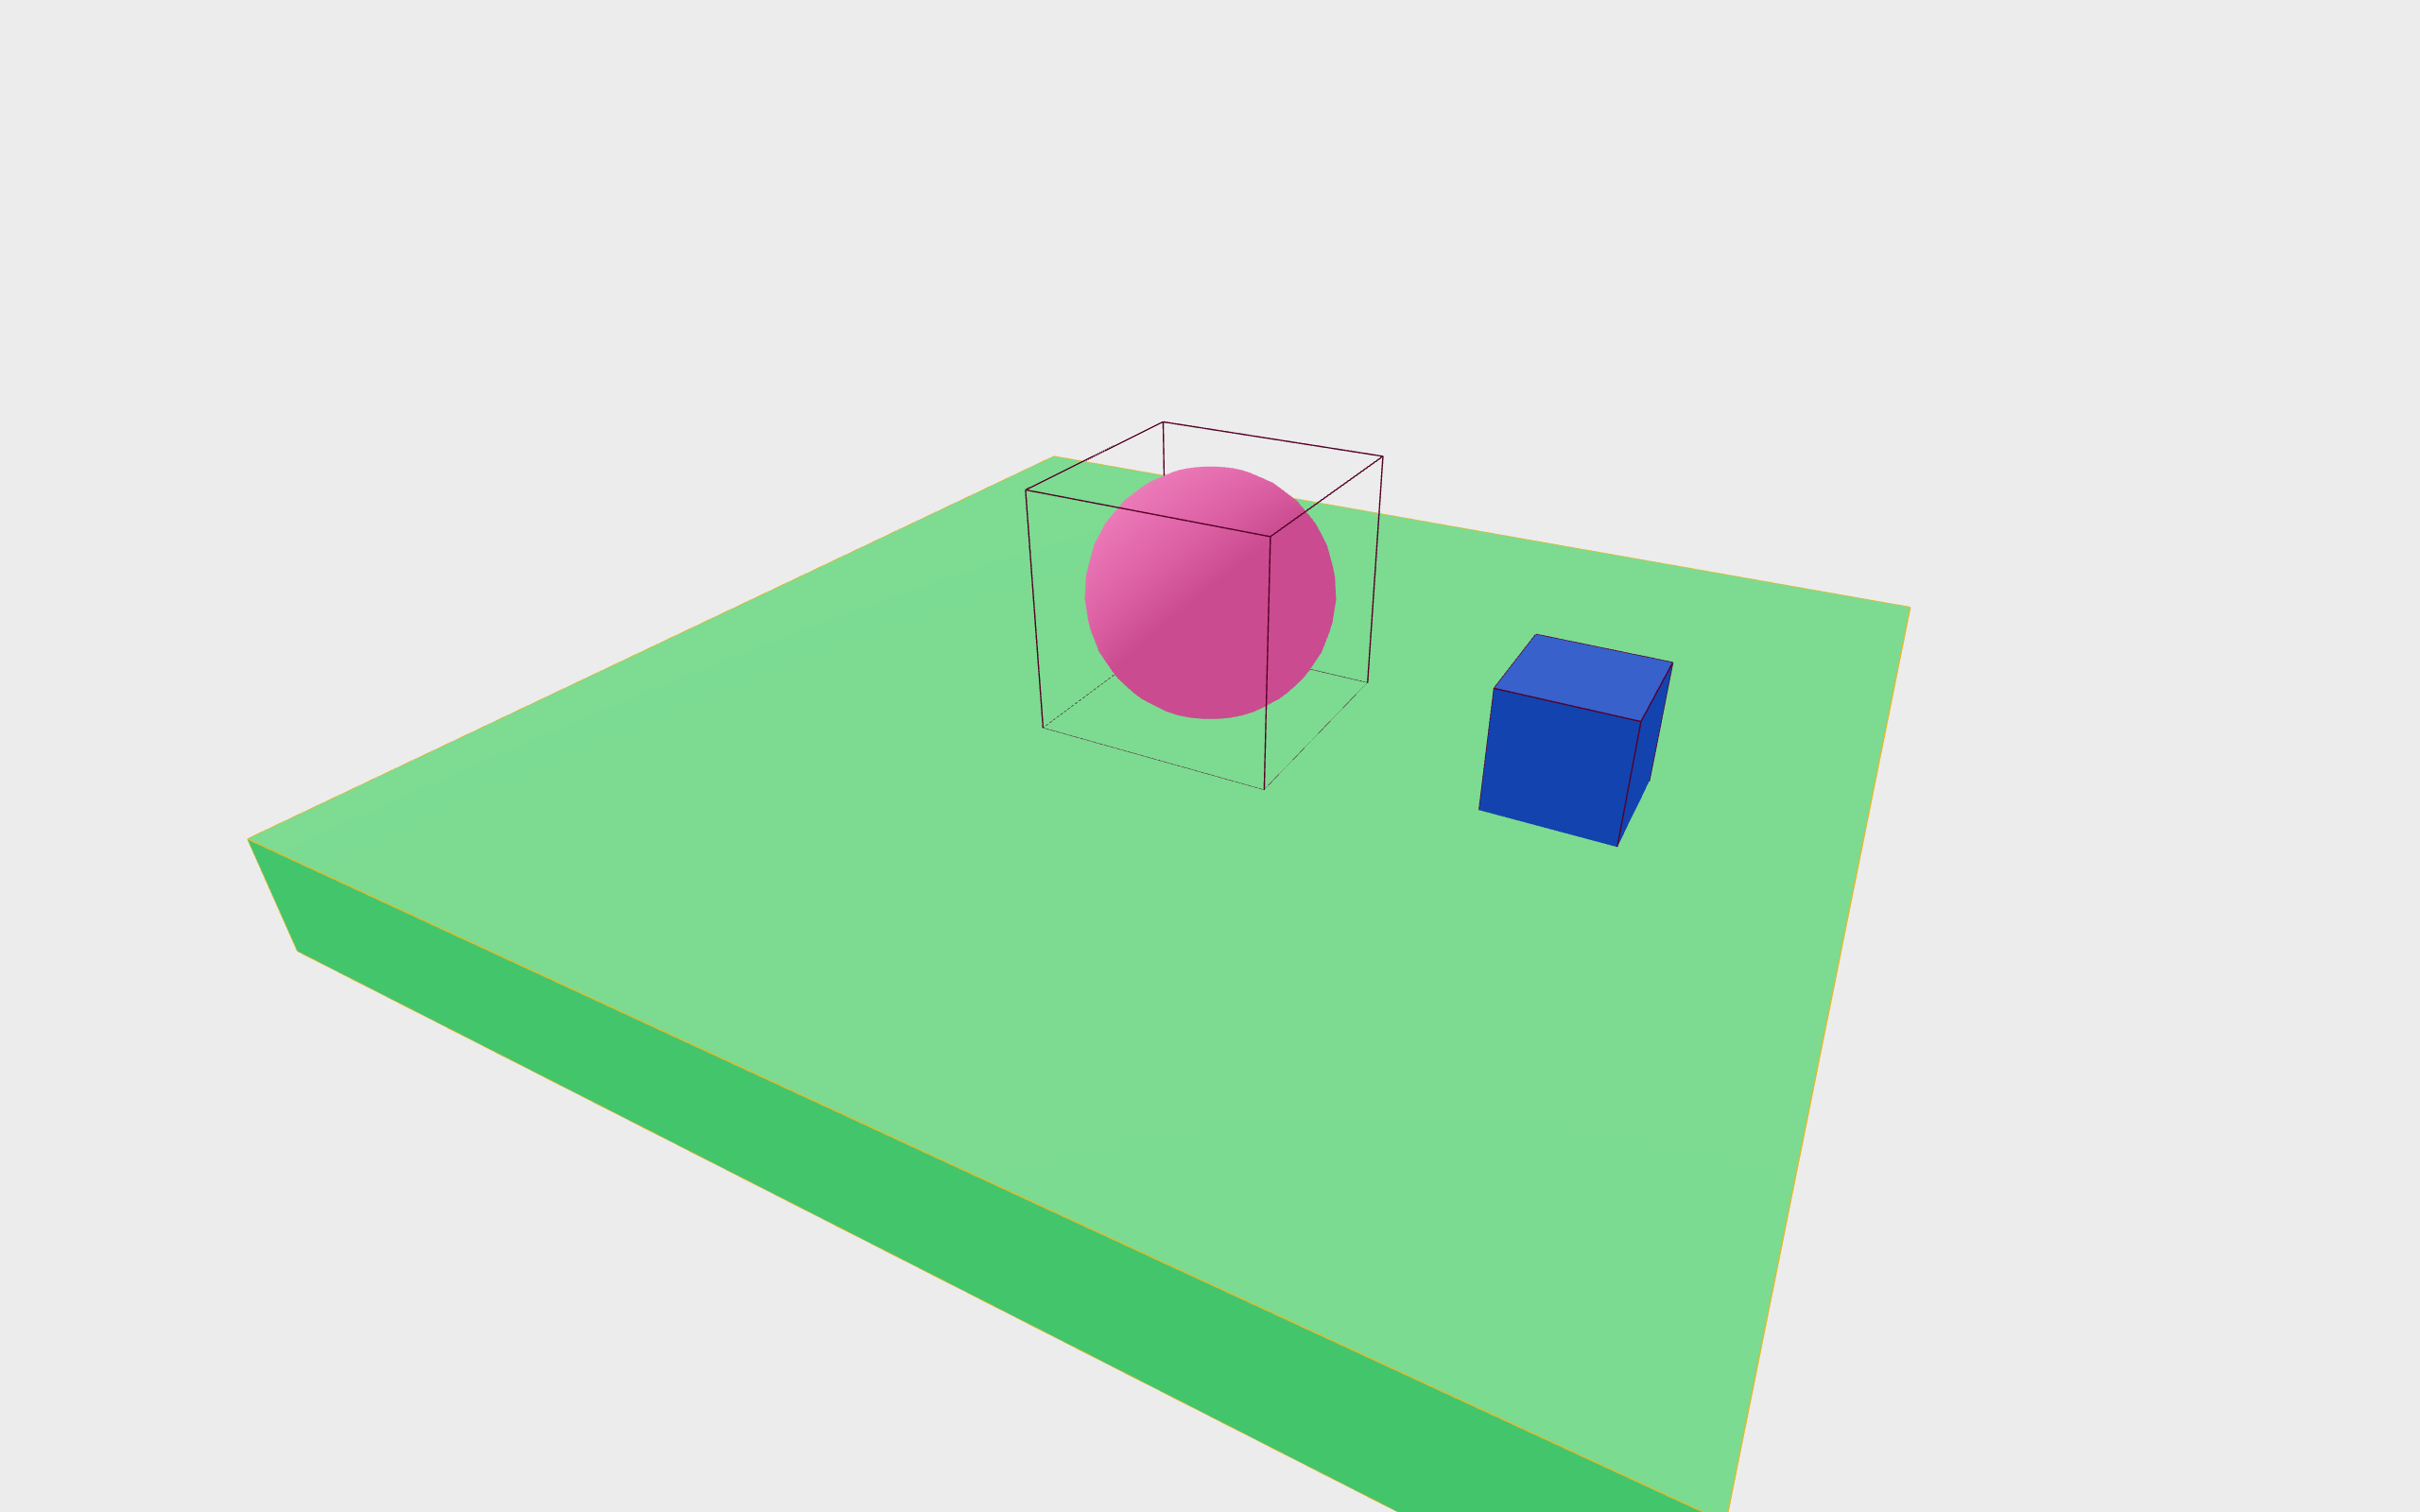
colliders는 기본적으로 박스 형태인 것을 알 수 있고 속성을 설정하여 형태를 변경할 수 있다.
이 외에도 여러 속성을 추가/설정하여 오브젝트의 다양한 상태를 확인해볼 수 있다.
mesh 추가
코드
Experience.jsx
import { Box, OrbitControls, Sphere } from '@react-three/drei'
import { BallCollider, RigidBody } from '@react-three/rapier'
import React from 'react'

export default function Experience() {
  return (
    <>
      <ambientLight intensity={0.5}/>
      <directionalLight position={[-10, 10, 0]} intensity={0.4}/>
      <OrbitControls />
      <RigidBody position={[0, 5, 0]} colliders={false} gravityScale={4}>
        <BallCollider args={[1]} position={[0, 1, 0]}/>
        <Sphere position-y={1}>
          <meshStandardMaterial color={"hotpink"} />
        </Sphere>
        <Box>
          <meshStandardMaterial color="royalblue"/>
        </Box>
      </RigidBody>
      <RigidBody type='fixed' restitution={2}>
        <Box position={[0, 0, 0]} args={[10, 1, 10]} >
          <meshStandardMaterial color="springgreen" />
        </Box>
      </RigidBody>
    </>
  )
}
몇 가지 속성들을 추가하고 변경한 코드이고 아래와 같이 나타난다.
Sphere와 Box 오브젝트를 하나의 RigidBody에 넣어 그룹화했다.
해당 RigidBody의 colliders 속성은 false 로 변경하고 하위에 Collider컴포넌트를 추가하여 colliers를 수동으로 설정했다.
바닥 역할을 하는Box 오브젝트의 RigidBody에 restitution 속성을 추가하여 탄성 효과를 적용했다.
KeyboardControls 적용
react-three/drei 에서 제공하는 KeyboardControls를 사용하여 'WASD' 키로 박스를 움직일 수 있고 스페이스바를 누르면 점프한다.
회전하는 Box 오브젝트를 추가하여 정육면체와 충돌처리가 일어나도록 한다.
코드
AppRapierPhysics.jsx
import React, { Suspense, useMemo } from 'react'
import Experience from './RapierPhysics/Experience'
import { Canvas } from '@react-three/fiber'
import { Physics } from '@react-three/rapier'
import { KeyboardControls } from '@react-three/drei'

export const Controls = {
  forward: "forward",
  back: "back",
  left: "left",
  right: "right",
  jump: "jump"
}

export default function AppRapierPhysics() {

  const map = useMemo(() =>
    [
      { name: Controls.forward, keys: ["ArrowUp", "KeyW"] },
      { name: Controls.back, keys: ["ArrowDown", "KeyS"] },
      { name: Controls.left, keys: ["ArrowLeft", "KeyA"] },
      { name: Controls.right, keys: ["ArrowRight", "KeyD"] },
      { name: Controls.jump, keys: ["Space"] },
    ], []
  )

  return (
    <KeyboardControls map={map}>
      <Canvas shadows camera={{position: [3, 3, 3], fov: 60}}>
        <color attach="background" args={["#ececec"]} />
        <Suspense>
          <Physics debug>
            <Experience/>
          </Physics>
        </Suspense>
      </Canvas>
    </KeyboardControls>

  )
}
키보드 컨트롤에 대한 데이터는 거의 변하지 않는다.
따라서 컴포넌트가 렌더링 될 때마다 매번 새로 불러와질 필요가 없기 때문에 useMemo를 통해 저장해 놓고 props로 넘겨준다.
Experience.jsx
import { Box, OrbitControls, Sphere, useKeyboardControls } from '@react-three/drei'
import { useFrame } from '@react-three/fiber';
import { BallCollider, CuboidCollider, RigidBody, quat } from '@react-three/rapier'
import React, { useRef, useState } from 'react'
import * as THREE from 'three'
import { Controls } from '../AppRapierPhysics';
export default function Experience() {
const [hover, setHover] = useState(false)
const cube = useRef();
const [start, setStart] = useState(false)
const kicker = useRef();
const jump = () =>{
if(isOnFloor.current){
cube.current.applyImpulse({x: 0, y: 5, z: 0})
}
}
const jumpPressed = useKeyboardControls((state) => state[Controls.jump])
const leftPressed = useKeyboardControls((state) => state[Controls.left])
const rightPressed = useKeyboardControls((state) => state[Controls.right])
const backPressed = useKeyboardControls((state) => state[Controls.back])
const forwardPressed = useKeyboardControls((state) => state[Controls.forward])
const handleMovement = () => {
if(!isOnFloor.current){
return;
}
if(rightPressed) {
cube.current.applyImpulse({x: 0.1, y: 0, z: 0})
}
if(leftPressed) {
cube.current.applyImpulse({x: -0.1, y: 0, z: 0})
}
if(backPressed) {
cube.current.applyImpulse({x: 0, y: 0, z: 0.1})
}
if(forwardPressed) {
cube.current.applyImpulse({x: 0, y: 0, z: -0.1})
}
}
const speed = useRef(5)
useFrame((_state, delta) => {
if(jumpPressed) {
jump();
}
handleMovement();
if(!start) {
return;
}
const curRotation = quat(kicker.current.rotation());
const incrementRotation = new THREE.Quaternion().setFromAxisAngle(
new THREE.Vector3(0, 1, 0),
delta * 4
)
curRotation.multiply(incrementRotation)
kicker.current.setNextKinematicRotation(curRotation);
speed.current += delta
})
const isOnFloor = useRef(true);
return (
<>
<ambientLight intensity={0.5}/>
<directionalLight position={[-10, 10, 0]} intensity={0.4}/>
<OrbitControls />
<RigidBody position={[-2.5, 1, 0]} ref={cube}
onCollisionEnter={({other}) => {
if(other.rigidBodyObject.name === "floor") {
isOnFloor.current = true;
}
}}
onCollisionExit={({other}) => {
if(other.rigidBodyObject.name === "floor") {
isOnFloor.current = false;
}
}}
>
<Box
onPointerEnter={() => setHover(true)}
onPointerLeave={() => setHover(false)}
onClick={()=> setStart(true)}
>
<meshStandardMaterial color={hover ? "hotpink" : "royalblue"} />
</Box>
</RigidBody>
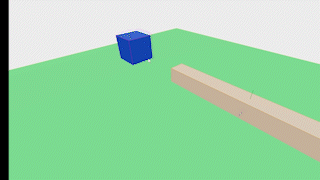
<RigidBody type='kinematicPosition' position={[0, 0.75, 0]} ref={kicker}>
<group position={[2.5, 0, 0]}>
<Box args={[5, 0.5, 0.5]}>
<meshStandardMaterial color='peachpuff' />
</Box>
</group>
</RigidBody>
<RigidBody type='fixed' name='floor'>
<Box position={[0, 0, 0]} args={[10, 1, 10]} >
<meshStandardMaterial color="springgreen" />
</Box>
</RigidBody>
</>
)
}
isOnFloor 변수를 통해 키보드 조작에 의한 움직임이 Box 오브젝트가 바닥에 닿아있을 때만 일어날 수 있도록 한다.
이 외에도 useRef를 통해 mesh에 hover 시 색상 변경, click 시 특정 움직임 시작 등 여러 event에 따라 다양한 변화와 인터랙션을 부여할 수 있다.
실행 화면
예전에 Unity에서만 적용해봤던 부분을 웹에서 하니까 너무 신기하다!..
Unity처럼 배치나 수치 조절을 inspector 창에서 쉽게 할 수 없고 모두 코드로 작성해야하는 점이 익숙하지는 않지만 게임 요소가 포함된 인터랙티브 웹 정도라면 재미있는 사이트를 만들 수 있을 것 같다.

좋은 글 감사합니다. ^^