해당 포스트는 유튜브 'Wawa Sensei' 채널의 [Recreating Atmos 3D Website with React Three Fiber] 강의를 보며 기록한 내용입니다.
Part1- Curved Path
https://www.youtube.com/watch?v=WL5zrKii5qc&t=236s
Part2- Environment Map
https://www.youtube.com/watch?v=_KlIkgvadmc
three.js.. 특히 React에서 three.js를 사용하는 것에 대한 자료가 부족한 것 같다..고 느끼던 중 유튜브에서 한줄기의 빛과 같은 채널을 발견했다!
게다가 포스트 작성일 기준 react three fiber 관련 영상이 꾸준히 업로드되고 있었다.
(다 좋은데 말 좀만 천천히..코드 좀만 천천히.....)
암튼! 강의 내용을 바탕으로 디자인 에셋, 값 설정, 그 외에 세부적인 부분들은 내가 원하는대로 추가하고 바꿨다.
결과 화면
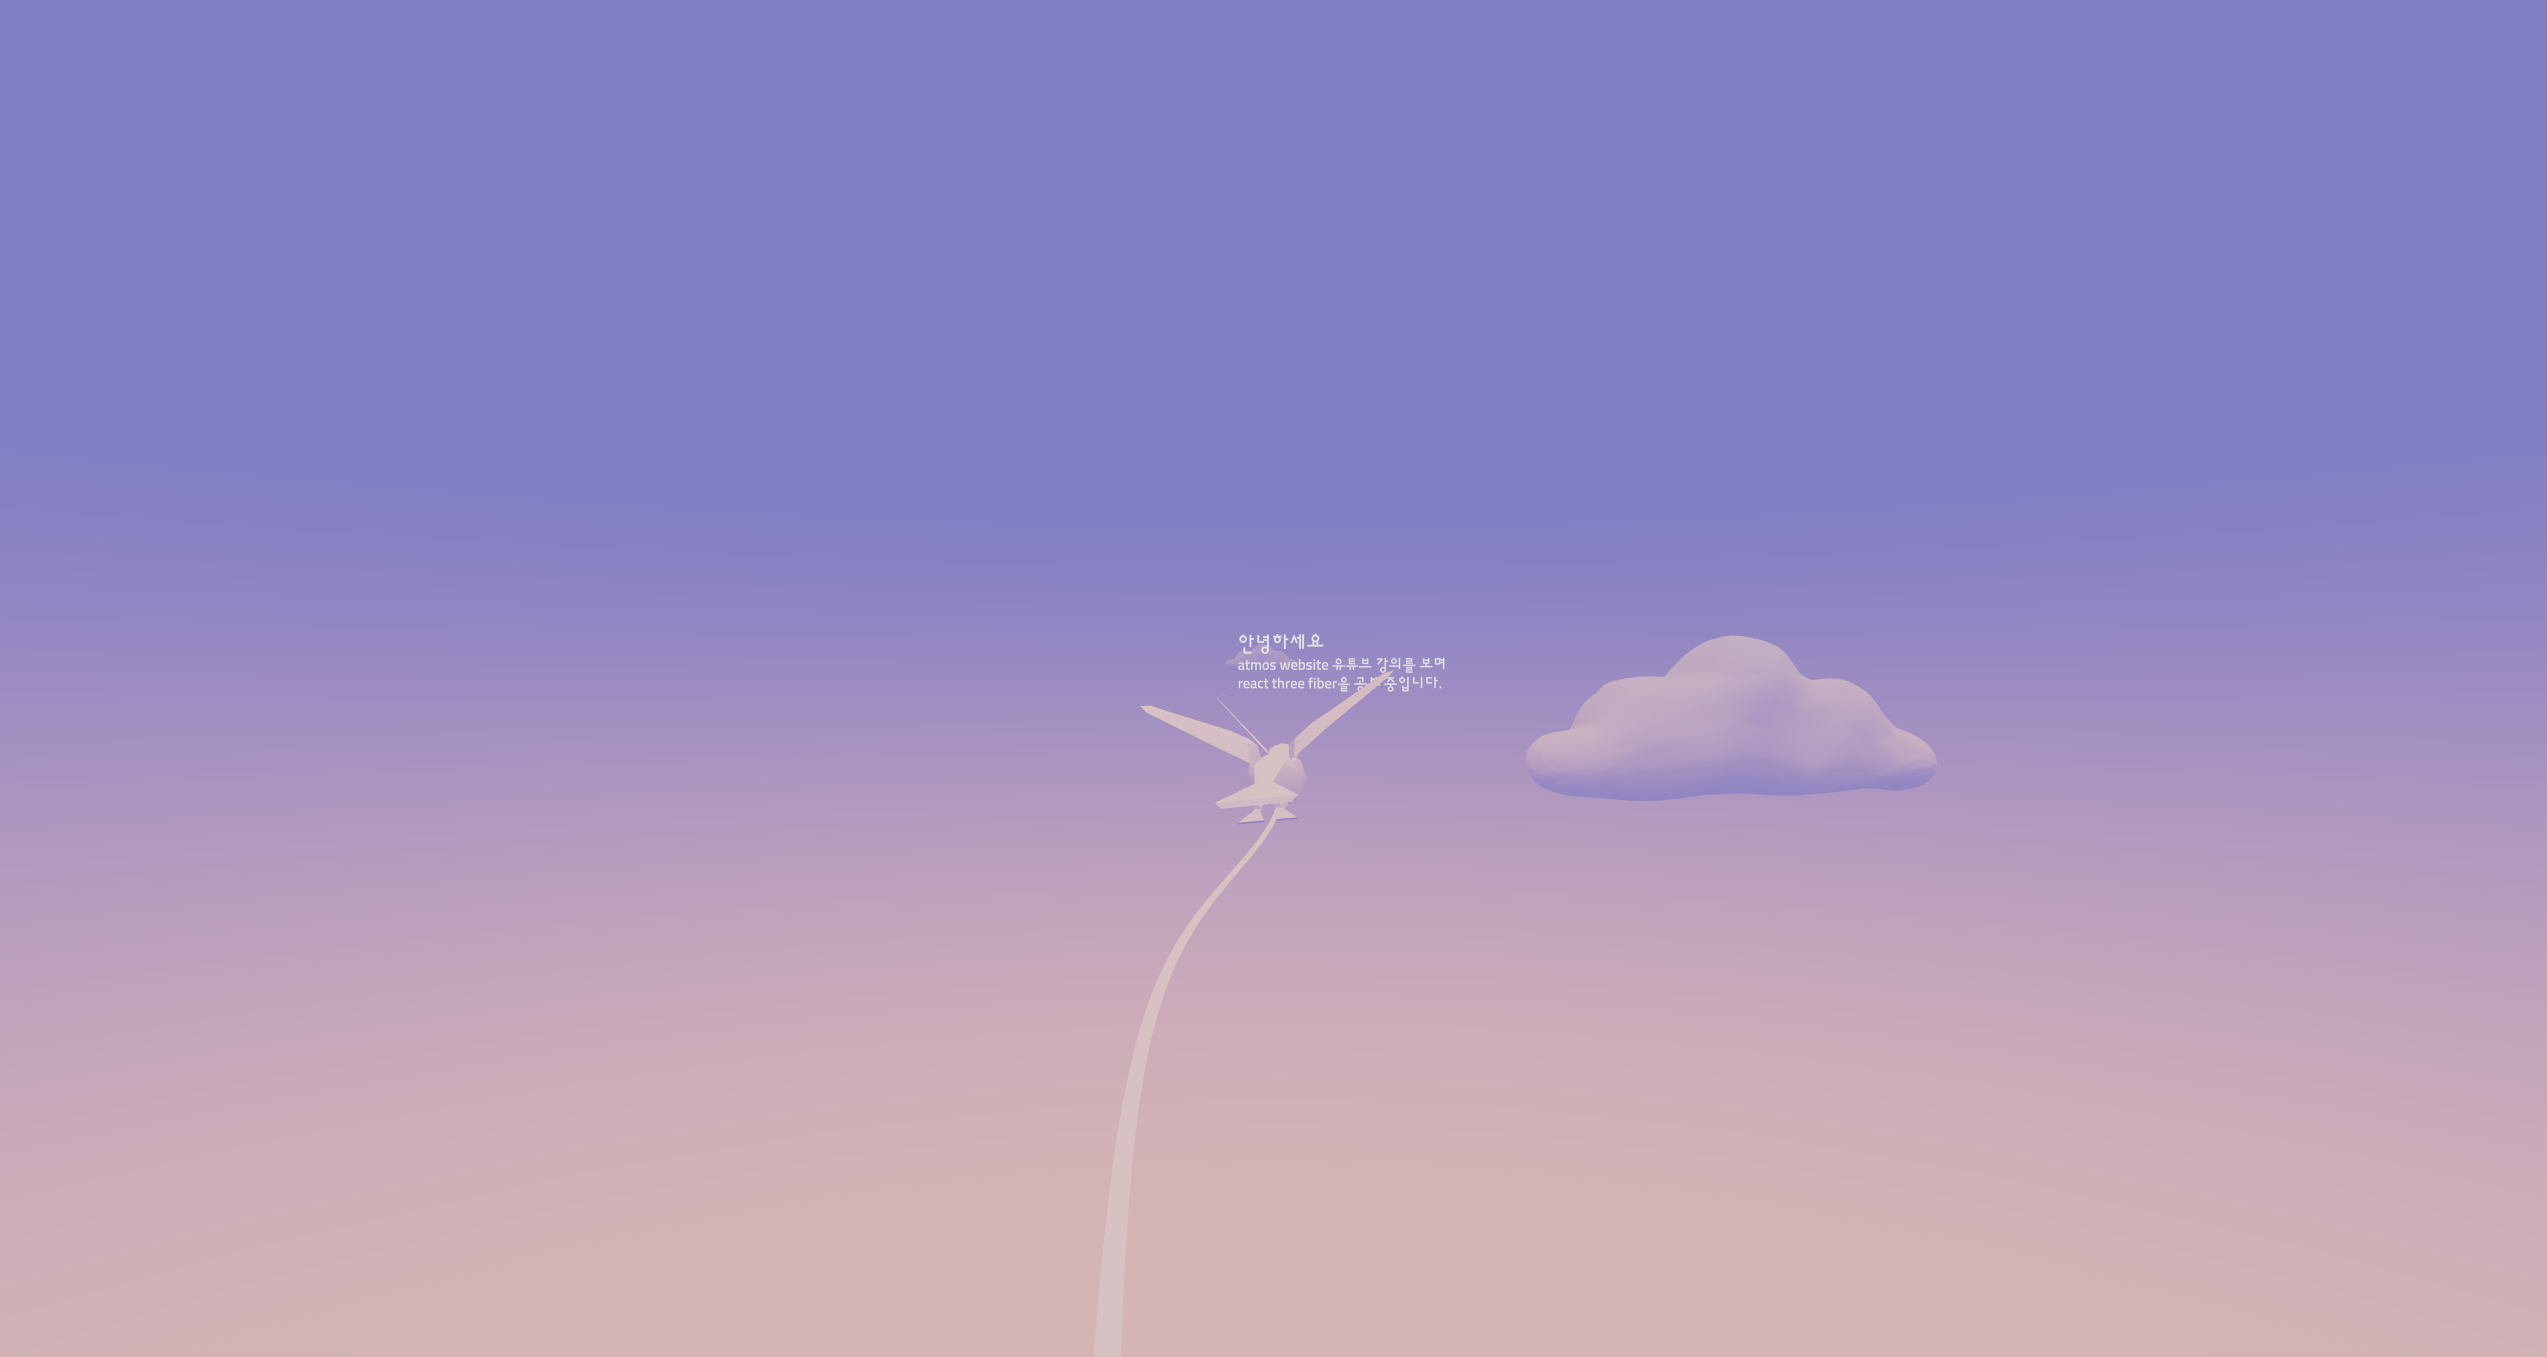
시작 화면은 다음과 같다.
(캡처 녹화로 했더니 느려서 그냥 핸드폰으로 찍었다)
세부 설명
스크롤 이벤트에 따라 안으로 들어가는 형태의 사이트이고 카메라가 메인 오브젝트인 새를 따라가며 이동한다.
아래와 같이 react-three/drei에서 제공하는 컨트롤 컴포넌트인 ScrollControls를 사용하여 HTML 스크롤 컨테이너를 만들 수 있다.
이는 <ScrollControls></ScrollControls>로 감싸져있는 하위 컴포넌트 <Experience/>전체에 적용된다.
pages 속성은 페이지, 즉 스크롤 바는 몇 개로 나눌 것인지, damping 속성은 마찰, 즉 부드러운 정도를 조절할 수 있다.
// AppPath.jsx
import { ScrollControls } from '@react-three/drei'

 <ScrollControls pages={20} damping={1}>
   <Experience/>
 </ScrollControls>
새가 이동하는 경로는 Three.js에서 제공하는 CatmullRomCurve3를 통해 부드러운 3d 곡선을 표현했다.
아래와 같이 첫번째 인자로 Vector3 점들을 배열로 받아 선을 정의한다.
// Experience.jsx
const CURVE_DISTANCE = 100

  const curve = useMemo(() => {
    return new THREE.CatmullRomCurve3([
      new THREE.Vector3(0,0,0),
      new THREE.Vector3(0,0,-1*CURVE_DISTANCE),
      new THREE.Vector3(-20,0,-2*CURVE_DISTANCE),
      new THREE.Vector3(-10,0,-3*CURVE_DISTANCE),
      new THREE.Vector3(0,0,-4*CURVE_DISTANCE),
      new THREE.Vector3(10,0,-5*CURVE_DISTANCE),
      new THREE.Vector3(20,0,-6*CURVE_DISTANCE),
      new THREE.Vector3(10,0,-7*CURVE_DISTANCE),
      new THREE.Vector3(50,0,-8*CURVE_DISTANCE),
      new THREE.Vector3(80,0,-9*CURVE_DISTANCE),
      new THREE.Vector3(100,0,-10*CURVE_DISTANCE),
    ],
    false,
    "catmullrom",
    1)
  }, [])
지정된 경로에 따라 구름이나 텍스트처럼 원하는 요소들을 배치해주면 된다.
Experience.jsx의 useFrame 부분은 곡선에 따라 이동하는 새의 모션을 자연스럽게 표현하기 위한 세부적인 코드도 많이 포함되어 있으니 복잡해 보여도 콘솔 로그도 찍어보고 값도 극단적으로 바꿔보면서 직접 적용하고 변화를 확인해보는 것을 추천한다.
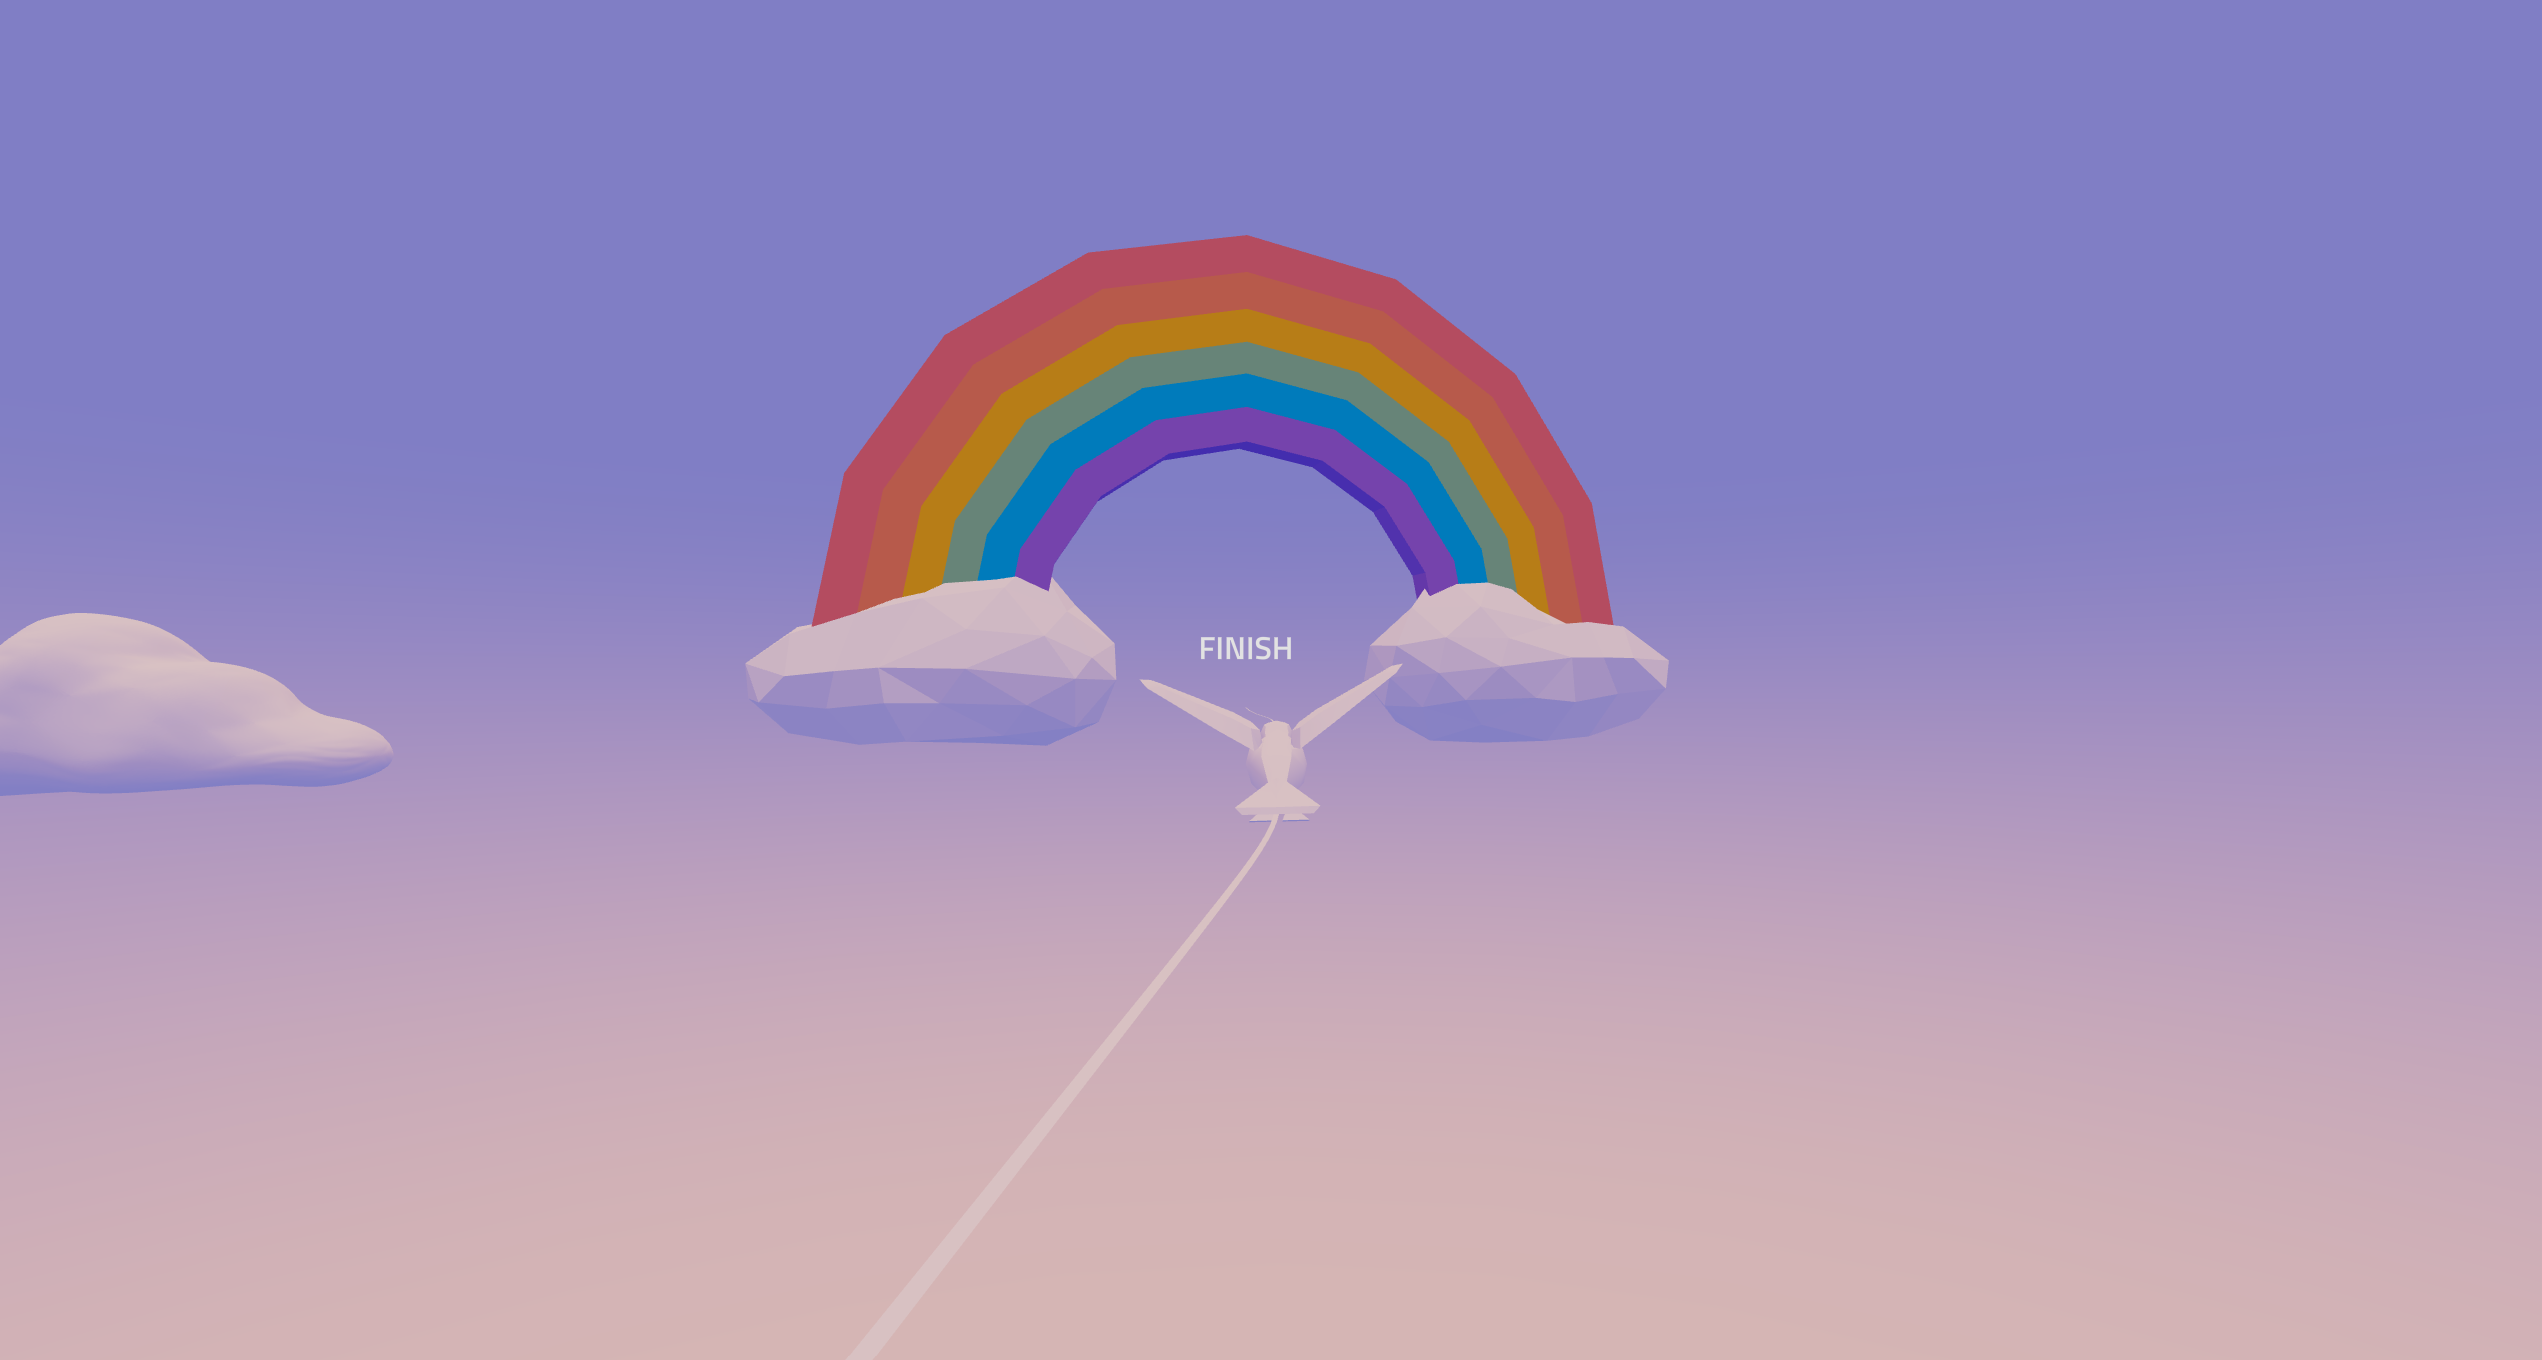
따라가다 보면 아래와 같이 허접한 finish line을 만날 수 있다. ◠ ͜ ◠
전체코드
AppPath.jsx
import React from 'react'
import { ScrollControls } from '@react-three/drei'
import { Canvas } from '@react-three/fiber'
import Experience from './components/CurvedPath/Experience'

export default function AppPath() {
  return (
    <>
      <Canvas>
        {/* <axesHelper scale={100}/> */}
        <color attach="background" arg={["#f59f9f"]}/>
        <ScrollControls pages={20} damping={1}>
          <Experience/>
        </ScrollControls>

      </Canvas>
    </>
  )
}
Experience.jsx (새 포함)
import { Float, Line, OrbitControls, useScroll, PerspectiveCamera, Text } from '@react-three/drei'
import React, { useEffect, useMemo, useRef, useState } from 'react'
import Background from './Background'
import Cloud from './Cloud'
import Bird from './Bird'

import * as THREE from 'three'
import { useFrame } from '@react-three/fiber'
import { Group } from 'three'
import { Rainbow } from './Rainbow'

const LINE_NB_POINTS = 1000
const CURVE_DISTANCE = 100
const CURVE_AHEAD_CAMERA = 0.008
const CURVE_AHEAD_BIRD = 0.02
const BIRD_MAX_ANGLE = 35

export default function Experience() {
  const scroll = useScroll();

  // scroll에 따른 pos 수치 변화 확인
  const [pos, setPos] = useState(0)
  useEffect(() => {
    const timer = setInterval(()=>{
      setPos(scroll.offset)
      console.log(pos)
    }, 3000)

    return () => {
      clearInterval(timer)
    }

  },[pos])

  const curve = useMemo(() => {
    return new THREE.CatmullRomCurve3([
      new THREE.Vector3(0,0,0),
      new THREE.Vector3(0,0,-1*CURVE_DISTANCE),
      new THREE.Vector3(-20,0,-2*CURVE_DISTANCE),
      new THREE.Vector3(-10,0,-3*CURVE_DISTANCE),
      new THREE.Vector3(0,0,-4*CURVE_DISTANCE),
      new THREE.Vector3(10,0,-5*CURVE_DISTANCE),
      new THREE.Vector3(20,0,-6*CURVE_DISTANCE),
      new THREE.Vector3(10,0,-7*CURVE_DISTANCE),
      new THREE.Vector3(50,0,-8*CURVE_DISTANCE),
      new THREE.Vector3(80,0,-9*CURVE_DISTANCE),
      new THREE.Vector3(100,0,-10*CURVE_DISTANCE),
    ],
    false,
    "catmullrom",
    1)
  }, [])

  const linePoints = useMemo(() => {
    return curve.getPoints(LINE_NB_POINTS)
  }, [curve])

  const shape = useMemo(() => {
    const shape = new THREE.Shape();
    shape.moveTo(0, -0.08)
    shape.lineTo(0, 0.08)

    return shape
  }, [curve])

  const cameraGroup = useRef();

  useFrame((_state, delta) => {

    const scrollOffset = Math.max(0, scroll.offset)


    const curPoint = curve.getPoint(scrollOffset)

    // Follow the curve Points
    cameraGroup.current.position.lerp(curPoint, delta*24)

    // Make the group look ahead on the curve

    const lookAtPoint = curve.getPoint(Math.min(scrollOffset +  CURVE_AHEAD_CAMERA, 1))

    const currentLookAt = cameraGroup.current.getWorldDirection(new THREE.Vector3())

    const targetLookAt = new THREE.Vector3().subVectors(curPoint, lookAtPoint).normalize();

    const lookAt = currentLookAt.lerp(targetLookAt, delta * 24)
    cameraGroup.current.lookAt(
      cameraGroup.current.position.clone().add(lookAt)
    )

    // Bird Object Rotation

    const tangent = curve.getTangent(scrollOffset + CURVE_AHEAD_BIRD)

    const nonLeprLookAt = new Group();
    nonLeprLookAt.position.copy(curPoint)
    nonLeprLookAt.lookAt(nonLeprLookAt.position.clone().add(targetLookAt));

    tangent.applyAxisAngle(
      new THREE.Vector3(0, 1, 0),
      -nonLeprLookAt.rotation.y
    )

    let angle = Math.atan2(-tangent.z, tangent.x)
    angle = -Math.PI / 2 + angle

    let angleDegrees = (angle * 180) / Math.PI
    angleDegrees *= 2.4

    // Limit Bird Angle

    if(angleDegrees < 0) {
      angleDegrees = Math.max(angleDegrees, -BIRD_MAX_ANGLE)
    }
    if(angleDegrees > 0) {
      angleDegrees = Math.min(angleDegrees, BIRD_MAX_ANGLE)
    }

    // Set Back Angle
    angle = (angleDegrees * Math.PI) / 180

    const targetBirdQuaternion = new THREE.Quaternion().setFromEuler(
      new THREE.Euler(
        bird.current.rotation.x,
        bird.current.rotation.y,
        angle,
      )
    )

    bird.current.quaternion.slerp(targetBirdQuaternion, delta * 2)
  })

  const bird = useRef();

  return (
    <>
      <directionalLight position={[0, 3, 1]} intensity={0.1} />
      {/* <OrbitControls enableZoom={false}/> */}
      <group ref={cameraGroup}>
        <Background/>
        <PerspectiveCamera position={[0, 5, 40]} fov={60} makeDefault />
        <group ref={bird}>
          <Float floatIntensity={5} speed={5} rotationIntensity={1}>
            <Bird rotation-y={Math.PI / 2} scale={[0.2, 0.2, 0.2]} position={[0, 2, 0]}/>
          </Float>
        </group>

      </group>

      {/* Text */}
      <group position={[-5, 10, -350]} rotation-y={-0.4}>
        <Text
          color={"white"}
          anchorX={"left"}
          anchorY={"center"}
          fontSize={2}
          maxWidth={15}
          font={"../../fonts/Sunflower-Medium.ttf"}
        >
          안녕하세요
        </Text>
        <Text
          color={"white"}
          anchorX={"left"}
          anchorY={"top"}
          position-y={-2.5}
          fontSize={1.5}
          maxWidth={30}
          font={"../../fonts/Sunflower-Medium.ttf"}
        >
          atmos website 유튜브 강의를 보며{"\n"}
          react three fiber을 공부 중입니다.
        </Text>
      </group>

      <group position={[100, 10, -10*CURVE_DISTANCE]} rotation-y={-0.2}>
        <Text
          color={"white"}
          fontSize={5}
          maxWidth={15}
          font={"../../fonts/Sunflower-Medium.ttf"}
        >
          FINISH
        </Text>
      </group>


      {/* <Line
          points={linePoints}
          color={"white"}
          opacity={0.7}
          transparent
          lineWidth={10}
      />  */}

      <group position={[0, 1, 0]}>
        <mesh>
          <extrudeGeometry
            args={[
              shape,
              {
                steps: LINE_NB_POINTS,
                bevelEnabled: false,
                extrudePath: curve,
              }
            ]} />
            <meshStandardMaterial color={"white"} opacity={1} transparent/>
        </mesh>
      </group>

	  // other objects
      <Cloud
        opacity={1}
        scale={[10, 10, 10]}
        rotation-y={Math.PI / 9}
        position={[-40, -4, -20]}
      />
      <Cloud
        opacity={0.8}
        scale={[10, 10, 10]}
        position={[50, 5, -100]}
      />
      <Cloud
        opacity={1}
        scale={[5, 5, 5]}
        position={[-30, 5, -150]}
      />
      <Cloud
        opacity={0.7}
        scale={[5, 5, 5]}
        position={[20, 2, -300]}
      />
      <Cloud
        opacity={0.4}
        scale={[3, 3, 3]}
        position={[20, 10, -500]}
      />
      <Cloud
        opacity={1}
        scale={[8, 8, 8]}
        position={[80, 3, -700]}
        rotation-y={-0.5}
      />
      <Cloud
        opacity={1}
        scale={[5,5 , 5]}
        position={[10, 3, -900]}
      />

      <Rainbow
        scale={[8, 8, 8]}
        position={[100,-5,-10*CURVE_DISTANCE]}
        rotation-y={-Math.PI /2}
      />
    </>
  )
}
Background.jsx
import { Environment, Sphere } from '@react-three/drei'
import { Gradient, LayerMaterial } from 'lamina'
import React from 'react'
import * as THREE from 'three'

export default function Background() {
  const colorA = "#7474BF";
  const colorB = "#D6A4A4";
  const start = 0.2;
  const end = -0.5;

  return (
    <>
      <Sphere scale={[400, 400, 400]}>
        <LayerMaterial color={"#ffffff"} side={THREE.BackSide}>
          <Gradient
            colorA={colorA}
            colorB={colorB}
            axes={"y"}
            start={start}
            end={end}
          />
        </LayerMaterial>
      </Sphere>
      <Environment resolution={256}>
        <Sphere
          scale={[100, 100, 100]}
          rotation-y={Math.PI / 2}
          rotation-x={Math.PI} // 구름 아래 부분이 어둡게 보여 자연스러움
        >
          <LayerMaterial color={"#ffffff"} side={THREE.BackSide}>
            <Gradient
              colorA={colorA}
              colorB={colorB}
              axes={"y"}
              start={start}
              end={end}
            />
          </LayerMaterial>
        </Sphere>
      </Environment>
    </>
  )
}
모든 에셋들은 'poly pizza'의 무료 3D 모델을 사용했다.
https://poly.pizza/
아래 Bird.jsx, Cloud.jsx, Rainbow.jsx는 gltfjsx 라이브러리를 이용해 변환한 컴포넌트이다.
(gltfjsx -> gltf/glb 에셋 파일을 jsx 컴포넌트로 변환해주는 라이브러리)
https://github.com/pmndrs/gltfjsx
Bird.jsx
import { useGLTF } from '@react-three/drei'
import { useFrame } from '@react-three/fiber'
import React, { useRef } from 'react'

export default function Bird(props) {
  const { nodes, materials } = useGLTF('/images/Flying_gull.glb')

  return (
    <group {...props} dispose={null}>
      <mesh
        geometry={nodes.Flying_seagull.geometry}
        material={materials.lambert5SG}
        scale={0.5}
      >
        <meshStandardMaterial color={"white"}/>
      </mesh>
    </group>
  )
}

useGLTF.preload('/images/Flying_gull.glb')
Cloud.jsx
import { useGLTF } from '@react-three/drei'
import React from 'react'

export default function Cloud({opacity, ...props}) {
  const { nodes, materials } = useGLTF('/images/cloud.glb')

  return (
    <group {...props} dispose={null}>
      <mesh
        geometry={nodes.Node.geometry}>
          <meshStandardMaterial {...materials['lambert2SG.001']}
          transparent
          opacity={opacity} />

        </mesh>
    </group>
  )
}

useGLTF.preload('/images/cloud.glb')
Rainbow.jsx
/*
Auto-generated by: https://github.com/pmndrs/gltfjsx
Command: npx gltfjsx@6.1.4 Rainbow.glb
*/

import React, { useRef } from 'react'
import { useGLTF } from '@react-three/drei'

export function Rainbow(props) {
  const { nodes, materials } = useGLTF('/images/Rainbow.glb')
  return (
    <group {...props} dispose={null}>
      <mesh geometry={nodes.Rainbow_Circle010_1.geometry} material={materials.F44336} />
      <mesh geometry={nodes.Rainbow_Circle010_1_1.geometry} material={materials.FF5722} />
      <mesh geometry={nodes.Rainbow_Circle010_1_2.geometry} material={materials.FF9800} />
      <mesh geometry={nodes.Rainbow_Circle010_1_3.geometry} material={materials['4CAF50']} />
      <mesh geometry={nodes.Rainbow_Circle010_1_4.geometry} material={materials['039BE5']} />
      <mesh geometry={nodes.Rainbow_Circle010_1_5.geometry} material={materials['673AB7']} />
      <mesh geometry={nodes.Rainbow_Circle010_1_6.geometry} material={materials.FFFFFF} />
    </group>
  )
}

useGLTF.preload('/images/Rainbow.glb')
확실히 일반적인 2D 형태의 웹에 비해 코드가 복잡하지만 훨씬 재미있고 공부할수록 기획 관련 아이디어의 폭도 넓어지는 느낌이다.
이것저것 바꿔보며 적용하고 공식 문서도 구경하면서 들으니까 짧은 영상인데도 꽤나 오래 붙잡고 있게 된다.