이번에는 마우스 클릭한 위치로 물체(캐릭터)를 이동시키는 기능과 이동하는 물체를 따라다니는 3인칭 시점 카메라를 구현해봤다.
환경 세팅 및 3D 모델 추가
App.tsx에서 Canvas와 기본 카메라 위치를 간단하게 세팅을 해준 뒤,
<Canvas camera={{ position: [0, 30, 50] }}>
  <Experience />
</Canvas>
Experience.tsx
기본적으로 필요한 Light, react-three/drei의 OrbitControls, 그리고 tsx로 변환한 3D 오브젝트를 추가해준다.
import { Box, Environment, OrbitControls } from '@react-three/drei'
import { AnimatedWoman } from './models/Animated_Woman'

export default function Experience() {
  return (
    <>
      <axesHelper scale={100}/>
      <Environment preset='sunset' />
      <ambientLight intensity={1} />
      <OrbitControls />

      {/* character */}
      <AnimatedWoman position={[5, 0, 5]} />
      {/* ground */}
      <Box
        position={[0, -1, 0]}
        args={[50, 2, 50]}
      >
        <meshStandardMaterial /> // default color white
      </Box>
    </>
  )
}
결과 화면
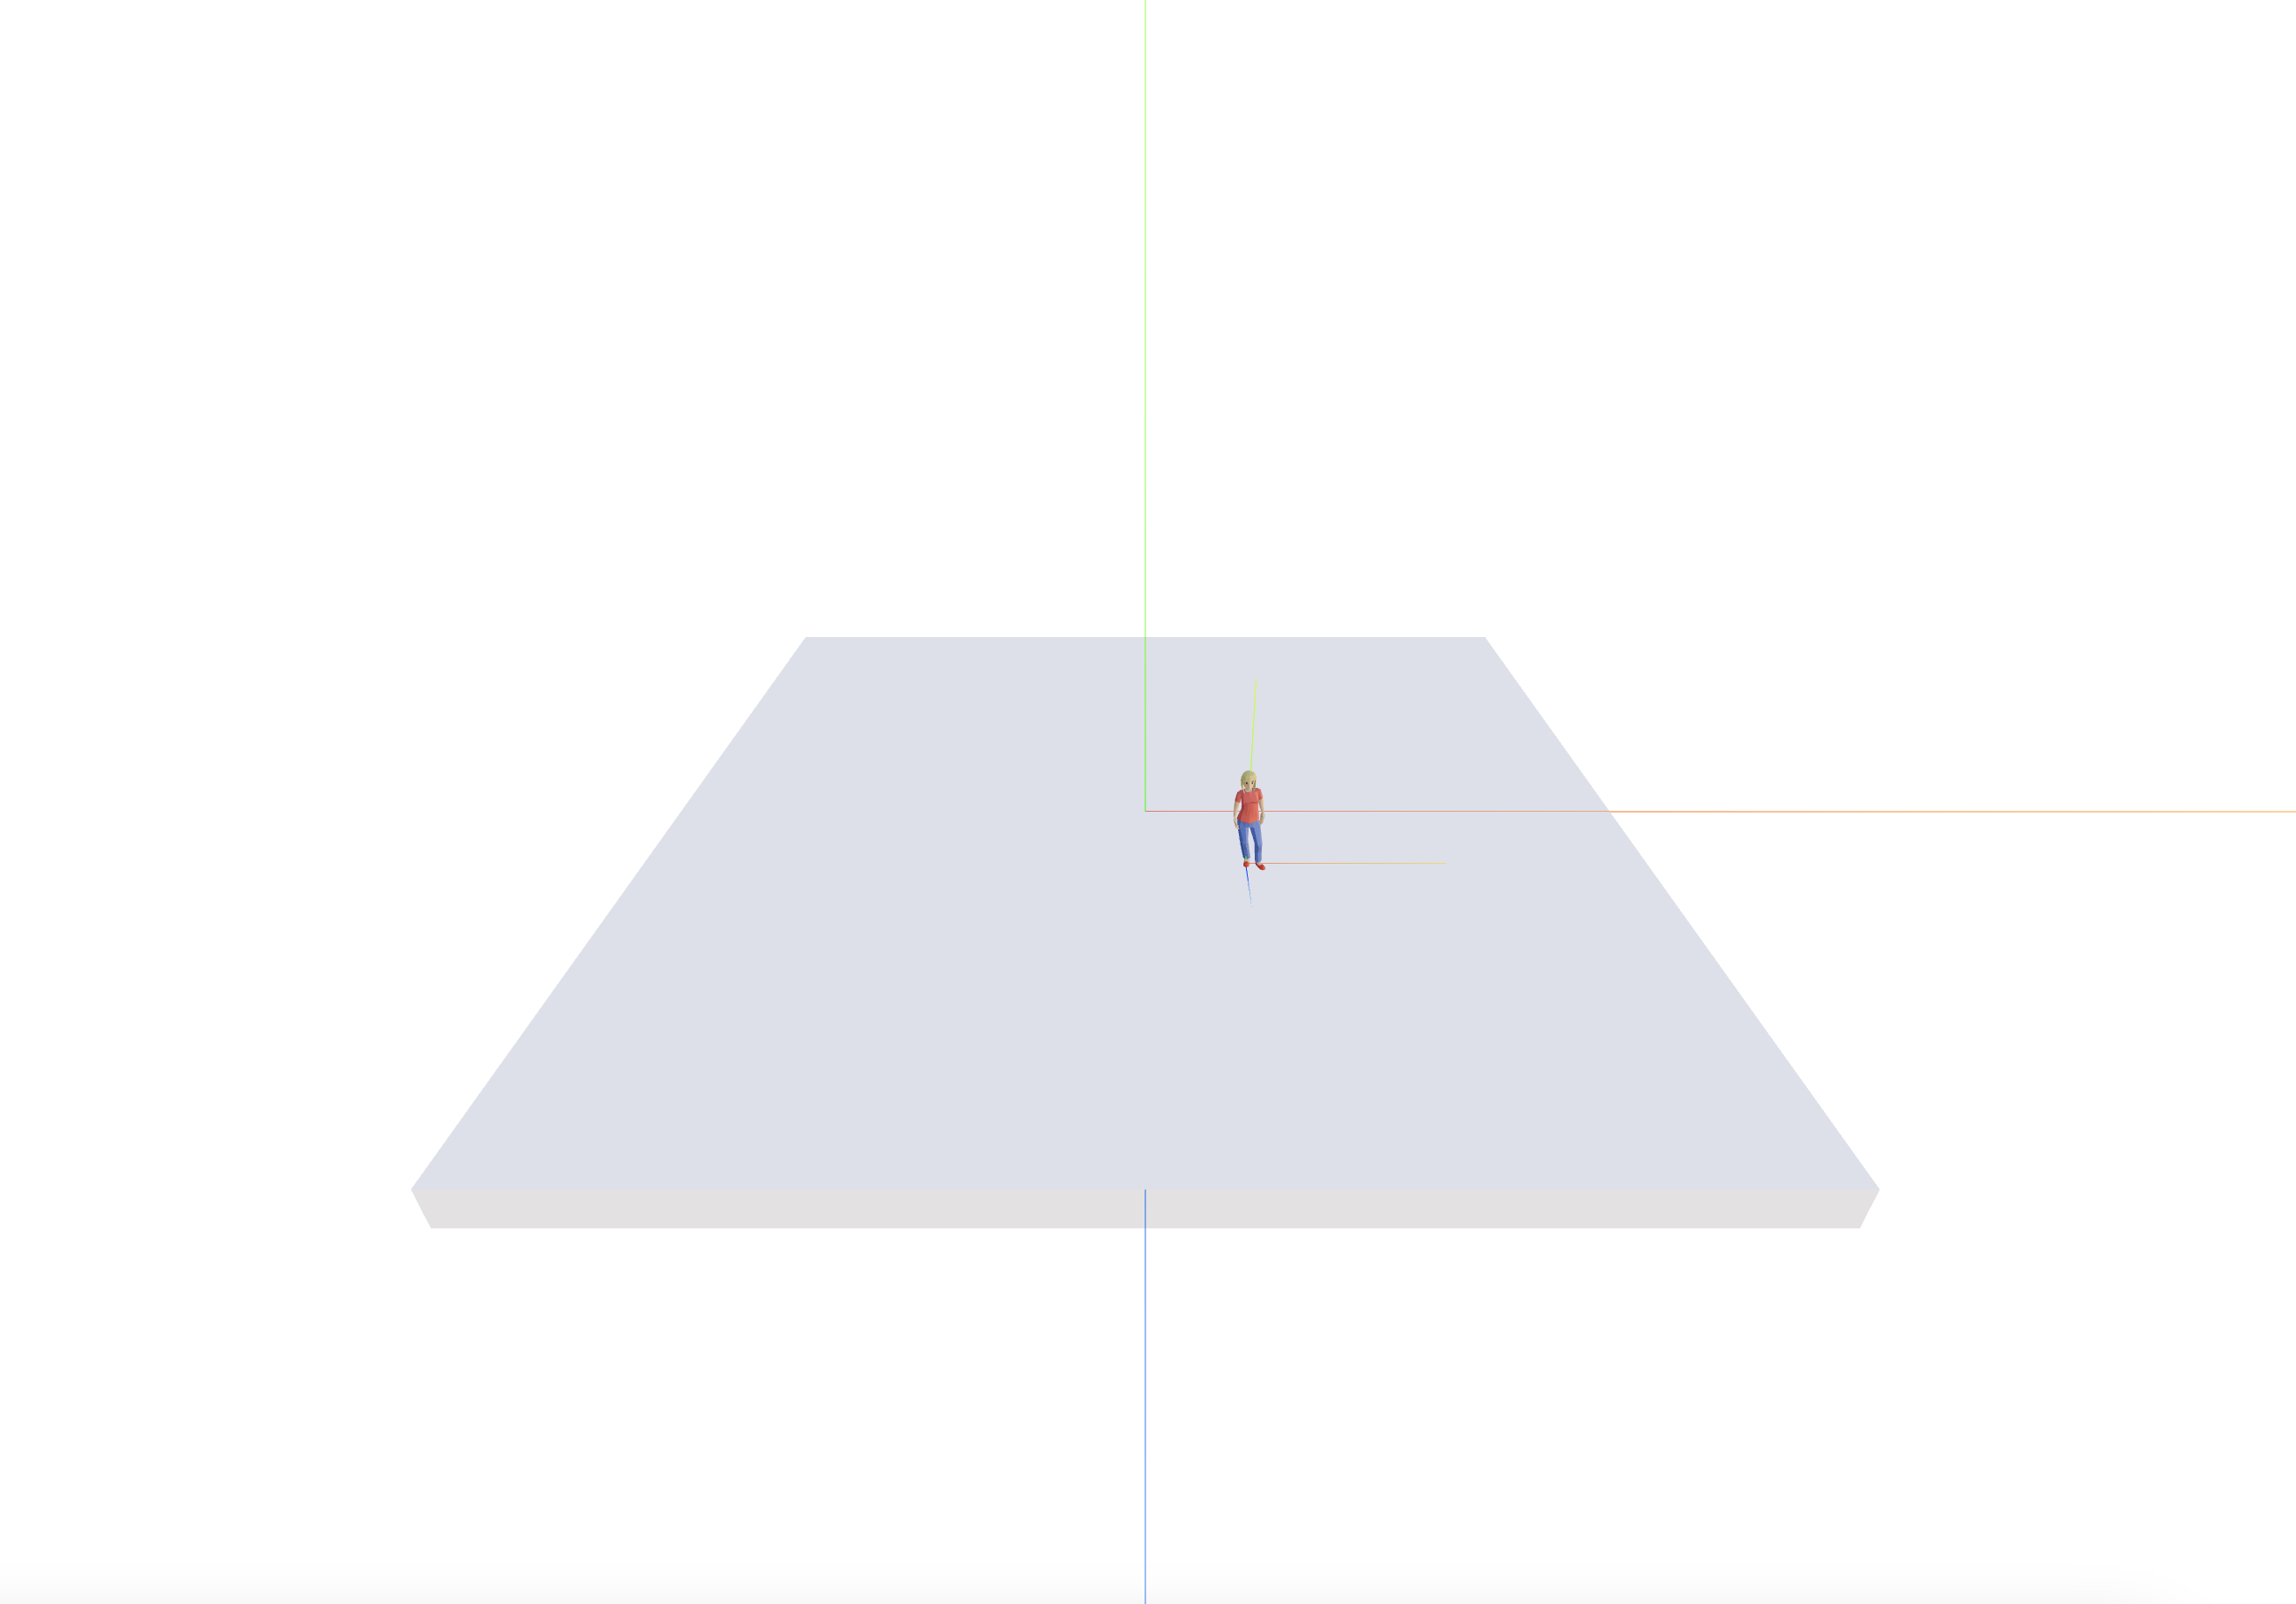
Box 오브젝트 XZ 평면에서 마우스 클릭한 위치로 이동
Experience.tsx
export default function Experience() {
  const [targetPos, setTargetPos] = useState<THREE.Vector3>(
    new THREE.Vector3(0, 0, 0)
  )

  return (
    <>
      <axesHelper scale={100} />
      <Environment preset='sunset' />
      <ambientLight intensity={1} />
      <OrbitControls />

      {/* character */}
      <AnimatedWoman
        targetPos={targetPos}
        position={[5, 0, 5]}
      />
      {/* ground */}
      <Box
        position={[0, -1, 0]}
        args={[50, 2, 50]}
        onClick={(e: ThreeEvent<MouseEvent>) => {
          setTargetPos(new THREE.Vector3(e.point.x, 0, e.point.z))
        }}
      >
        <meshStandardMaterial />
      </Box>
    </>
  )
}
마우스 클릭한 위치를 관리하는 targetPos state를 추가하고 Box 오브젝트에 onClick 이벤트 핸들러를 설정해서 마우스가 클릭한 위치를 Vector3 타입으로 업데이트 해준다.
Animated_Woman.tsx(이동 물체)
캐릭터(AnimatedWoman)에 props으로 전달된 targetPos 값을 기준으로 물체의 움직임을 판단하여 이동시킬 수 있다.
...

 useFrame(() => {
    if (
      group.current &&
      group.current?.position.distanceTo(props.targetPos) > 1 // 움직임 감지 기준
    ) {
      const direction = group.current.position
        .clone()
        .sub(props.targetPos)
        .normalize() // 단위 벡터로 변환(길이 1)
        .multiplyScalar(0.5) // vector * scalar

      group.current?.position.sub(direction)
      group.current.lookAt(props.targetPos)
    }
  })

  return (
    <group
      ref={group as Ref<THREE.Group>}
      {...props}
      position={position} // props.position
      dispose={null}
    >
		...
    </group>
  )
useFrame 훅 내부에서, ref로 관리하고 있는 현재 캐릭터 오브젝트의 위치와 마우스로 찍은 targetPos 간의 거리를 distanceTo 함수로 계산하고 그 값이 1보다 크면 위치를 이동시킨다. targetPos로 이동하는 동안 각 프레임에서의 group.current.position은 연속적으로 업데이트 되는 것이다.
sub 함수로 group.current.position과 targetPos 위치값을 빼면 targetPos에서 group.current.position을 향하는 방향 벡터를 구할 수 있다.
그리고normalize 함수로 길이가 1인 단위 벡터를 구해서 설정한 scalar 값을 곱해줌으로써 한 프레임에서 이동할 거리, 즉 이동 속도를 조절한다.
~~
여기까지 구한 direction 벡터는 targetPos로 향하는 벡터의 반대 방향이기 때문에 이거를 현재 위치에서 빼주면(sub) 원하는 방향, 크기만큼 이동할 수 있다.
❓여기에서, 아래 코드와 같이 targetPos에서 현재 위치값을 빼서 목표 위치를 향하는 방향 벡터를 구한 뒤 현재 위치에 더해줘도(add) 똑같이 동작한다. 하지만 3D 공간 내의 여러 위치 값이나 방향벡터가 포함된 연산 및 상호작용을 수행하는 경우 sub 함수를 사용하는 경우가 많고 더 자연스럽다.
const direction = props.targetPos
  .clone()
  .sub(group.current.position)
  .normalize()
  .multiplyScalar(0.5)

group.current?.position.add(direction)
결과 화면
캐릭터 이동 시 애니메이션 적용
애니메이션이 포함된 3D 모델을 선택하기도 했고 막대기처럼 이동하는 형태가 어색해서 달리는 애니메이션만 빠르게 적용해봤다.
이참에 useCharacterMove 커스텀 훅을 생성해서 캐릭터의 이동과 관련된 로직을 분리했다.
Animated_Woman.tsx(이동 물체)
...
type ActionName =
  | 'Armature|Idle'
  | 'Armature|Running'
	...

  const group = React.useRef<THREE.Group>()
  const { scene, animations } = useGLTF('models/AnimatedWoman.glb')
  const { actions } = useAnimations(animations, group)
  ...

  useCharacterMove({
    animationType: { idle: 'Armature|Idle', running: 'Armature|Running' },
    actions,
    group,
    targetPos: props.targetPos,
  })
useCharacterMove.tsx
export default function useCharacterMove({
  animationType,
  actions,
  group,
  targetPos,
}: CharacterMoveProps) {
  const [animation, setAnimation] = useState<string>(animationType.idle)

  useEffect(() => {
    const action = actions[animation]
    action?.reset().fadeIn(0.3).play() // 애니메이션 타임라인 초기화 및 애니메이션 재생

    // 애니메이션 중단
    return () => {
      action?.fadeOut(0.3)
    }
  }, [animation])

  useFrame(() => {
    if (
      group.current &&
      group.current?.position.distanceTo(targetPos) > 1 // 움직임 감지 기준
    ) {
      const direction = group.current.position
      .clone()
      .sub(targetPos)
      .normalize() // 단위 벡터로 변환(길이 1)
      .multiplyScalar(0.3) // vector * scalar

      group.current?.position.sub(direction)
      group.current.lookAt(targetPos)
      setAnimation(animationType.running) // 움직임 O-> running 애니메이션 적용
    } else {
      setAnimation(animationType.idle) // 움직임 X-> idle 애니메이션 적용
    }
  })

  return null
}
현재 위치 <-> 목표 위치 간의 거리 차이값을 기준으로 움직임이 감지되면 animation state를 업데이트 해주고, 전달받은 애니메이션 클립을 재생해준다.
두 애니메이션 간의 전환이 일어나는 경우이고, 애니메이션 클립의 타임라인을 초기화해서 애니메이션이 항상 정상적으로 재생되도록 하기 위해 reset 함수를 적용했다.
결과 화면
🏃♂️🚶♂️🏃♂️🚶♂️
3인칭 시점 카메라 구현-(1)
마지막으로 이동하는 물체(캐릭터) 뒷통수를 따라다니는 형태의 카메라를 구현한 과정이다.
우선, 캐릭터 위치에 따라 카메라 위치가 설정되기 때문에 움직이는 캐릭터 그룹의 하위에 카메라를 추가하면 복잡한 위치 설정을 고려하지 않아도 된다고 판단해서 이대로 진행했다.
다양한 시점을 제공해야하는 상황이 아니라면 초반에 Canvas에서 설정한 카메라는 불필요해지고, 캐릭터 뒷통수에 위치하는 카메라 하나만 활성화되는 상황이기 때문에 의미가 없어진다.
App.tsx
import { Canvas } from '@react-three/fiber'
import Experience from './components/Experience'

function App() {
  return (
    <>
      <Canvas>
        <Experience />
      </Canvas>
    </>
  )
}

export default App
useCameraMove.tsx
import { useFrame, useThree } from '@react-three/fiber'
import { useEffect, useRef } from 'react'
import { Group, Object3DEventMap, PerspectiveCamera } from 'three'

export default function useCameraMove({
  group,
}: {
  group: React.MutableRefObject<Group<Object3DEventMap> | undefined>
}) {
  const { camera } = useThree()

  useEffect(() => {
    if (!group.current) return
    camera.position.set(0, 20, -20)
    group.current.add(camera)

  }, [])

  useFrame(() => {
    if (!group.current || !camera) return
    camera.lookAt(group.current.position)
  })

  return null
}
현재 활성화된 camera를 참조해서 위치를 설정해주고 전달받은 group에 추가해주었다.
만약 디폴트 카메라가 있는 상태에서 방금 구현한 시점의 카메라를 추가 제공하고 싶다면 해당 아래와 같이 내부에서 카메라를 새로 생성해서 똑같이 위치 설정 후에 group에 추가해주는 방식으로 구현 가능하다.
useCameraMove.tsx
import { useFrame, useThree } from '@react-three/fiber'
import { useEffect, useRef } from 'react'
import { Group, Object3DEventMap, PerspectiveCamera } from 'three'

export default function useCameraMove({
  group,
}: {
  group: React.MutableRefObject<Group<Object3DEventMap> | undefined>
}) {
  const cameraRef = useRef<PerspectiveCamera | null>(null)
  const { set } = useThree()

  useEffect(() => {
    if (!group.current) return
    const camera = new PerspectiveCamera(75) // 카메라 생성

    camera.position.set(0, 20, -20) // 캐릭터 뒤에 카메라 위치
    group.current.add(camera)
    cameraRef.current = camera

    set({ camera: cameraRef.current })
  }, [])

  useFrame(() => {
    if (!group.current || !cameraRef.current) return
    cameraRef.current.lookAt(group.current.position)
  })

  return null
}
커스텀 훅을 추가해서 카메라 움직임과 관련된 로직을 분리했다.
캐릭터 이동에 따라 카메라가 이동해야 하기 때문에 전달 받은 group과 useThree 훅의 set을 통해 내부 상태 모델(카메라)를 설정할 수 있다.
캐릭터 오브젝트 파일에서 useCameraMove({ group }) 형태로 사용하면 된다.
해당 방식으로 카메라와 캐릭터의 움직임에 대한 로직을 각각 뚜렷하게 분리해서 파악할 수 있다.
결과 화면
Box 오브젝트를 추가해서 의도한대로 움직이는지 다시 확인해봤다.👍
3인칭 시점 카메라 구현-(2)
마우스로 클릭한 곳으로 이동함과 동시에 캐릭터 뒷통수 뒤에 있는 카메라 시점 전환이 일어나는 것이 부자연스러운 것 같아서 다른 형태의 3인칭 시점도 구현해봤다.
이번에는 사이드뷰에 가까워서 캐릭터 그룹에 새 카메라를 생성하지 않고useThree 훅으로 현재 활성화된camera를 참조해서 위치를 변경하는 방식으로 구현했다.
useCameraMove.tsx
import { useFrame, useThree } from '@react-three/fiber'
import { Group, Object3DEventMap, Vector3 } from 'three'

export default function useCameraMoveTop({
  group,
}: {
  group: React.MutableRefObject<Group<Object3DEventMap> | undefined>
}) {
  const { camera } = useThree()

  useFrame(() => {
    if (!camera || !group.current) return
    camera.position.lerp( // 부드러운 이동
      new Vector3(
        group.current.position.x,
        group.current.position.y + 40,
        group.current.position.z - 40
      ),
      0.2
    )
    camera.lookAt(group.current.position)
  })

  return null
}
Canvas가 초기화될 때 자동으로 카메라를 생성해주기 때문에 상위에서 따로 명시적으로 생성해주지 않아도 useThree에서 현재 활성화된 카메라를 받아와서 위치를 설정하면 된다.
결과 화면
https://poly.pizza/m/9kF7eTDbhO
https://r3f.docs.pmnd.rs/api/hooks#usethree
https://threejs.org/docs/#api/en/animation/AnimationAction