안녕하세요. Gameeye에서 deeplol.gg 서비스를 개발 중인 김철기입니다.
클라우드 서버 인프라 구축, 백엔드 개발, 딥러닝 모델 연구를 담당하고 있습니다.
해당 포스팅은 tensorflow serving을 github action과 aws elastic beanstalk를 이용해 ci/cd를 구축하는 과정을 소개합니다. tensorflow serving으로 인퍼런스하는 예제는 시리즈의 이전 포스팅에서 다뤘으니 참고하시기 바랍니다.
참고
이전 포스팅: Tensorflow Serving으로 Deeplearning Model Serving하기
Github: https://github.com/kimcheolgi/Ironkey-Deeplearning-Model-Serving
Github Action
github action을 이용해 업로드된 모델을 자동으로 aws elastic beanstalk에 deploy하도록 구성하겠습니다. .github/workflows 폴더에 있는 yaml 파일을 실행하는 것으로 동작합니다.
deploy.yaml
- master 브랜치에서 push 이슈가 있을 때 동작
- 업로드된 코드 및 파일을 압축하여 s3에 저장
- s3에 저장된 파일을 aws elastic beanstalk에 업데이트
name: AWS-BeanStalk-Pipeline

env:
  APP_S3_BUCKET_NAME: ${{ secrets.s3_bucket_name }}
  APP_NAME : tensorflow-serving
  ENV_NAME: Tensorflowserving-env
  DEPLOY_PKG_NAME: github-action-tensorflow-serving-app_${{ github.sha }}.zip
  AWS_REGION_NAME: ap-northeast-2

on:
  push:
    branches:
      - master
jobs:
  ci_part:
    runs-on: [ubuntu-latest]

    steps:
     - name: Clone this repositary
       uses: actions/checkout@v2

     - name: Make zip pkg
       run: zip -r ${{ env.DEPLOY_PKG_NAME }} ./ -x *.git*

     - name: Config Access to AWS
       uses: aws-actions/configure-aws-credentials@v1
       with:
         aws-access-key-id: ${{ secrets.AWS_ACCESS }}
         aws-secret-access-key: ${{ secrets.AWS_SECRET }}
         aws-region: ${{ env.AWS_REGION_NAME }}

     - name: push to S3
       run: aws s3 cp ${{ env.DEPLOY_PKG_NAME }} s3://${{ env.APP_S3_BUCKET_NAME }}/

     - name: Print msg
       run: echo "CI part is finished"


  cd_part:
    runs-on: ubuntu-latest
    needs: [ci_part]

    steps:
     - name: Config Access to AWS
       uses: aws-actions/configure-aws-credentials@v1
       with:
         aws-access-key-id: ${{ secrets.AWS_ACCESS }}
         aws-secret-access-key: ${{ secrets.AWS_SECRET }}
         aws-region: ${{ env.AWS_REGION_NAME }}

     - name: Create new App Version
       run : |
        aws elasticbeanstalk create-application-version \
        --application-name ${{ env.APP_NAME }} \
        --source-bundle S3Bucket="${{ env.APP_S3_BUCKET_NAME }}",S3Key="${{ env.DEPLOY_PKG_NAME }}" \
        --version-label "Ver-${{ github.sha }}" \
        --description "SHA-${{ github.sha }}"

     - name: Deploy new App Version
       run : aws elasticbeanstalk update-environment --environment-name ${{ env.ENV_NAME }} --version-label "Ver-${{ github.sha }}"

     - name: Print msg
       run : echo "CD part is finished"
AWS Elastic Beanstalk 세팅
서버 환경을 자동으로 구성해주는 aws elastic beanstalk를 세팅합니다.
환경 생성
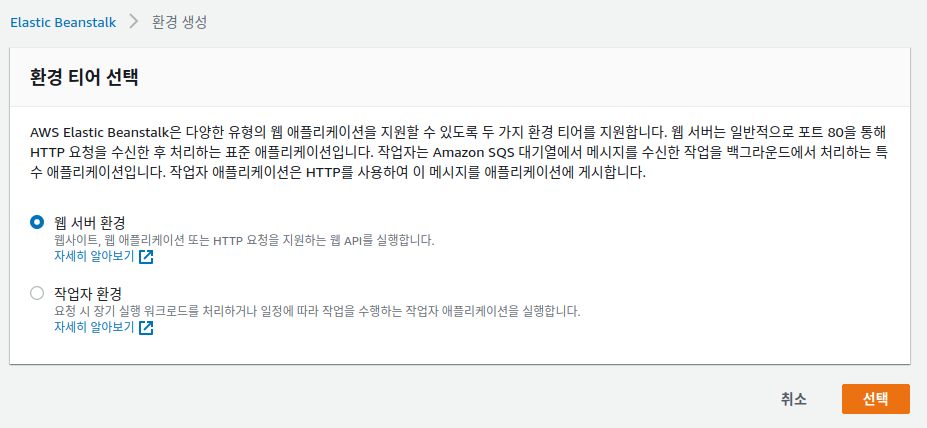
AWS Console > Elastic Beanstalk > 환경 > 새 환경 생성
버튼 클릭 후 웹 서버 환경 선택
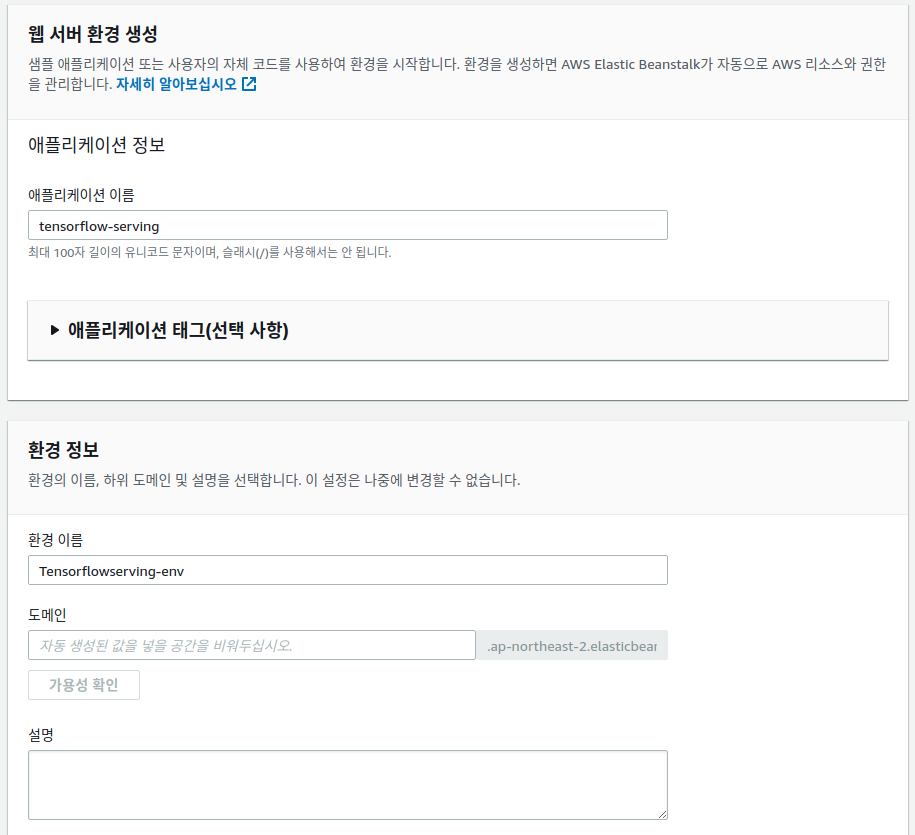
애플리케이션 이름과 환경 이름 설정
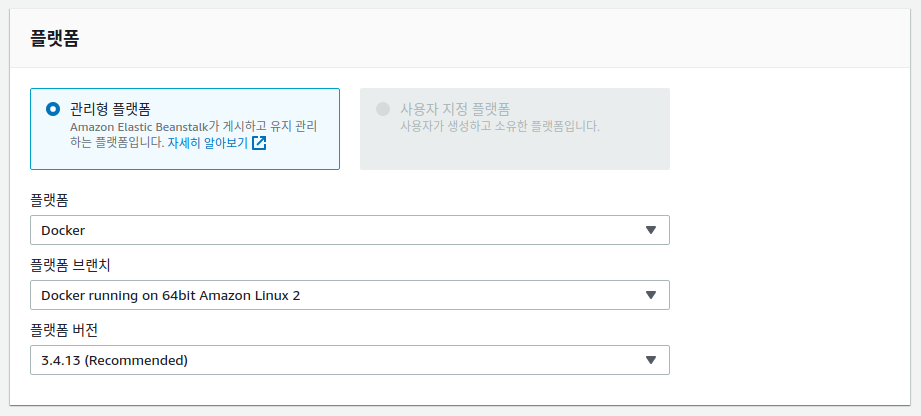
플랫폼 선택
docker-compose를 이용하여 컨테이너 이미지를 세팅하기 위해 도커로 선택
추가 옵션 구성은 필요에 맞게 선택 후 환경 생성

docker 이미지 세팅
플랫폼을 docker로 선택했기 때문에 Dockerfile 또는 docker-compose.yml 파일을 세팅해줘야 합니다. 새로운 docker 이미지를 생성하여 사용하지 않고 tensorflow/serving 이미지를 사용하기 위해 docker-compose.yml을 구성하는 방법을 선택했습니다.
docker-compose.yml
- tensorflow/serving 이미지 사용
- 생성한 saved_model을 사용
- 80번 포트의 요청을 8501로 포트 포워딩(포트 포워딩하지 않으면 포트번호를 적어줘야하는 번거로움이 있습니다.)
service:
image: tensorflow/serving
restart: always
volumes:
- ./saved_model:/models/test_model
environment:
- MODEL_NAME=test_model
ports:
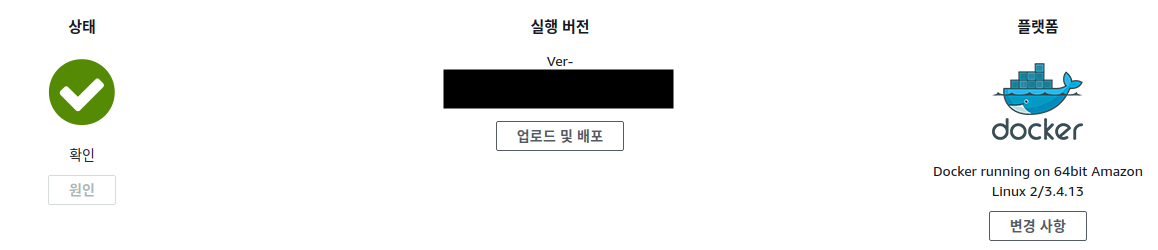
- "80:8501"docker-compose.yml까지 작성하고 github에 커밋, 푸쉬하면 deploy.yaml 파일이 동작하여 aws elastic beanstalk에 적용되는 것을 확인할 수 있습니다.
적용이 끝나면 아래처럼 상태가 초록색으로 표시됩니다.
요청 테스트
localhost로 되어 있는 부분을 생성한 서버 host로 변경하여 테스트해봅니다.
request_test.py
headers = {"content-type": "application/json"}
json_response = requests.post('http://서버 호스트/v1/models/test_model:predict', data=data, headers=headers)
predictions = json.loads(json_response.text)['predictions']

for i in range(3):
    print(('The model thought this was a {} (class {}), and it was actually a {} (class {})'.format(
      class_names[np.argmax(predictions[i])], np.argmax(predictions[i]), class_names[test_labels[i]], test_labels[i])))
정상적으로 예측값이 반환되는 것을 확인할 수 있습니다.

주의사항
서버 구성 중 로드밸런서가 포함되어 있는 경우 health check시 문제가 발생할 수 있습니다. 구성한 rest api 서버가 / 요청을 200번으로 반환하지 못하기 때문입니다. 이런 경우 로드밸런서의 health check url을 /v1/models/test_model 로 변경해주시면 됩니다.
로드밸런싱 > 대상 그룹 > 해당 그룹 선택 > 상태 검사 > 편집

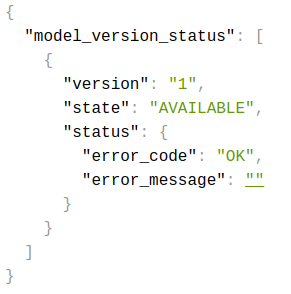
참고로 /v1/models/test_model은 아래처럼 모델의 상태값을 반환해줍니다.

정리
해당 포스팅에서는 github action과 aws elastic beanstalk를 이용하여 tensorflow serving rest api 서버구축을 해보았습니다. 별다른 ci/cd 어플리케이션 없이도 아주 쉽게 딥러닝 모델 서빙 자동화를 할 수 있었습니다. 궁금한 내용이 있거나 잘못된 부분이 있으면 댓글 남겨주시면 감사하겠습니다!