Hadoop
local에서 IP 별칭 등록
-
ec2 -> 보안그룹 -> 인바운드 규칙 편집(=보안규칙, 이 보안규칙은 방화벽과 같은 역할)

-
모든 TCP -> 소스 유형은 내 IP(나와 같은 IP만 접속가능하게끔)
-
근데 이때 내 IP가 스타벅스 wifi처럼 공유 IP이면 해킹의 위험이 있음. 꼭 개인 IP로 할 것 ~
-
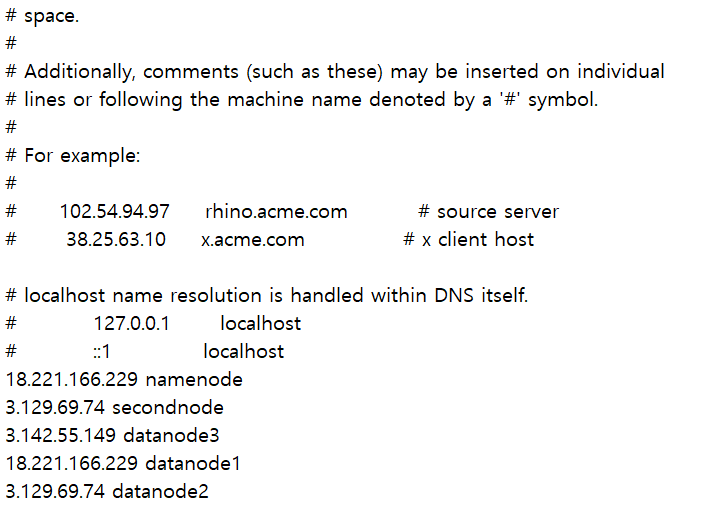
hadoop server 3개의 public IP를 복사해서
C:\\Windows\System32\drivers\etc이름은 hosts인 파일에다가 붙여넣기
(탄력적 IP가 아니라 서버를 끄고 열때마다 IP가 바껴 바뀔때마다 수정해야한다는 단점이 있음)
-
hosts 파일을 메모장으로 열고 위의 IP들을 복붙하고 다른 폴더에 저장
-
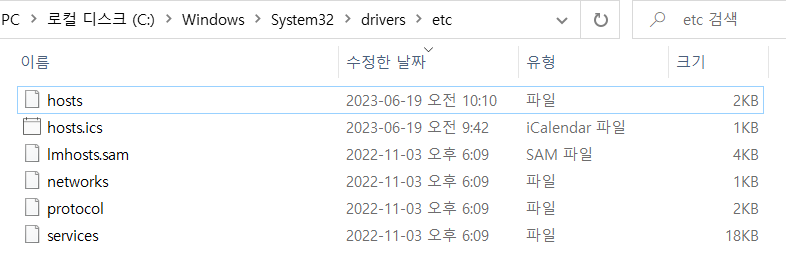
해당 파일을 확장명(.txt)없애기
-
확장명 없앤 hosts 파일을
C:\\Windows\System32\drivers\etc이 폴더에 이미 존재하는 hosts 파일에 덮어씌우기
-
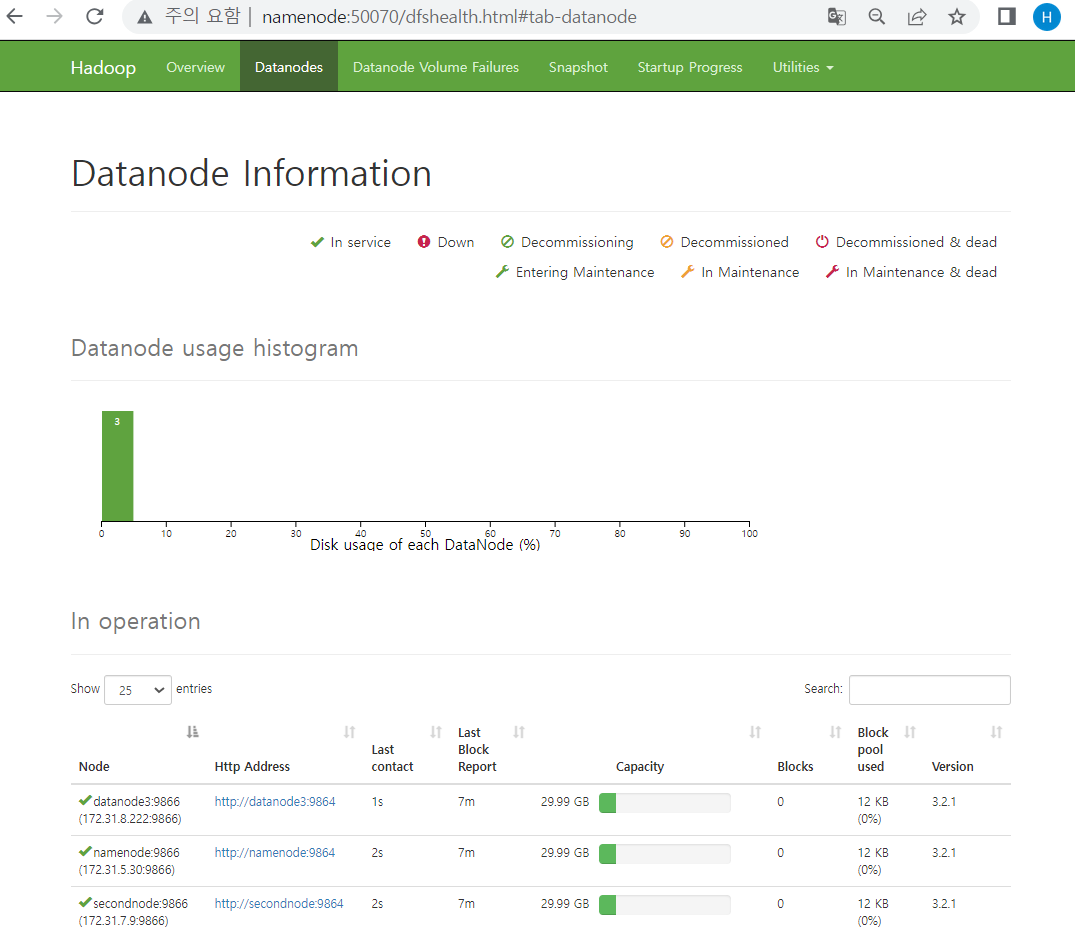
그러고 나서 주소창에 namenode:50070을 입력하면 하둡 상태창이 뜨는 걸 확인할 수 있음 !
-
DNS(Domain Name Server)
-
해커가 위의 hosts 파일 안에 ip를 적고 www.wooribank.com 이라고 적어놓으면 www.wooribank.com을 입력할 경우 해커가 지정한 ip 사이트로 이동할 것이고, 사용자는 의심없이 id와 password를 적을 것!(개인정보유출 위험) 따라서 위에서 사용한 hosts 파일은 보안프로그램상 매우 중요한 파일임!
-
DNS란 웹사이트의 IP 주소와 도메인 주소를 이어주는 환경/시스템
-
운영체제 안에 있는 hosts를 우선적으로 찾고 그 다음으로 DNS를 찾음
-
DNS(IP와 도메인의 연결성) 확인
- nslookup 프로그램 설치
sudo yum install updatesudo yum install bind-utilsnslookup
- IP 주소를 알고 싶은 사이트 입력

- 출력된 IP를 주소창에 입력

- 그럼 이렇게 nate.com 화면이 뜨는 걸 볼 수 있음 !
- nslookup 프로그램 설치
하둡에 파일 넣기
-
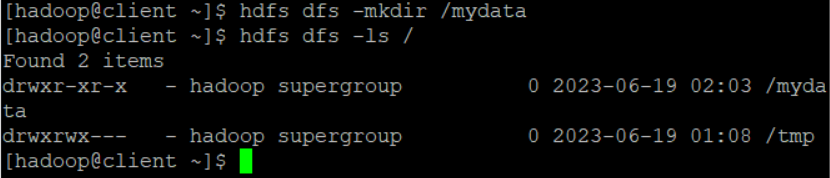
hfds안에 폴더 만들기
-
hdfs dfs -mkdir /mydata -
hdfs dfs -ls /
-
-
하둡에 파일을 넣기
-
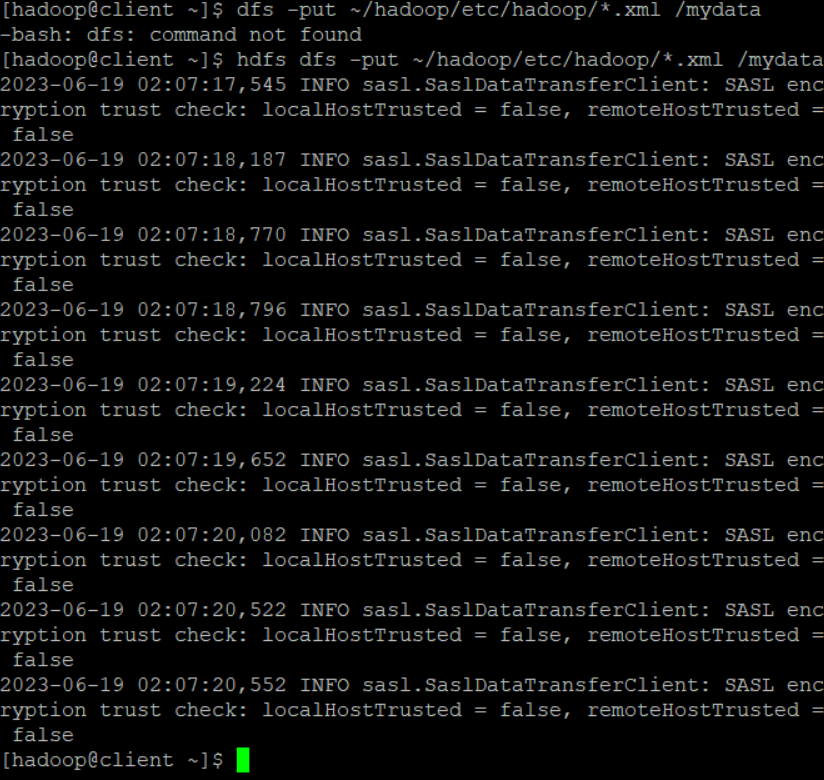
hdfs dfs -put ~/hadoop/etc/hadoop/*.xml /mydata -
파일이 xml 확장자로 끝나는 파일을 hdfs 파일 안에 넣는 명령어
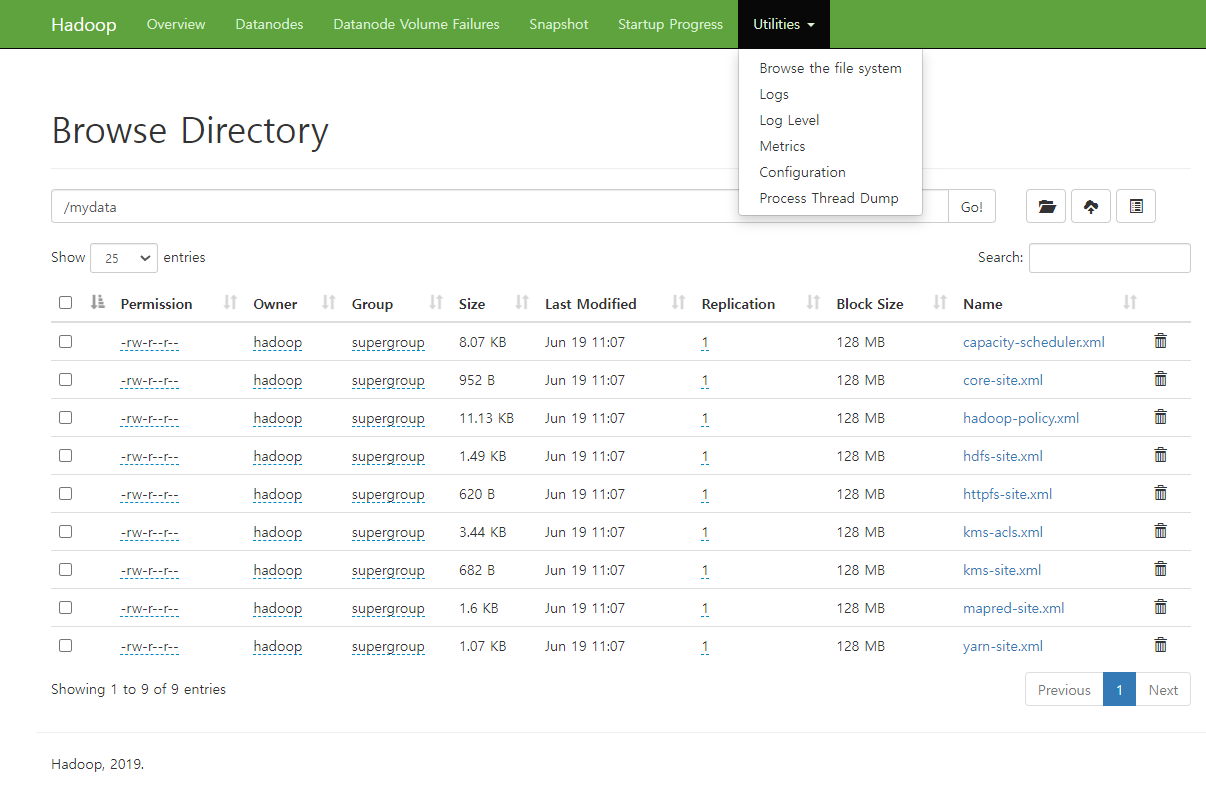
제대로 실행이 됐을 경우
-
Utilities -> Browse the file system에서 파일이 해당 폴더에 잘 들어간 걸 확인 가능
-
hadoop mapreduce
- 하둡 같은 경우 데이터를 한곳에 저장하는 것이 아닌, 분산해서 저장함
- 집계할때도 마찬가지! 모든 서버에 있는 걸 내가 직접 집계하는 것이 아닌, 각각의 서버에서 mapreduce를 활용해서 집계
맵리듀스란?
-
hadoop은 대규모 데이터를 처리하기 위한 분산 컴퓨팅 프레임워크이고, hadoop의 핵심 개념 중 하나인 mapreduce는 데이터 처리를 위한 모델과 프로그래밍 패러다임으로, 큰 규모의 데이터를 여러 컴퓨터에 분산 처리하는 방식을 제공
-
map 단계
- 입력데이터를 여러개의 작은 조각으로 분할하고 각 조각을 병렬 처리
- 맵 함수를 적용해 입력데이터를 키-값 쌍으로 변환, 맵 함수는 개별 데이터 조각에 대해 독립적인 실행
-
reduce 단계
- 맵 단계에서 생성된 중간 결과를 키 기준으로 그룹화하고 리듀스 함수를 적용해 키별로 결과를 계산(집계는 reduce가 함)
hadoop에서 mapreduce 활용 예제
hadoop jar ~/hadoop/share/hadoop/mapreduce/hadoop-mapreduce-examples-3.2.1.jar grep /mydata /output2 'dfs[a-z.]+'mapreduce를 활용해서
'dfs[a-z.]+'와 일치하는 텍스트를 찾아/output2에 저장하는 명령어hadoop jar: Hadoop 명령어를 실행하고자 할 때 사용되는 구문~/hadoop/share/hadoop/mapreduce/hadoop-mapreduce-examples-3.2.1.jar: Hadoop 예제 JAR 파일의 경로. 이 파일은 Hadoop 설치 디렉토리에서 찾을 수 있으며, "grep" 예제 프로그램을 포함grep: 실행할 Hadoop 예제 프로그램의 이름/mydata: HDFS에서 검색할 데이터의 위치/output2: 결과를 저장할 위치'dfs[a-z.]+': "dfs"로 시작하고 소문자 알파벳과 마침표로 이루어진 문자열을 찾는 정규표현식
- 맵리듀스 정보를 확인할 수 있는 사이트
- http://namenode:19888/jobhistory/job/job_1687140069968_0001

- 위의 명령어(
hadoop jar)를 입력하면 출력되는 것 중 뜨는 사이트 주소 링크 복붙한거!
- mapreduce의 jobhistory
namenode:19888
Hive 설치
하둡 에코시스템(하둡 생태계)에서 목적에 따라 맞는 앱을 설치하는데, 우리는 분석 목적으로 하둡을 사용하므로 이를 위해 Hive를 설치할 예정 !
- Hive를 설치하는 이유: 하둡에 저장된 데이터 중 일부를 조건문을 걸어서 불러와야 하는데 하둡은 자바여서 자바 코드를 사용해서 작성해야함. 하지만 우린 자바를 모르기에 Hive라는 도구(sql문)를 활용해서 하둡에서 일정 데이터만 추출하도록 하는 것 !
- 후엔 이 추출한 데이터를 활용해서 spark라는 도구를 써서 실질적인 분석을 할 것 !
-
client 서버 접속
-
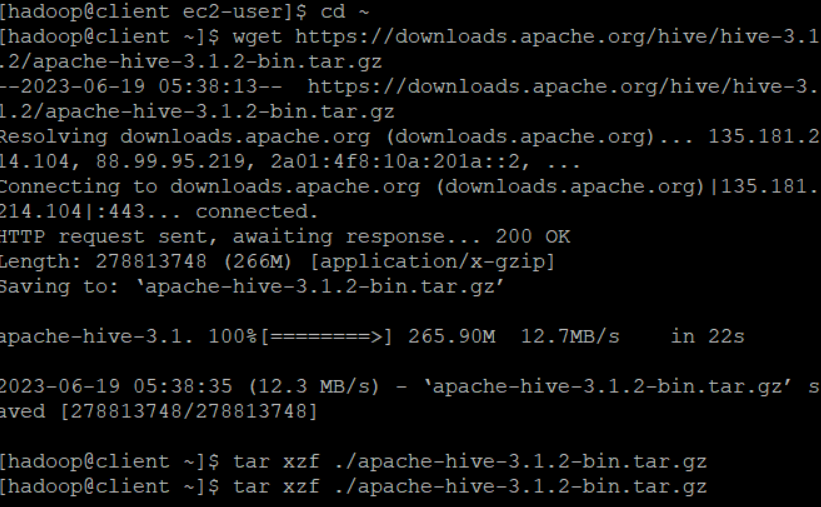
Hive 다운로드
cd ~+wget https://downloads.apache.org/hive/hive-3.1.2/apache-hive-3.1.2-bin.tar.gz
-
압축 풀기
tar xzf ./apache-hive-3.1.2-bin.tar.gz
-
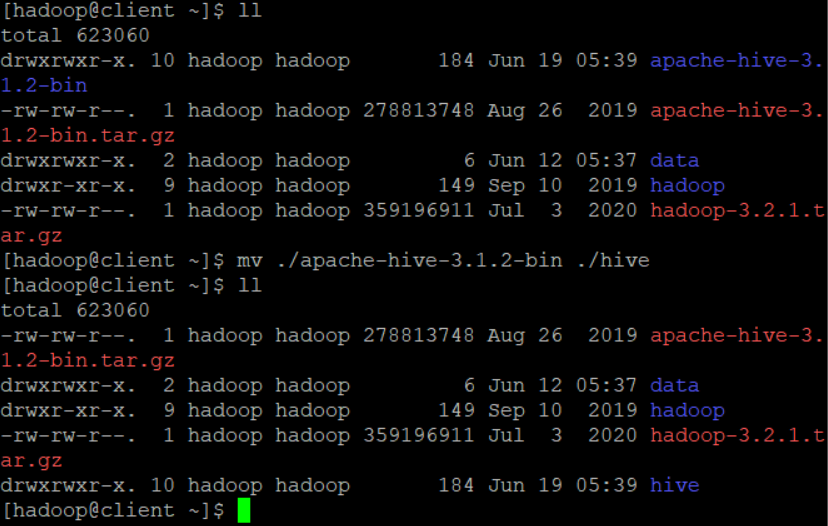
이름 바꾸기
mv ./apache-hive-3.1.2-bin ./hive
-
namenode에 maria db 설치
-
설치하는 이유: Hive의 메타데이터 정보를 데이터베이스 서버에 저장하기 위함
-
ssh namenode -
sudo yum install mariadb-server -y
-
-
namenode 세션에 maria db 시작
sudo systemctl enable mariadb --now- maria db 서버를 namenode 서버 부팅 시 자동으로 시작하고 현재 세션에서도 시작하도록 설정하는 명령어
sudo systemctl status mariadb- 현재 mariadb가 실행중인지 여부를 확인하는 명령어
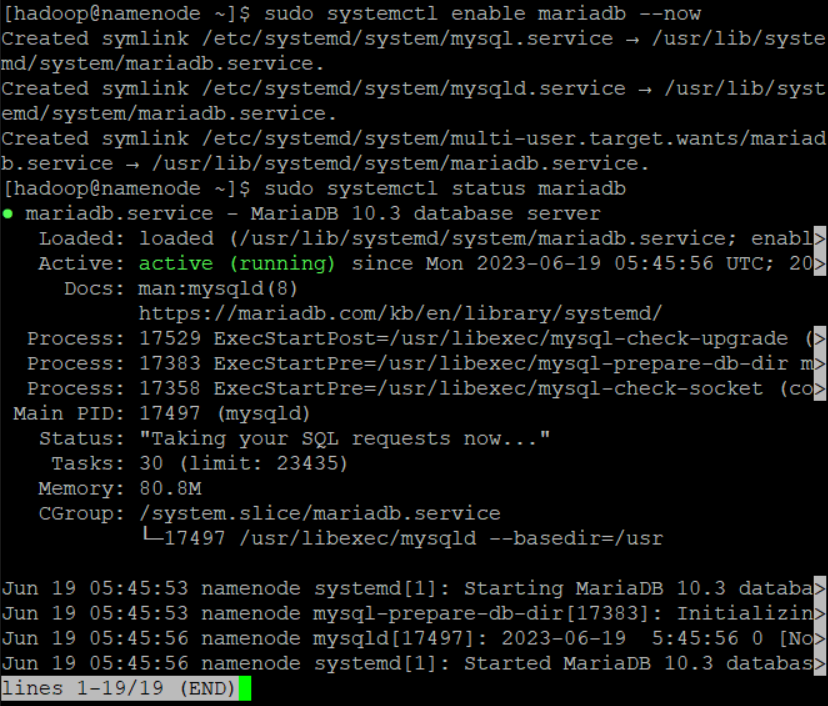
- 위 명령어를 실행하면 activate(running)으로 mariadb가 실행중임을 확인할 수 있음
- 현재 mariadb가 실행중인지 여부를 확인하는 명령어
-
데이터베이스 설정
mysql_secure_installation입력 후- enter -> Y -> 비밀번호 설정 -> Y -> n -> Y -> Y
Enter current password for root (enter for none):
OK, successfully used password, moving on...

Setting the root password ensures that nobody can log into the MariaDB
root user without the proper authorisation.

Set root password? [Y/n] Y
New password:
Re-enter new password:
Password updated successfully!
Reloading privilege tables..
 ... Success!

By default, a MariaDB installation has an anonymous user, allowing anyone
to log into MariaDB without having to have a user account created for
them.  This is intended only for testing, and to make the installation
go a bit smoother.  You should remove them before moving into a
production environment.

Remove anonymous users? [Y/n] Y
 ... Success!

Normally, root should only be allowed to connect from 'localhost'.  This
ensures that someone cannot guess at the root password from the network.

Disallow root login remotely? [Y/n] n
 ... skipping.

By default, MariaDB comes with a database named 'test' that anyone can
access.  This is also intended only for testing, and should be removed
before moving into a production environment.

Remove test database and access to it? [Y/n] Y
 - Dropping test database...
 ... Success!
 - Removing privileges on test database...
 ... Success!

Reloading the privilege tables will ensure that all changes made so far
will take effect immediately.

Reload privilege tables now? [Y/n] Y
 ... Success!

Cleaning up...

All done!  If you've completed all of the above steps, your MariaDB
installation should now be secure.

Thanks for using MariaDB!
[hadoop@namenode ~]$
Hive database 설정
-
생성한 database 접속
mysql -uroot -p123- 여기서 user는 root 이에 대한 password는 123이라는 의미
-
위에서 database 접속 후, database 생성
create databases hivedb;
-
user 생성
create user hiveuser@localhost identified by 'hivepw';
-
생성한 user에게 권한 부여
grant all privileges on hivedb.* to hiveuser@localhost;
-
생성한 user에게 권한 부여
grant all privileges on hivedb.* to hiveuser@'client' identified by 'hivepw';- client로 접속해도 이상이 없게끔
-
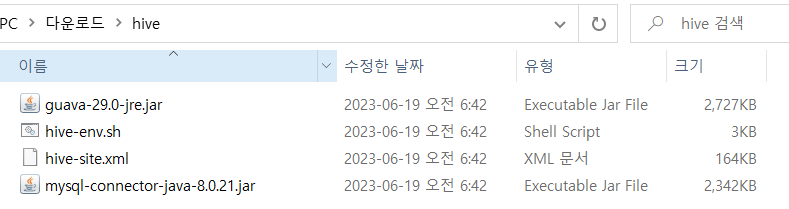
강사님이 공유폴더(인프라-hadoop-hive)에 업로드 해주신 파일 다운로드
-
파일 업로드
- 위에 다운받은 파일 중
xml 파일과hive-env.sh파일을 filezilla 열어서/home/hadoop/hive/conf이 경로로 이동
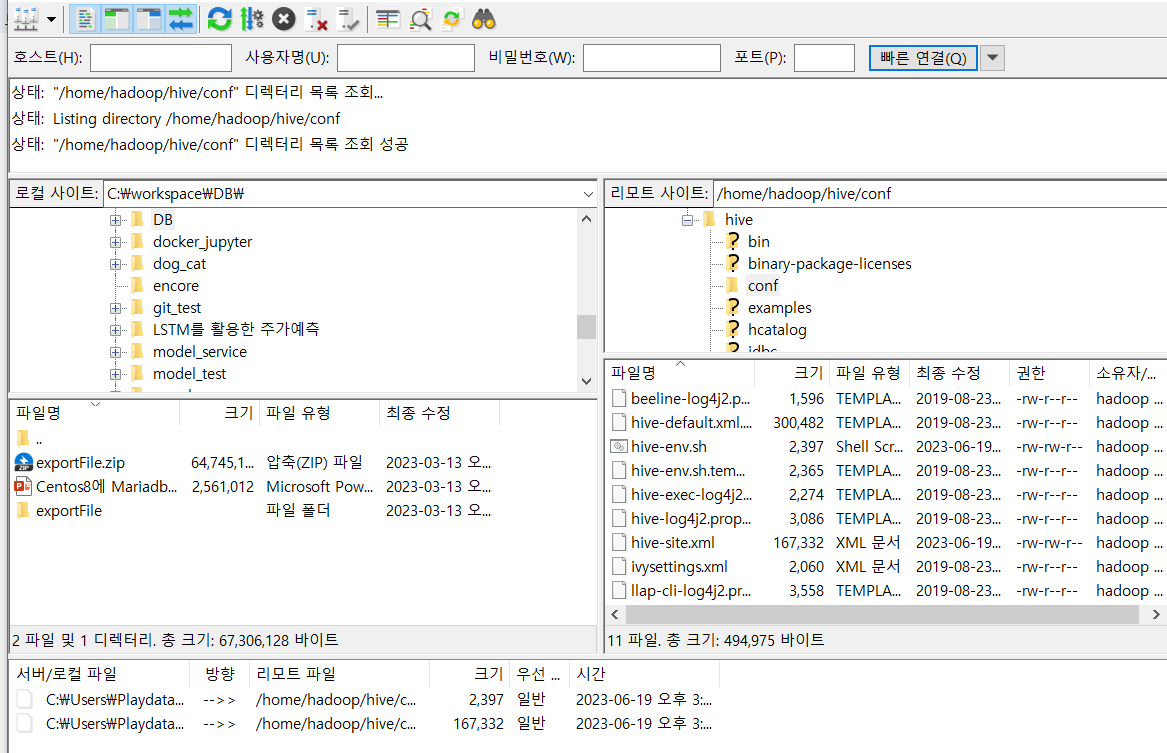
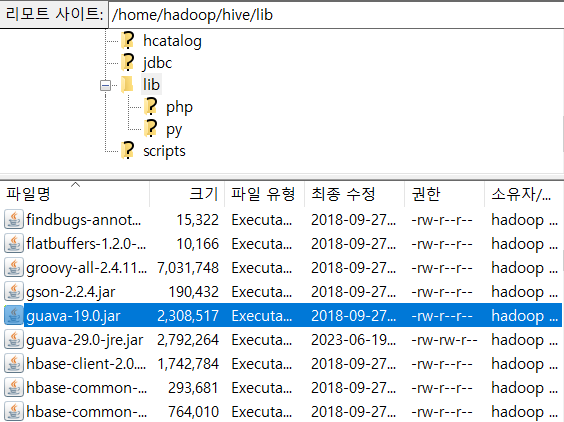
- 나머지 두 파일(
jar 파일)은 filezilla 열어서/home/hadoop/hive/lib이 경로로 이동

- 원래 있던 구아바 파일 삭제
- 위에 다운받은 파일 중
-
client 서버의 bashrc 환경변수 추가
-
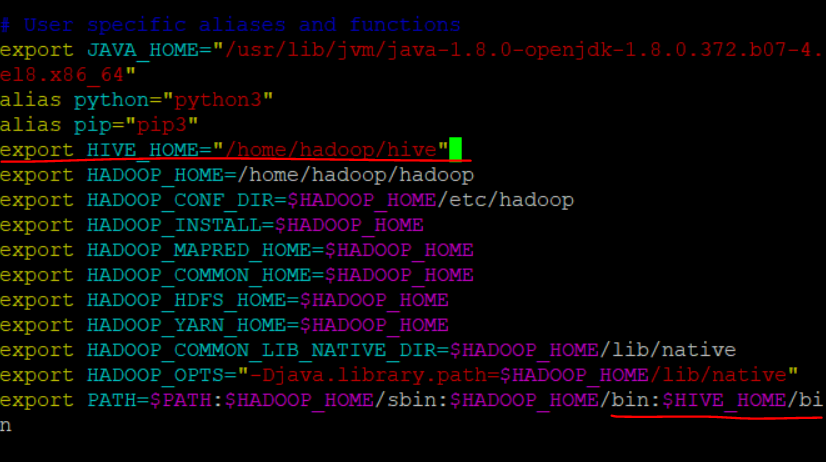
client 서버에서
vi ~/.bashrc -
export HIVE_HOME="/home/hadoop/hive"& 맨 아래 path에/bin:$HIVE_HOME/추가
-
source ~/.bashrc- 바꾼 bashrc 파일을 적용(bashrc 파일 업데이트)
-
-
hive 폴더 생성 및 설정 변경
hdfs dfs -mkdir -p /user/hive/warehousehdfs dfs -chmod g+w /user/hive/warehousehdfs dfs -mkdir /tmphdfs dfs -chmod g+w /tmp

-
mysql 데이터베이스를 hive의 저장소의 업데이트 사항을 반영
schematool -initSchema -dbType mysql
-
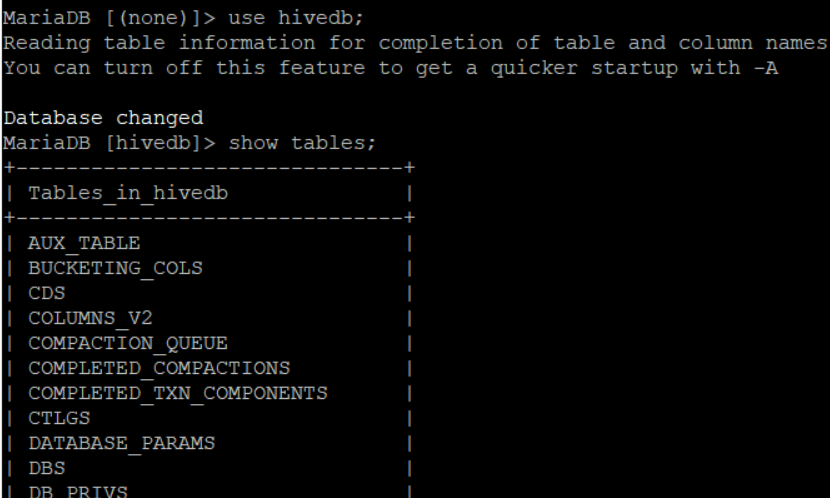
최종 설정이 완료된 hivedb table 확인
namenode에 접속해서mysql -uroot -p123use hivedb;show tables;