
23.04.18 화 27일차
JQuery
- 배열관리(each)
jQuery로 배열을 관리할때는 each() 메소드를 사용한다.
매개변수로 입력한 함수로 객체나 배열의 요소를 검사하는 메소드이다.
-- 기본 형식
1.  $.each(object, function(index, item) { }
2.  $(selector).each(function(index, item) { })

target: 'a1' > a1 으로 넘어간다(새창 생성)
배열 값을 호출하여 링크로 이동하는 코드이다.

-- 헤드
<script>
    $(function(){
        alert("jQuery 확인 !!");
        var array=[
	        { name: 'hanbit' , link:'http://hanbit.co.kr', alt:'한빛', target:'a1'} ,
	        { name: 'naver' , link:'http://naver.com', alt:'네이버', target:'a2'} ,
	        { name: 'Daum' , link:'http://daum.net', alt:'다음', target:'a3'} ,
            { name: '이젠아카데미컴퓨터학원', link:'http://www.ezenac.co.kr', alt:'이젠', target:'a4'}
            ];

        $.each(array, function(i, item){
            alert("index:" + i);
            var output = "";
                output += '<a href="'+ item.link+'"';
                output +=   ' alt="'+item.alt+'"';
                output +=   ' target=' +item.target+'">';
                output += '<h1>'+ item.name+'</h1>';
                output += '</a>';
                document.body.innerHTML += output;
        });
    });
</script>- 이름 알림 출력 및 자동 값 입력 시키기
매개변수의 이름 값을 불러와 알림창에 발생시키고
INput 태그 값으로 자동 입력되는 코드이다.
-- 헤드

<script>
    $(function(){
        arr =[{name:'영심이'},{name:'하늘이'},{name:'둘리'}];
        // 변수를 하나씩 출력
        var name="";
        // 매개변수의 목록을 출력
        $.each(arr, function(i, item){
            name += item.name +" ";
            alert(name);
        });
        $('#name').val(name);
    })
</script>

-- 바디
    <form>
        <input id="name" name="name"/>
</form> - class 속성 추가
.addClass() 메서드는 문서 객체에 class 속성을 추가하는 메소드
h1 태그의 각 색상을 불러오는 코드이다.
인덱스 값이 0에서 시작함에 따라 K변수로 +1을 주었다.
this 와 item은 의미가 같다.
-- 헤드
<style>
    .high-light1 {
        background: #ffff00;
        }
    .high-light2 {
        background: #ff0000;
        }
    .high-light3 {
        background: #661400;
        }
    .high-light4 {
        background: #00a050;
        }
</style>

<script>
    $(function(){
        $('h1').each(function(k, item){
            $(this).addClass('high-light'+(k+1));
        });
    })
</script>

-- 바디
    <h1> item - 0 </h1>
    <h1> item - 1 </h1>
    <h1> item - 2 </h1>
    <h1> item - 3 </h1>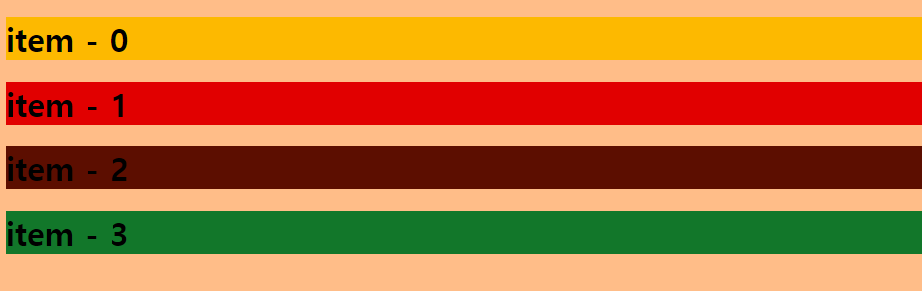
- return 값을 추가한코드
addClass()를 사용할때에 특수한 방법으로
return 값을 주어 객체에 Class 속성을 추가할 수 있다.
-- 헤드
    $(function(){
        $('h1').addClass(function(k){
            return 'high-light'+ (k+1);
        });
    })
- extend 메소드
입력시 발생되는 알림창의 내용을 불러오는 코드이다
extend 메소드의 두번째 매게변수에 입력한 객체 속성이
object에 합쳐진것을 볼 수 있다.
-- 헤드
<script>
    $(function(){
    var object = {name: '윤민상'};
        $.extend(object, {
            region : '서울특별시 관악구',
            part : '세컨드 기타'
        })

    var output='';
        $.each(object, function(key,item){
            output += key + ' . ' + item + '\n';
        });
        alert(output);
    })
</script>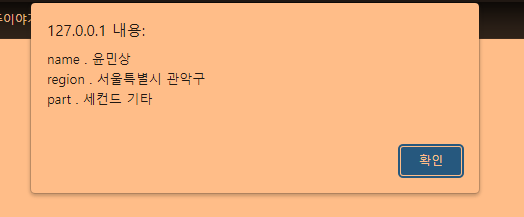
document.body.innerText;


document.body.innerHTML; //


-- 헤드
<script>
    $(function(){
    // innerText 태그 안의 글자만 가져온다.
    var text1 = document.body.innerText;
        alert(text1);

	// innerHTML 은 HTML 속성까지 가져온다.
    var text2 = document.body.innerHTML;
        alert(text2);

    // 태그안의 글자만 가져온다(jQuery 연습)
    	text3 =$('body').text();
    	alert(text3);

    // HTML 속성까지 가져온다.(<h1>jQuery연습</h1>)
        text4 =$('body').html();
        alert(text4);

    // innerText 태그안의 글자만가져온다.(ID값으로 불러오기)
    var text5 =k.innerText;
        alert(text5);
    })
</script>

-- 바디
<h1 id="k">jQuery 연습 !</h1>-
text 결과 이미지(Text)
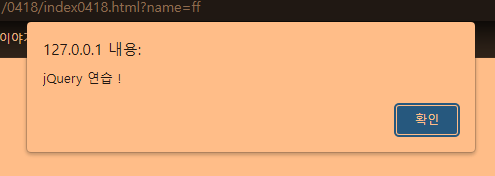
-
text2, text4 결과 이미지(HTML)
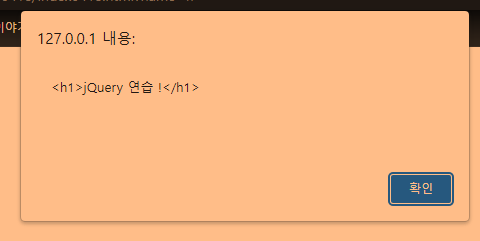
-
getElementryById
요소의 ID값을 불러와 알림창에 표현하고
form의 inPUt 태그 값으로 자동입력되는 코드

-- 헤더
<script>
    $(function(){
        name=document.getElementById('name').value;
        age=document.getElementById('age').value;
        alert(name + ":" + age);
    })
</script>

--바디
    <form>
        이름 : <input type = text name = name id="name" value="영심이">
        나이 : <input type = text id ="age"  value="14">
    </form>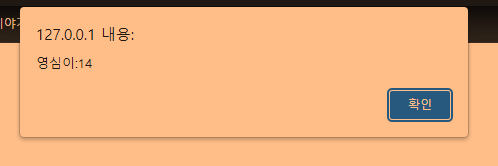

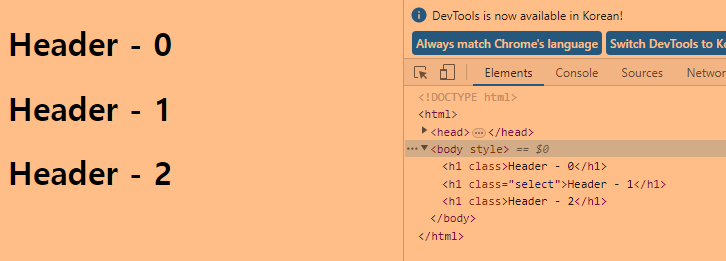
- class 속성 삭제
.removeClass() 메서드는 문서객체의 class 속성을 제거하는 메소드
-- 헤드
<script>
    $(function(){
        // h1의 Class가 item인 출력의 속성을 제거
        $('h1').removeClass('item');
    })
</script>

-- 바디
    <h1 class="item">Header - 0</h1>
    <h1 class="item select">Header - 1</h1>
    <h1 class="item">Header - 2</h1>
이미지를 보면 class의 item이 제거되고
select 부분만 남은걸 확인 할 수 있다.
- 이미지 파일명 알림창 출력
특정 이미지의 파일명을 알림창에 출력시키는 코드
-- 헤드
    $(function(){
        var text = " ";
        $('img').each(function(i, item){
        if(i ==  1 || i == 3){
            var src=$(item).attr('src');
            alert(src);
            text += src + " ";
        }
        });
        alert(text);
    })

--바디
    <img src="aebi.png" width="100" height="100"/>
    <img src="bbang.png" width="100" height="100"/>
    <img src="bae.png" width="100" height="100"/>
    <img src="chunbae.png" width="100" height="100"/>
- 느낀점
오늘은 JQuery를 사용해서
배열관리를 통해 알림창을 발생시켜 보았다.
알림창에서 발생하는 파일의 형식이 다르게 보여졌고,
알고부분이 없다보니 생소하고 어렵게 느껴졌다..
많이 반복해서 익숙해지도록 해야겠다.
QA Automation Engineer