종종 내 Mac 에서는 되는데 동료의 Mac 에서는 실행이 안되는 경우가 있어서 fastlane 으로 iOS 인증서를 동기화하기로 했습니다.
1. git repository 생성
인증서를 저장하고 불러오기 위해 git repository 를 하나 생성합니다.
저는 '프로젝트명-fastlane-match' 로 만들고 private 로 설정해두었습니다.
2. fastlane match 설치
기존에 fastlane 이 설정되어 있어야 합니다. fastlane이 설정되어 있지 않다면 설치하고 init 해주도록 합시다.
참고) 데브야쿠자님 블로그 https://dev-yakuza.posstree.com/ko/react-native/fastlane/
fastlane 을 설치했다면 fastlane match 도 시작해주도록 합시다.
cd ios
fastlane match init
실행한 후 저장소로 git 을 선택해주도록 합시다.
그러면 ios / fastlane 폴더에 MatchFile 파일이 생성됩니다.
그리고 type을 appstore 로 바꿔주도록 합시다.
git_url("https://github.com/sanghyun0127/fastlane-match")

storage_mode("git")

type("appstore") # The default type, can be: appstore, adhoc, enterprise or development

# app_identifier(["tools.fastlane.app", "tools.fastlane.app2"])
# username("user@fastlane.tools") # Your Apple Developer Portal username

# For all available options run `fastlane match --help`
# Remove the # in the beginning of the line to enable the other options

# The docs are available on https://docs.fastlane.tools/actions/match
3. 기존 인증서 삭제
기존 인증서를 삭제해줍니다.
/ios

1. 개발용 인증서 삭제
fastlane match nuke development

2. 배포용 인증서 삭제
fastlane match nuke distribution
코드를 실행하면 기존 목록들을 모두 삭제할 것인지 물어보는데 모두 삭제해줍시다.
4. match 인증서 생성
/ios

1. 개발용 인증서 생성
fastlane match development

2. 배포용 인증서 생성
fastlane match appstore
인증서는 development 와 appstore 외에도 Adhoc, enterprise 가 있습니다. 기존에 쓰시던 방식대로 사용하시면 됩니다.
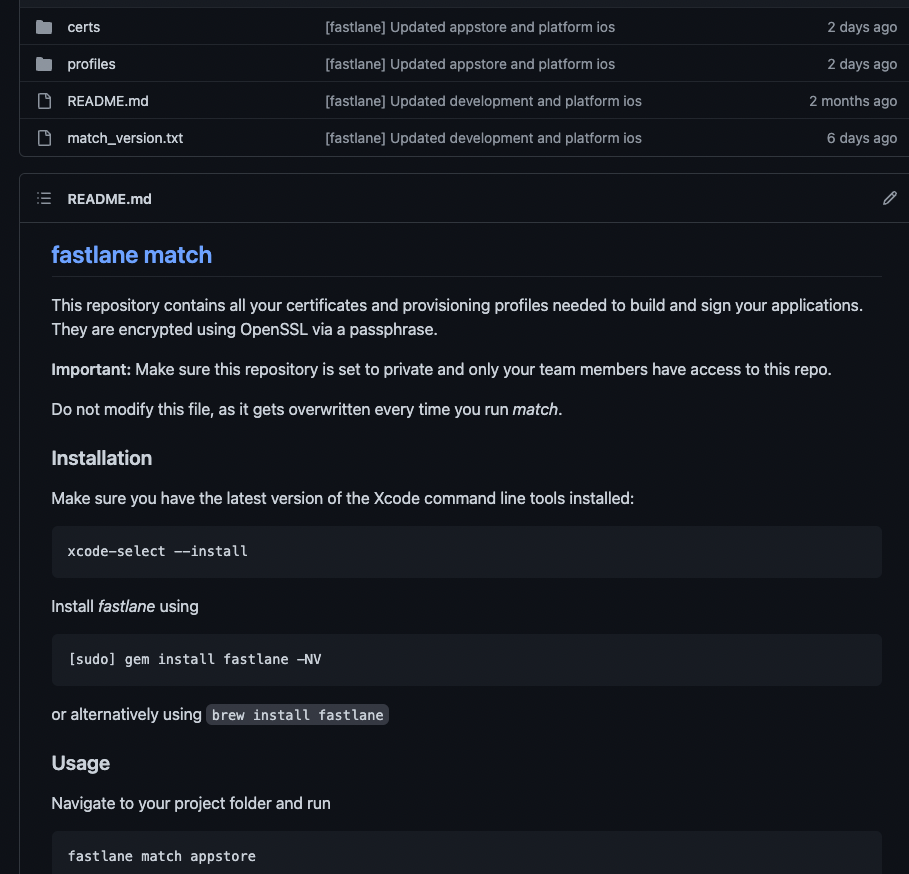
그러면 위와 같이 git repository 에 인증서가 업로드 됩니다.
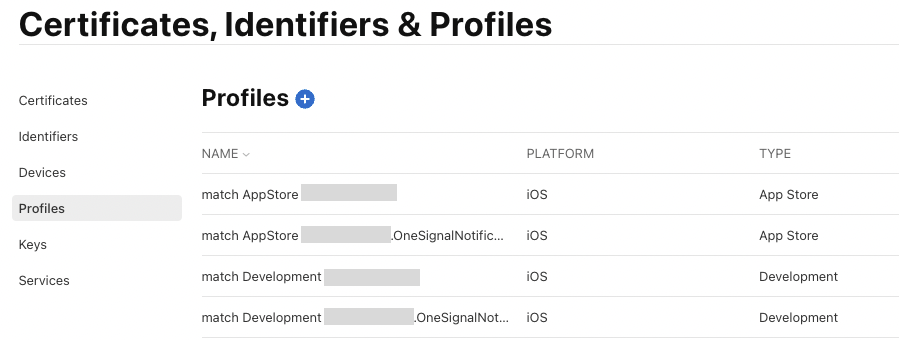
애플 Developer 에 가면 match Provisioning Profile 이 생성된 걸 볼 수 있습니다.
OneSignalNotificationExtension 프로비저닝 파일은 저희 서비스에서 OneSignal 을 사용하기 위해 추가로 설정해놓은 파일입니다. 위 과정을 따라했으면 AppStore, Development 2개만 있는게 맞습니다.
Extenision의 provisioning profile 을 추가하는 법은 아래 포스트에 작성해두었습니다.
https://velog.io/@tkdgus0127/REACT-NATAIVE-FASTLANE-EXTENISON-MATCH-%ED%95%98%EB%8A%94-%EB%B2%95-feat.-ONESIGNAL
5. Xcode SigningCapability 설정
이제 Xcode 에서 인증서를 설정해줍시다.
위와 같이 Automatically manage signing을 꺼주고 debug와 release 에 각각의 Provisioning Profile을 매칭시켜줍니다.
6. 다른 사람과 인증서 공유
팀원이 프로젝트를 git pull 했다면 팀원도 match 파일을 동기화해야 합니다.
cd ios

fastlane match developement --readonly

fastlane match appstore --readonly