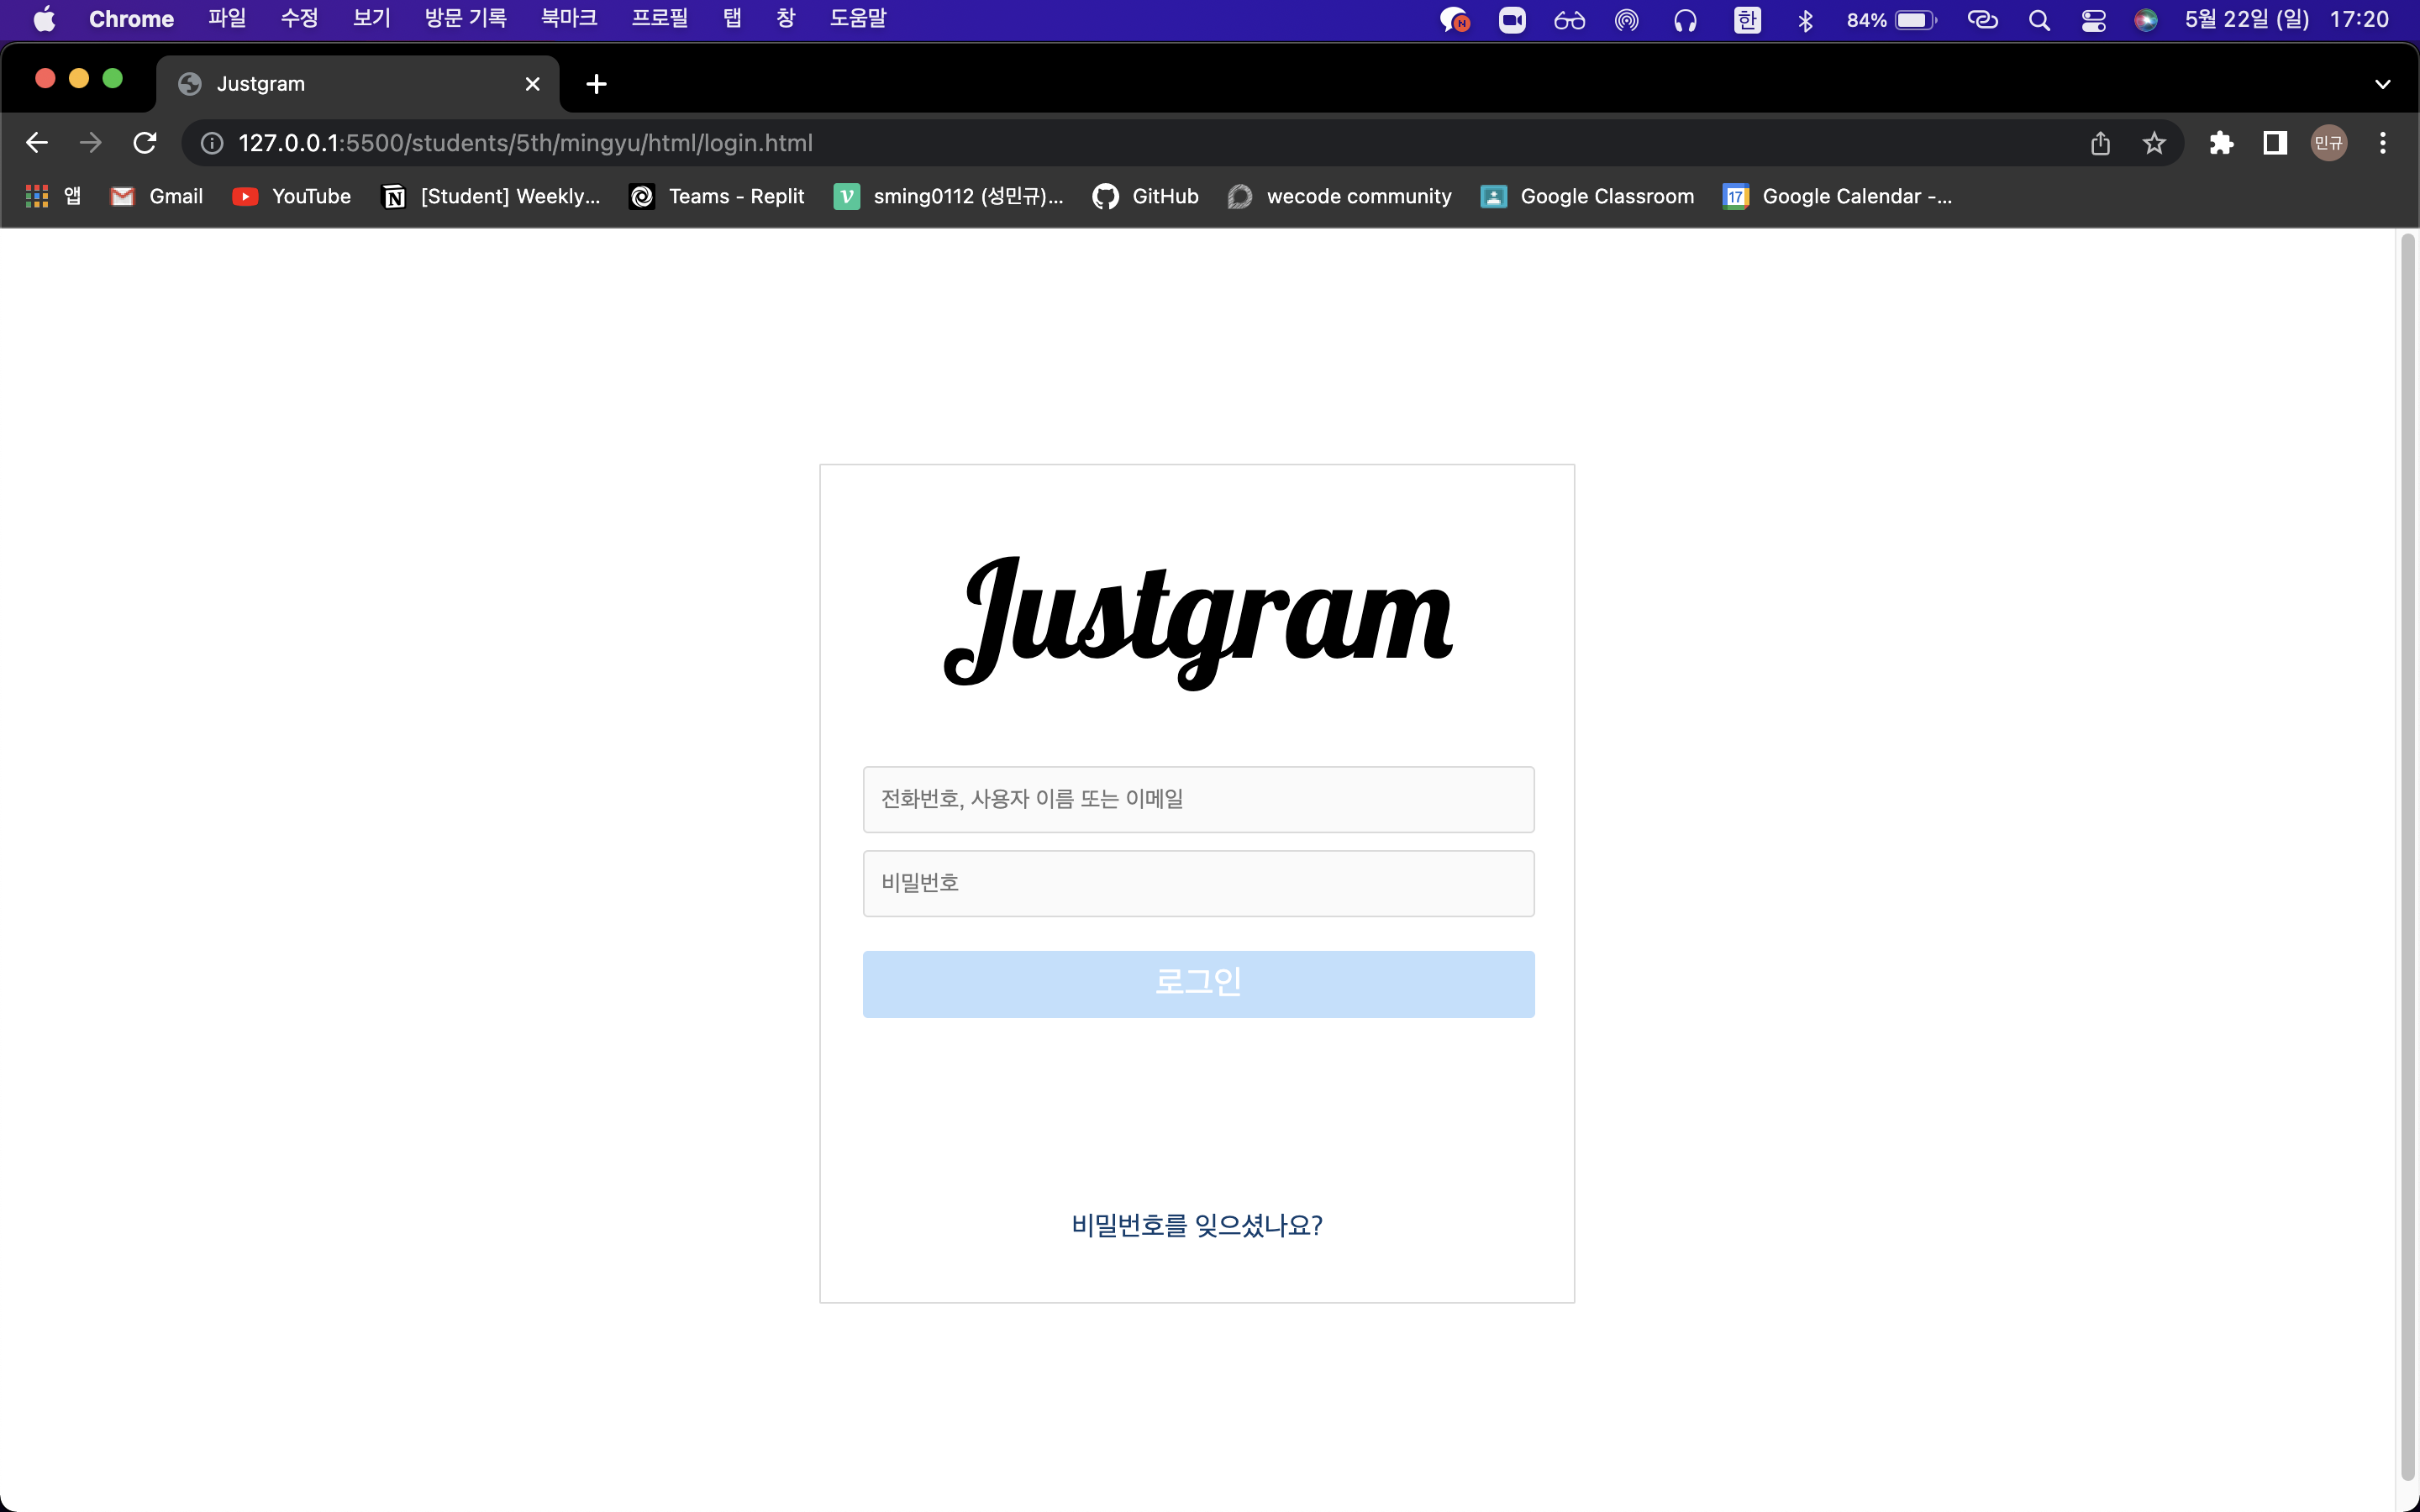
Instargram Clone
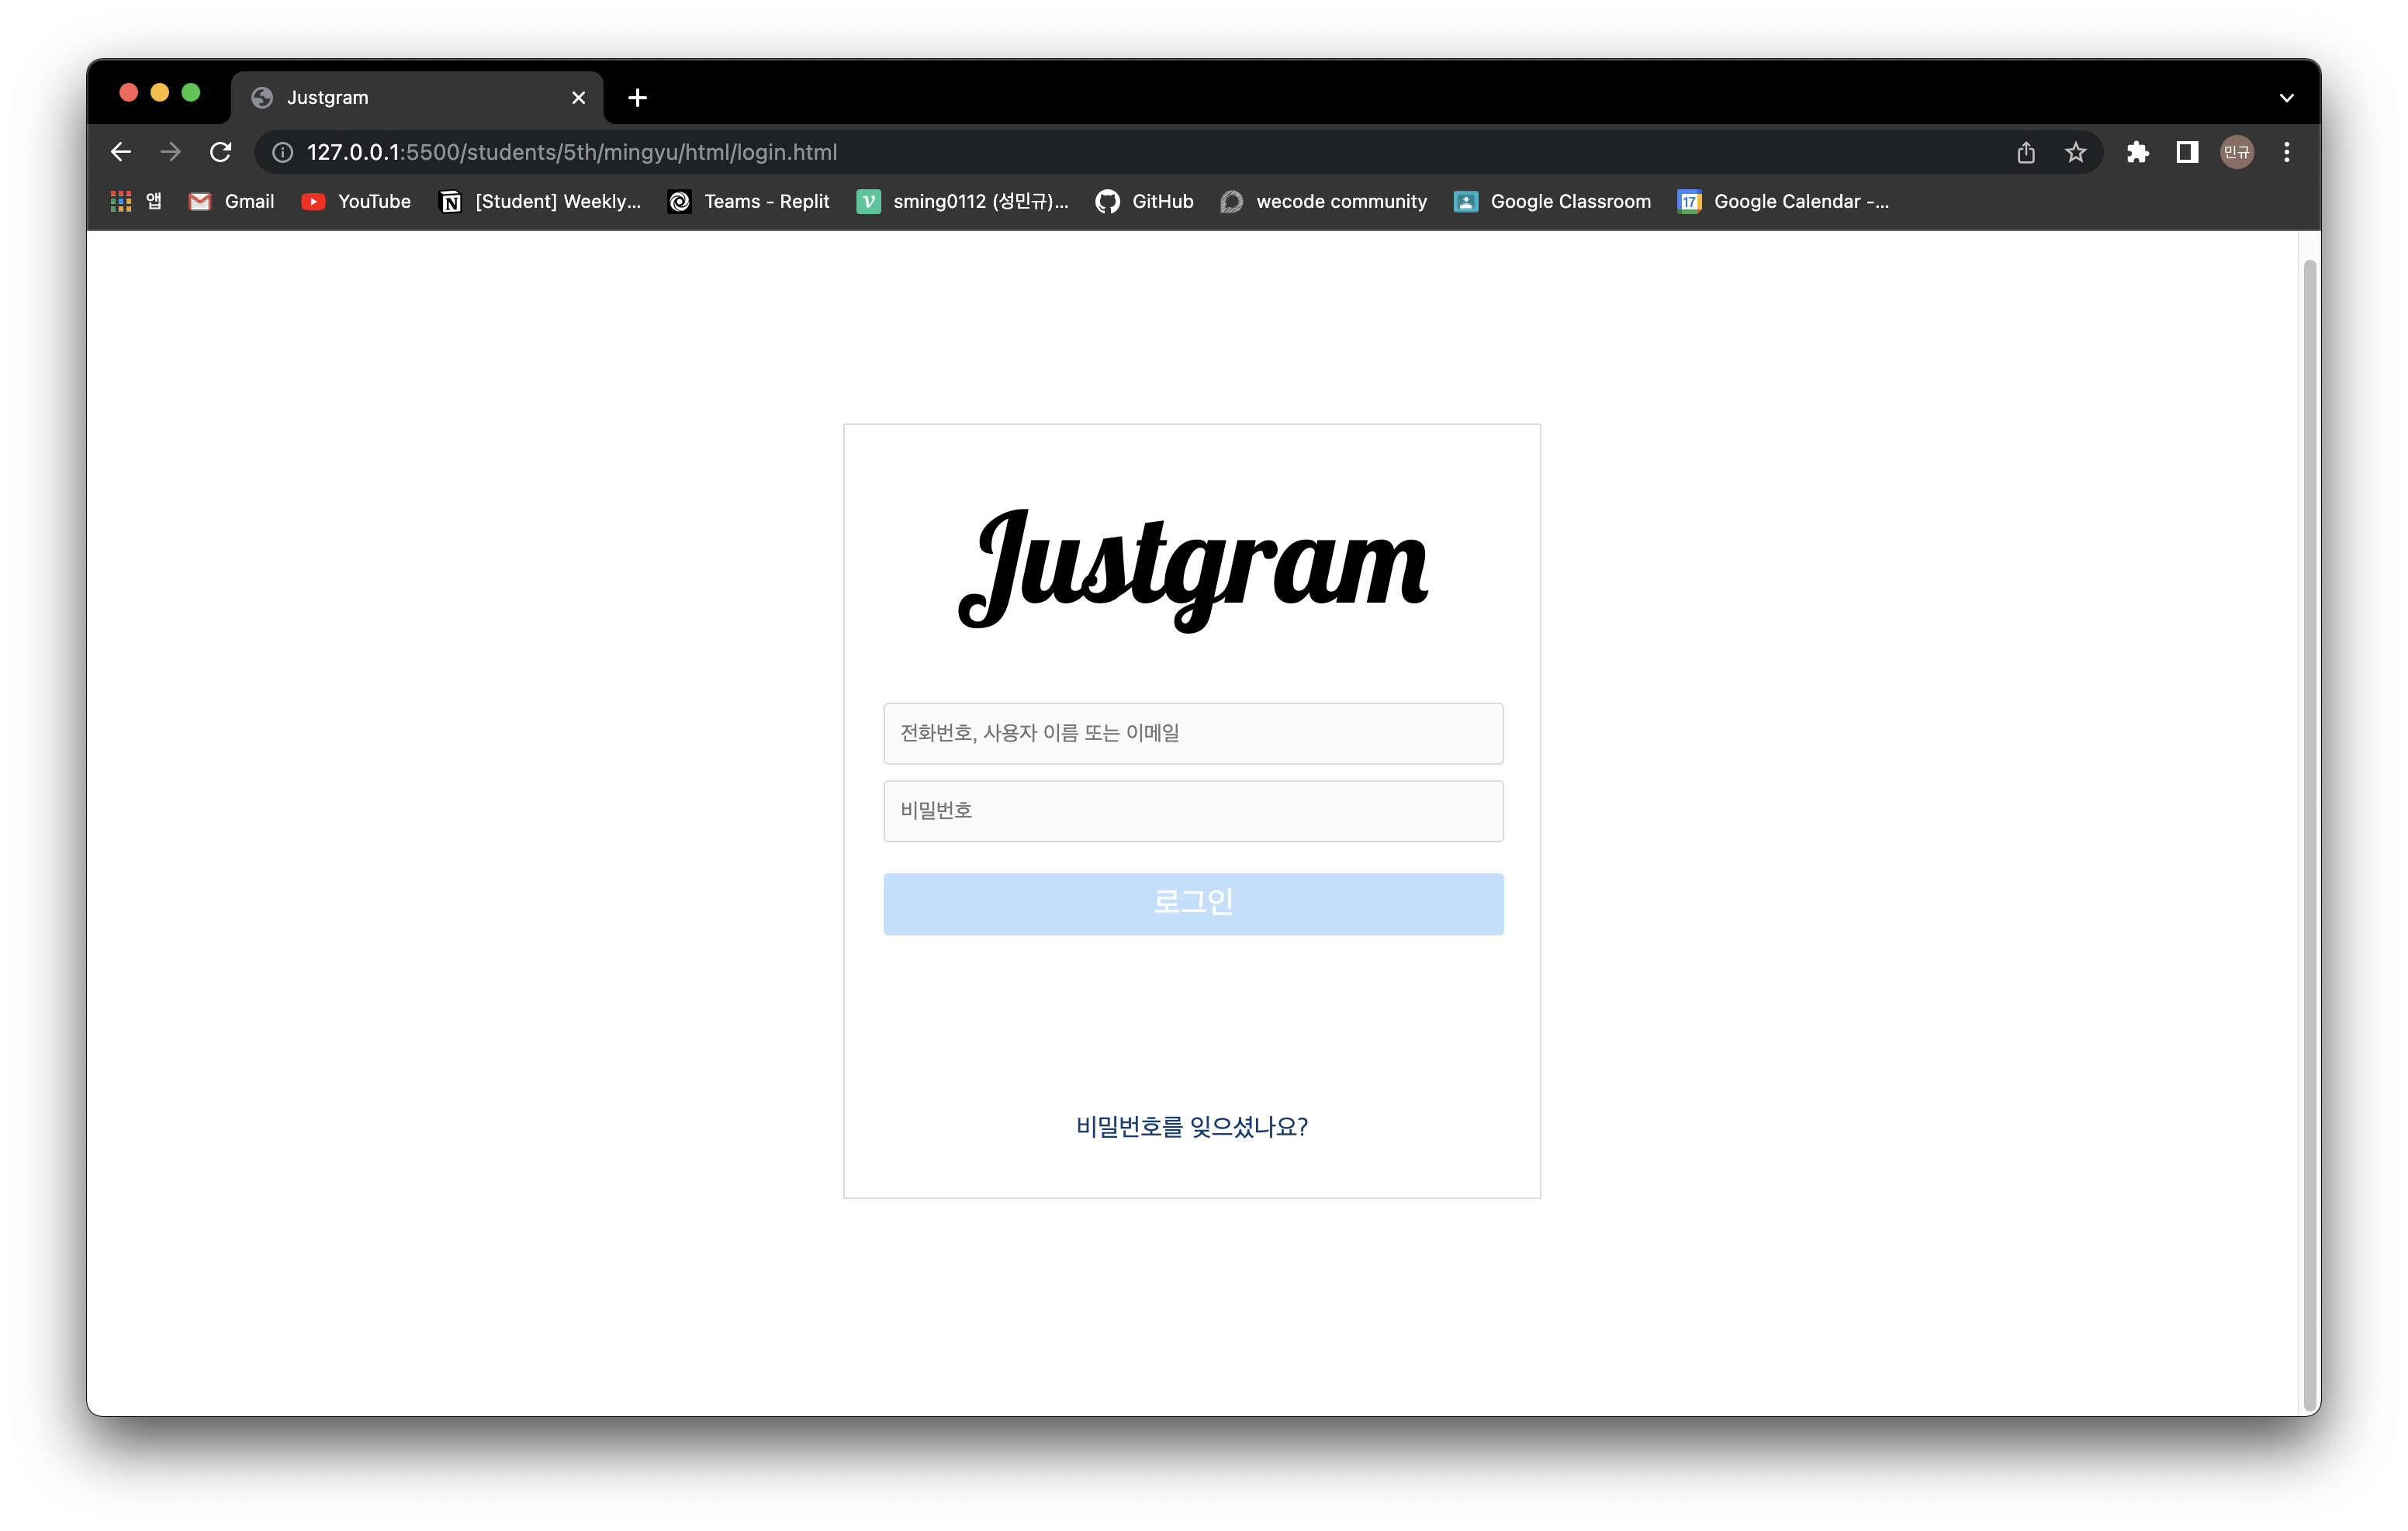
위와 같은 Instagram Clone을 만드는 실습을 진행하였습니다.
구현 가능한 기능으로는 ID와 PW를 입력해야 로그인 버튼이 활성화되도록 하였습니다.
HTML
<!DOCTYPE html>
<html lang="en">
<head>
    <meta charset="UTF-8">
    <meta http-equiv="X-UA-Compatible" content="IE=edge">
    <meta name="viewport" content="width=device-width, initial-scale=1.0">
    <link rel="stylesheet" type="text/css" href="../css/login.css">
    <link rel="preconnect" href="https://fonts.googleapis.com">
    <link rel="preconnect" href="https://fonts.gstatic.com" crossorigin>
    <link href="https://fonts.googleapis.com/css2?family=Lobster&display=swap" rel="stylesheet">
    <title>Justgram</title>
</head>
<body>
    <div class="container">
        <div class="logo-box">
            <span class="logo-text">Justgram</span>
        </div>
        <div class="input-box">
            <input class="input-id i-box" placeholder="전화번호, 사용자 이름 또는 이메일">
            <input class="input-password i-box" placeholder="비밀번호">
            <button class="button-login">로그인</button>
        </div>
        <div class="extra-box">
            <a class="find-password" href="#">비밀번호를 잊으셨나요?</a>
        </div>
    </div>
    <script src="../js/login.js"></script>
</body>
</html>
CSS
* {
    box-sizing: border-box;
}
>
body {
    display: flex;
    justify-content: center;
    align-items: center;
    height: 100vh;
}
>
.container {
    display: flex;
    flex-direction: column;
    justify-content: space-evenly;
    width: 450px;
    height: 500px;
    border: 1px solid #dbdbdb;
    border-radius: 1px;
}
>
.logo-box {
    display: flex;
    justify-content: center;
    width: 100%;
}
>
.logo-text {
    font-family: 'Lobster', cursive;
    font-size: 80px;
}
>
.input-box {
    display: flex;
    flex-direction: column;
    align-items: center;
    width: 450px;
}
>
.input-id {
    width: 400px;
    height: 40px;
    border: 1px solid #dbdbdb;
    background-color: #fafafa;
    border-radius: 3px;
    padding-left: 10px;
    margin: 10px 0;
}
>
.input-password {
    width: 400px;
    height: 40px;
    border: 1px solid #dbdbdb;
    background-color: #fafafa;
    border-radius: 3px;
    margin-bottom: 20px;
    padding-left: 10px;
}
>
.i-box:focus {
    outline: 1px solid grey;
}
>
.button-login {
    width: 400px;
    height: 40px;
    color: #ffffff;
    background-color: #c0dffd;
    border: none;
    border-radius: 3px;
    font-size: 20px;
}
>
.extra-box {
    display: flex;
    flex-direction: column;
    justify-content: end;
    height: 100px;
    text-align: center;
}
>
.find-password {
    color: #0c3d6f;
    text-decoration: none;
}
JavaScript
'use strict';

const inputId = document.getElementsByClassName('input-id')[0];
const inputPw = document.getElementsByClassName('input-password')[0];
const btn = document.getElementsByClassName('button-login')[0];

inputId.addEventListener('keyup', buttonActive)
inputPw.addEventListener('keyup', buttonActive)

function buttonActive () {
    if (inputId.value !== '' && inputPw.value !== '') {
        btn.disabled = false;
        btn.style.backgroundColor = '#0096f6';
    }
    else {
        btn.disabled = true;
        btn.style.backgroundColor = '#c0dffd';
    }
}
실습하면서 느낀 점
첫 번째로 중요성을 느낀 부분은 클래스명, ID명(이하 변수명)의 중요성입니다.
변수명에 따라서 가독성의 차이가 극과 극으로 벌어진다고 생각합니다.
아직 실습을 많이 해보지는 않았지만 짧은 로그인 페이지를 만드는 것에도 변수명을 지정하는 부분에 있어서 어떻게 지어야하는지에 대한 고민을 하게 되었습니다. 실습을 많이 진행하면서 또, 다른 사람들의 코드를 보면서, 자료들을 많이 찾아보면서 익숙해지면 어느정도는 해결될 부분이라고 생각하지만, 변수명 선언에 대한 중요성을 깨달을 수 있었습니다.두 번째로 html의 틀구성의 중요성입니다.
이 부분 또한 아직은 실습 경험이 적어서 어려움을 겪었다고 생각합니다. 하지만 확실하게 느낀 점은 틀구성을 얼마나 잘 잡고 들어가는지가 레이아웃 구성에 있어 소요시간을 얼마나 줄이고 늘리냐를 판가름한다는 생각이 들었습니다. 틀을 구성하는 데에 있어서 아직은 개념이 잡혀있지 않기 때문에 많은 시행착오와 어려움을 갖고 구성하였지만, 경험이 쌓이게 된다면 많이 발전할 수 있을 것이라는 생각을 했습니다. 그와 동시에 틀구성의 중요성을 명확하게 인지할 수 있었습니다.세 번째로 script 태그의 위치입니다.
페이지를 구상하면서 script 태그의 위치에 따라 브라우저를 랜더링하는 부분에 있어서 많은 차이가 있다는 것을 알게 되었습니다. 또한 이러한 부분들을 보완하기 위해서 다양한 방법이나 문법이 더 생겼다는 것도 알게 되었습니다.
이 부분에 대해서는 다음에 포스팅을 통해 자세하게 공부해보겠습니다.