학습한 내용
1강
<head>
<!DOCTYPE html> <!-- 주석연습 -->
<html> <!-- <열린태그>  </닫힌태크> -->
<head> <!-- 문서와 관련된 Summary 정보 -->

    <meta charset-"utf-8">
    <!-- charset 속성="속성값" --> <!-- utf-8 : 한글이 깨지는 경우가 있기에 기본으로 들어가는 코드-->

    <meta name="description" content="Web Tutorial">
    <meta name="keywords" content="html, css, tutorial, web">
    <meta name="author" content="Chaeeop Rim">

    <title>HTML, CSS Tutorial</title>

    <link rel="shortcut icon" type="image/icon" sizes="32x32"
          href="favicon.ico">


    <style>
        p span {
            color: red;
            font-size: 20px;
            background-color: pink;
        }

        mark {
            background-color: gray;
        }
	</style>

</head>
<body>
<body> <!-- 웹사이트의 정보를 담아내는 영역 -->

    <!-- a, img 태그 소개 -->

    <a href="https://www.naver.com/" target="_blank">네이버</a>
    <img src="apple.png" alt="사과 이미지" width="120px" height="100px">
    <img src="https://img.icons8.com/emoji/452/red-apple.png" alt="사과 이미지">


    <!-- <a> : 웹사이트의 메뉴의 버튼을 만드는데 사용, target="_blank","-self"(기본값) 는 새창으로 여는가 현재창으로 여는가를 정하는데 사용 -->
    <!-- alt : 기본으로 반드시 넣어줘야 함. 이미지의 정보를 알려주기 위한 속성(문자정보), 시각 장애인을 위한 접근성 -->
    <!-- <h1>-<h6>: HTML 구획 제목 요소 -->

    <h1>Title</h1>
    <h2>Title</h2>
    <h3>Title</h3>
    <h4>Title</h4>
    <h5>Title</h5>
    <h6>Title</h6>
    <h1>기업명 또는 서비스 명</h1>

    <h1>
        <a href="https://www.naver.com">
            <img src="https://img.icons8.com/emoji/452/red-apple.png" alt="애플">
        </a>
    </h1>
    <h3>Service</h3>
    <h4>Service 부제</h4>

    <h5>Commerce</h5>
    <h5>Design</h5>
    <h5>Security</h5>

    <h3>Portfolio</h3>

    <!-- <hi>은 주로 기업명 또는 서비스명 으로 일반적으로 사용, 1번만 사용 추천 -->
    <!-- 갑자기 2단계 이상의 h 단계 변화는 하지 않는다. 1단계씩 순서대로 해야한다. -->
    <p>Nice to meet you, everybody.</p>

    <p>
        <span>동해물</span>과 백두산이 마르고 닳도록
    </p>

    <p><mark>사과</mark>는 사과 나무에서 나는 열매이다.</p>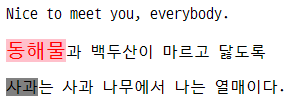
    <ol>
        <li>메뉴1</li>
        <li>메뉴2</li>
        <li>메뉴3</li>
    </ol>

    <ul>
        <li>메뉴1</li>
        <li>메뉴2</li>
        <li>메뉴3</li>
    </ul>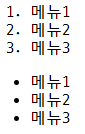
    <ul>
        <li><a href="#">영화</a></li>
        <li><a href="#">부동산</a></li>
        <li><a href ="#">음악</a></li>
    </ul>

    <!-- <ol> : 순서가 있는 리스트, <ul> : 순서가 없는 리스트 -->
    <!-- ol, ul 태그 사용시 안에서 반드시 li(list)가 먼저 사용되어야 한다. -->
    <button type="button">닫기</button>
    <button type="submit">확인</button>

    <!-- type="submit"은 버튼 클릭 시 앞에 입력된 정보를 백앤드(서버)에게 전달한다.-->
    <video src="sample.mp4" controls
           autoplay muted
           loop
           width="300px"
           height="300px"
    >

    </video>


    <!-- 크롬에서 autoplay를 사용 시 갑작스럽게 소리가 나는 것을 방지하기 위해 muted(음소거) 명령어를 넣어야 정상적으로 자동재생이 된다.-->
    <!-- loop는 반복재생, 영상 크기조절도 width 와 height 로 가능하다 -->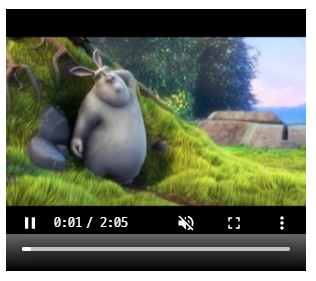
    <iframe width="800px" height="600px"
            src="https://www.youtube.com/embed/j9rax18IghI"
            title="YouTube video player"
            frameborder="0"
            allow="accelerometer; autoplay; clipboard-write; encrypted-media; gyroscope; picture-in-picture"
            allowfullscreen>
    </iframe>

    <!-- 보안상의 문제때문에 유튜브 영상을 받아올 때만 iframe 을 사용함-->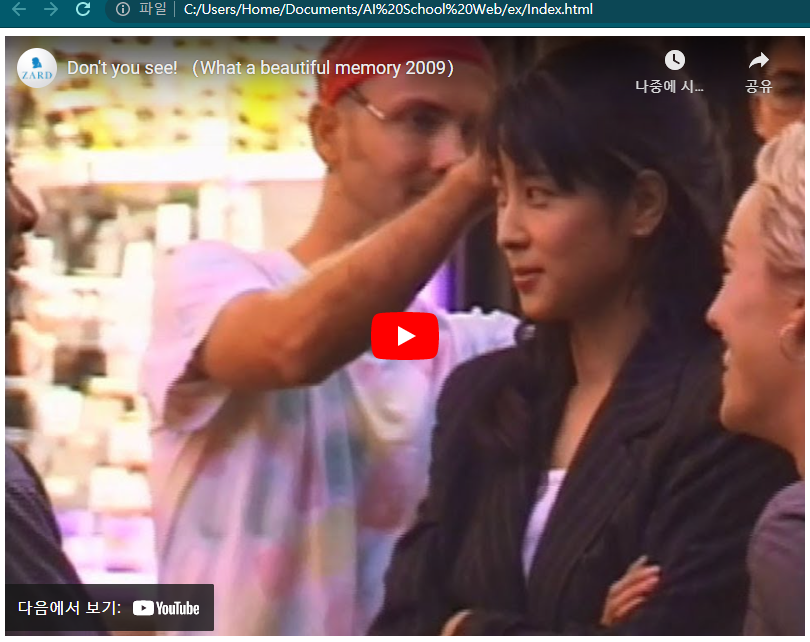
    <audio src="sample_audio.mp3" controls muted loop>
    </audio>

    <!-- 크롬에서는 음악은 autoplay 자체를 막아놓은 상태라서 작동하지 않는다. 크기 변환도 작동하지 않는다.-->
</body>
</html>
2강
<head>
<!DOCTYPE html>
<html>
<head>

    <meta charset="utf-8">
    <title>2회차 HTML 강의</title>

    <style>
        tr, td, th {
            border: solid 1px #000000;
        }
    </style>
</head>
<body>
<body>


    <!--
    <form method="post">

        <label for="name">이름</label>
        <input type="text" id="name" placeholder="이름을 입력하세요." required
               minlength="2" maxlength="8"
        >
        <label for="mail">이메일</label>
        <input type="email" placeholder="이메일을 입력하세요." id="mail" required>
        <label for="pw">비밀번호</label>
        <input type="password" placeholder="최소 6글자, 최대 12글자 입력", id="pw" required
               minlength="10" maxlength="15"
        >
        <label for="num">숫자</label>
        <input type="number" id="num" placeholder="숫자만 입력" min="10" max="40" step="5">

        <label for="upload">파일 업로드</label>
        <input type="file" id="upload" accept="image/png, image/jpg, image/gif">
<button type="submit">제출</button>
    </form>
    -->

    <!-- <form>는 사용자에게서 입력받은 정보를 담아내는 공간-->
    <!-- <label for=""의 내용과 input id=""의 내용은 동일하게 맞춰주어야 한다. -->
    <!-- placeholder 안내문구를 나타내는 역할-->


    <!--
    <label for="n1">한국</label>
    <input type="checkbox" id="n1" name="country" value="한국">
    <label for="n2">일본</label>
    <input type="checkbox" id="n2" name="country" value="일본">
    <label for="n3">중국</label>
    <input type="checkbox" id="n3" name="country" value="중국">
    -->

    <!-- country : 한국 -->
    <!-- country : 일본 -->
    <!-- value 태그는 꼭 필요하다.-->

    <!--
    <label for="n1">한국</label>
    <input type="radio" id="n1" name="country" value="한국" checked>
    <label for="n2">일본</label>
    <input type="radio" id="n2" name="country" value="일본">
    <label for="n3">중국</label>
    <input type="radio" id="n3" name="country" value="중국">
    -->
    <!--
    <label for="content">문의내용</label>
    <textarea id="content" cols="40" rows="8"></textarea>
    -->

    <!-- cols : textarea의 너비(글자수를 기준으로 함), rows : textarea에 최대 몇 줄까지 입력하는가 -->
    <!--
    <select name="job">
        <option selected disabled>직업을 선택해 주세요.</option>
        <option value="학생">학생</option>
        <option value="회사원">회사원</option>
        <option value="기타">기타</option>
    </select>
    -->

    <!-- select 안의 태그는 option 만 가능하다.-->
    <!--
    <table>
        <caption>상품 정보</caption>
        <thead>
            <tr>
                <th>상품</th>
                <th>색상</th>
                <th>가격</th>
            </tr>
        </thead>

        <tbody>
            <tr>
                <td>맥북 프로 16인치</td>
                <td>그레이</td>
                <td>3,000원</td>
            </tr>
            <tr>
                <td rowspan="2">아이패드 프로 12인치</td>
                <td>레드</td>
                <td>1,000원</td>
            </tr>
            <tr>
                <td>블루</td>
                <td>1,000원</td>
            </tr>
        </tbody>

        <tfoot>
            <tr>
                <td colspan="2">총 가격</td>
                <td>5,0000원</td>
            </tr>

        </tfoot>
    </table>
    -->

    <!-- <td rowspan="">은 rowspan 시작부터 " "값 만큼 세로로 셀을 병합한다. -->
    <!-- <td colspan="">은 colspan 시작부터 " "값 만큼 가로로 셀을 병합한다. -->
    <!--
    <header>

        <h1>
            <a href="#">
                <img>
            </a>
        </h1>


        <nav>
            <ul>
                <li><a href="#">메뉴1</a></li>
                <li><a href="#">메뉴2</a></li>
                <li><a href="#">메뉴3</a></li>
            </ul>
        </nav>

    </header>
    <main role="main">
        <section>
            <h2>Service</h2>
        </section>

        <section>
            <h2>Portfolio</h2>
        </section>
        <article>
            <h2>Article title</h2>
            <p>Nice to meet youNice to meet youNice to meet youNice to meet youNice to meet youNice to meet you</p>
        </article>
	</main>


    <aside></aside>

    <footer></footer>

    <div></div>
    -->

    <!-- <section>은 main 태그 밖에서 사용해도 되고, 태그 안에서 사용해도 된다.-->
    <!-- <aside>는 main의 정보와 동떨어지는 정보를 넣을 때 사용한다.-->
    <!-- <footer>는 사이트의 가장 밑에 들어가는 내용을 넣을 때 사용한다.-->
<!-- <div>는 공간을 만들 때 사용하는 태그--><head>
<style>
span {
width : 300px;
height : 300px;
background-color: yellow;
}
h1 {
width : 300px;
height : 300px;
background-color: yellow;
}
</style>
<body>
<!-- Inline / Block -->
<span>Inline</span>
<span>Inline</span>
<span>Inline</span>
<h1>Block</h1>
<h1>Block</h1>
<h1>Block</h1>
<!-- Inline은 글자가 한 줄로 출력, 공간을 만들 수 없기에 공간에 대한 크기 설정이 불가능, 좌표설정 불가-->
<!-- Block은 줄을 바꾸면서 Y축으로 정렬함, 공간을 만들 수 있음, 좌표설정 가능-->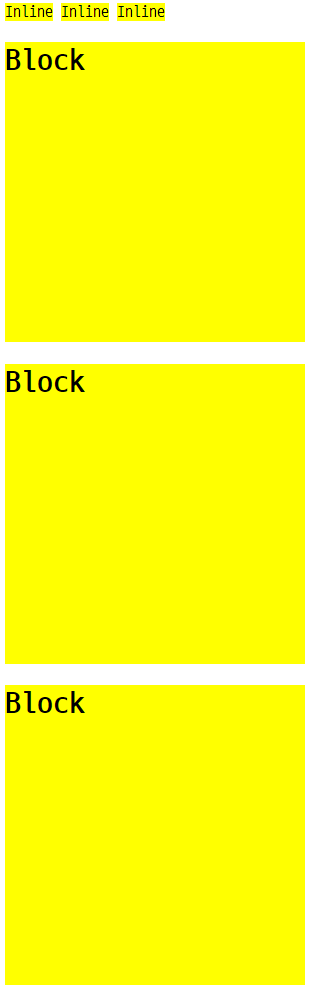
</body>
</html>
학습한 내용 중 어려웠던 점 또는 해결못한 것들
비전공자로서 처음부터 배우는 것들이라 대다수가 생소하다는 점이 어려웠으며, 배운 내용대로 실습한 결과 해결하지 못한 내용은 없습니다.
해결방법 작성
모르는 부분은 반복해서 들음으로서 해결하였고, 안되는 부분은 인터넷 검색을 통해서 해결하였습니다.
학습 소감
이제까지 여러 홈페이지를 이용할 때는 간단해 보이던 것들이 사실은 많은 명렁어를 통해 이루어져 있다는 사실에 놀라웠습니다.
앞으로 배워나갈 것에 대한 기대감이 큽니다.
그러나 한방향으로 진행되는 강의라서 어려운 점이 있을 경우, 해결하기가 힘들다는 점은 아쉽습니다.

반갑습니다. 잘부탁드립니다.