아래와 같은 form을 만들고 submit하려면, input 태그와 그에 따른 onChange 이벤트 핸들러, state, errorState를 각각 만들어줘야 한다. react-hook-form을 이용하면 이 모든 것들과 validation은 유지하되, 코드를 효율적으로 개선할 수 있다.
기존 코드
onChange, onSubmit 함수, validation을 직접 작성하여 수행하고 있다.
function ToDoList() {
  const [toDo, setTodo] = useState("");
  const [toDoError, setToDoError] = useState("");
  const onChange = (event: React.FormEvent<HTMLInputElement>) => {
    const {
      currentTarget: { value },
    } = event;
    setToDoError("");
    setTodo(value);
  };
  const onSubmit = (event: React.FormEvent<HTMLFormElement>) => {
    event.preventDefault();
    if(toDo.length < 5) {
        return setToDoError("To do should be longer");
    }
    console.log("submit");
  };
  return (
    <div>
      <form onSubmit={onSubmit}>
        <input onChange={onChange} value={toDo} placeholder="Write to do" />
        <button>Add</button>
        {toDoError ? toDoError : null}
      </form>
    </div>
  );
}
이제 react-hook-form을 사용해서 코드를 개선해보자!
1. react-hook-form 설치
npm install react-hook-form
2. register 함수
register 함수를 사용하면 다음과 같은 객체를 자동으로 반환한다.

register 함수를 input 태그에 연결하여 register 함수가 반환하는 객체를 props로 등록한다. 이렇게 하면 onChange, value, useState가 모두 자동으로 처리된다.
<input {...register("toDo")} placeholder="Write to do" />3. watch 함수
watch 함수는 폼의 입력값의 변화를 관찰할 수 있게 해주는 함수이다.
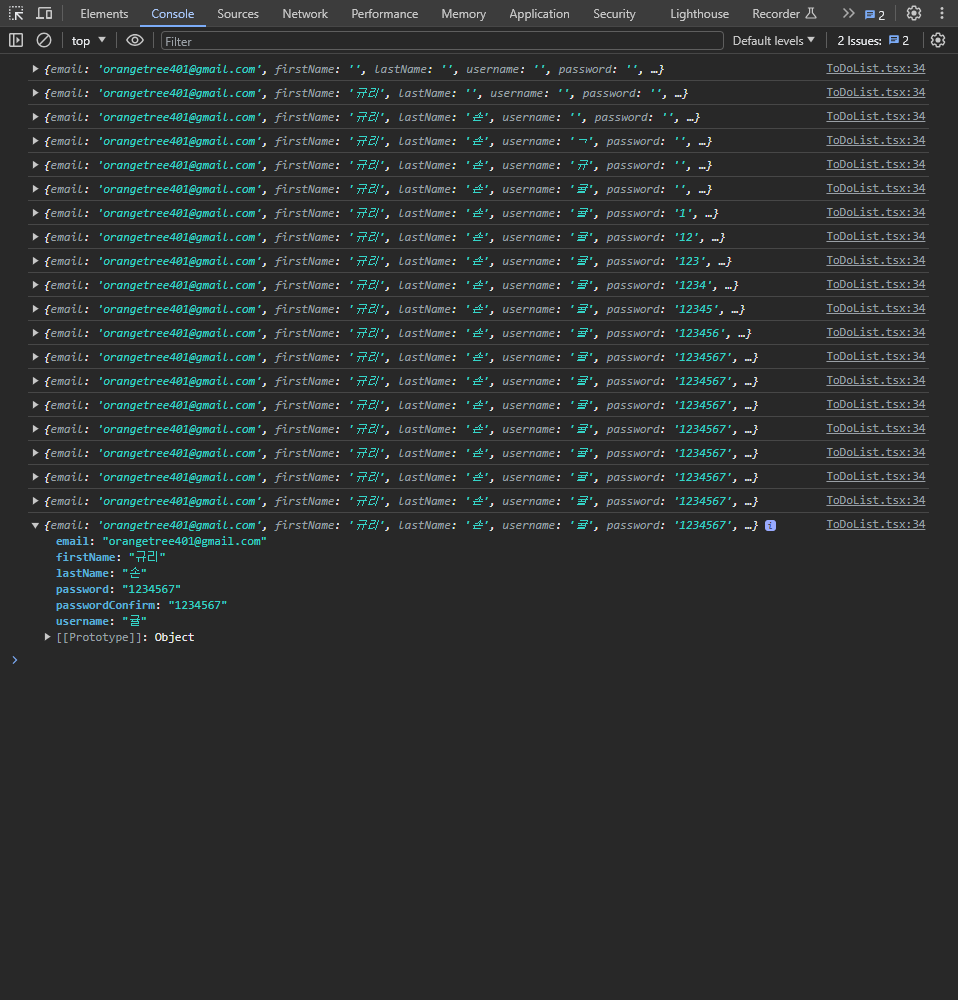
예를 들어, 아래와 같은 회원가입 폼을 만들 때, register와 watch 함수를 사용하면 코드를 훨씬 짧고 간결하게 줄일 수 있다.
<input {...register("email")} placeholder="Email" />
<input {...register("firstName")} placeholder="First Name" />
<input {...register("lastName")} placeholder="Last Name" />
<input {...register("username")} placeholder="Username" />
<input {...register("password")} placeholder="Password" />
<input {...register("passwordConfirm")} placeholder="Password Confirm" />
4. handleSubmit 함수
handelSubmit은 onSubmit을 대체하는 함수이다. handelSubmit 함수는 모든 유효성 검사를 수행한 후, 데이터가 유효할 때만 onValid 함수를 호출한다.
const { register, watch, handleSubmit } = useForm();
const onValid = (data:any) => {
  console.log(data);
}

// 첫번째 인자에 데이터가 유효할 때 호출되는 함수를 설정한다.
<form onSubmit={handleSubmit(onValid)}>
5. Validation
register 함수의 두번째 인자를 통해 각 필드에 대한 유효성 검사를 실시할 수 있다. 필수 항목, 최소 글자수 유효성 검사를 하려면 아래와 같이 설정할 수 있다.
<input
  {...register("password", { required: true, minLength:5 })}
  placeholder="Password"
/>
<input
  {...register("passwordConfirm", { required: true, minLength:5 })}
  placeholder="Password Confirm"
/>
6. Error Message
errors 객체를 사용하여 각 필드에 대한 에러 메시지를 표시할 수 있다. 예를 들어, 이메일 필드에 대한 필수 요구사항과, 패턴 요구사항을 수행하려면 아래와 같이 설정하면 된다.
const { register, handleSubmit, formState: { errors } } = useForm();
.
.
.

<input
  {...register("email", {
    required: "Email is required",
    pattern: {
      value: /^[a-zA-Z0-9._%+-]+@[a-zA-Z0-9.-]+\.[a-zA-Z]{2,}$/,
      message: "Email format is not valid",
    },
  })}
  placeholder="Email"
/>
<span>{errors?.email?.message && String(errors.email.message)}</span>
<input
  {...register("password", {
    required: "Password is required",
    minLength: { value: 5, message: "Your Password is too short" },
  })}
  placeholder="Password"
/>
<span>
  {errors?.password?.message && String(errors.password.message)}
</span>
7. Custom Validation
추가적으로 아래와 같이 다양한 custom validation도 설정이 가능하다.
- 전체 form에 에러를 발생시키려면
interface IForm {
  .
  .
  .
  extraError?: string;
}

const onValid = (data: IForm) => {
  setError("extraError", {message: "Server Error"})
};
.
.
.

<button>Add</button>
{errors?.extraError?.message && String(errors.extraError.message)}- 특정 항목에 focus가 가게 하려면
if (data.password !== data.passwordConfirm) {
  setError(
    "passwordConfirm",
    { message: "Password are not the same" },
    { shouldFocus: true }
  );
}- 특정 문자가 포함되면 validation을 통과하지 못하게 하려면
<input
  {...register("firstName", {
    required: "First Name is required",
    // value에 "admin"이라는 문자가 포함되지 않으면 true, 포함되면 false를 반환
    validate: (value) => !value.includes("admin"),
  })}
  placeholder="First Name"
/>- 에러메시지를 화면에 표시하려면
validate: (value) => value.includes("admin") ? "No admin allowed" : true,