JavaScript
Modernizr
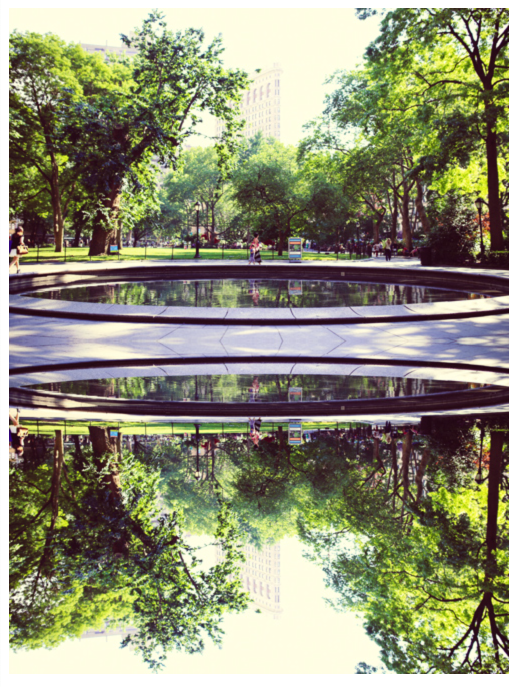
- 아래와 보는 이미지는
reflection기능을 사용하여 이미지를 반전시켰다.
HTML
<img src="./img/demo-image.jpg" alt="demo" class="demo-img">
<img src="./img/demo-image.jpg" alt="demo" class="alt-img">
CSS
.demo-img{-webkit-box-reflect: below;}
.no-cssreflections .alt-img { display: block;  transform: rotate(180deg); position: relative ; top: -5px; border-radius: 30px; }
.cssreflections .alt-img { display: none; }
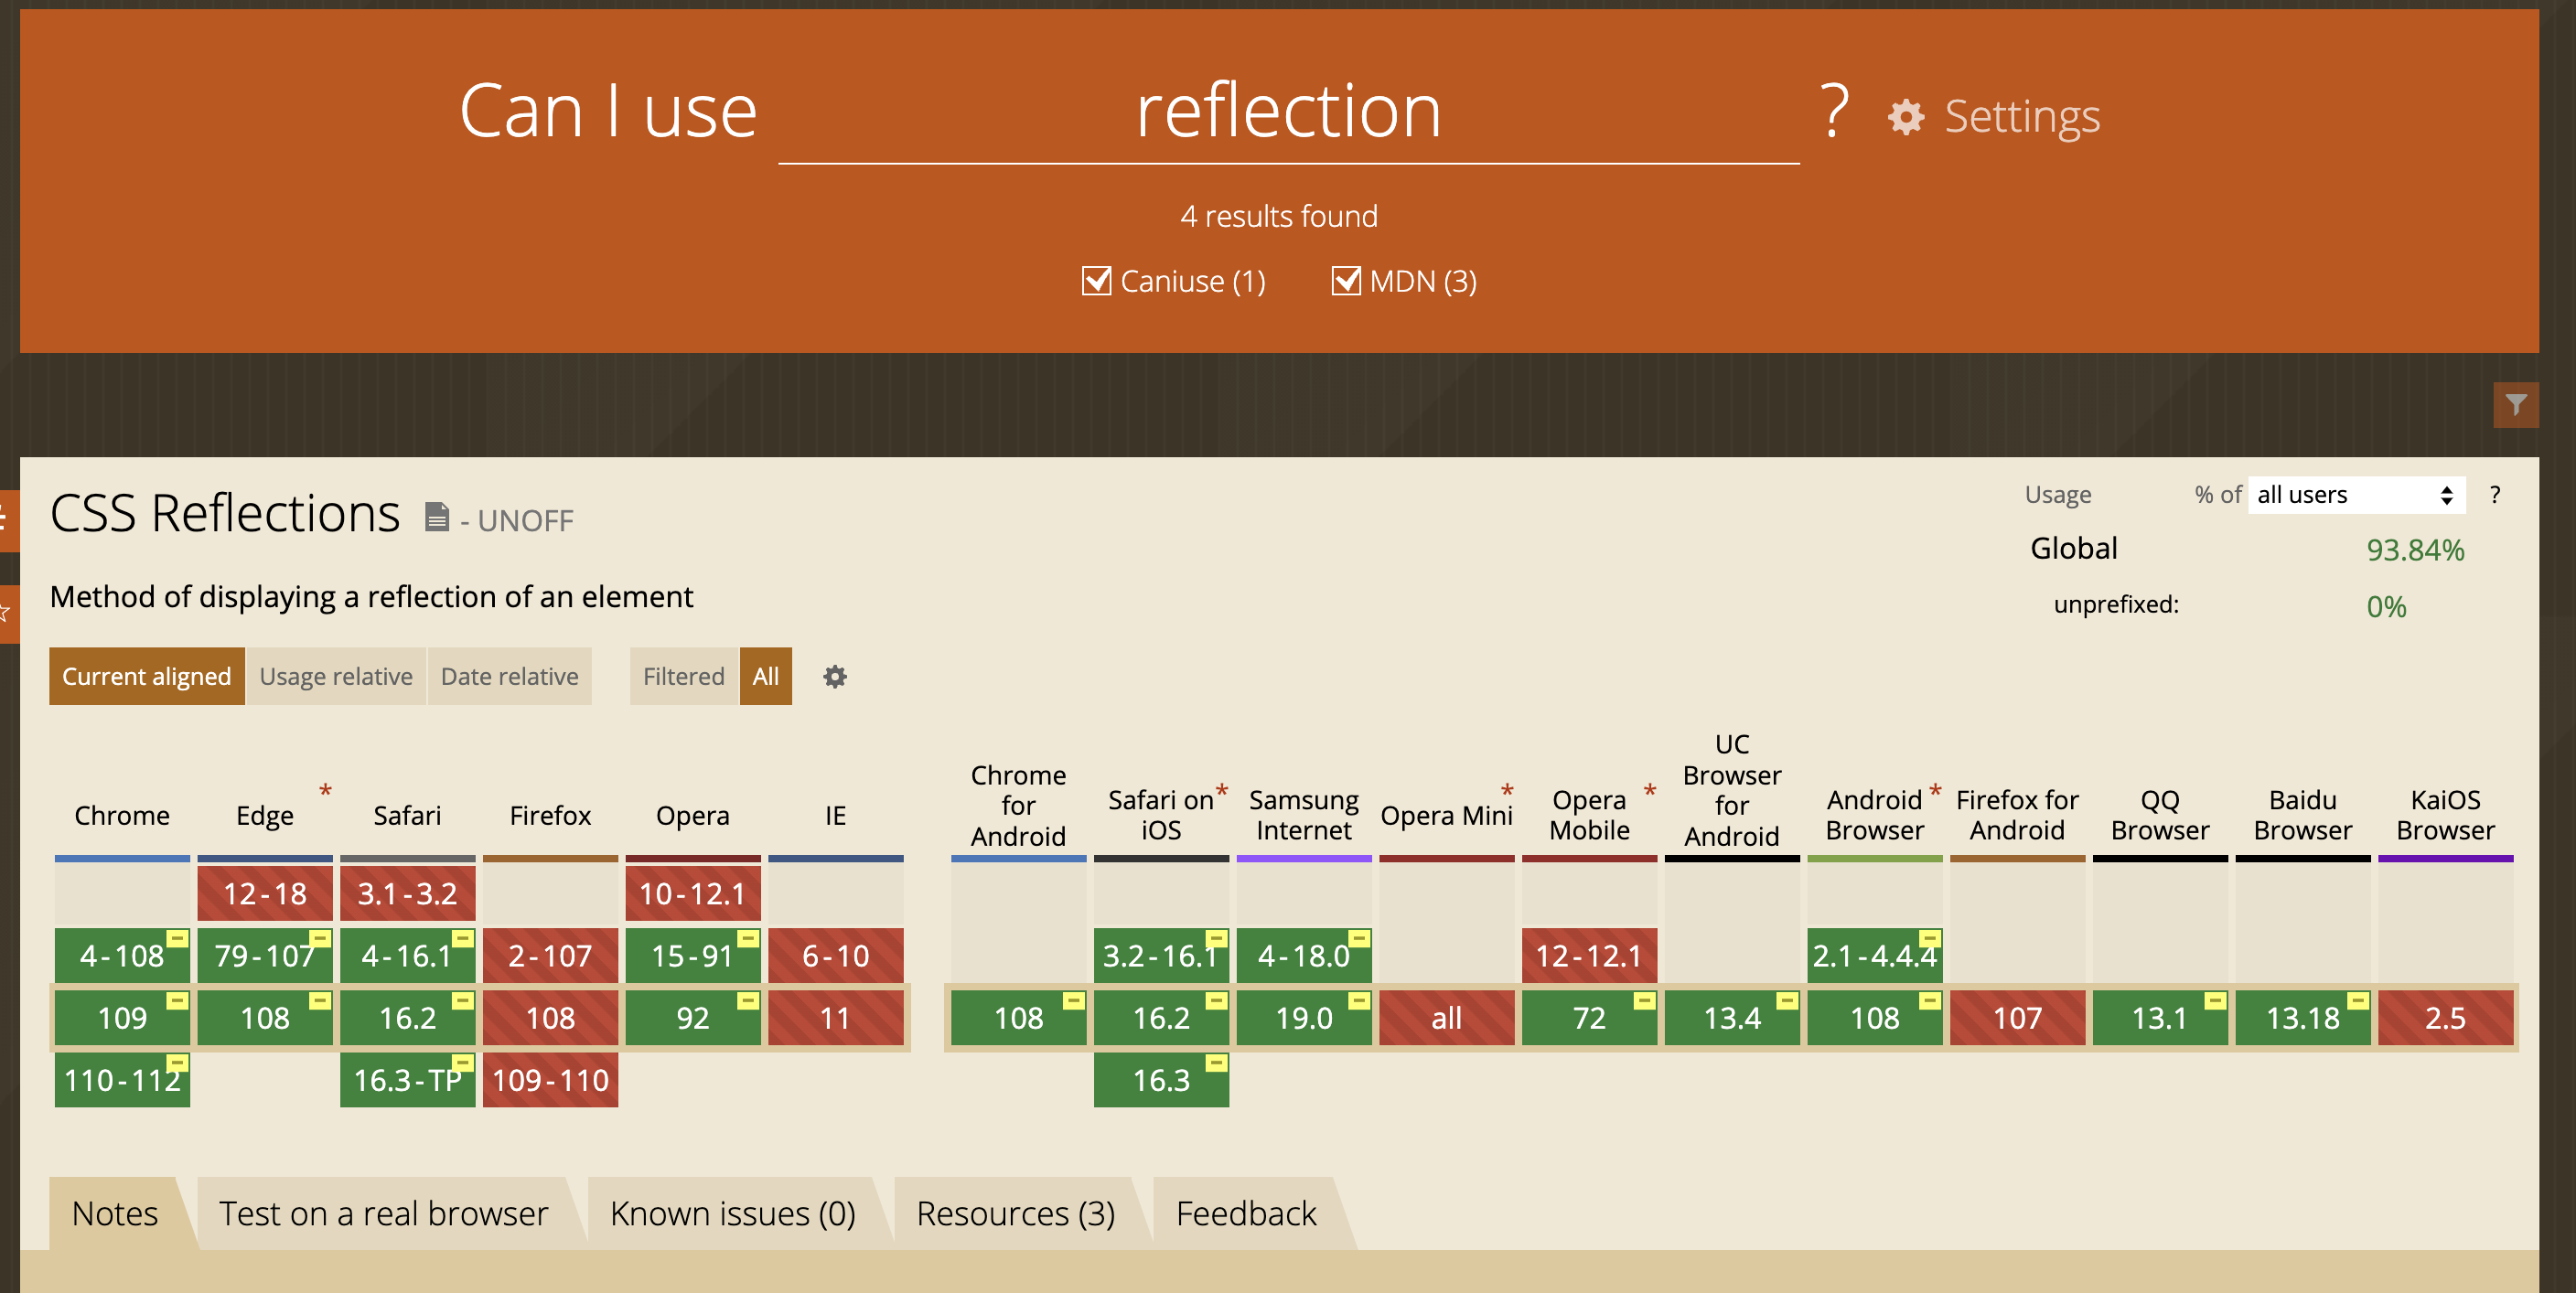
- https://caniuse.com/ 에서 크로스브라우징이 되는지 버전체크를 한다. 파이어폭스는 지원하지 않는걸 확인하게 된다.
- 따라서 크로스브라우징이 필요하며 https://modernizr.com/ 에 들어간다.
Development build를 클릭한다.

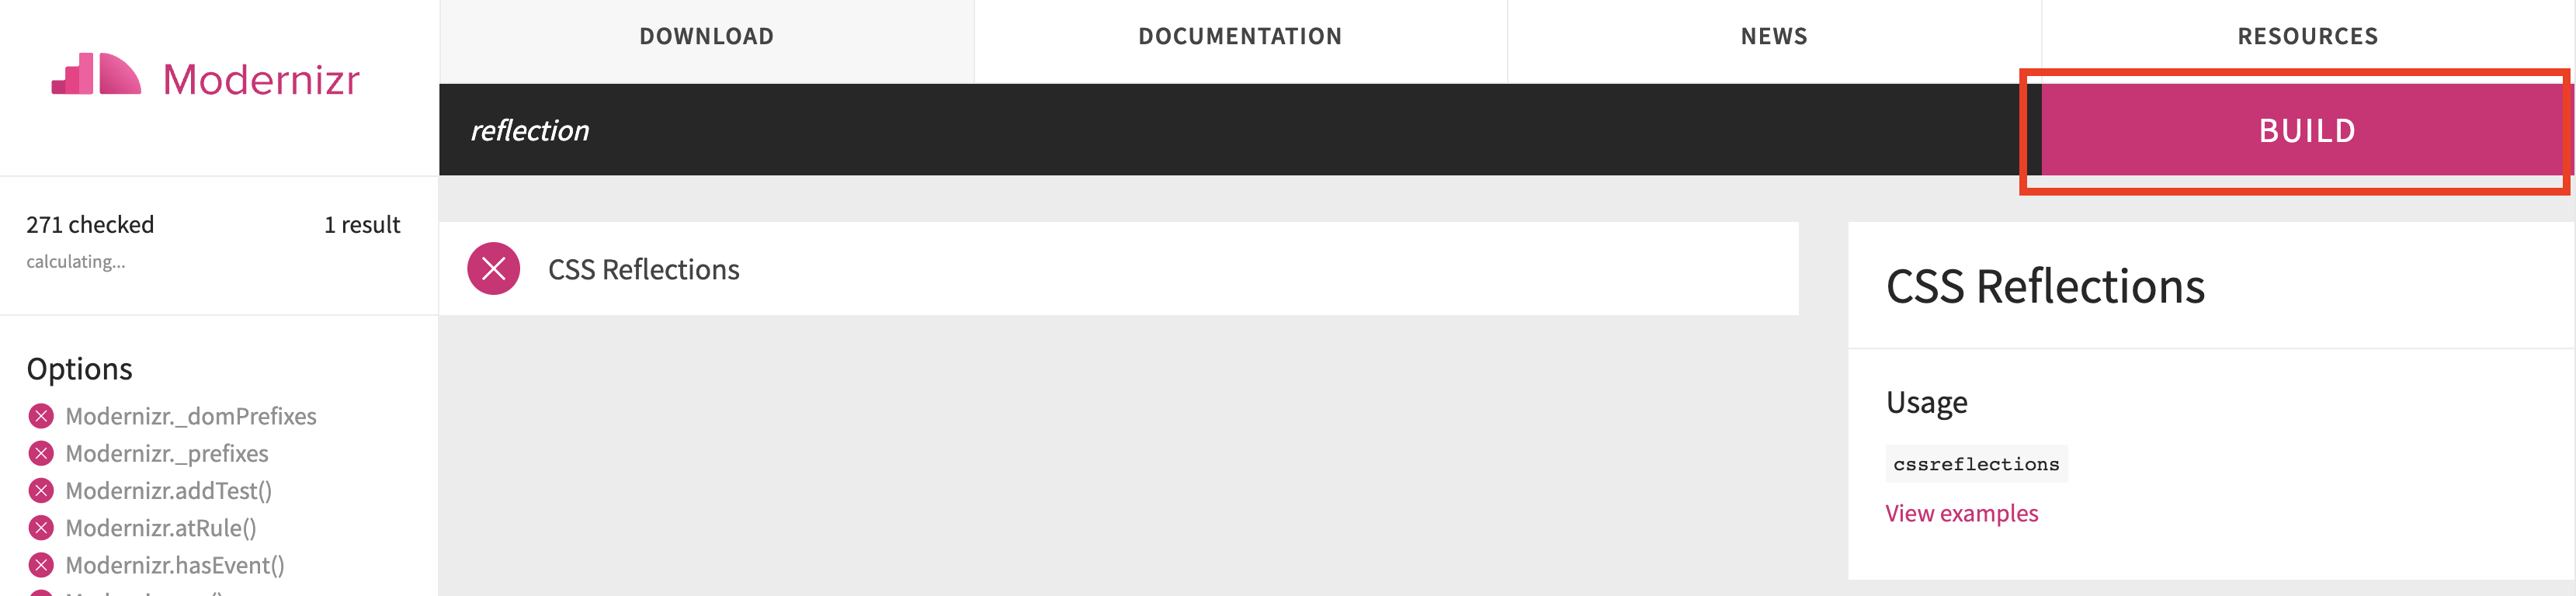
- 검색창에
reflection를 검색하고BUILD를 누른다.
Build의Download를 클락하여 다운로드한다.

- 다운로드 후 스크립트를 추가한다.
<script src="./js/modernizr-custom.js"></script>
- script에 추가로 작성한다.
if (Modernizr.cssreflections) {
// supported
} else {
// not-supported
}
- css에서
reflections가 되지 않는 부라우저를 위해 직접 180도 회전시킨 이미지를 배치하여 보이게 한다.
.no-cssreflections .alt-img { display: block; transform: rotate(180deg); position: relative ; top: -5px; border-radius: 30px; }JavaScript
Button Click Speech 01
Speech가 직접 나오지는 않아 아쉽지만 코드와 복습내용을 적어보려고 한다.
버튼을 클릭하게 되면 설정한 텍스트를 읽는 click speech를 만들어 본다.
HTML
<p><button>click</button></p>CSS
button{padding: 10px 20px; border: none; color: #fff; background: purple; font-weight: bold;}script
const buttons=document.querySelector("button");
        const utterThis = new SpeechSynthesisUtterance("안녕하세요");
        buttons.addEventListener("click", ()=>{
            window.speechSynthesis.speak(utterThis);
        })
변수
buttons를 만들고document.querySelector("button");를 선택한다.const utterThis = new SpeechSynthesisUtterance("안녕하세요");
SpeechSynthesisUtterance에 "읽을 텍스트" 를 적어준다.buttons.addEventListener("click", ()=>{ window.speechSynthesis.speak(utterThis); })버튼을 클릭하면
window에speechSynthesis를 실행한다.
Button Click Speech 02
Speech가 직접 나오지는 않아 아쉽지만 코드와 복습내용을 적어보려고 한다.
HTML
<div class="container">
        <h1>Speech Text Reader</h1>
        <button id="toggle" class="btn btn-toggle">Toggle Text Box</button>
        <div id="text-box" class="text-box">
            <div id="close" class="close">X</div>
            <h3>Choose Voice</h3>
            <select id="voices"></select>
            <textarea name="text" id="text" placeholder="Enter Text To Read..."></textarea>
            <button class="btn" id="read">Read Text</button>
        </div>
        <main></main>
    </div>
CSS
@import url('https://fonts.googleapis.com/css2?family=Lato&display=swap');
*{box-sizing: border-box;}
body{font-family: 'Lato', sans-serif; background: #333; min-height: 100vh; margin: 0;}
h1{text-align: center; color: #fff;}
.container{margin: auto; padding: 20px;}
.btn{cursor: pointer; border: none; border-radius: 4px; color: #000; font-size: 16px; padding: 8px; background: pink; font-weight: bold; transition: .03s ease-in-out;}
.btn:active{transform: scale(0.98);}
.btn:focus,select:focus{outline: 0;}
.btn-toggle{display: block; margin: auto; margin-bottom: 20px;}
.text-box{
    width: 70%;
    position: absolute;
    top: 30%;
    left: 50%;
    transform: translate(-50%,-800px);
    background: #000;
    color: #fff;
    padding: 20px;
    border-radius: 5px;
    transition: .5s ease;
}
.text-box.show{
    transform: translate(-50%, 0px);
}
.text-box select{background: pink; border: 0; color: #fff; font-size: 12px; height: 30px; width: 100%;}
.text-box textarea{border: 2px solid pink; border-radius: 4px; padding: 8px; margin: 15px 0; width: 100%; height: 150px;}
.text-box .btn{width: 100%;}
.text-box .close{float: right; cursor: pointer;}
main{
    display: grid;
    grid-template-columns: repeat(4, 1fr);
    grid-gap:10px;
}
.box{
    box-shadow: 0 2px 10px rgba(0, 0, 0, .2);
    border-radius: 5px;
    cursor: pointer;
    display: flex;
    flex-direction: column;
    overflow: hidden;
    transition: box-shadow .2s ease-in-out;
}
.box.active{box-shadow: 0 0 30px 5px #555;}
.box img{width: 100%; height: 200px; object-fit: cover;}
.box .info{background-color: pink; color: #fff; font-size: 18px; text-transform: uppercase; margin: 0; padding: 10px; text-align: center; height: 100%;}

@media screen and (max-width:1200px) {
    main{grid-template-columns: repeat(3, 1fr);}
}
@media screen and (max-width:760px) {
    main{grid-template-columns: repeat(2, 1fr);}
}
@media screen and (max-width:500px) {
    main{grid-template-columns: 1fr;}
}
script
const main=document.querySelector('main');
const voicesSelect=document.getElementById('voices');
const textarea=document.getElementById('text');
const readBtn=document.getElementById('read');
const toggleBtn=document.getElementById('toggle');
const closeBtn=document.getElementById('close');
const data = [
    {
        image: './img/drink.jpg',
        text:"목말라요."
    },
    {
        image: './img/food.jpg',
        text:"배고파요"
    },
    {
        image: './img/tired.jpg',
        text:"졸려요"
    },
    {
        image: './img/hurt.jpg',
        text:"아파요"
    },
    {
        image: './img/happy.jpg',
        text:"야호"
    },
    {
        image: './img/angry.jpg',
        text:"화나요"
    },
    {
        image: './img/sad.jpg',
        text:"슬퍼요"
    },
    {
        image: './img/scared.jpg',
        text:"무서워요"
    },
    {
        image: './img/outside.jpg',
        text:"놀고싶어요"
    },
    {
        image: './img/home.jpg',
        text:"좋은집에살고싶어요"
    },
    {
        image: './img/school.jpg',
        text:"학교"
    },
    {
        image: './img/grandma.jpg',
        text:"할머니사랑해요"
    }
];

toggleBtn.addEventListener('click', () => {
    document.getElementById('text-box').classList.toggle('show')
});
closeBtn.addEventListener('click', () => {
    document.getElementById('text-box').classList.remove('show')
});

data.forEach(createBox);

function createBox(item){
    const box=document.createElement('div');
    const {image, text} =item;
    box.classList.add('box');
    box.innerHTML =
    `
        <img src="${image}" alt="${text}" />
        <p class="info">${text}</p>
    `;
    box.addEventListener('click', () =>{

        setTextMessage(text);
        speakText();
        console.log(text)
        box.classList.add('active');
        setTimeout(() => box.classList.remove('active'), 800);
    });


    main.appendChild(box);

}
const message=  new SpeechSynthesisUtterance();
let voices = [];

function getVoices() {
    voices = speechSynthesis.getVoices();
    voices.forEach(voice => {
        const option= document.createElement('option');
        option.value=voice.name;
        option.innerText=`${voice.name} ${voice.lang}`
        voicesSelect.appendChild(option)
    })
}
function setTextMessage(text){
    message.text=text;
}
function speakText(){
    speechSynthesis.speak(message)
}
function  setVoice(e) {
    message.voice=voices.find(voice => voice.name === e.target.value);
}

voicesSelect.addEventListener('change', setVoice);

readBtn.addEventListener('click', () => {
    setTextMessage(textarea.value);
    speakText();
});

speechSynthesis.addEventListener('voiceschanged',getVoices)
getVoices();
const main=document.querySelector('main'); const voicesSelect=document.getElementById('voices'); const textarea=document.getElementById('text'); const readBtn=document.getElementById('read'); const toggleBtn=document.getElementById('toggle'); const closeBtn=document.getElementById('close'); const data = [배열]
toggleBtn을eddEventListenerclick을 하면classList.toggle('show')가 되고closeBtn을 누르면classList.remove('show')가 된다.
변수data에forEach문을 사용하여 createBox를 만들고
함수를 만든다.data.forEach(createBox); function createBox(item){ const box=document.createElement('div'); const {image, text} =item; //구조분해할당 box.classList.add('box'); box.innerHTML = ` <img src="${image}" alt="${text}" /> <p class="info">${text}</p> `; box.addEventListener('click', () =>{ setTextMessage(text); speakText(); console.log(text) box.classList.add('active'); setTimeout(() => box.classList.remove('active'), 800); }); main.appendChild(box); }다음
DIV박스를 만들어 각각의 요소를 만들어야하는데box=document.createElement('div');도큐먼트 크리에이트엘리먼트를 'div'로 정하고구조분해할당const {image, text} =item;를 사용한다.
구조분해할당이란?
구조 분해 할당이란 구조화된 배열이나 객체를 파괴해서 각각의 변수에 할당하는 것을 말한다. react hook API 사용 시에 숨 쉬듯이 쓰는 문법이 바로 이 구조 분해 할당이다.
box에.box클래스를 추가한다..box{ box-shadow: 0 2px 10px rgba(0, 0, 0, .2); border-radius: 5px; cursor: pointer; display: flex; flex-direction: column; overflow: hidden; transition: box-shadow .2s ease-in-out; }다음
box.innerHTML에data의 배열을 넣기 위해 태그 구성을 벡틱안에 넣는다box.innerHTML = ` <img src="${image}" alt="${text}" /> <p class="info">${text}</p> `;src에는 배열의
image를 넣고alt와p의 텍스트에 배열의text를 넣어 구성한다.
 box.addEventListener('click', () =>{
		setTextMessage(text);
        speakText();
        console.log(text)
        box.classList.add('active');
        setTimeout(() => box.classList.remove('active'), 800);
    });
	 main.appendChild(box);
클릭하면
active클래스가 추가되고setTimeout을 통하여 0.8초가 지나면remvoe가 된다.
박스를 클릭하면 뒷배경에box-shadow효과가 나타난다.
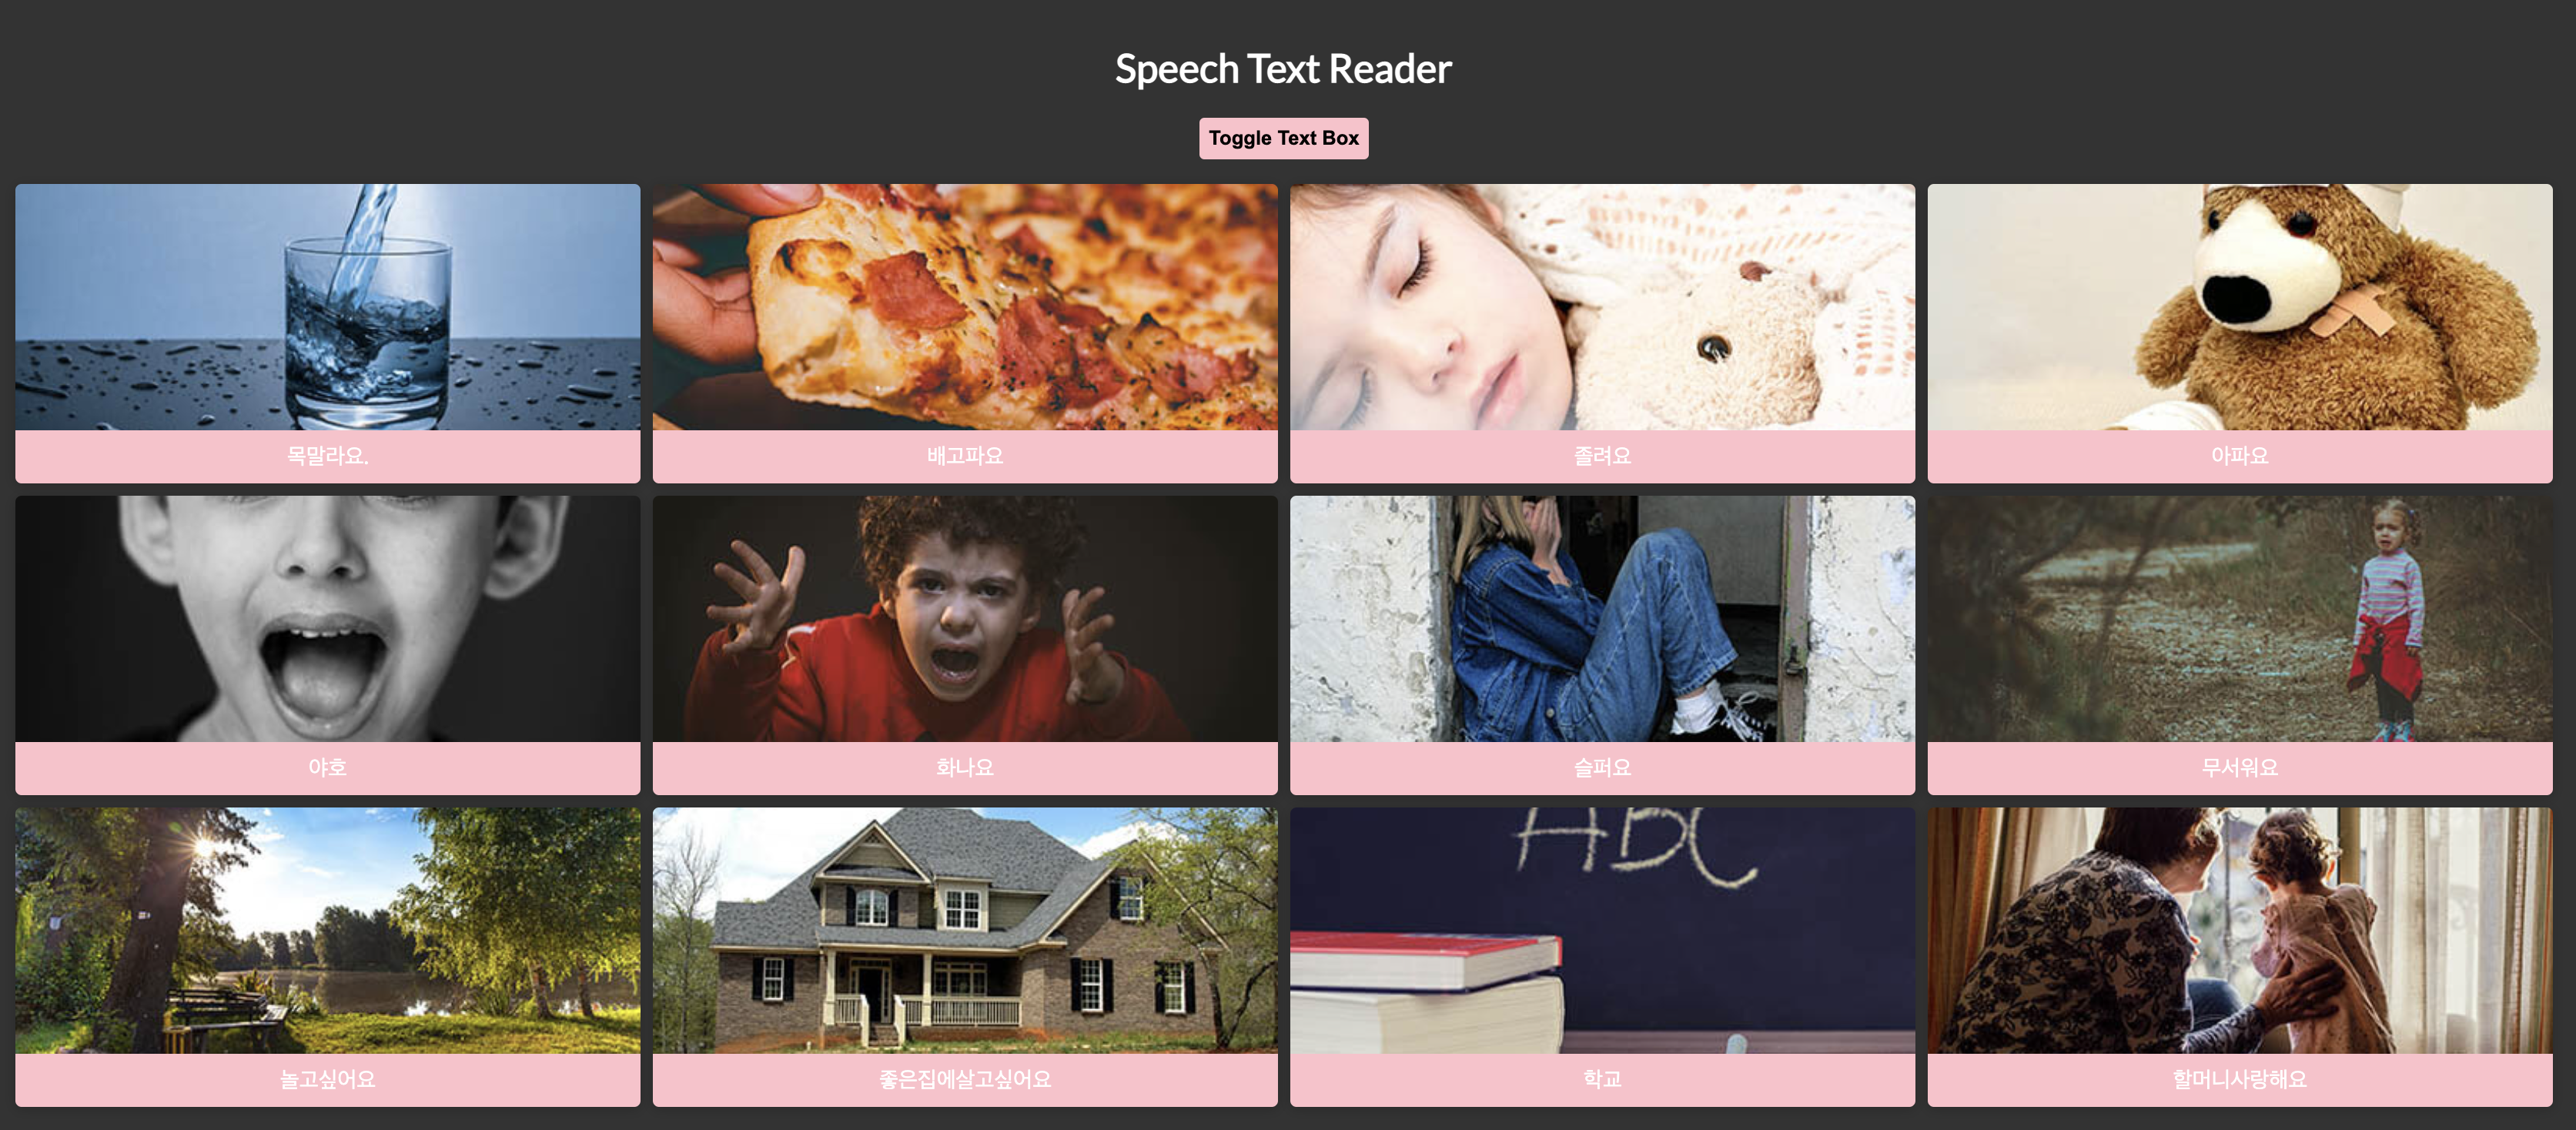
이렇게 배열에 맞게 박스가 생성되었다.const message= new SpeechSynthesisUtterance(); let voices = []; function getVoices() { voices = speechSynthesis.getVoices(); voices.forEach(voice => { const option= document.createElement('option'); option.value=voice.name; option.innerText=`${voice.name} ${voice.lang}` voicesSelect.appendChild(option) }) } function setTextMessage(text){ message.text=text; } function speakText(){ speechSynthesis.speak(message) } function setVoice(e) { message.voice=voices.find(voice => voice.name === e.target.value); } voicesSelect.addEventListener('change', setVoice); readBtn.addEventListener('click', () => { setTextMessage(textarea.value); speakText(); }); speechSynthesis.addEventListener('voiceschanged',getVoices) getVoices();
message는 new SpeechSynthesisUtterance();
voices는 배열 [ ] 에 담아두고, 위와 같이 구성하면 보이스가 나온다.