프로젝트 생성 하기
yarn create nuxt-app myapi 커맨드를 이용해 프로젝트를 생성 한다.
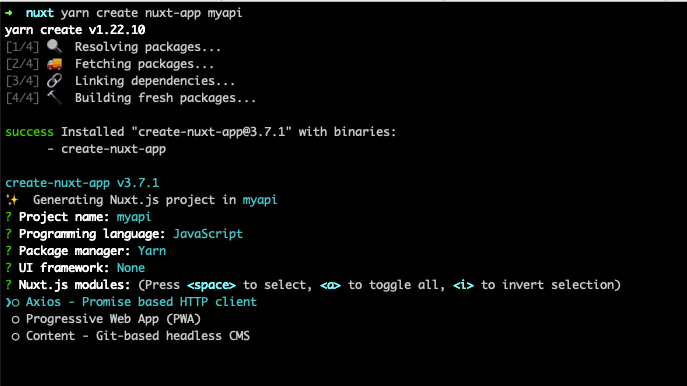
이어 나타나는 헬퍼에서 다른건 자유롭게 골라도 되지만 Nuxt.js modules: 질문에서 Axios를 고르도록 하자. 엑시오스는 자바스크립트 기반의 비동기 HTTP 클라이언트이다. RestFul리퀘스트를 보내는데 유용하니 알아두자.
필자가 선택한 옵션들
➜ nuxt yarn create nuxt-app myapi
yarn create v1.22.10
[1/4] 🔍 Resolving packages...
[2/4] 🚚 Fetching packages...
[3/4] 🔗 Linking dependencies...
[4/4] 🔨 Building fresh packages...
success Installed "create-nuxt-app@3.7.1" with binaries:
- create-nuxt-app
create-nuxt-app v3.7.1
✨ Generating Nuxt.js project in myapi
? Project name: myapi
? Programming language: JavaScript
? Package manager: Yarn
? UI framework: None
? Nuxt.js modules: (Press <space> to select, <a> to toggle all, <i> to invert selection)
? Linting tools: (Press <space> to select, <a> to toggle all, <i> to invert selection)
? Testing framework: None
? Rendering mode: Universal (SSR / SSG)
? Deployment target: Server (Node.js hosting)
? Development tools: (Press <space> to select, <a> to toggle all, <i> to invert selection)
? What is your GitHub username?
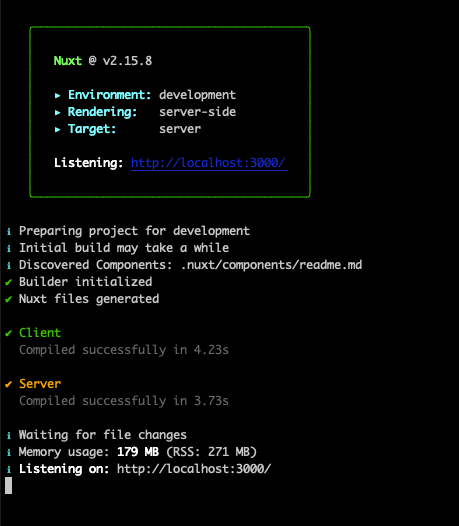
? Version control system: Git프로젝트 생성이 잘 되고 나면 해당 폴더로 이동 해 yarn dev 커맨드로 서버를 실행 해주자. 그리고 VSC(비주얼 스튜디오 코드) 와 같은 에디터로 해당 폴더를 열어 주자.
터미널에 표시된 로컬호스트의 주소를 웹브라우저로 열면 된다.
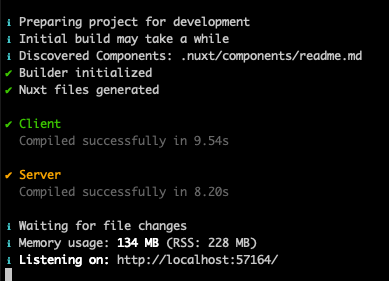
문제 없이 실행 된 것을 알 수 있다.

API 호출하기
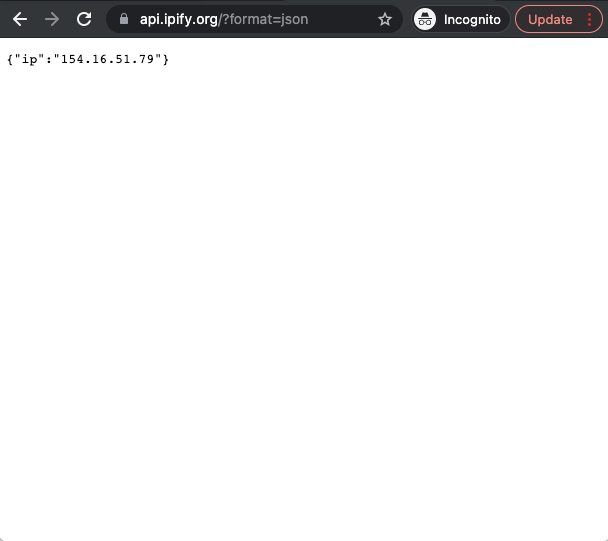
OpenAPI 중에 아무거나 하나를 샘플로 사용 해보겠다. 약간을 구글링을 거친 결과, 자기 자신의 IP를 알려주는 API가 있어서 한번 써먹어 보기로 했다.
URL은 https://api.ipify.org?format=json 으로 시험삼아 브라우저에 이 주소를 복붙 해보면 내 IP주소를 Json값으로 알려 주는 것을 알 수 있다.
우선 프로젝트에 기본코드로 들어 있는 튜토리얼 컴포넌트를 삭제 해주자.
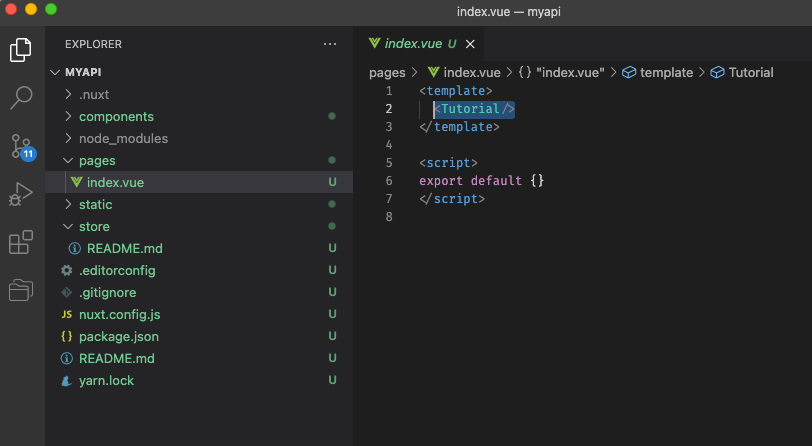
pages/index.js파일이며 코드는 아래와 같을 것이다.
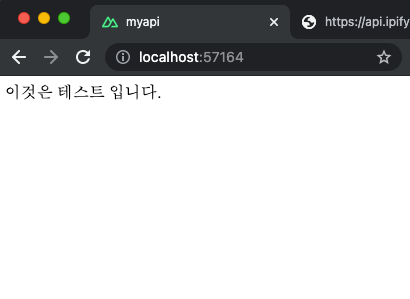
<template>
  <div>
    이것은 테스트 입니다.
  </div>
</template>

<script>
export default {}
</script>
실행 결과 이다. 깔끔하고 단순해서 알기 쉬워졌다.
이제 본격적으로 API를 불러보자.
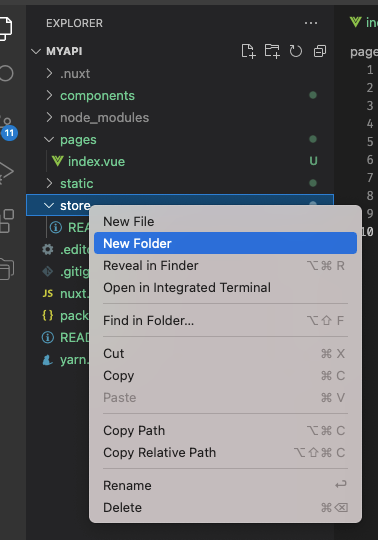
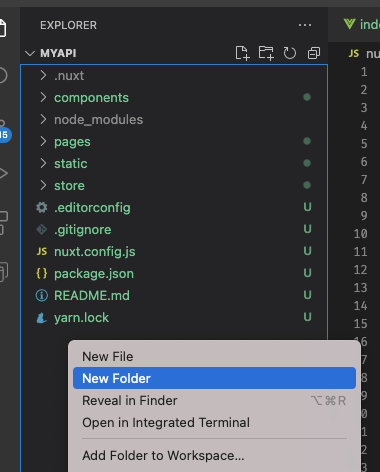
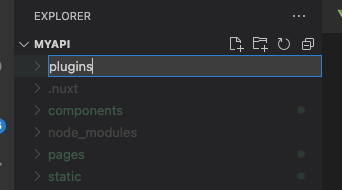
store 폴더 아래에 새 폴더를 하나 만들고 현재 세션의 IP를 구할 것이므로 session 이라는 이름을 지어주자. (이름은 자유다)
그리고 Store의 4대 구성 요소를 각각 파일로 만들어 보겠다.
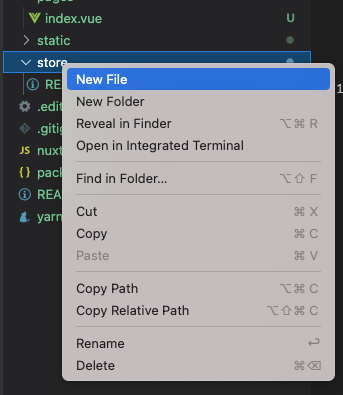
새 파일 만들기를 선택 하고 index.js, actions.js, getters.js, mutations.js 파일을 만들어 준다.index
store/session/index.js
import actions from './actions'
import getters from './getters'
import mutations from './mutations'

export const state = () => ({
  ip_addr: '',
})

export default {
  namespaced: true,
  state,
  actions,
  mutations,
  getters,
}
소모듈 하나의 메인파일이다. namespaced: true로 줘서 네임스페이스 사용을 하도록 하자. (앞으로 수많은 데이터들을 추가 할 계획이라면 이렇게 모듈화 하는 것이 유리하다)
store/session/actions.js
import axios from 'axios'

const plainAxiosInstance = axios.create({
  baseURL: 'https://api.ipify.org',
  withCredentials: false,
  headers: {
    'Content-Type': 'application/json',
  },
})
export default {
  /*
  유저의 현재 IP 주소를 구한다.
  */
  async get_ip_addr({ commit }) {
    return await new Promise((resolve, reject) => {
      plainAxiosInstance
        .get('https://api.ipify.org?format=json')
        .then((resp) => {
          window.console.log('[debug] get_ip_addr resp', resp)
          const obj = resp.data.ip
          if (obj === null || obj === undefined) {
            reject(new Error('API return value is wrong'))
          }
          commit('set_ip_addr', obj)
          resolve(resp)
        })
        .catch((err) => {
          reject(err)
        })
    })
  },
}
API를 호출 하거나 데이터를 가공 하는 등의 '액션' 을 구성하는 파일이다.
store/session/getters.js
export default {
  ip_addr: (state) => state.ip_addr || ''
}
게터이다. 변수를 읽는다.
store/session/mutations.js
export default {
  set_ip_addr(state, ip) {
    state.ip_addr = ip
  }
}
세터이다. 변수에 값을 쓴다.
위 4개의 파일을 생성하고 저장 하니 컴파일 에러가 발생 한다.
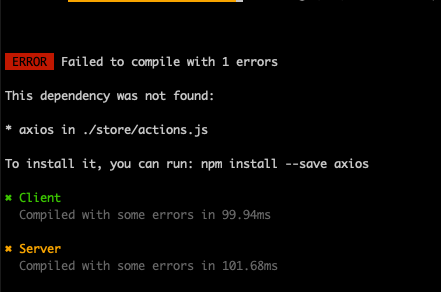
● Server █████████████████████████ emitting (95%) vue-server-plugin


 ERROR  Failed to compile with 1 errors                                                                                                                                                             friendly-errors 17:18:56

This dependency was not found:                                                                                                                                                                      friendly-errors 17:18:56
                                                                                                                                                                                                    friendly-errors 17:18:56
* axios in ./store/actions.js                                                                                                                                                                       friendly-errors 17:18:56
                                                                                                                                                                                                    friendly-errors 17:18:56
To install it, you can run: npm install --save axios                                                                                                                                                friendly-errors 17:18:56

✖ Client
  Compiled with some errors in 99.94ms

✖ Server
  Compiled with some errors in 101.68ms
Axios를 아직 설치 하지 않아서 그렇다.
콘솔에서 yarn add axios 커맨드를 이용해 엑시오스 라이브러리를 설치 하도록 하자.
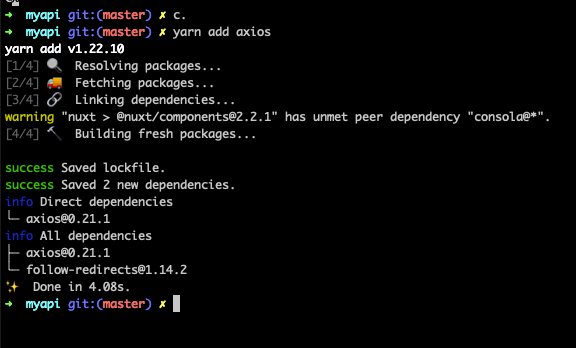
컴파일 성공 하였다.
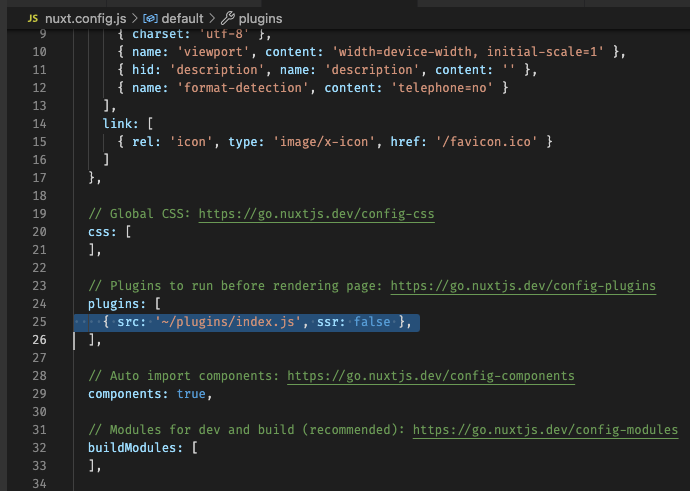
그리고 nuxt.config.js 파일에 플러그인을 추가 해주자. 이로써 우리가 작성한 스토어를 이용 할 수 있게 된다. 코드는 아래와 같다.
export default {
// Global page headers: https://go.nuxtjs.dev/config-head
head: {
title: 'myapi',
htmlAttrs: {
lang: 'en'
},
meta: [
{ charset: 'utf-8' },
{ name: 'viewport', content: 'width=device-width, initial-scale=1' },
{ hid: 'description', name: 'description', content: '' },
{ name: 'format-detection', content: 'telephone=no' }
],
link: [
{ rel: 'icon', type: 'image/x-icon', href: '/favicon.ico' }
]
},
// Global CSS: https://go.nuxtjs.dev/config-css
css: [
],
// Plugins to run before rendering page: https://go.nuxtjs.dev/config-plugins
plugins: [
{ src: '~/plugins/index.js', ssr: false },
],
// Auto import components: https://go.nuxtjs.dev/config-components
components: true,
// Modules for dev and build (recommended): https://go.nuxtjs.dev/config-modules
buildModules: [
],
// Modules: https://go.nuxtjs.dev/config-modules
modules: [
],
// Build Configuration: https://go.nuxtjs.dev/config-build
build: {
}
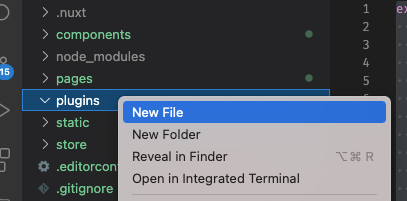
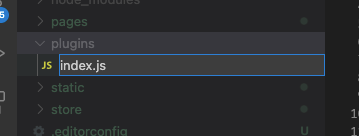
}그리고 plugins/index.js에 플러그인 파일도 만들어주자.
코드 내용은 아래와 같다.
export default ({ store, isHMR }) => {
  if (isHMR) return
}
이제 다 된거나 다름 없다. 위에서 준비한 Store를 컴포넌트에서 호출 하기만 하면 된다.
Getter를 호출 해보자. pages/index.js파일 코드를 아래와 같이 몇줄 추가 해준다.
<template>
  <div>
    이것은 테스트 입니다.
    <br />
    당신의 ip주소는 {{ ip_addr }}입니다.
  </div>
</template>

<script>
import { mapGetters } from 'vuex'
export default {
  computed: {
    ...mapGetters('session', ['ip_addr']),
  },
}
</script>
그리고 실행시 텍스트는 잘 나오지만 아이피주소가 출력 되지 않는다. 왜냐하면 아직 setter를 부르지 않았기 때문이다. (아직 아무런 값을 넣지 않았다.)
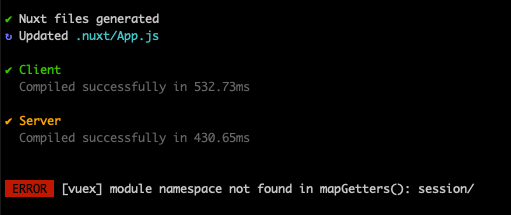
만약 Vuex Store을 폴더 구성을 잘못 한다면 아래와 같이 네임스페이스 관련 에러가 발생할 것이다.
✔ Nuxt files generated                                                                                                                                                                                              17:34:57
↻ Updated .nuxt/App.js                                                                                                                                                                                              17:34:57

✔ Client
  Compiled successfully in 532.73ms

✔ Server
  Compiled successfully in 430.65ms
ERROR [vuex] module namespace not found in mapGetters(): session/ 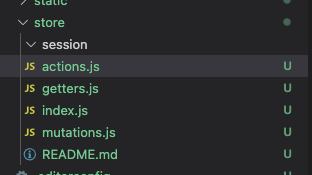
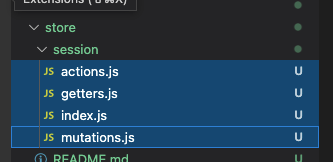
올바른 폴더 구성은 이와 같다.
이제 마지막으로 컴포넌트가 마운트 될때 dispatch를 이용해 스토어 액션을 호출 해주자.
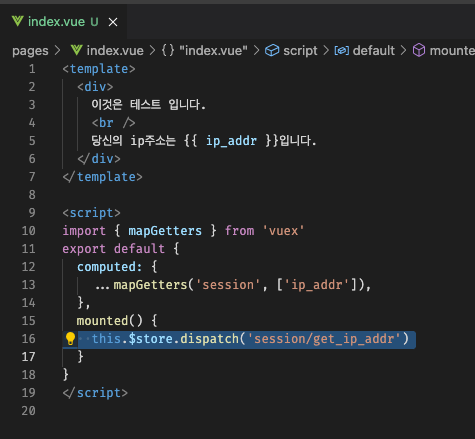
<template>
<div>
이것은 테스트 입니다.
<br />
당신의 ip주소는 {{ ip_addr }}입니다.
</div>
</template>
<script>
import { mapGetters } from 'vuex'
export default {
computed: {
...mapGetters('session', ['ip_addr']),
},
mounted() {
this.$store.dispatch('session/get_ip_addr')
}
}
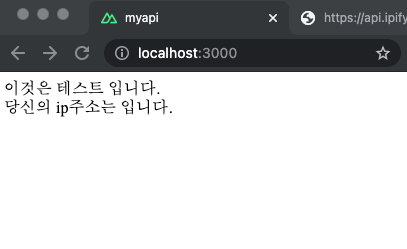
</script>브라우저를 확인 해보면 IP주소가 잘 나오고 있는 것을 알 수 있다.
새로고침을 하면 처음에 당신의 ip주소는 입니다. 라고 공란이 나오는 몇초간의 로딩이 있다. Vue/Nuxt의 장점을 살려 이를 리액티브 하게 바꿔보면 아래처럼 v-if, v-else 키워드를 활용 할 수 있다.
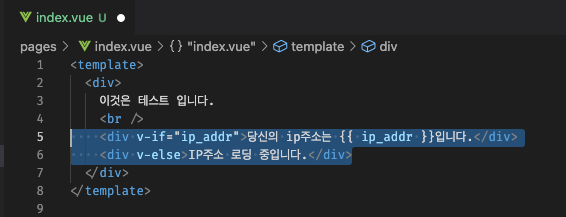
<template>
  <div>
    이것은 테스트 입니다.
    <br />
    <div v-if="ip_addr">당신의 ip주소는 {{ ip_addr }}입니다.</div>
    <div v-else>IP주소 로딩 중입니다.</div>
  </div>
</template>

<script>
import { mapGetters } from 'vuex'
export default {
  computed: {
    ...mapGetters('session', ['ip_addr']),
  },
  mounted() {
    this.$store.dispatch('session/get_ip_addr')
  }
}
</script>
새로 고침을 해보면 위 움짤처럼 로딩 결과에 따라 표시되는 텍스트가 변경 되는 것을 알 수 있다.
부트스트랩, 뷰티파이 등을 활용 한다면 로딩스피너(Spinner) 같은걸 넣어서 이쁘고 화려하게 꾸밀 수 도 있다. 이런건 다음 포스팅에서 차차 알아보도록 하겠다.