일반적으로 이미지는 RGB 세 채널을 가진다.
Python에서는 imageio module을 쓰는데, 이걸로 PNG image를 로딩해보자.
# In[2]:
import imageio

img_arr = imageio.imread('../data/p1ch4/image_dog/bobby.jpg')
img_arr.shape

# Out[2]:
(720, 1280, 3)
원래 TorchVision을 쓰는데, 가볍게 살펴보려고 쓴다고 한다.
permute를 사용하면 올바른 layout을 얻을 수 있다.
지금 주어진 input tensor는 로 얻었지만 채널이 맨 앞으로 오길 원한다.
# In[3]:
img = torch.from_numpy(img_arr)
out = img.permute(2, 0, 1)
이전에 설명했던 것처럼, 이러한 연산과정은 tensor data의 copy본을 만들어 내는 것이 아니라, 같은 storage를 img로서 오직 size와 stride information을 변형한 것이다. 그래서 매우 간편하고 효율적이다. 그러나 img의 픽셀을 바꾸게 되면 out이 바뀌게 된다.
그리고 딥러닝 frameworks에 따라 layout들이 다른데, 예를들어서 TensorFlow같은 경우 layout이다(현재는 여러가지 layout을 지원한다고 함). 이러한 전략은 장단점이 있는데, 뭐 별 차이 없다 적절하게 reshape하면.
PyTorch는
이미지를 tensor로 가진다.
# In[4]:
batch_size = 3
batch = torch.zeros(batch_size, 3 , 256, 256, dtype=torch.unit8)
좀 약간 효과적인 stack대체는 다음과 같은데, 먼저 tensor를 할당해주는 것이다.
세개의 RGB 이미지들이 256 pixels의 높이와 256 pixels의 너비를 가진다. 일반적인 소비자들이 쓰는 카메라들은 8-bit integer를 표현할 수 있다.
# In[5]:
import os

data_dir = '../data/p1ch4/image_cats/'
filenames = [name for name in os.listdir(data_dir)
			if os.path.splitext(name)[-1]== '.png']

for i, filename in enumerate(filenames):
	img_arr = imageio.imread(os.path.join(data_dir, filename))
    img_t = torch.from_numpy(img_arr)
    img_t = torch.permute(2, 0, 1)
    img_t = img_t[:3]
    batch[i] = img_t
Normalizing the data
뉴럴네트워크는 floating-point tensor를 사용한다고 했다. 신경망은 input data가 대략 0~1 사이거나 -1 ~ 1 인 경우 성능이 좋다.(??)
그래서 우리는 tensor의 pixel을 floating-pont and normalize를 진행할 것이다. floating-point로 캐스팅하는 건 쉽다. 그러나 normalization은 까다롭고, 입력값의 범위에 의존한다.
한가지 쉬운 방법은 그냥 255(maximum representable number in 8-bit unsigned)로 나눈 거다.
# In[6]:
batch = batch.float()
batch /= 255.0
또 다른 방법은, 평균과 표준편차를 이용해 평균을 0을 가지고 표준편차를 1을 가지는 것으로 scale한다.
# In[7]:
n_channels = batch.shape[1]
for c in range(n_channels):
	mean = torch.mean(batch[:, c])
    std = torch.std(batch[:, c])
    batch[:, c] = (batch[:, c] - mean) / std
3D images : Volumetric data
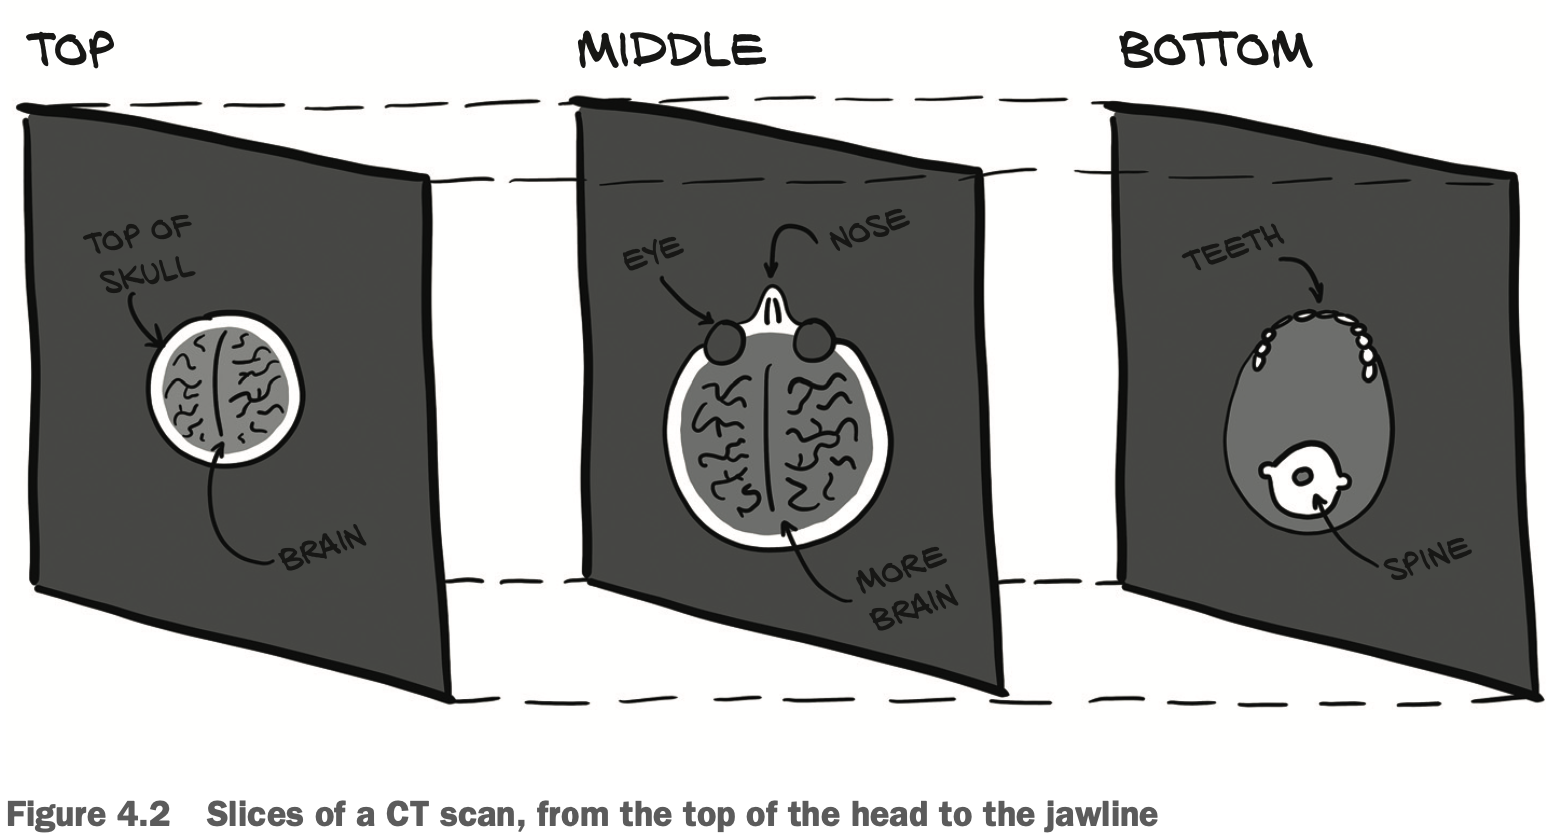
위 이미지 처럼 CT같은 경우는 라는 새로운 dimension을 추가해야한다. 이를 5D tensor라고 하며
로 나타낸다. (채널뒤에 depth를 넣음)
이러한 이미지(Digital Imaging and Communications in Medicine)DICOM files를 로딩하기 위해서는 NumPy 3D array가 필요하다.
# In[2]:
import imageio

dir_path = "../data/p1ch4/volumetric-dicom/2-LUNG 3.0 B70f-04083"
vol_arr = imageio.volread(dir_path, 'DICOM')
vol_arr.shape

# Out[2]:
Reading DICOM (examining files): 1/99 files (1.0%99/99 files (100.0$)
	Found 1 correct series.
Reading DICOM (loading data): 31/99 (31.392/99   (92.999/99.  (100.0%)

(99, 512, 512)
이 데이터는 현재 channel이 없는 상태이다. 따라서 채널 차원을 unqueeze를 통해 새로 만들어 줘야 한다.
# In[3]:
vol = torch.from_numpy(vol_arr).float()
vol = torch.unqueeze(vol, 0)

vol.shape

# Out[3]:
torch.Size([1, 99, 512, 512])
여기까지만 하고 나머지는 나중에 본다고 한다.