body에서 각각 style을 주는것이 아니라, style을 따로 지정해주면 해당 조건에 맞는 출력문은 자동으로 적용된다.
아래와 같이 style을 본문이 아닌 위쪽에 지정해주면 출력문에 해당하는 조건이 맞으면 적용된다.
아래 code 에보면 h1태그, h2태그에 각각 적용하였다. body(출력문)에 해당하는 태그가 여러개 있으면 여러개 다 적용된다.
<!DOCTYPE html>
<html lang="en">
<head>
    <meta charset="UTF-8">
    <meta name="viewport" content="width=device-width, initial-scale=1.0">
    <title>Document</title>
    <style>
        h1{
            font-family: 'Times New Roman', Times, serif;
            font-size: 30pt;
            color: green;
        }

        h2{
            font-family: '궁서체';
            font-size: 30pt;
        }
    </style>
</head>
<body>
    <h1>Have a Nice Day</h1>
    <h2>오늘은 비오는 목요일</h2>
</body>
</html>
그림 및 list
- 그림에 들어가는 글자 등등 모두 적용 가능하다.
<!DOCTYPE html>
<html lang="en">
<head>
    <meta charset="UTF-8">
    <meta name="viewport" content="width=device-width, initial-scale=1.0">
    <title>Document</title>

    <style>
        body{
            font-family: '궁서체';
        }
        li{
            list-style: none;
            /* float: left; -- 가로로 배치하기. */
        }
    </style>
</head>
<body>
    <h1>나라별 치즈의 종류</h1>
    <ul>
        <li><img src="../html_img/cheese1.png"></li>
        <li><img src="../html_img/flag01.jpg"></li>
        <li>브리치즈, 까마엡르 치즈 등..</li>
    </ul>
    <ul>
        <li><img src="../html_img/cheese2.png"></li>
        <li><img src="../html_img/flag02.jpg"></li>
        <li>체다치즈, 모짜렐라 치즈 등..</li>
    </ul>
    <ul>
        <li><img src="../html_img/cheese3.png"></li>
        <li><img src="../html_img/flag03.jpg"></li>
        <li>치이이이즈으으으으</li>
    </ul>
</body>
</html>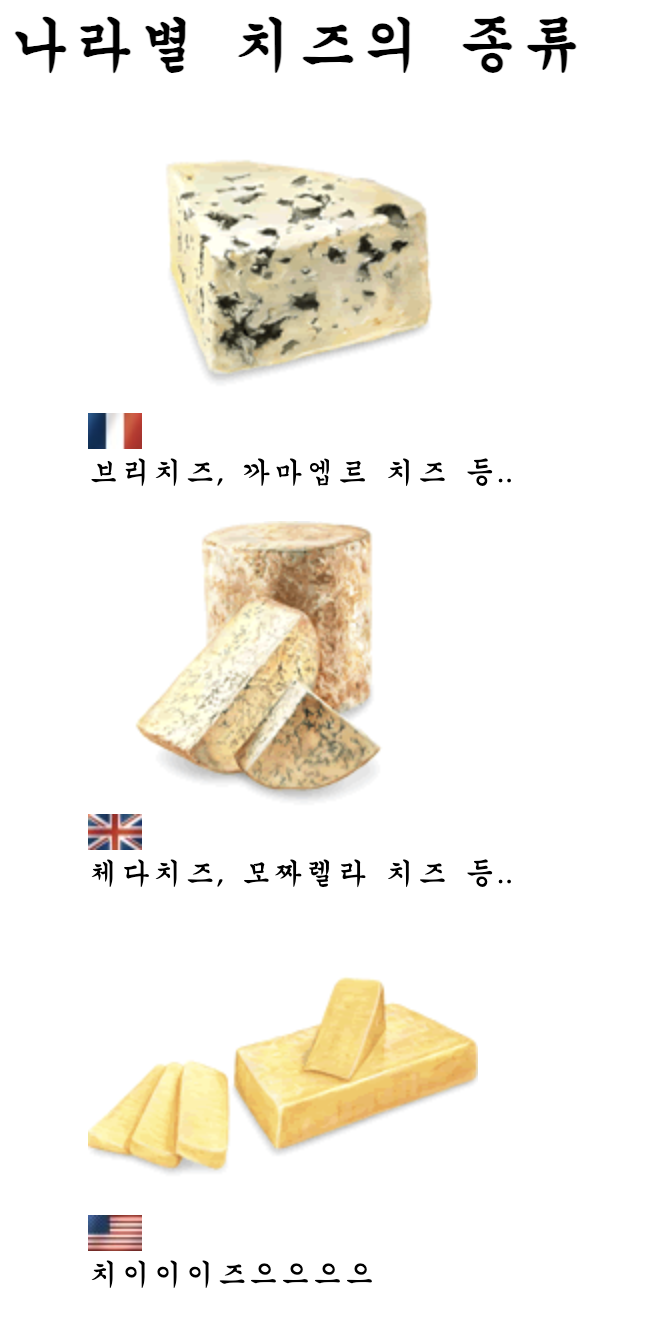
예제 및 :hover(마우스를 메뉴에 올리면 발생하는 이벤트)
<!DOCTYPE html>
<html lang="en">
<head>
    <meta charset="UTF-8">
    <meta name="viewport" content="width=device-width, initial-scale=1.0">
    <link rel="preconnect" href="https://fonts.googleapis.com">
    <link rel="preconnect" href="https://fonts.googleapis.com">
<link rel="preconnect" href="https://fonts.gstatic.com" crossorigin>
<link href="https://fonts.googleapis.com/css2?family=Bagel+Fat+One&family=East+Sea+Dokdo&family=Moirai+One&family=Nanum+Pen+Script&family=Orbit&display=swap" rel="stylesheet">
    <title>Document</title>
    <style>
        li{
            list-style: none;
            float: left;
            width: 150px;
            height: 50px;
            border: 1px solid gray;
            text-align: center; /* 가로방향 가운데로 위치  */
            line-height: 50px; /* 줄간격 : 세로가운데 주려면 위에 준 height와 동일한 값을 주어야 한다. */
            margin-left: 10px; /* 왼쪽으로 띄우기 */
            margin-right: 5px;
            margin-top: 20px;
            /* margin: 20px 10px 0 3px; : top부터 시계방향으로 값 주는 것 */
            background-color: aqua;
            font-size: 25px;
            font-family: 'Bagel Fat One'; /* 위의 ling에서 복붙 하고(&family= 기준으로 끊어주는듯), '+'표시는 스페이스바로 대체하여 기입한다. */
            border-radius: 20px; /* 모서리 round값 주기 100 px 주면 동그래짐. */
        }
        li:hover{ /* 마우스를 메뉴에 올려놓을때 생기는 이벤트 */
            background-color: violet; /* 마우스 올려놓았을때 배경색상 변경 */
            color: white; /* 마우스 올려놓았을때 글씨색상 변경 */
            cursor: pointer; /* 마우스 올려놓았을때 마우스 커서모양 변경 변경 */
            box-shadow: 5px 5px 5px 5px gray; /* 마우스 올려놓았을때 그림자 생성 (값이 3개니까 3방향 그림자 생성) */
        }
    </style>
</head>
<body>
    <h1>ul을 이용하여 간단하게 메뉴를 만들어보자</h1>
    <br>
    <ul>
        <li>Home</li>
        <li>shop 소개</li>
        <li>게시판</li>
        <li>방명록</li>
        <li>오시는길</li>
        <li>Q&A</li>
    </ul>
</body>
</html>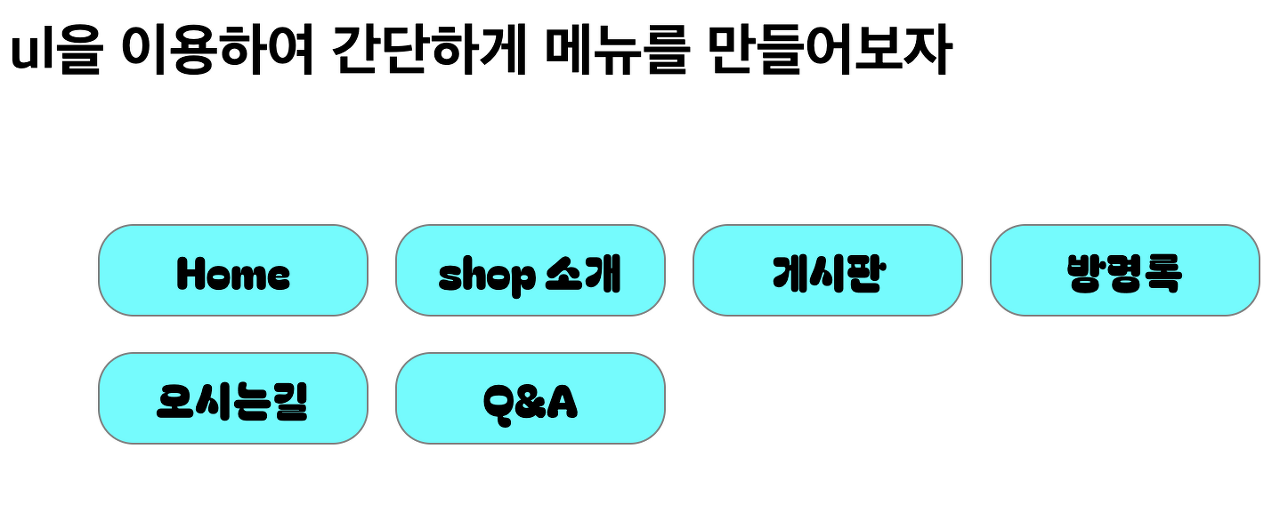

<!DOCTYPE html>
<html lang="en">
<head>
<meta charset="UTF-8">
<meta name="viewport" content="width=device-width, initial-scale=1.0">
<title>Document</title>
<style>
#myimg1{
width: 200px;
height: 200px;
border-radius: 30px;
border: 2px solid rgb(90, 90, 210);
}
/* #myimg1:hover{
background-image: url("../day0712/flower_ani/f1.png");
}
#myimg1:active{
background-image: url("../day0712/flower_ani/f10");
} */
</style>
</head>
<body>
<!-- 이미지 마우스 이벤트 -->
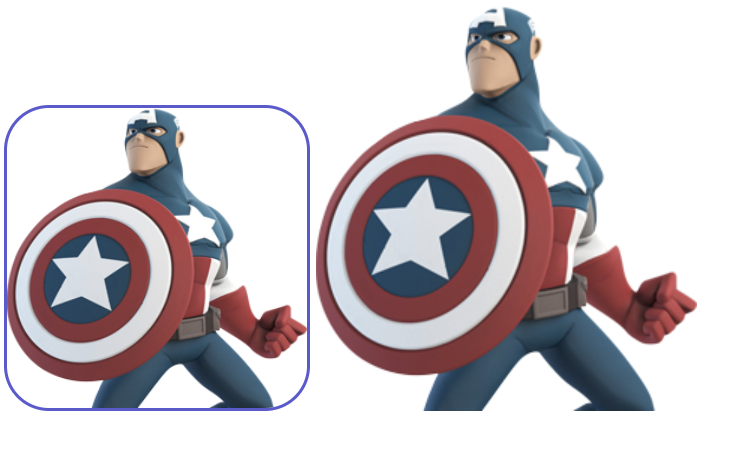
<img src="../logoImg/captain.png" title="캡틴 아메리카" id="myimg1"
onmouseover="this.src='../day0712/flower_ani/f1.png'"
onmouseout="this.src='../logoImg/captain.png'">
<img src="../logoImg/a05.png" onmouseenter="this.src='../logoImg/captain.png'" onmouseleave="this.src='../logoImg/a05.png'">
</body>
</html>기본사진
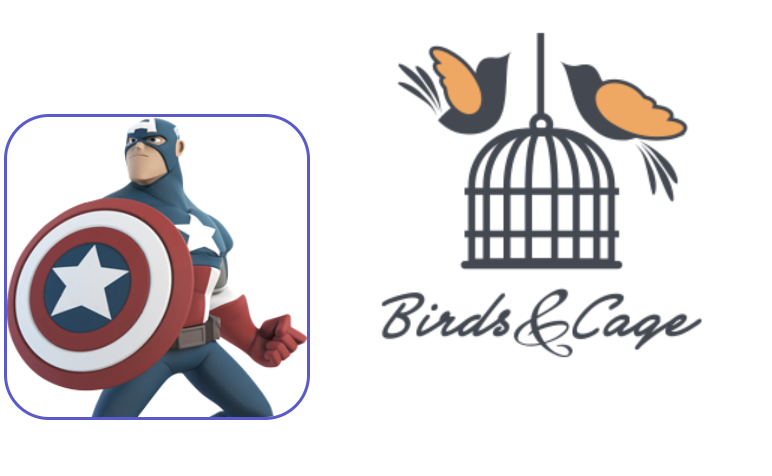
왼쪽 사진에 마우스를 올렸을 때
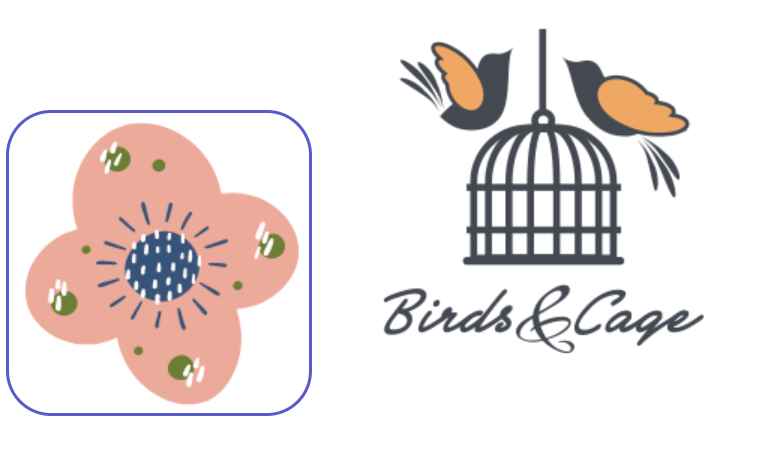
오른쪽 사진에 마우스를 올렸을 때

java를 잡아...... 하... 이게 맞나...