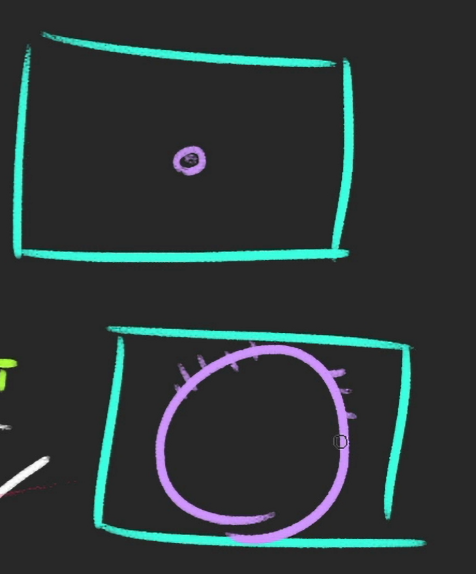
Shadow
Shadow Map
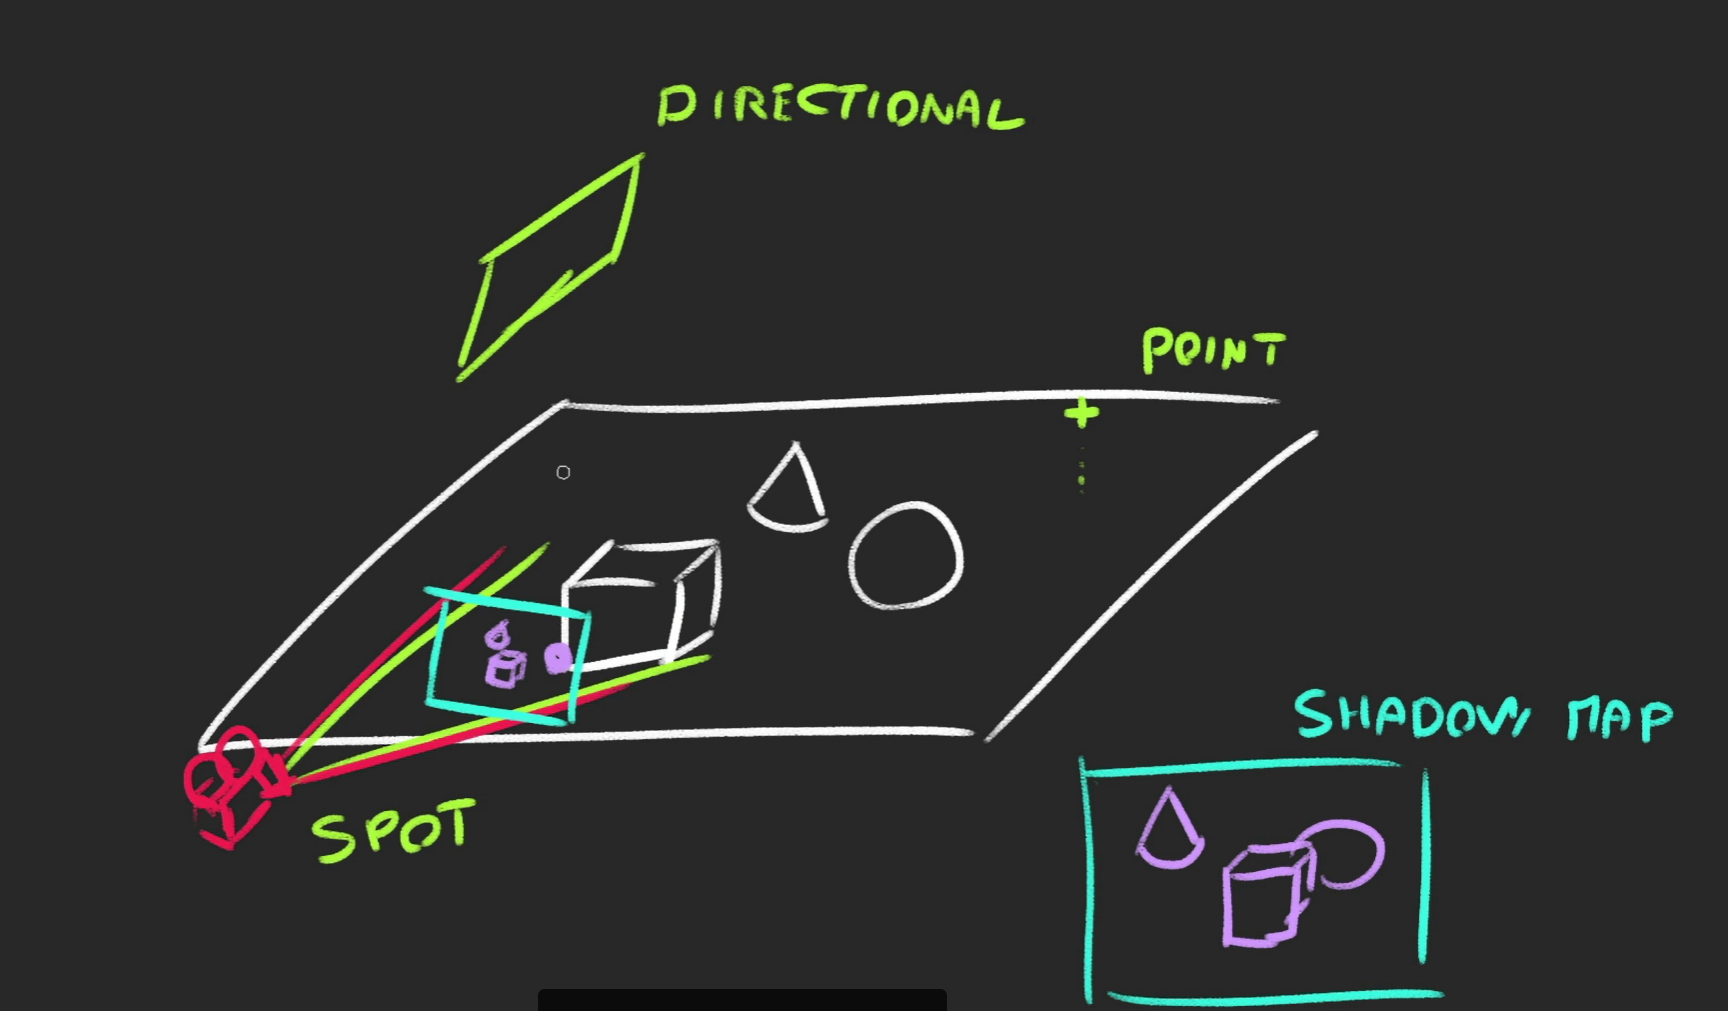
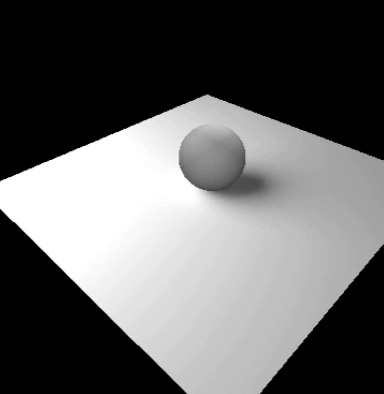
spotlight을 사용하고 이 화면을 렌더할때, shadow map이 생기는데 three.js 는 이 shadow map을 바탕으로 plane에 shadow를 만듦
renderer.shadowMap.enabled = true

sphere.castShadow = true
plane.receiveShadow = true

directionalLight.castShadow = true
PointLight, DirectionalLight, SpotLight만이 shadow를 사용할 수 있다.
Shadow map optimizations
mapSize
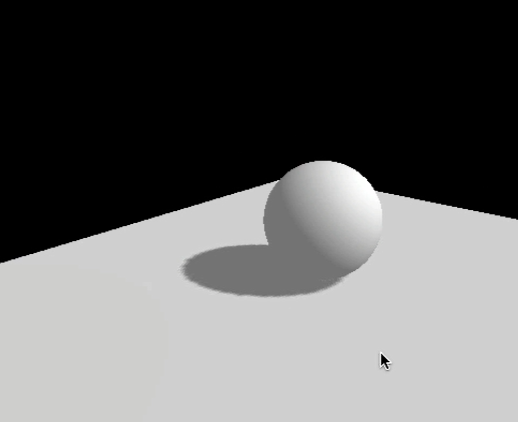
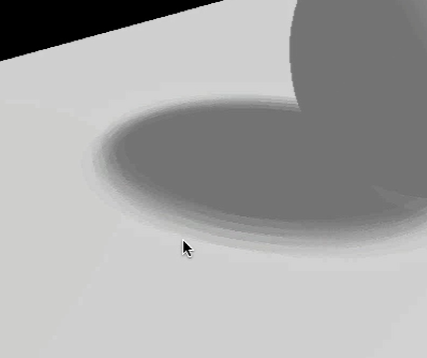
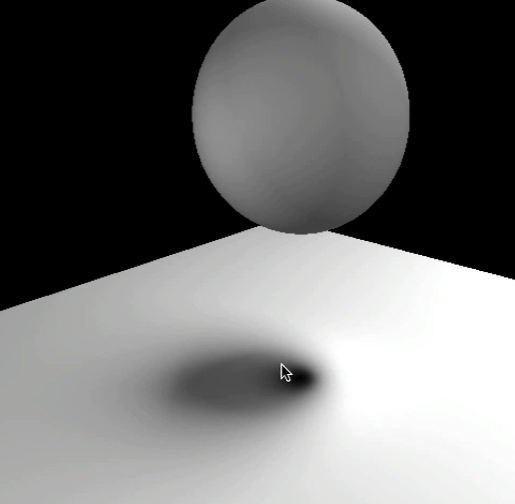
위 사진을 보면 그림자가 조금 찌그러져있는데, 이를 개선하기 위해 shadow map에 접근하자
일반적인 shadow map의 크기는 512x512로, 이를 개선하기 위해 2배 곱해준 값을 설정하자.
directionalLight.shadow.mapSize.width = 1024
directionalLight.shadow.mapSize.height = 1024
Near and Far
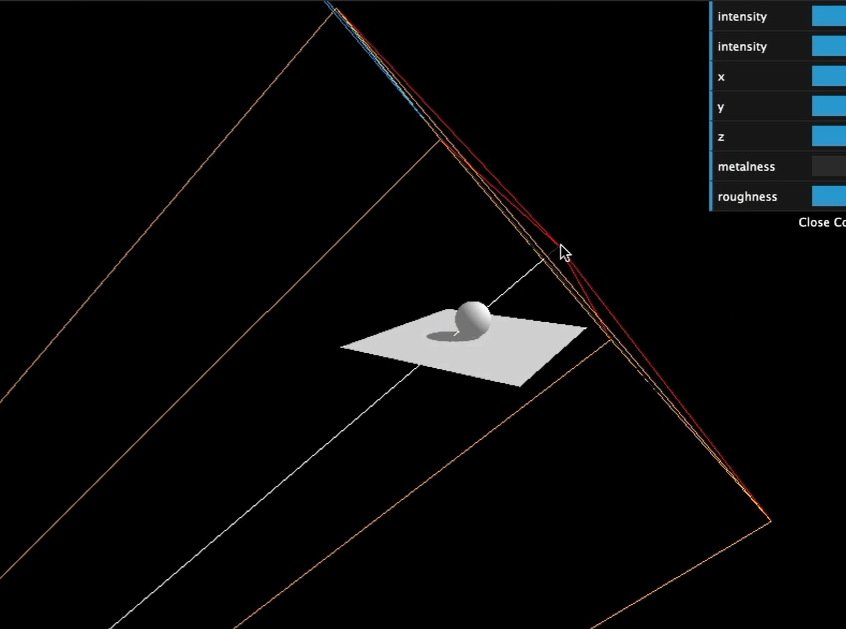
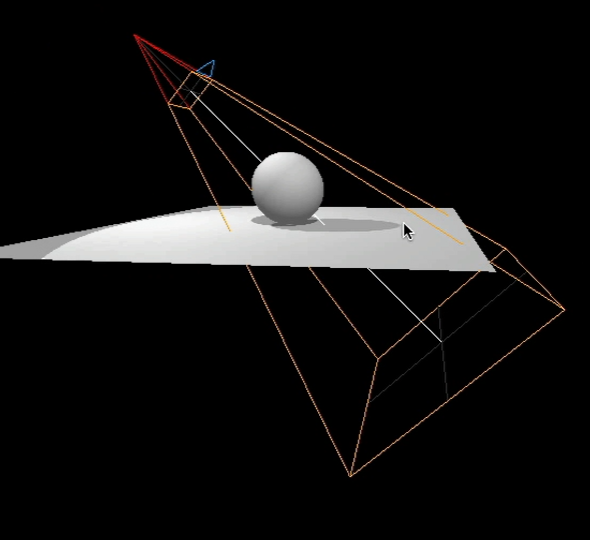
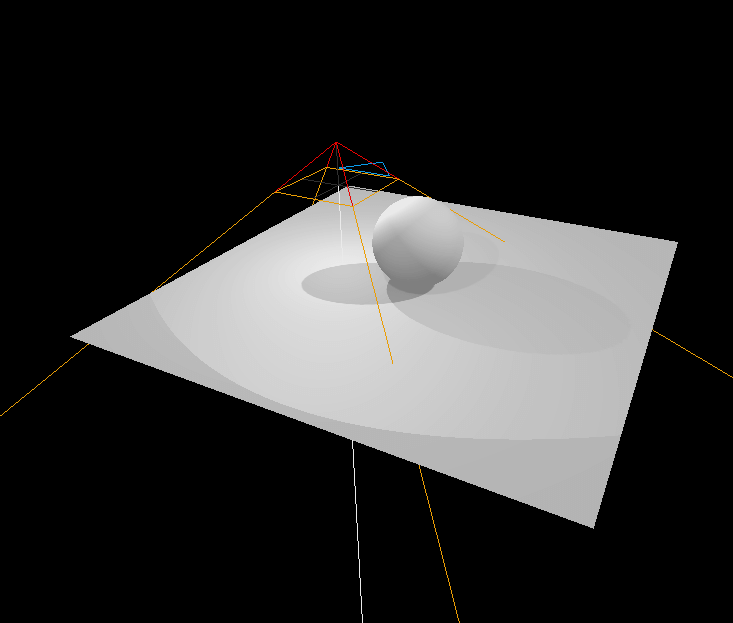
디폴트값의 shadow.camera의 far은 far이 안보일정도로 굉장히 멀리있으므로 이를 조정해주자.
const directionalLightCameraHelper = new THREE.CameraHelper(directionalLight.shadow.camera)
directionalLightCameraHelper.visible = true
scene.add(directionalLightCameraHelper)


directionalLight.shadow.camera.near = 1;
directionalLight.shadow.camera.far = 6;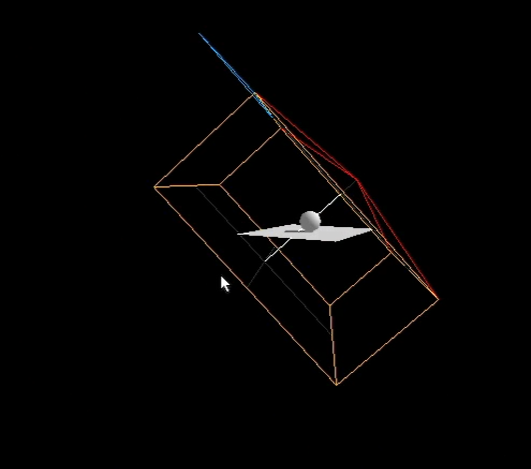
만약 camera.far의 값이 scene을 다 커버하지못할정도로 작다면, (6 대신 3.8을 기입)
이렇게 잘립니다
Amplitude
위 사진에서 보이듯이 노란박스 크기가 scene에 비해 엄청 크다. amplitude를 작게만들어주자.
위 사진 directional 카메라의 크기(주황색선)을 조정하는것과 같다.
DirectionalLight에서 Three.js는 OrthographicCamera를 사용한다.
amplitude를 조정하기 위해서는 카메라의 top, bottom, left, right를 제어해야하며
이 값이 작아질 수록 그림자가 선명해진다.
directionalLight.shadow.camera.top = 2
directionalLight.shadow.camera.right = 2
directionalLight.shadow.camera.bottom = - 2
directionalLight.shadow.camera.left = - 2
원이 큰 사진이 amplitude가 작을때 원의 그림자 디테일을 더 선명하게 볼수있다는 것을 설명하기 위한 그림
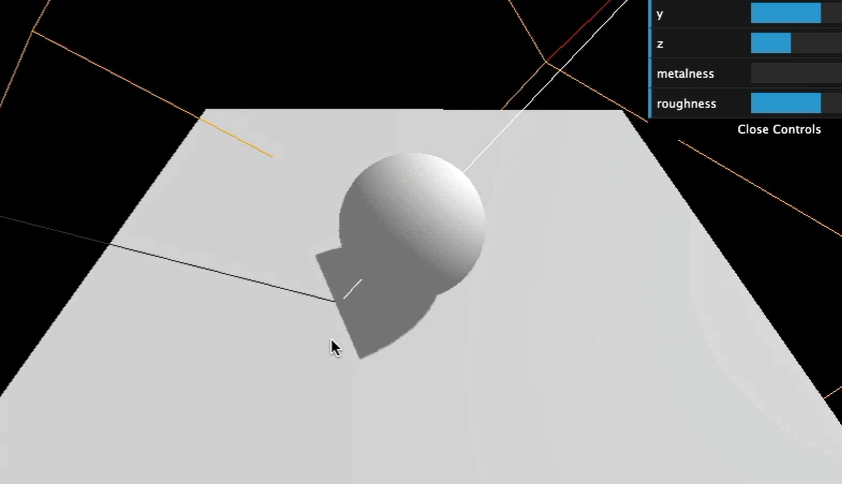
blur
shadow를 blurry하게 만들 수 있다.
directionalLight.shadow.radius = 10Shadow map algorithm
shadow map 에 적용될 수 있는 알고리즘은 4가지가 있다 :
- THREE.BasicShadowMap: 성능 good 퀄리티 bad
- THREE.PCFShadowMap: 성능 less 퀄리티 쏘쏘 (디폴트)
- THREE.PCFSoftShadowMap: 성능 less 퀄리티 굿
- THREE.VSMShadowMap: 성능 less 퀄리티 예상불가
renderer.shadowMap.type = THREE.PCFSoftShadowMap하지만 THREE.PCFSoftShadowMap 는 Light.shadow.radius가 적용되지 않는다.
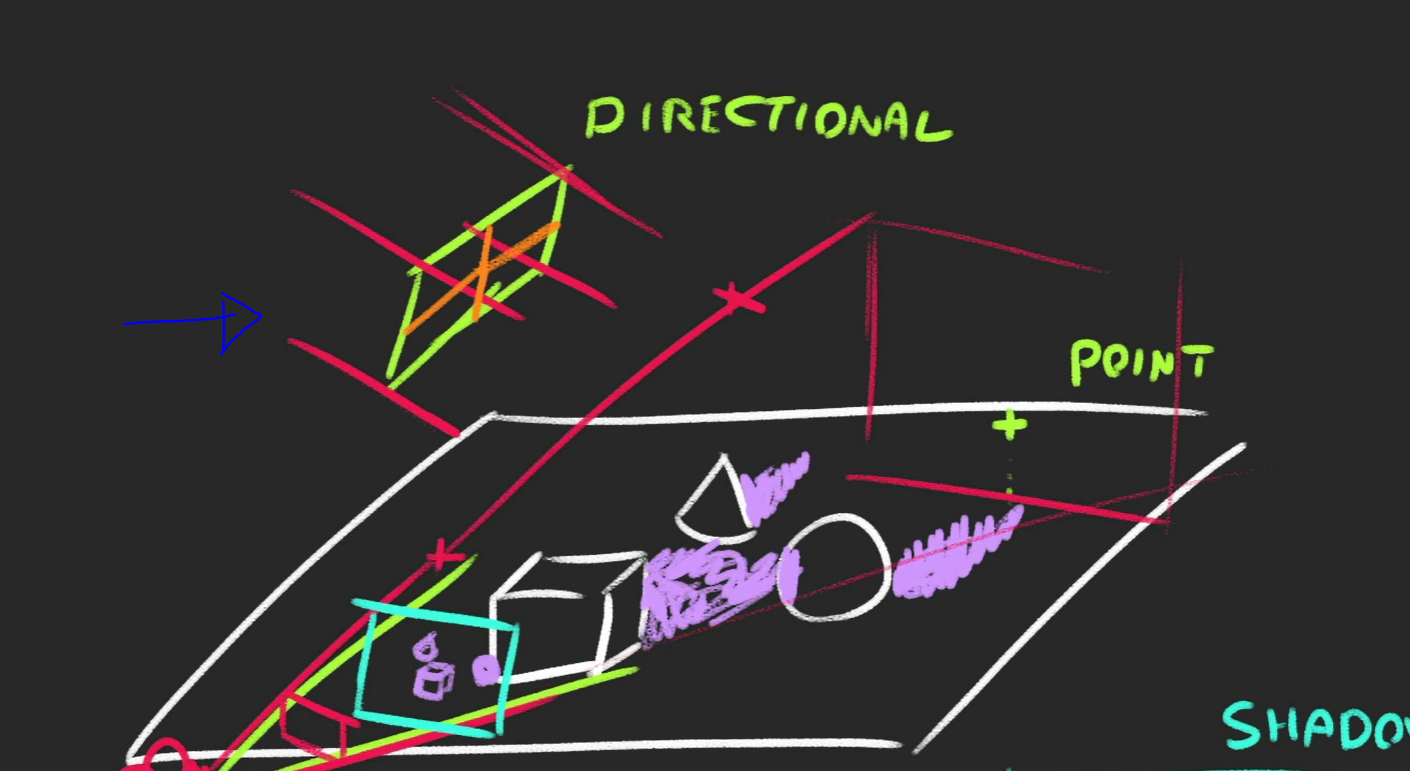
SpotLight
SpotLight는 Perspective Camera를 사용하기 때문에 OrthographicCamera과 달리 amplitude를 near 과 far을 이용해서 조정해야한다. 기존에는 fov를 통해 조정했는데 이제 안됨
// Spot light
const spotLight = new THREE.SpotLight(0xffffff, 3.6, 10, Math.PI * 0.3) //Math.PI * 0.3는 spotlight의 범위

spotLight.castShadow = true

spotLight.shadow.mapSize.width = 1024
spotLight.shadow.mapSize.height = 1024
spotLight.shadow.camera.near = 1
spotLight.shadow.camera.far = 6

spotLight.position.set(0, 2, 2)
scene.add(spotLight)
scene.add(spotLight.target)

const spotLightCameraHelper = new THREE.CameraHelper(spotLight.shadow.camera)
spotLightCameraHelper.visible = false
scene.add(spotLightCameraHelper)
PointLight
-
PerspectiveCamera를 이용하고 있는데 이는 Three.js가 PointLight에 대한 그림자 맵을 처리하는 방식 때문이다. -
PointLight는 모든 방향으로 빛을 비추기 때문에, Three.js는 큐브 그림자 맵을 생성하기 위해 6개의 방향 각각을 렌더링해야 한다. 위 사진의 카메라 헬퍼는 이 6개의 렌더링 중 마지막 렌더링에서의 카메라 위치(아래 방향)이다

-
그림자가 활성화된 PointLight를 많이 사용하면 성능에 문제가 생김
-
조정할 수 있는 속성은 mapSize, near, far
// Point light
const pointLight = new THREE.PointLight(0xffffff, 2.7)
pointLight.castShadow = true
pointLight.shadow.mapSize.width = 1024
pointLight.shadow.mapSize.height = 1024
pointLight.shadow.camera.near = 0.1
pointLight.shadow.camera.far = 5
pointLight.position.set(- 1, 1, 0)
scene.add(pointLight)

const pointLightCameraHelper = new THREE.CameraHelper(pointLight.shadow.camera)
pointLightCameraHelper.visible = false
scene.add(pointLightCameraHelper)
Baking shadows
shadow도 texture에 Baking을 하여 더 가볍게 만들 수 있다
우선 지금까지 만든 shadow들을 없애보자
renderer.shadowMap.enabled = false강사가 만든 밑에 shadow texture 중 bakedShadow을 불러오자
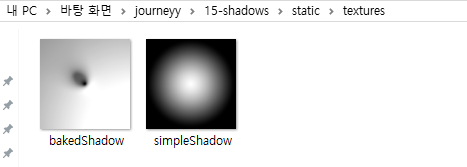
/**
 * Textures
 */
const textureLoader = new THREE.TextureLoader()
const bakedShadow = textureLoader.load('/textures/bakedShadow.jpg')
bakedShadow.colorSpace = THREE.SRGBColorSpace
//Textures used as map and matcap are supposed to be encoded in sRGB.

const plane = new THREE.Mesh(
    new THREE.PlaneGeometry(5, 5),
    new THREE.MeshBasicMaterial({
        map: bakedShadow
    })
)
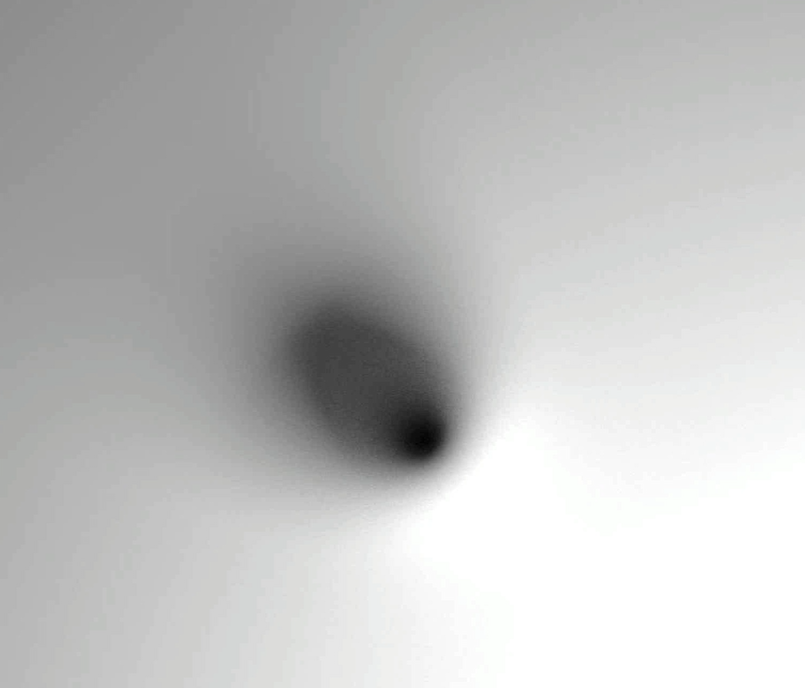
오 나쁘지 않은것같지만... 공의 y값을 높혀주면
shadow는 plane에 bake되었으므로 바로 엉성함이 티가난다.
Baking shadows alternative
공이 위아래로 튕기듯 움직인다면, 그림자 또한 다른 방식으로 표현해야한다.
그림자(이미지)를 공과 함께 이동시켜보자

흰색이 보이는 부분이고 검정 부분이 안보이는 부분이다.
공이 위로 가면 shadow plane 의 alpha 값을 줄이면 되고
공이 아래 plane 쪽으로 오면 shadow plane 의 alpha 값을 늘린다.
우선 plane의 기존 material을 다시 불러오고
const plane = new THREE.Mesh(new THREE.PlaneGeometry(5, 5), material)강사가 만든 밑에 shadow texture 중 simpleShadow을 불러오자
const simpleShadow = textureLoader.load('/textures/simpleShadow.jpg')
shadow plane만들기
그리고 공 밑에 shadow plane(sphereShadow)를 생성해줄것이다. 이 plane은 기존 floor plane보다 살짝 위에있을 것.!
const sphereShadow = new THREE.Mesh(
new THREE.PlaneGeometry(1.5, 1.5),
new THREE.MeshBasicMaterial({
color: 0xff0000,
})
)
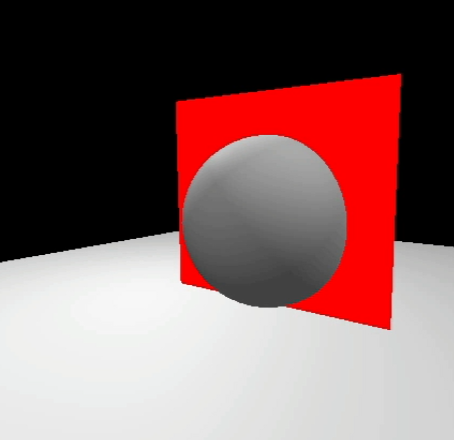
scene.add(sphereShadow)저 붉은색 plane이 공의 shadow가 될 것이다.
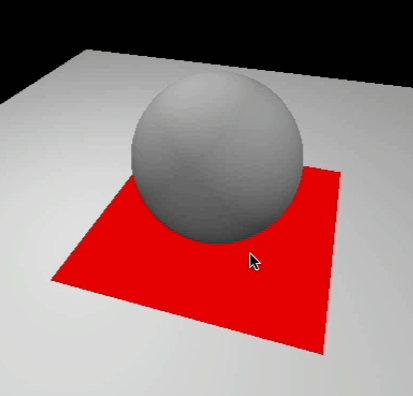
즉, 붉은색 plane이 이렇게 위치해야하는건데
우선 rotate를 통해 공과 평행해지도록 하고, 기존 floor plane보다는 조금 더 위에 위치시키자
공과 평행해지려면 x축을 방향으로 90도 회전 시켜야한다.
sphereShadow.rotation.x = -Math.PI * 0.5
sphereShadow.position.y = plane.position.y + 0.01
원 한 바퀴가 360°, 즉 2π 라디안 이므로 90도는 π / 2, 즉 Math.PI * 0.5
-를 안붙이면 plane의 반대쪽이 되므로-를 꼭 붙인다.
이제 해당 plane에 material로 simpleShadow를 alphaMap으로 넣어주자
const simpleShadow = textureLoader.load('/textures/simpleShadow.jpg')

const sphereShadow = new THREE.Mesh(
  new THREE.PlaneGeometry(1.5, 1.5),
  new THREE.MeshBasicMaterial({
    color: 0x000000,
    transparent: true,       // alphaMap 사용시 무조건 !!!
    alphaMap: simpleShadow, // 흰색은 보이는부분,검정색은 안보이는 부분을 적용하려면 alphaMap!
  })
)
animation
const clock = new THREE.Clock()
const tick = () => {
const elapsedTime = clock.getElapsedTime()
// Update the sphere
sphere.position.x = Math.cos(elapsedTime) * 1.5 // 1.5는 회전하는 원 방향의 크기
sphere.position.z = Math.sin(elapsedTime) * 1.5
//여기까진 원이 y축 방향으로 둥글게 회전
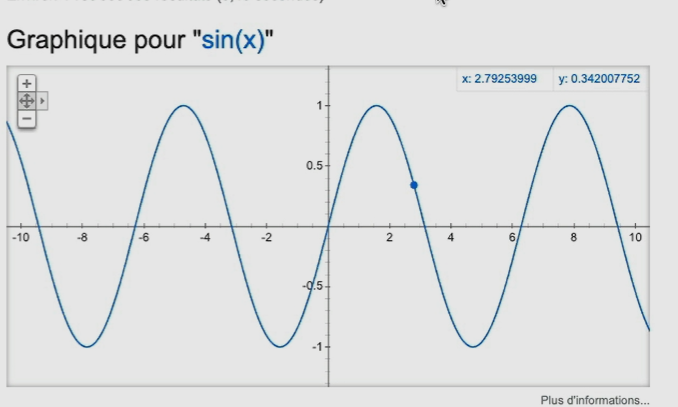
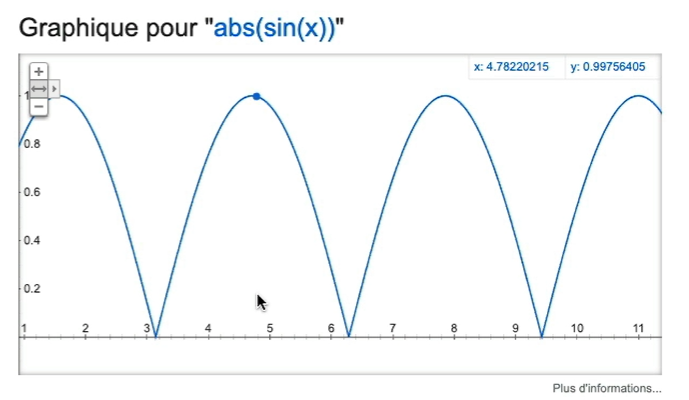
sphere.position.y = Math.abs(Math.sin(elapsedTime * 3)) // 밑에 설명
// 원이 통통 튄다
// Update the shadow
sphereShadow.position.x = sphere.position.x
sphereShadow.position.z = sphere.position.z
sphereShadow.material.opacity = (1 - sphere.position.y) * 0.3
// Update controls
controls.update()
// Render
renderer.render(scene, camera)
// Call tick again on the next frame
window.requestAnimationFrame(tick)
}
tick()
sphereShadow.material.opacity = (1 - sphere.position.y) * 0.3
sphere.position.y가 높으면(공이 위로 가면) shadow 가 흐릿해져야하고, 반대로sphere.position.y가 낮으면(공이 아래로 가면) shadow가 선명해야하므로!
sphere.position 이해 안가면
https://velog.io/@kurong/Three.js-journey-06-Camera 참고하기
sphere.position.y = Math.abs(Math.sin(elapsedTime * 3)) // 항상 양수 반환참고로 y에 abs가 쓰인 이유는 공이 통통 튀어야 하기 때문에 항상 양수값을 필요하기 때문.