Object
Graves
무덤을 생성하고 위치시켜보도록 하자
가운데 네모가 집이고, 무덤은 랜덤으로 보라색 + 처럼 배치해보려고한다
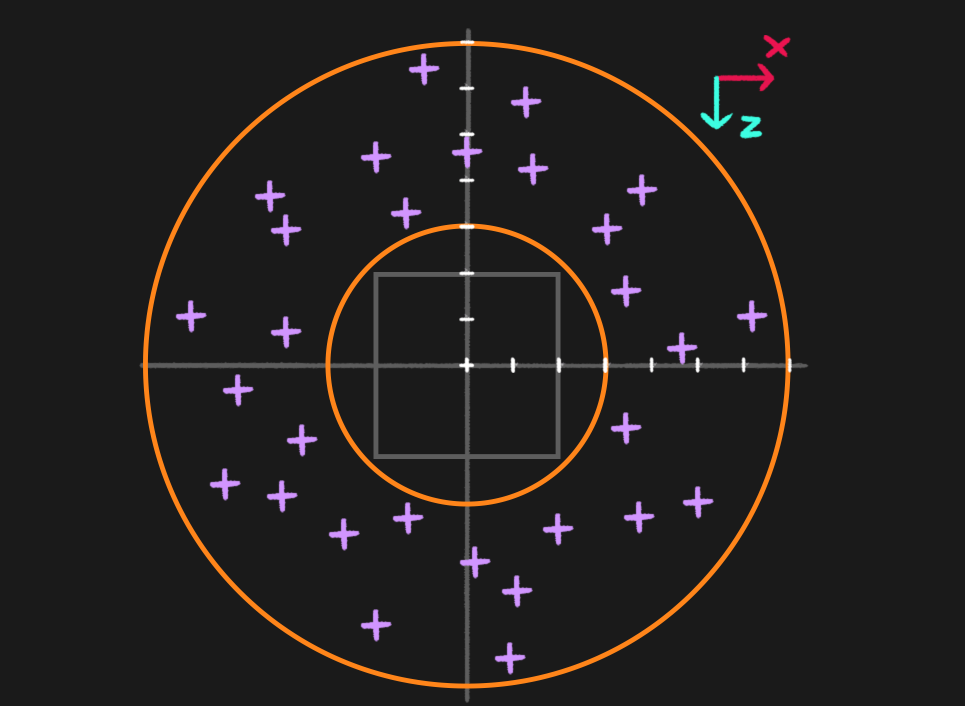
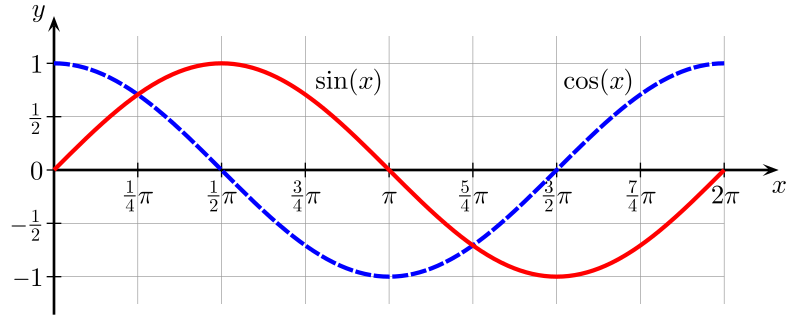
무덤이 랜덤으로 보라색 + 처럼 배치되려면 어떻게 해야할까? 👉 삼각함수 이용
보라색+는 결국cos와sin을 이용하여 구한 무덤의 x,z 좌표인것이다.
우리는 0에서부터 full circle 사이의 랜덤 angle이 필요하다
Math.PI가 half circle 이므로
Math.PI * 2 가 full circle이다.
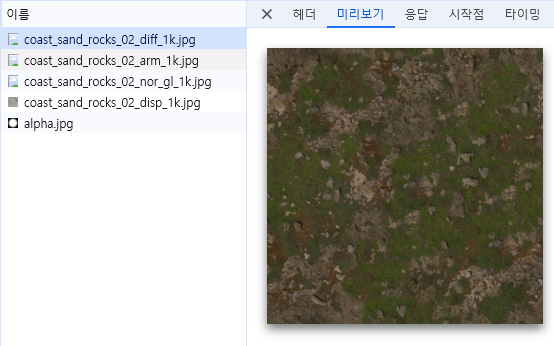
Textures
보통 모든 textures들을 jpg로 다운받지만 normal 텍스처는 png를 사용한다
poly haven 에서 텍스처를 가져올 경우
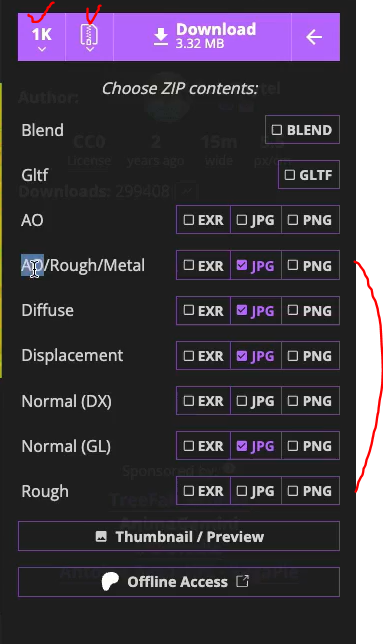
보통 이렇게 가져온다고 한다.
Normal은 GL이 주로 사용되며
displacement가 없는 경우 딱히 상관없음
diffuse는 texture의 color라고 생각하면 된다
ao/rough/metal 은 함께잇는게 메모리를 덜 차지하니까 함께있는걸 선택하면된다.
Floor
Alpha map
floor에 alpha map만 적용시킨 모습👇
Diffuse
diffuse 텍스처(color텍스처)도 map을 통해 적용시키자
ColorTexture 처럼 map 으로 사용되거나 matcapTexture을 사용할 시 colorSpace를 SRGBColorSpace로 적용해야 색상이 잘 먹힌다
const floor = new THREE.Mesh(
  new THREE.PlaneGeometry(20, 20),
  new THREE.MeshStandardMaterial({
    alphaMap: floorAlphaTexture,
    transparent: true, // alphaMap을 쓴다면 꼭!
    map: floorColorTexture,
  }) // 사실적인 표현 PBR 텍스처
)
Repeat
적용시켜보면 텍스처가 엄청 확대된것처럼 보인다. repeat을 이용해 크기를 줄여서 텍스처를 더 선명하게 반영해보자. 또한, 적용된 텍스처 색상과 실제 텍스처이미지의 색상이 다른데 이는 SRGBColorSpace을 적용해주면된다.
floorColorTexture.colorSpace = THREE.SRGBColorSpace

floorColorTexture.repeat.set(8,8)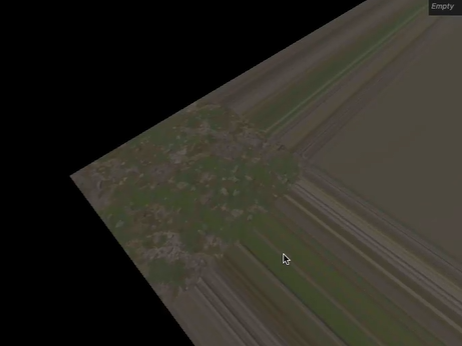
엥 왜이래요...?🧐👉 wrapS를 해야합니다.
https://velog.io/@kurong/Three.js-journey-10-Textures#repeat 참고하셈
floorColorTexture.wrapS = THREE.RepeatWrapping

floorColorTexture.wrapT = THREE.RepeatWrapping
displacementMap
const floor = new THREE.Mesh(
  new THREE.PlaneGeometry(20, 20, 100,100), //subdivision 100,100 추가
  new THREE.MeshStandardMaterial({
    alphaMap: floorAlphaTexture,
    transparent: true, // alphaMap을 쓴다면 꼭!
    map: floorColorTexture,
    aoMap: floorARMTexture,
    roughnessMap: floorARMTexture,
    metalnessMap: floorARMTexture,
    normalMap: floorNormalTexture,

    displacementMap: floorDisplacementTexture,
    displacementScale:0.3,
    displacementBias: -0.2,
  }) // 사실적인 표현 PBR 텍스처
)


// tweak
gui
  .add(floor.material, 'displacementBias')
  .min(-1)
  .max(1)
  .step(0.01)
  .name('floordisplacementBias')
-
displacementMap은 texture vertices들의 높낮이를 표현해주는데
displacementMap: floorDisplacementTexture만 추가하면 floor 자체의 높이가 갑자기 확 높아진다. -
현재 floor은 버텍스가 4개인 plane 면이여서 발생한 일로, plane에 subdivision을 높여주고,
displacementScale을 낮춰주면된다 -
displacementScale을 낮춰도 여전히 floor 자체가 위로 올라간 느낌이 드는데, 이는 displacement맵이 회색부분이 많다 = 모든 버텍스들이 위로 올라간다 라는 의미이다
-
floor을 더 아래로 위치시키기위해 displacementBias 를 사용
⚡ 참고로 wall 과 roof등 다른 텍스처를 다운할때는 displacement는 제외함
Lights
// Ambient light - light bouncing을 위해 모든 면에 빛이 적용됨 즉, 빛이 안들어오는 부분도 밝게 해준다
const ambientLight = new THREE.AmbientLight('#86cdff', 0.275) //달빛
scene.add(ambientLight)

// Directional light
const directionalLight = new THREE.DirectionalLight('#86cdff', 1)
directionalLight.position.set(3, 2, -8)
scene.add(directionalLight)
현재 이렇게 셋팅되어있는데, 만약 ambientLight가 없다면 directional light가 안들어오는 쪽은 light bouncing이 없기때문에 정말 어두울것이다.
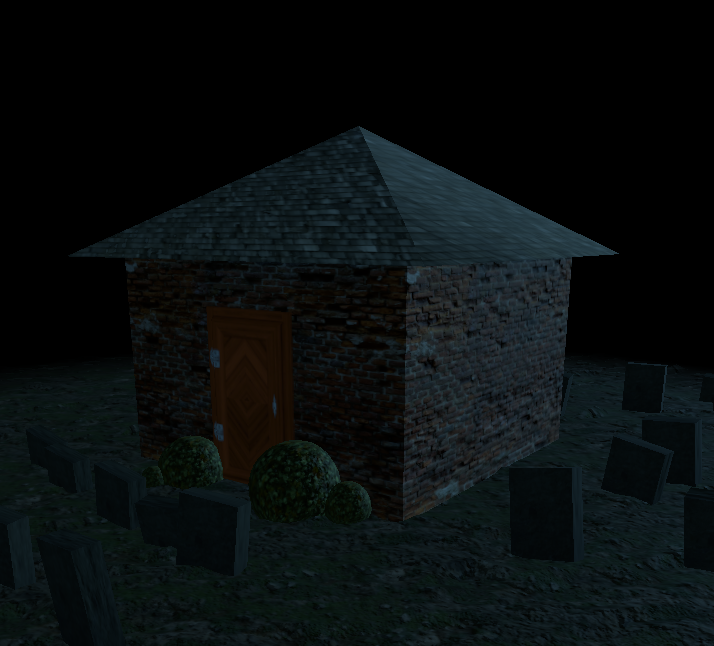
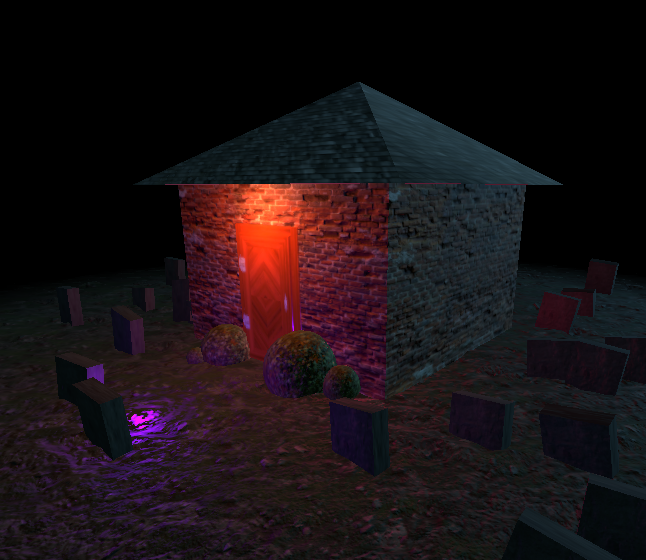
이제 문 쪽에 빛을 추가해보자.
// Door Light
const doorLight = new THREE.PointLight('#ff7d46', 5)
doorLight.position.set(0, 2.2, 2.5)
house.add(doorLight)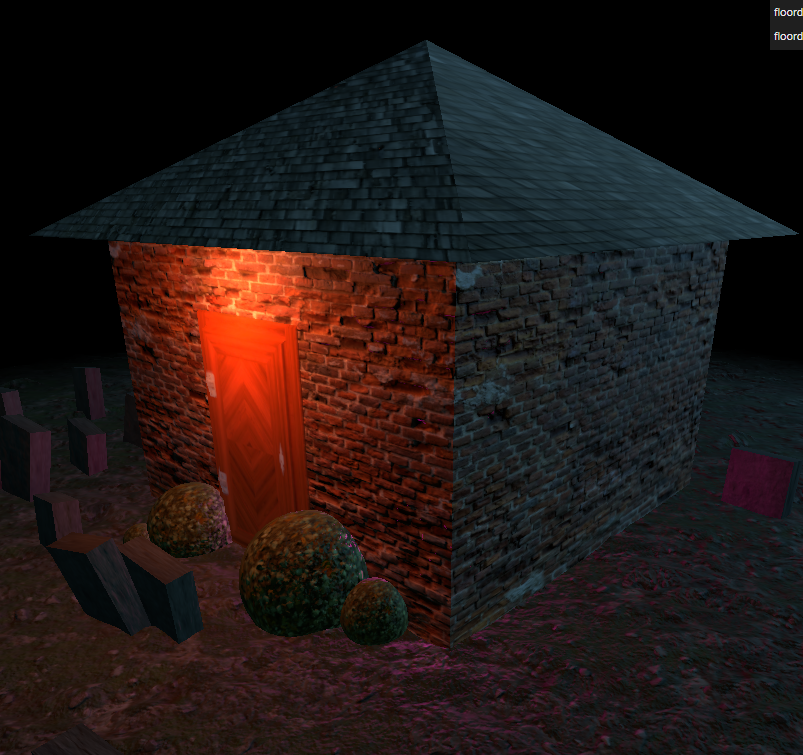
오....
괜찮은듯
Ghosts
/**
 * Animate
 */
const timer = new Timer()

const tick = () => {
  // Timer
  timer.update()
  const elapsedTime = timer.getElapsed()

  // Ghost
  const ghost1Angle = elapsedTime * 0.5 // 속도 늦춤
  ghost1.position.x = Math.cos(ghost1Angle) * 4
  ghost1.position.z = Math.sin(ghost1Angle) * 4

 ....

  window.requestAnimationFrame(tick)
}

tick()
현재 이 함수를 보면 ghost는 원을 그리며 집 주변을 이동하고있다
하지만 우리가 원하는 것은 ghost의 y 포지션을 변경하면서 땅 위로 올라왔다가 내려가는걸 불규칙적으로 반복하는것이다!
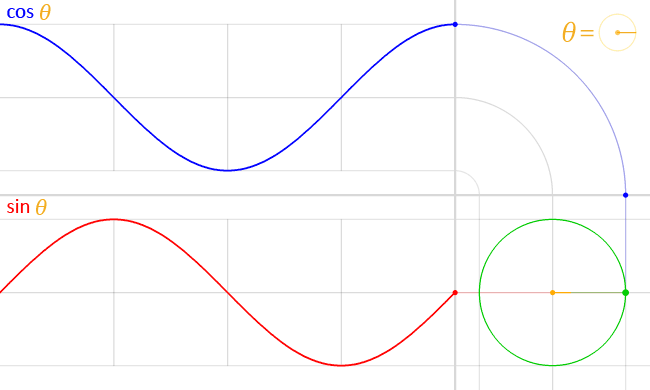
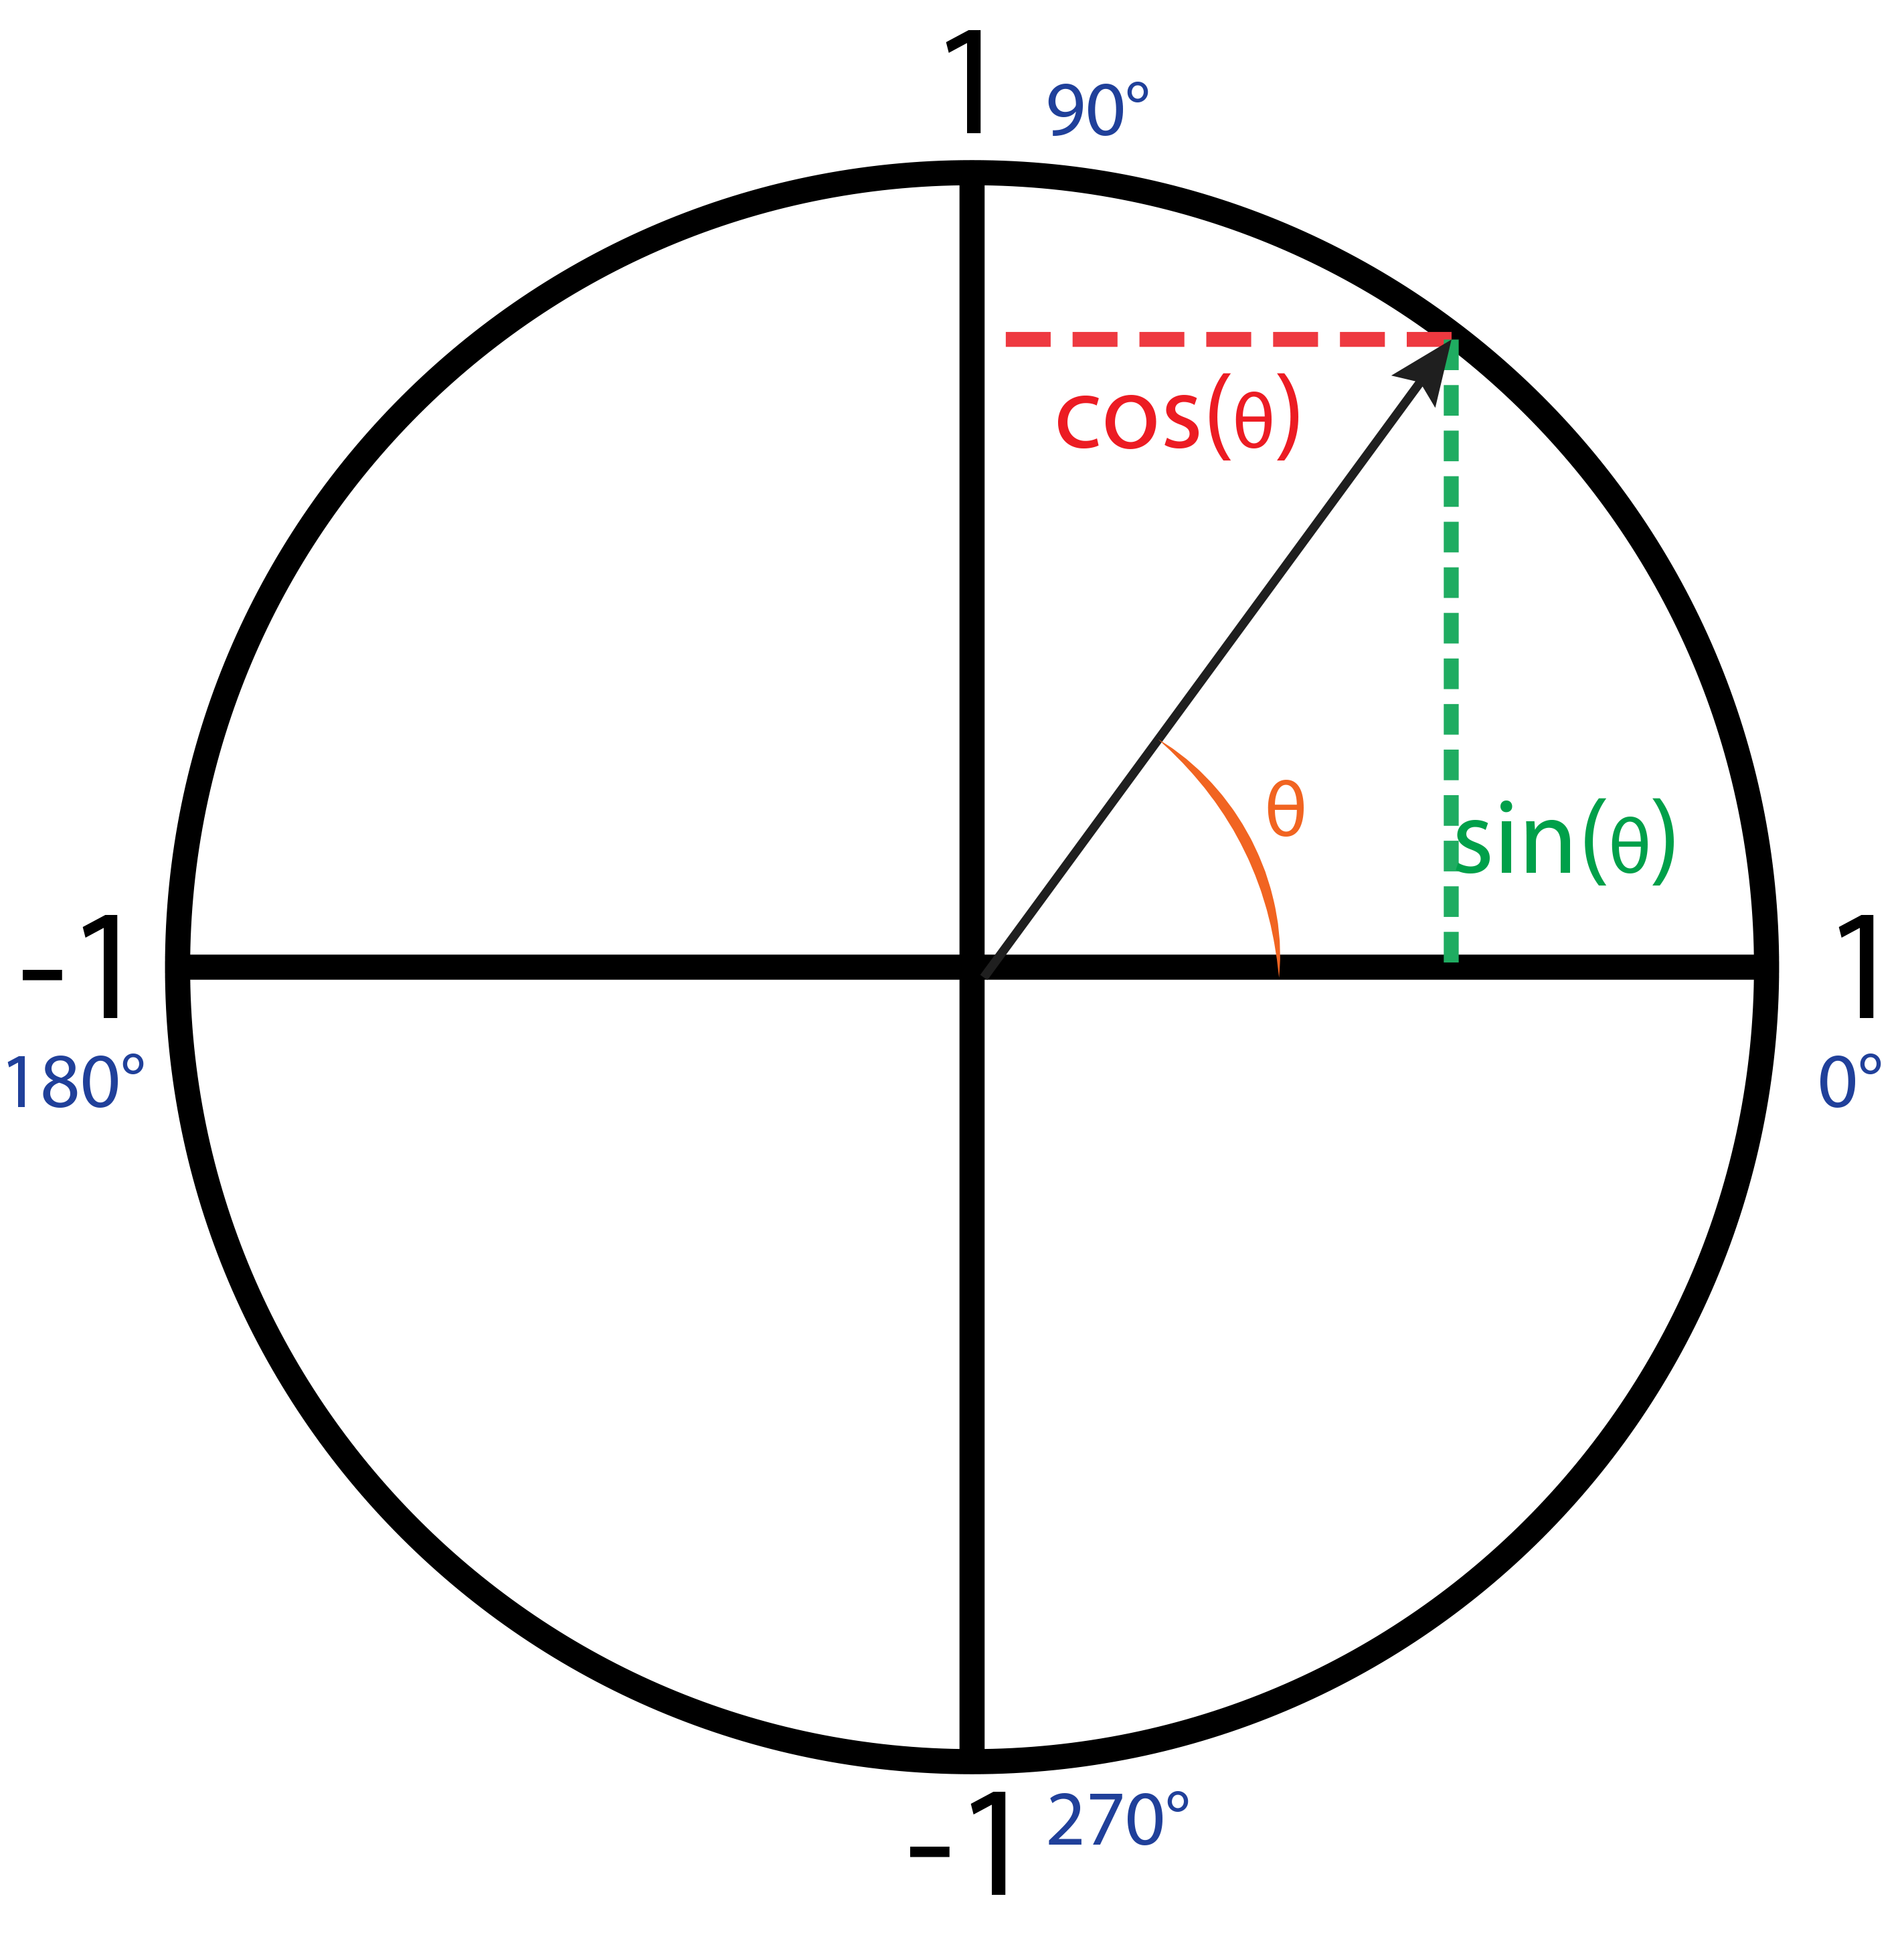
이 또한 삼각함수를 통해 구현할 수 있는데
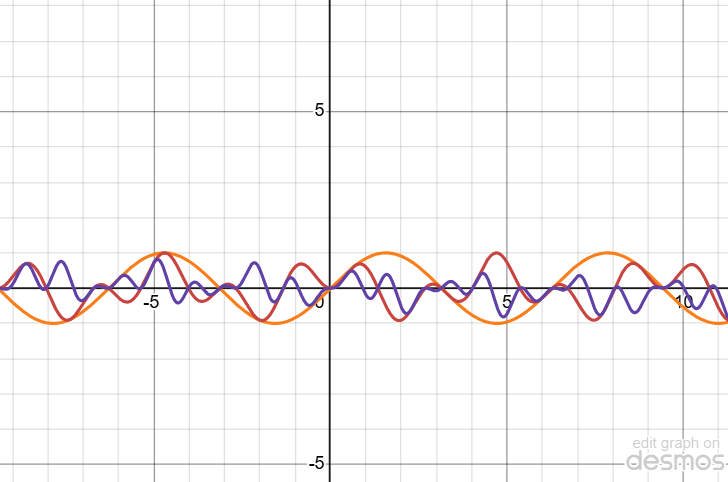
주황색 선이 일반적인 sin 그래프이다. 너무 규칙적이니까 보라색선처럼 불규칙적으로 만들려면 sin(x) * sin(x*2.34) * sin(x * 3.45)
걍 아무 숫자나 테스트해보면 됨
ghost1.position.y= Math.sin(ghost1Angle) * Math.sin(ghost1Angle*2.34) * Math.sin(ghost1Angle*3.45)Shadows
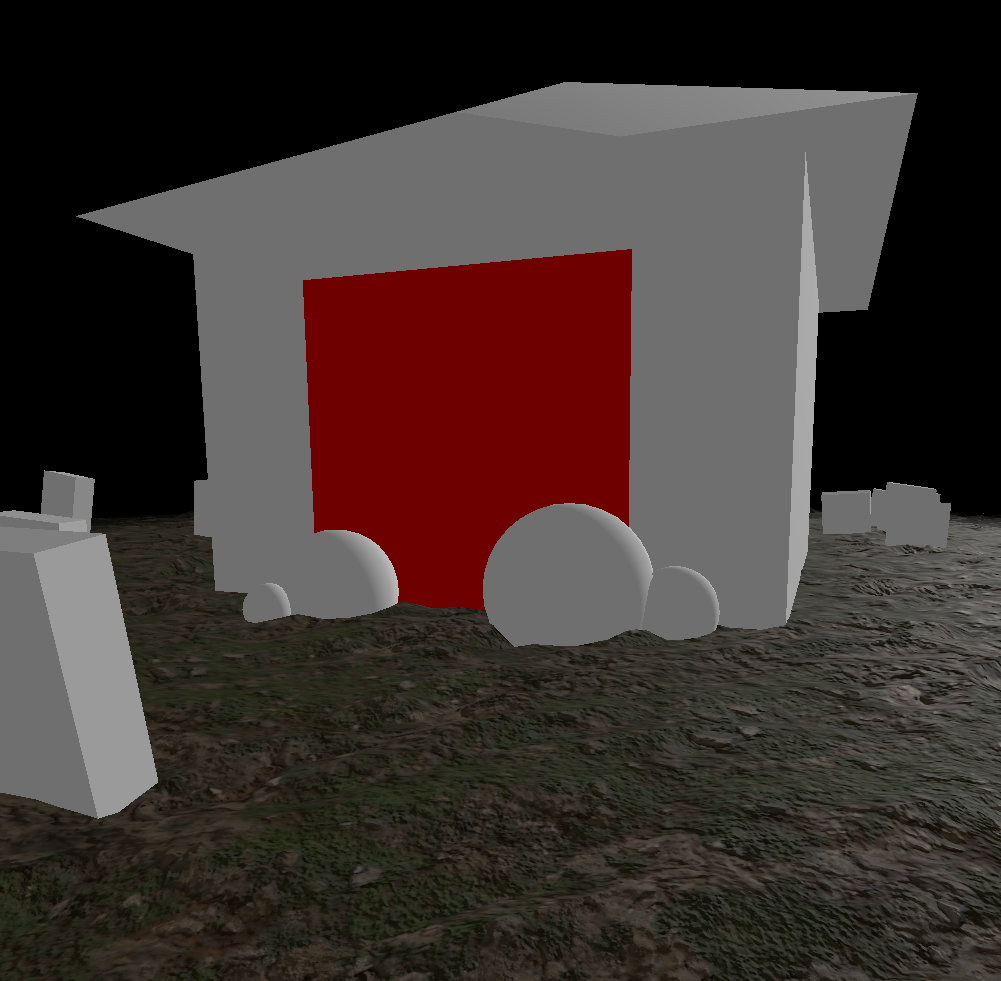
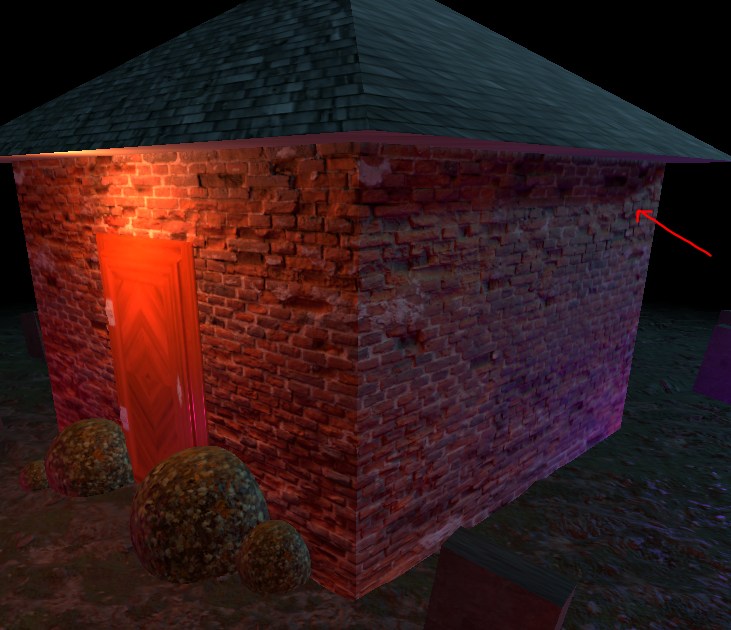
// Shadows 기본 셋팅
renderer.shadowMap.enabled = true //이 프로젝트는 쉐도우를 support 한다!
renderer.shadowMap.type = THREE.PCFSoftShadowMap
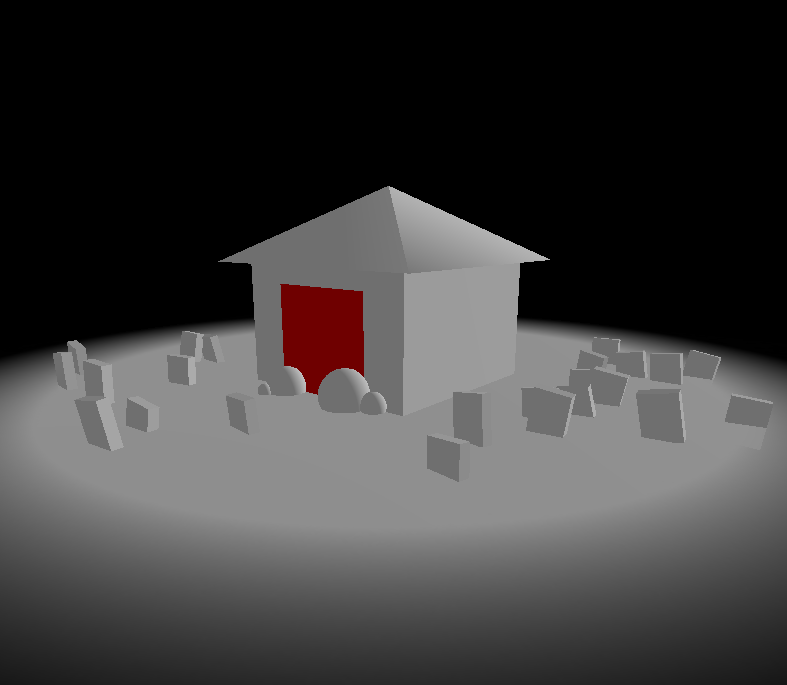
roof.castShadow = true // wall과 roof가 맞닿는 면에 작게 생기는 roof그림자 (사진1)
for (const grave of graves.children) {
grave.castShadow = true
grave.receiveShadow = true
}

참고로 graves는 group이기 때문에 for문으로 group의 children에 접근하여 적용시켜줘야한다
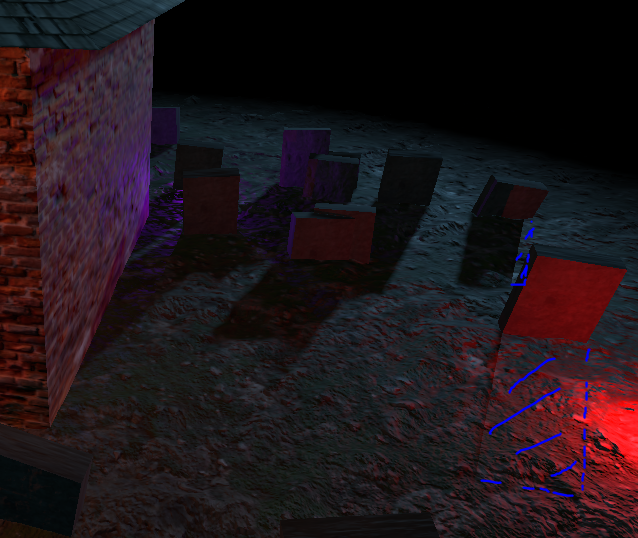
castShadow와 receiveShadow를 설정한뒤 보면 끝에있는 grave의 shadow가 cut된걸 확인할 수 있는데, 이는 camera의 amplitude가 작기때문이다
directionalLight.shadow.camera.top = 8     // shadow가 적용될 카메라 범위 amplitude
directionalLight.shadow.camera.right = 8
directionalLight.shadow.camera.bottom = -8
directionalLight.shadow.camera.left = -8
textures 최적화
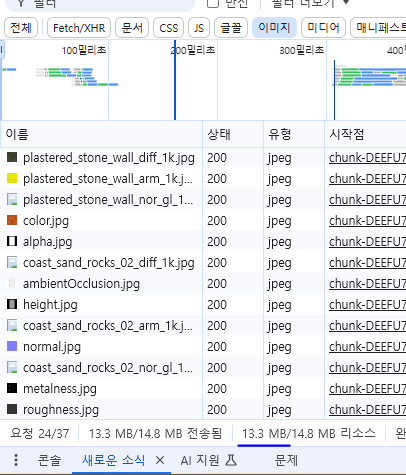
지금 texture들이 13.3MB이다..이건 너무 무거움
jpg들을 webp로 바꿔야한다
squoosh, cloudconvert, tinyPNG웹사이트 등을 이용해서 이미지 용량을 줄이자!
그리고 모든 텍스쳐들을 webp로 바꾸면 , 1.5MB로 줄여진다!
보통 텍스처를 poly haven 에서 다운받을때 png로 다운받고, jpeg나 webp로 convert한다
삼각함수가 어려울땐
https://www.desmos.com/calculator?lang=ko
을 참고