AJAX - book search

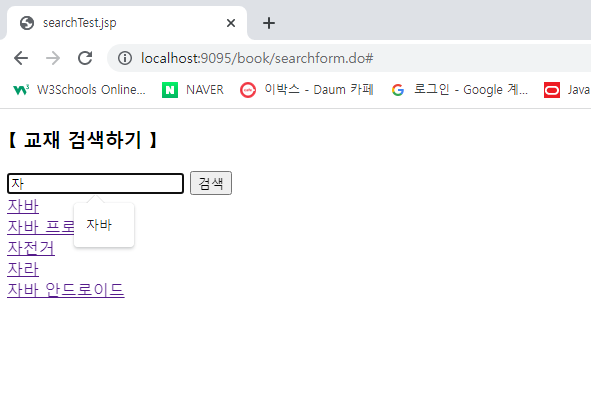
검색을 했을 때 밑에 연관 검색창이 뜨는 기능을 구현해본다.
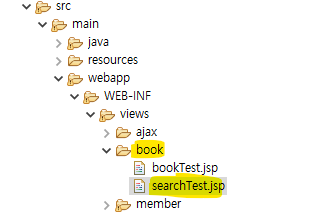
1단계
1) 폴더생성
2) searchTest.jsp front단
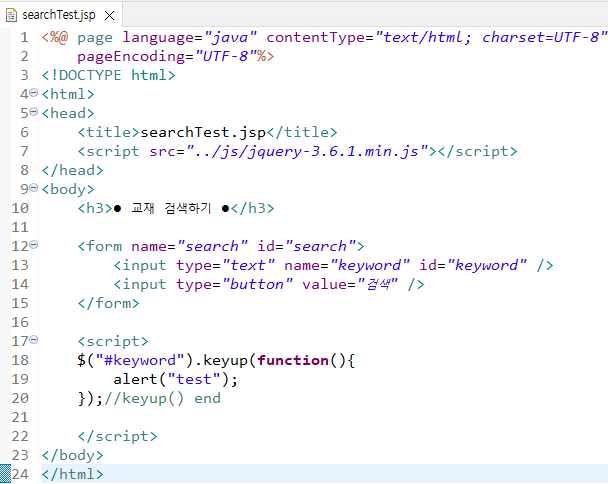
jQuery 이벤트
keyup() : 키를 눌렀다 뗄때 생기는 이벤트 기능
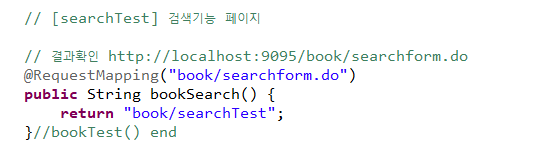
3) BookCont.java backend단
searchTest.jsp 페이지를 연결시켜준다.
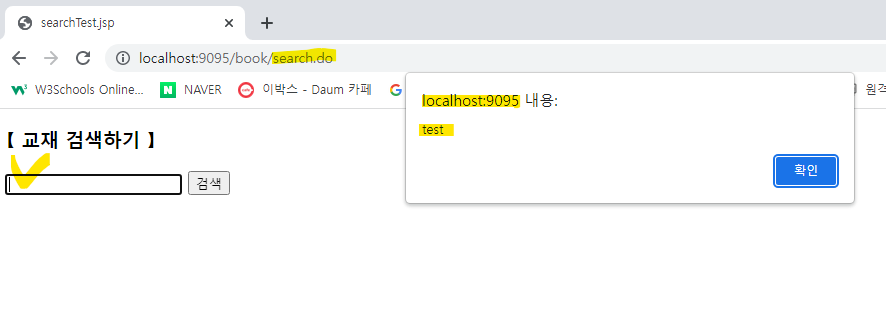
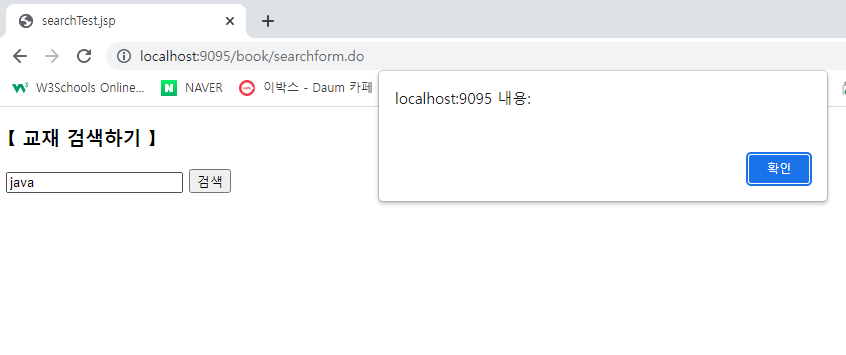
4) 테스트 확인 - 정상작동
2단계 - 검색어 값 가져오기
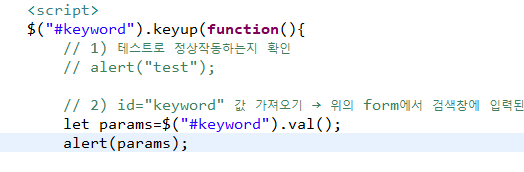
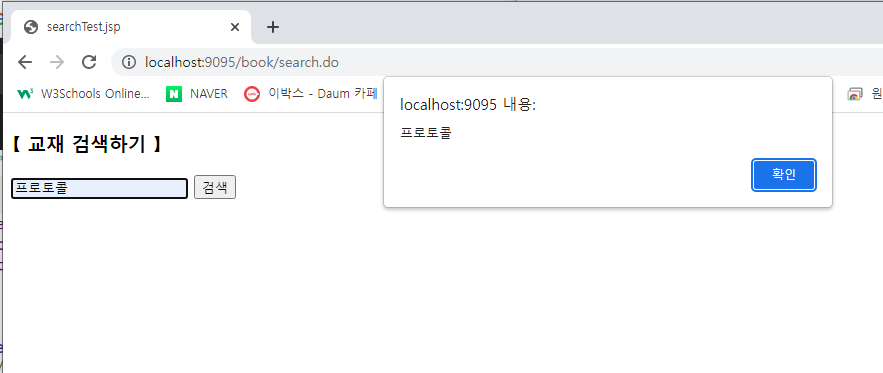
1. id="keyword" 값 가져오기
1) searchTest.jsp 에서 script 작성
2) 결과 확인
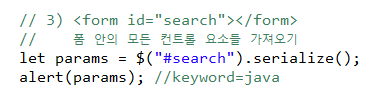
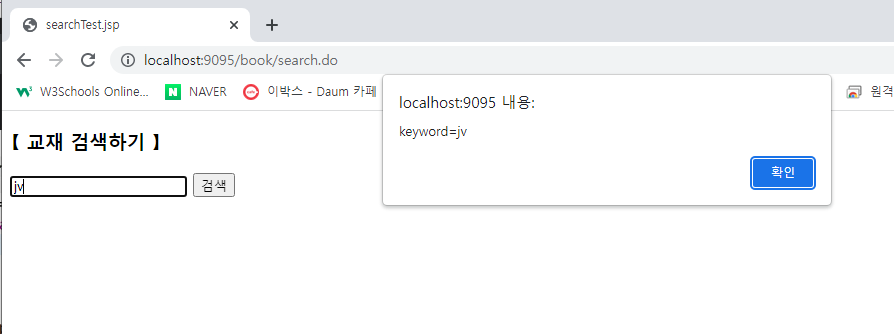
2. <form id="search"></form> 값 가져오기
폼 안의 모든 컨트롤 요소들 가져오기
1) searchTest.jsp 에서 script 작성
2) 결과 확인
jQuery 이벤트
serialize를()
JQuery Ajax로 호출하기 전에 serialize를 해주면 form안에 값들을
한 번에 전송 가능한 data로 만들 수 있어 많은 data를 보낼 때 유용하다.
3단계
검색어 값 가져오기
<form id="search"></form> 으로 값을 가져오는 방식 사용
1) searchTest.jsp 에서 검색 결과 출력할 수 있는 칸 + post로 전송
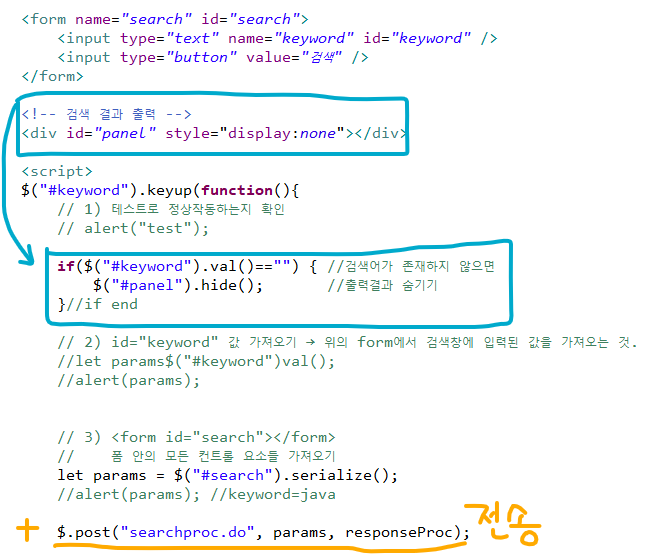
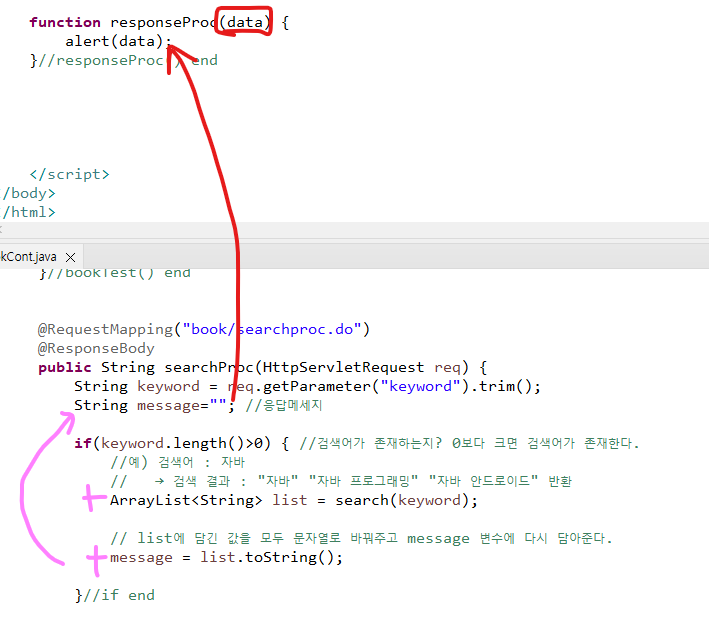
2) responseProc 전송 기능 data변수로 받기
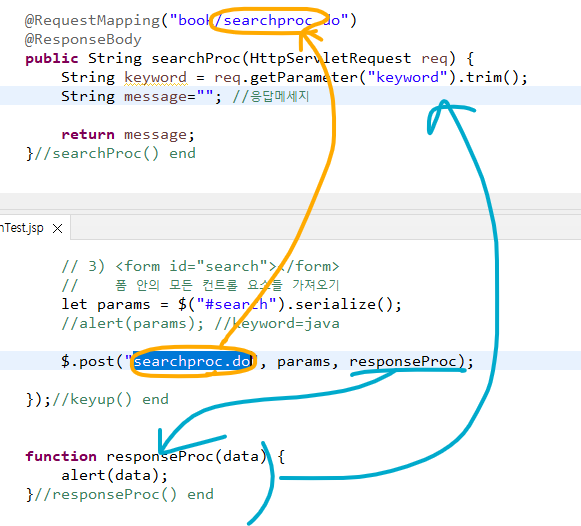
3) 결과 확인
4단계
searchproc의 응답메세지 부분 작성
→ 검색어가 존재하는지?, 데이터 베이스를 연결해주는 부분
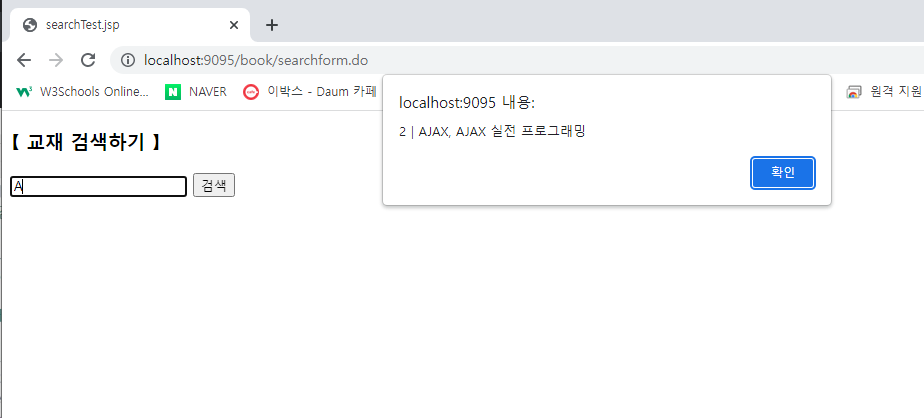
1) if문으로 검색어가 존재하는지 틀만 잡아놓고 → 원래 데이터베이스를 연결해서 들어가는 자리에 임의로 데이터를 작성해줘서 값을 넘겨준다.
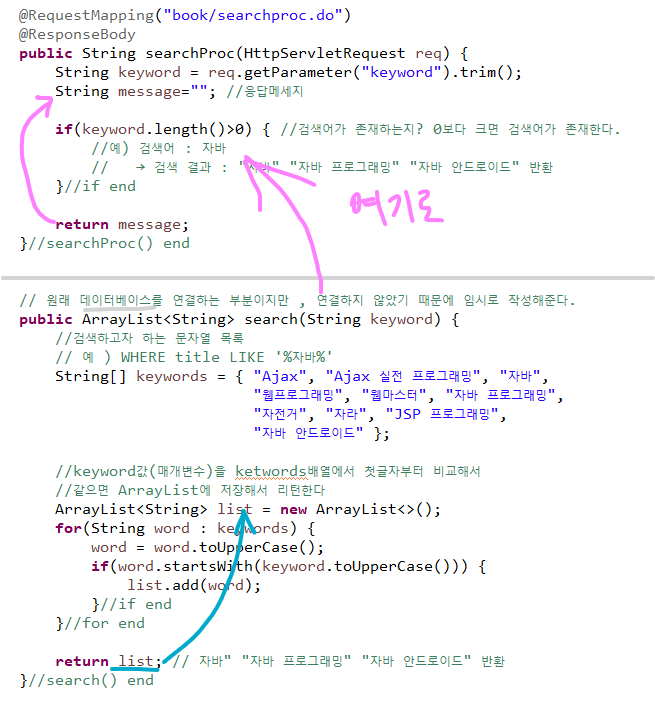
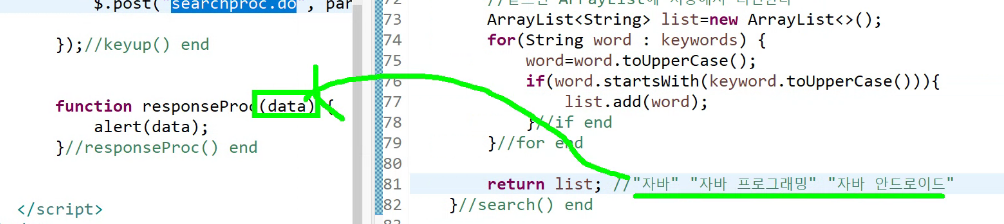
값이 여기로 반환되어 alert창이 나온다.
2) 결과확인
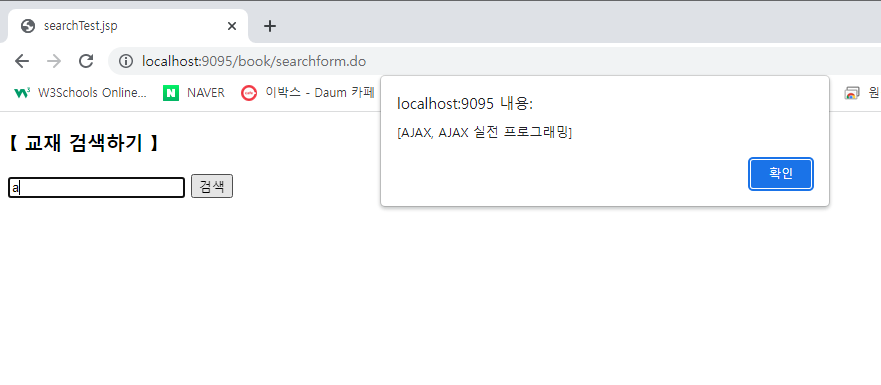
a로 검색하면 a가 들어간 검색어가 나온다.
5단계
그냥 String alert로 출력만 하지않고
클릭하면 해당 페이지로 연결시켜주거나, 반환된 문자를 디자인 해준다.
응답메세지 꾸미기

1) 응답메세지 꾸미는 코드
2) 결과확인
6단계
응답받은 내용 가져와서 노출시키기
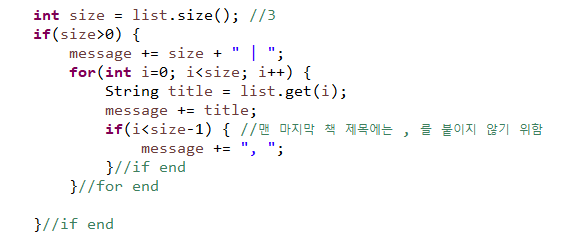
1) callback 함수 작성
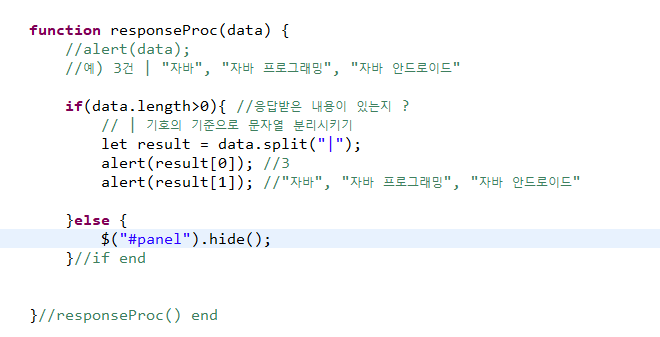
문자열 " | " 를 기준으로 개수와 문자열을 따로 출력되도록 만든다.
응답받은 내용이 없으면 panel 을 없애준다.
2) 결과확인

6단계
index, key 값을 가져와서 프론트단에 출력시켜준다.
1) 콤마를 기준으로 문자열을 분리시킨다.
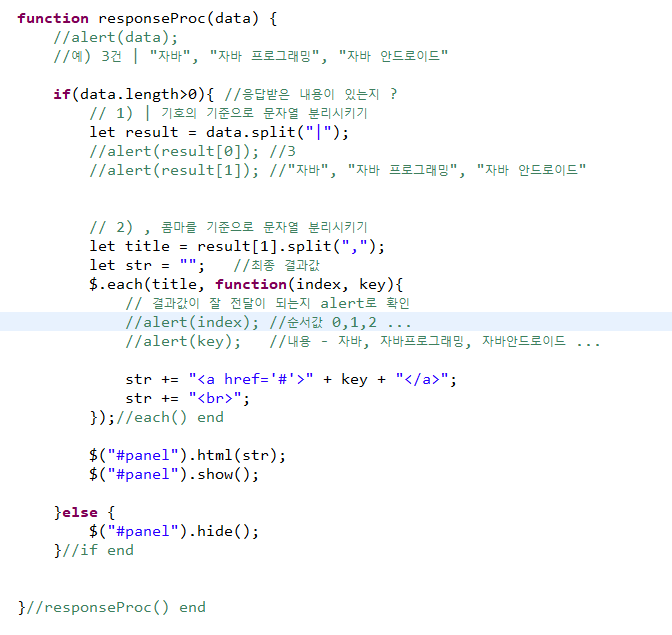
let title = result[1].split(",");
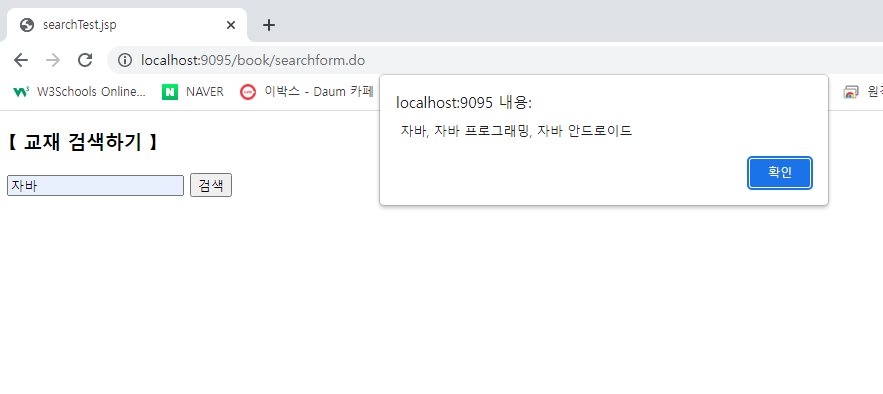
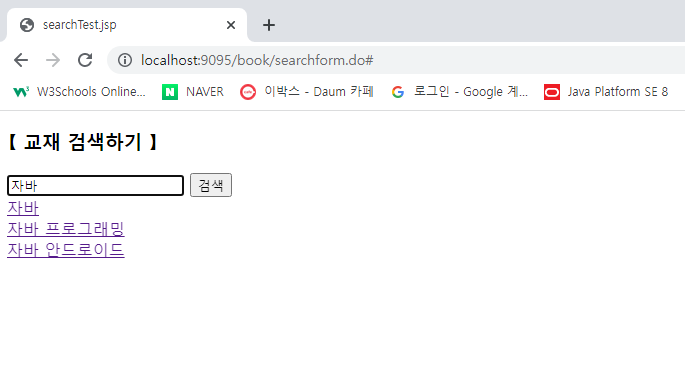
자바로 검색하면
result[1] 의 값은
"자바", "자바 프로그래밍", "자바 안드로이드"

도출된다.
$.each 반복문을 통해 title안에 있는 값의 index와 key 값을 가져온다.
index - 개수만큼 0,1,2 ...로 출력
key - 검색어와 일치하는 단어가 들어가있다. 자바, 자바프로그래밍 ...
html 프론트 출력!
str 최종 결과값을 넣는 변수에 key 결과값의 링크를 걸어줘서 해당 페이지로 이동할 수 있도록 꾸며주고,
줄바꿈 태그도 넣어준다.
id="panel" 폼에 html(str) 값을 넣어주고, show로 보여준다.
2) 결과확인
jquery 메서드
$.each()
$.each() 메서드는 object 와 배열 모두에서 사용할 수 있는 일반적인 반복 함수입니다.
다시 말해, 배열과 length 속성을 갖는 배열과 유사 배열 객체들을 index를 기준으로 반복할 수 있습니다.
첫 번째 매개변수로 배열이나 객체를 받습니다.
그리고 두번째 매개변수로 콜백함수를 받으며 콜백함수의 인자로는 인덱스와 값을 인자로 갖습니다.
.html()
해당 요소의 HTML 콘텐츠를 반환하거나 설정한다.
.text()
해당 요소의 텍스트 콘텐츠를 반환하거나 설정한다.
Spring07 상품등록 및 댓글 게시판
Spring Boot+MyBatis 기반 상품등록 및 댓글 게시판
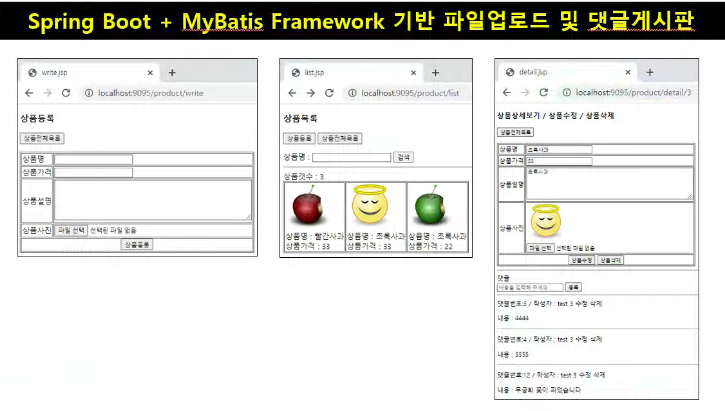
데이터베이스 프레임워크를 MyBatis 기반으로 사용해본다.
1. mybatis 환경구축
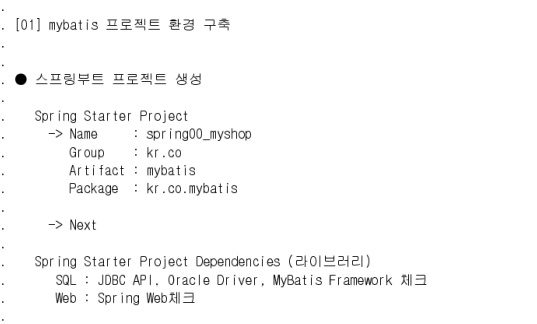
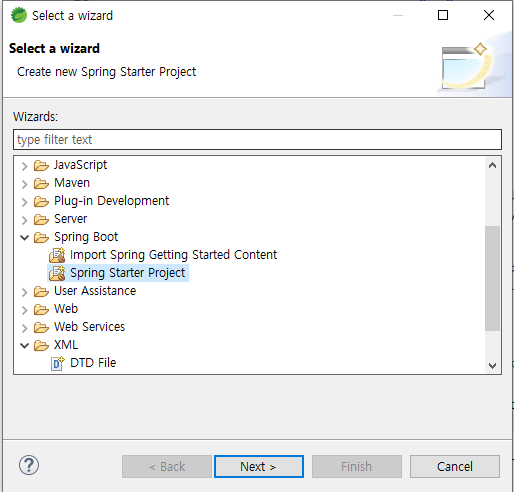
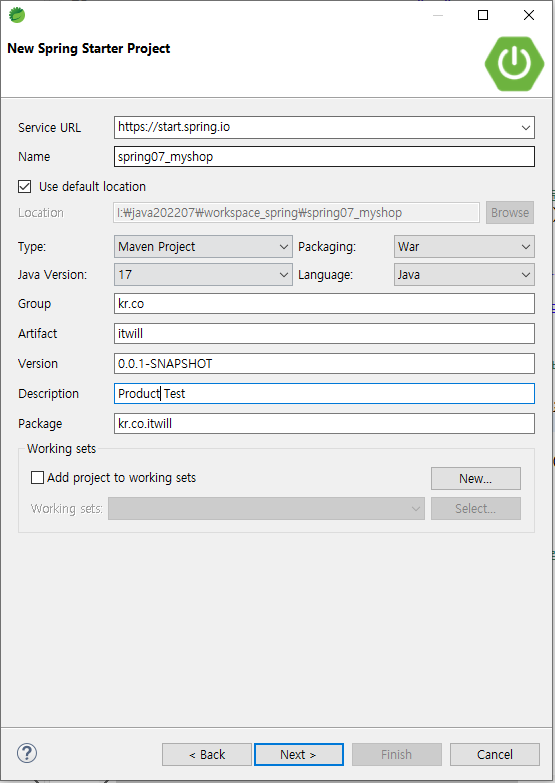
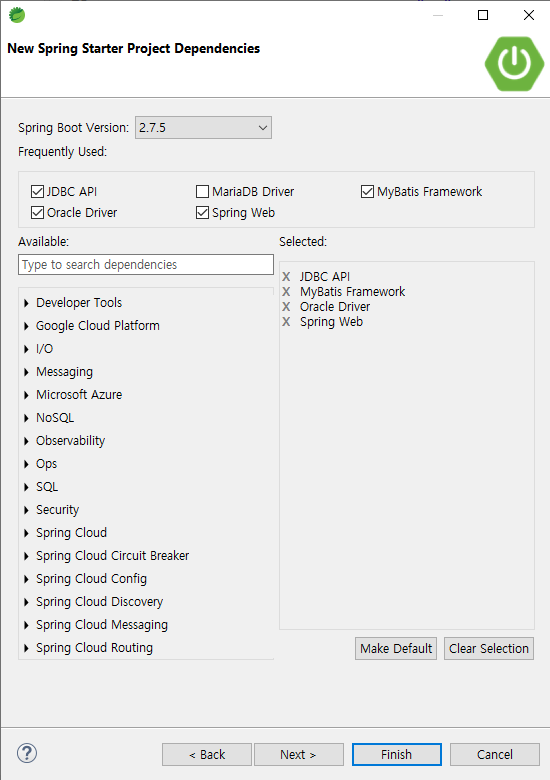
1) Spring Starter Project 생성
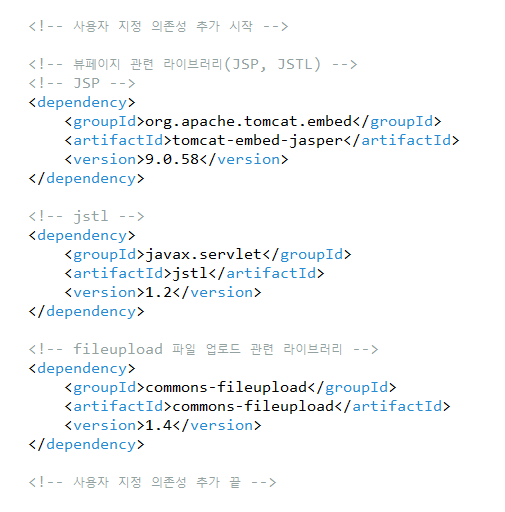
2) pom.xml 의존성 추가
JSP, jstl, fileupload
3) 작업폴더 생성
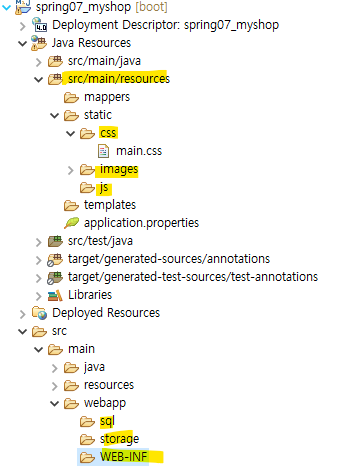
- js폴더에 ajax js폴더 안에 있는 것 복사 붙여넣기
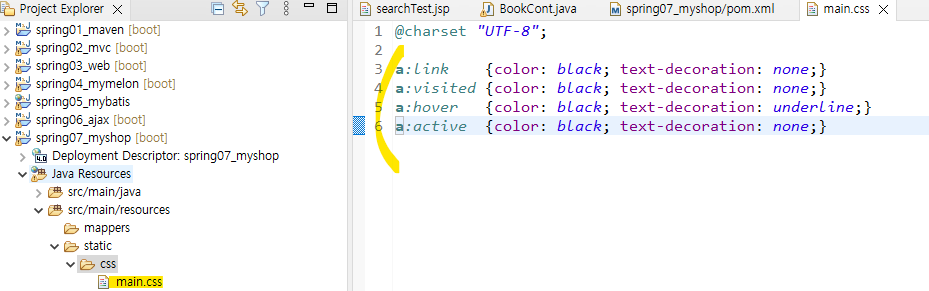
4) css 생성
5) 테이블 생성
-- 상품테이블
create table product (
product_code int primary key
,product_name varchar(100) not null
,description varchar(2000)
,price int default 0
,filename varchar(500)
);
-- 상품 시퀀스
create sequence product_seq;
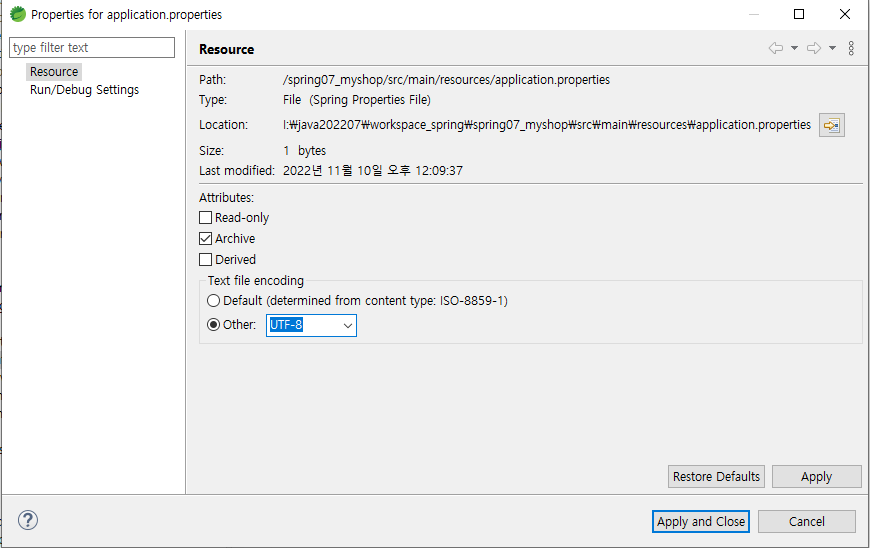
commit;6) application.properties 환경설정
한글 인코딩
server.port=9095


#오라클 DB 환경설정
spring.datasource.driver-class-name=oracle.jdbc.driver.OracleDriver
spring.datasource.url=jdbc:oracle:thin:@localhost:1521/xe
spring.datasource.username=system
spring.datasource.password=1234


spring.mvc.view.prefix=/WEB-INF/views/
spring.mvc.view.suffix=.jsp


#JSP페이지가 수정이 되면 자동으로 서버 재시작
server.servlet.jsp.init-parameters.development=true


#파일 업로드 용량제한 설정
spring.servlet.multipart.max-file-size=500MB
spring.servlet.multipart.max-request-size=500MB
7) Spring07MyshopApplication
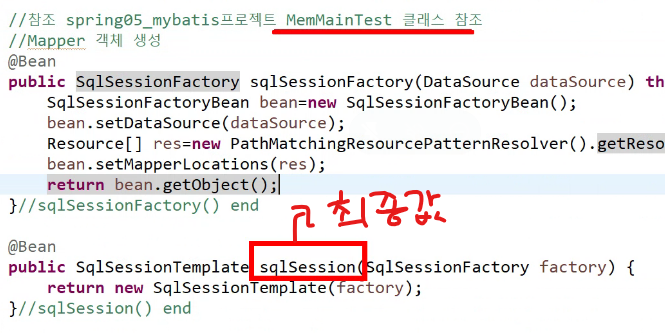
mapper 등록
mappers폴더 안에 들어갈 xml파일을 사용하기 위한 환경설정이다.
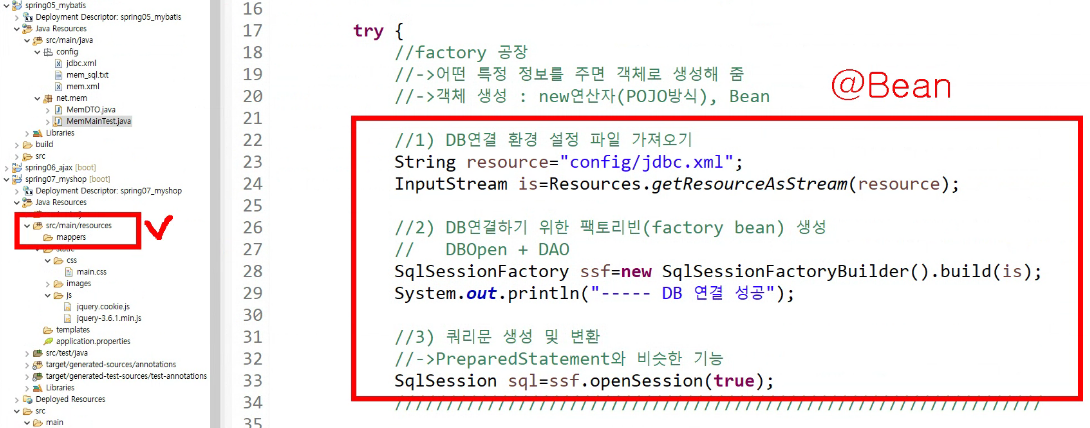
오른쪽 부분을 mappers 폴더에 끌어다 사용할 것이다.
package kr.co.itwill;

import javax.sql.DataSource;

import org.apache.ibatis.session.SqlSessionFactory;
import org.mybatis.spring.SqlSessionFactoryBean;
import org.mybatis.spring.SqlSessionTemplate;
import org.springframework.boot.SpringApplication;
import org.springframework.boot.autoconfigure.SpringBootApplication;
import org.springframework.context.annotation.Bean;
import org.springframework.core.io.Resource;
import org.springframework.core.io.support.PathMatchingResourcePatternResolver;

@SpringBootApplication
public class Spring07MyshopApplication {

	public static void main(String[] args) {
		SpringApplication.run(Spring07MyshopApplication.class, args);
	}//main() end

	@Bean
	public SqlSessionFactory sqlSessionFactory(DataSource dataSource) throws Exception {
		SqlSessionFactoryBean bean = new SqlSessionFactoryBean();
		bean.setDataSource(dataSource);
		Resource[] res = new PathMatchingResourcePatternResolver().getResources("classpath:mappers/*.xml");
		bean.setMapperLocations(res);
		return bean.getObject();
	}//sqlSessionFactory() end

	@Bean
	public SqlSessionTemplate sqlSession(SqlSessionFactory factory) {
		return new SqlSessionTemplate (factory);
	}//sqlSession() end

}//class end
2. mybatis 프로젝트의 첫페이지 호출
package kr.co.itwill;
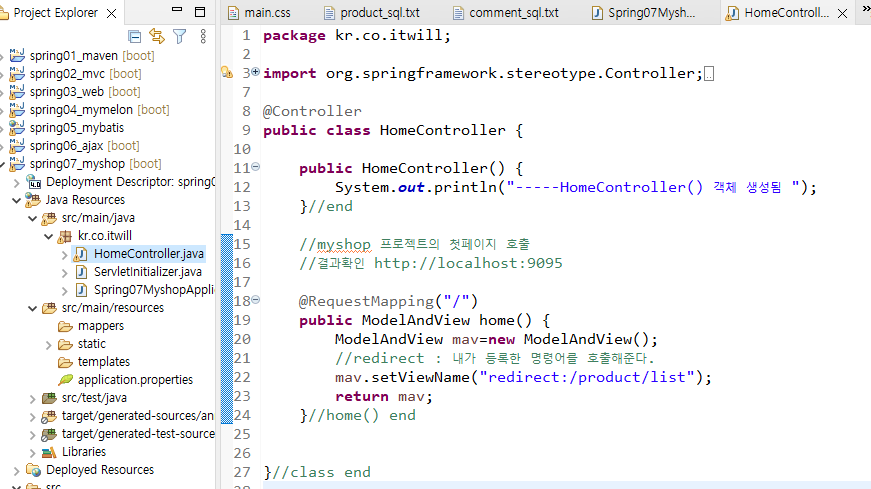
1) HomeController.java
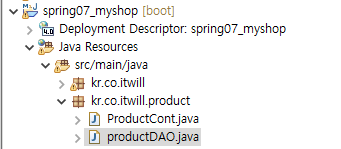
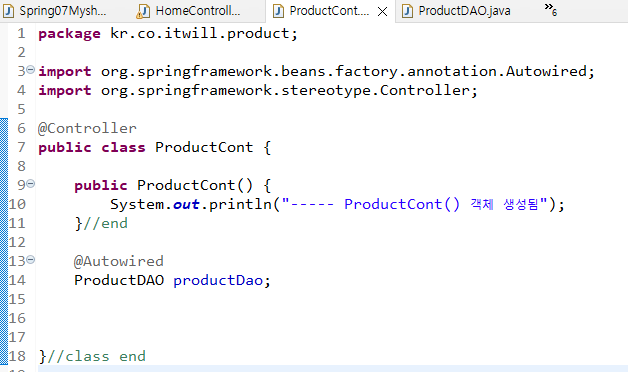
2) kr.co.itwill.product 팩키지 생성
+ ProductCont.java
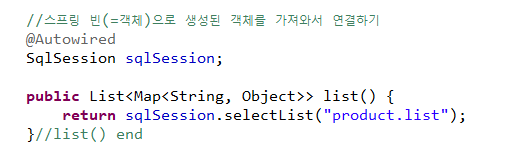
+ ProductDAO.java
파일 생성
3) ProductDAO.java 작성하기
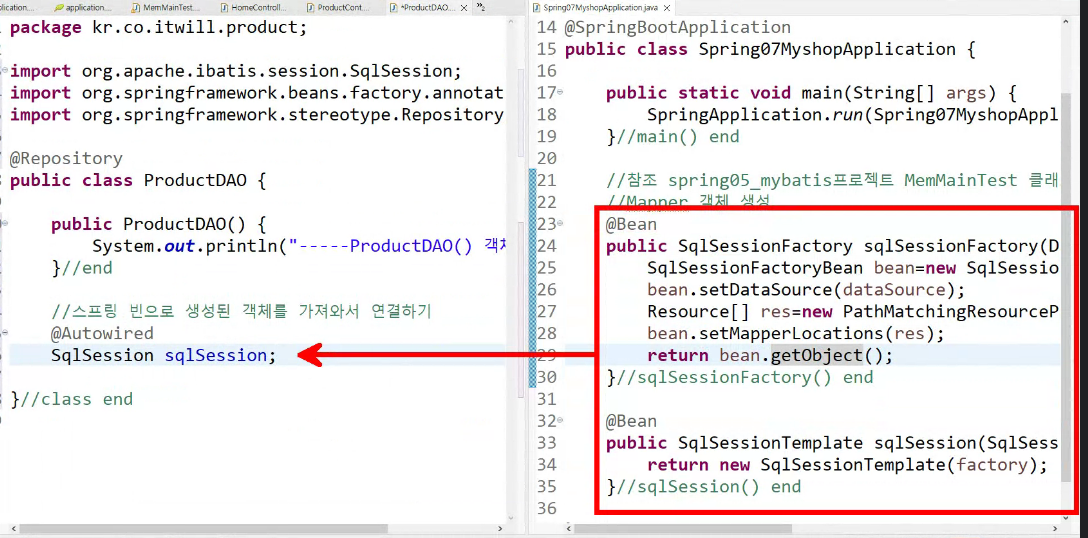
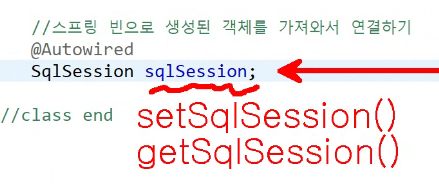
내부적으로 getter와 setter가 들어가있다.
없으면 저렇게 오류가 뜬다.
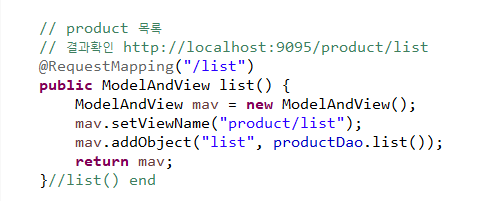
4) ProductCont.java 작성하기
5) Spring07MyshopApplication run하기
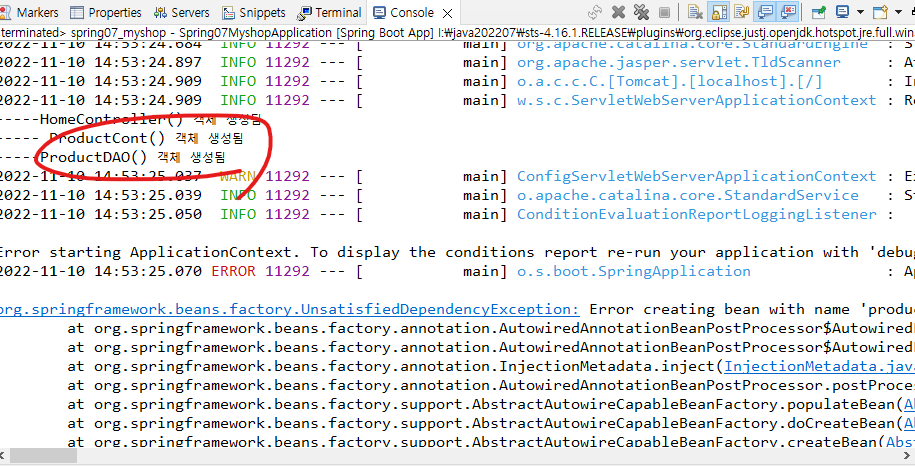
아직 mappers에 xml파일이 없어서 오류가 난다.
객체생성만 확인하면 됨.
6) mappers폴더에 product.xml 생성
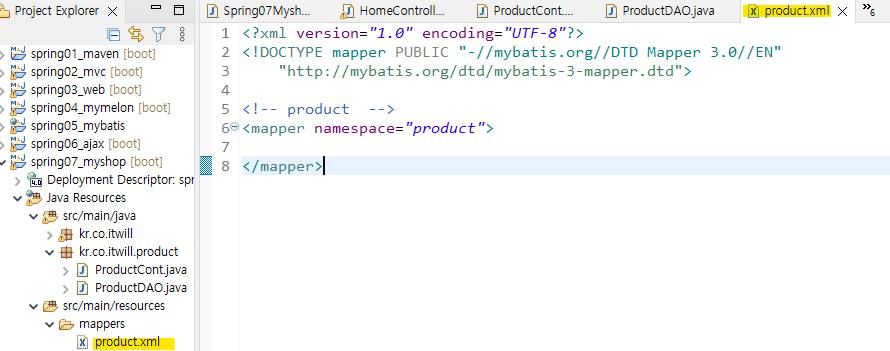
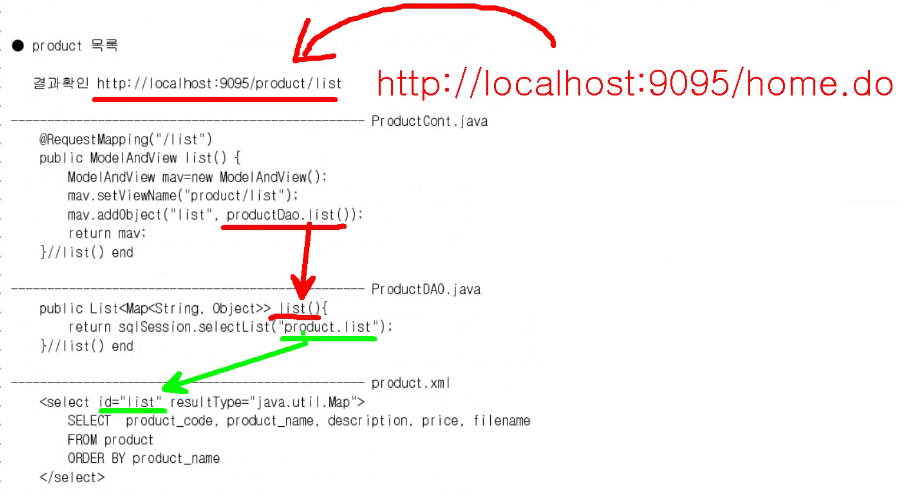
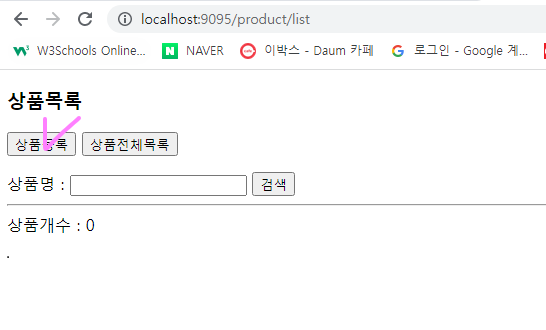
product 목록
backend단
1) ProductCont.java
2) ProductDAO.java
3) mappers/product.xml

front단
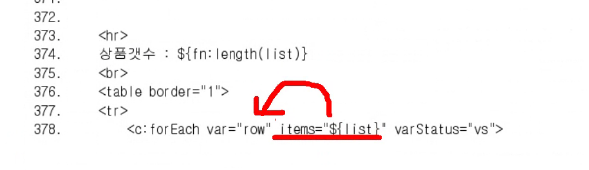
여기있는 ${list} 는
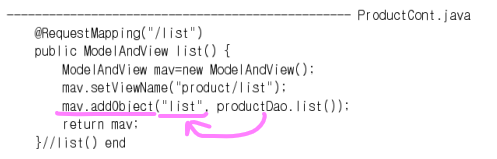
productCont.java에 있는 addobject에 있는 것을 가져온 것이다.
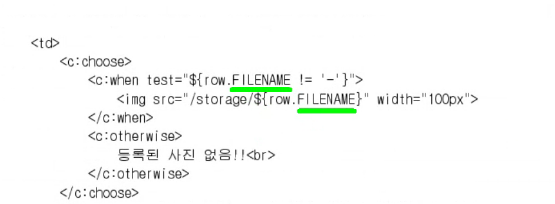
- 칼럼명은 대문자로
- varStatus="상태용변수"
c:forEach와 함께 사용

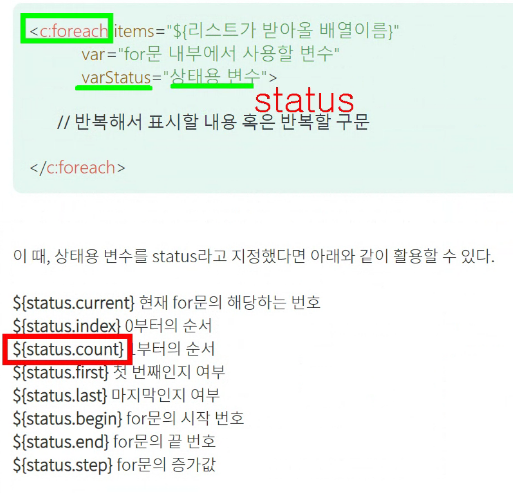
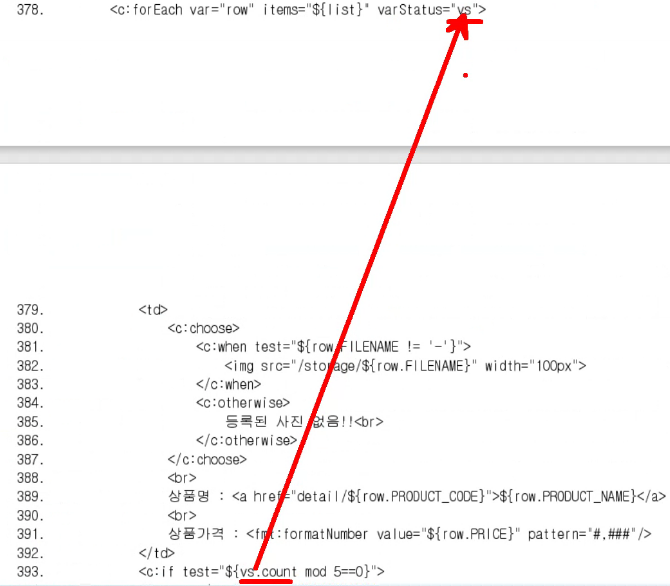
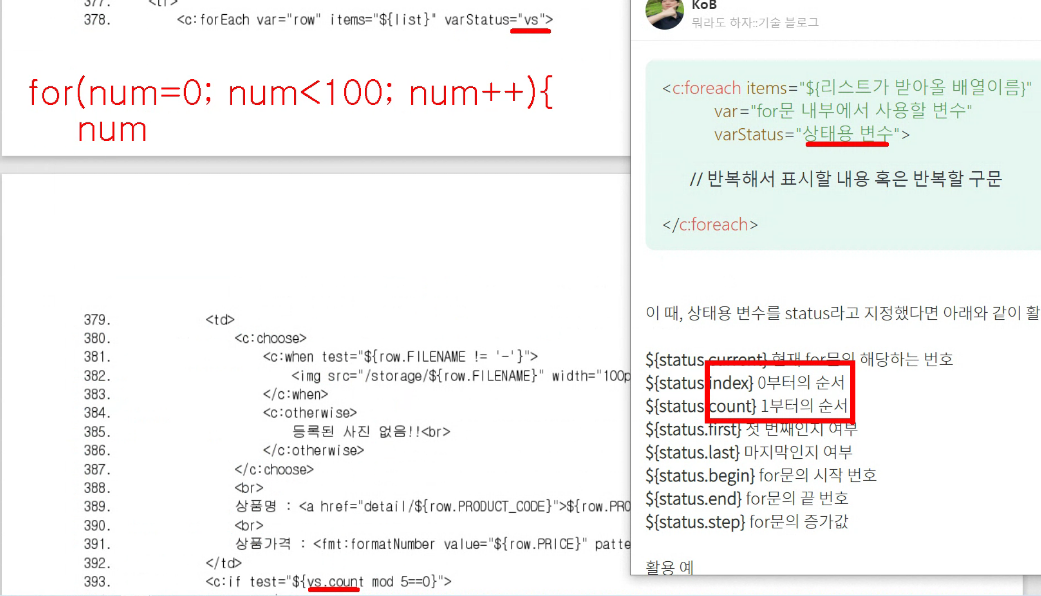
- 게시판 앞에 일련번호 붙일 때 이걸로 활용 가능
⚠️ 에러 - 1
⚠️ 에러 - 2
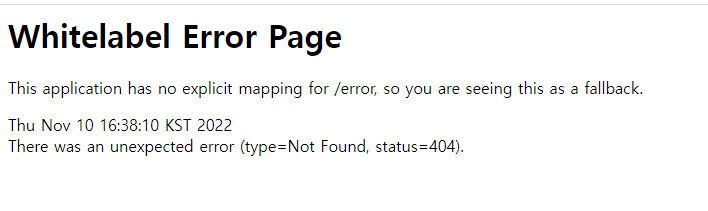
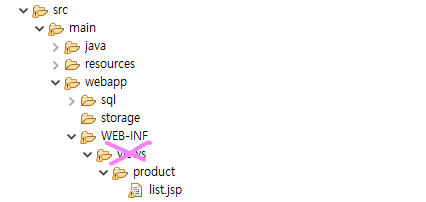
views 폴더를 생성하지 않았다 ... ..
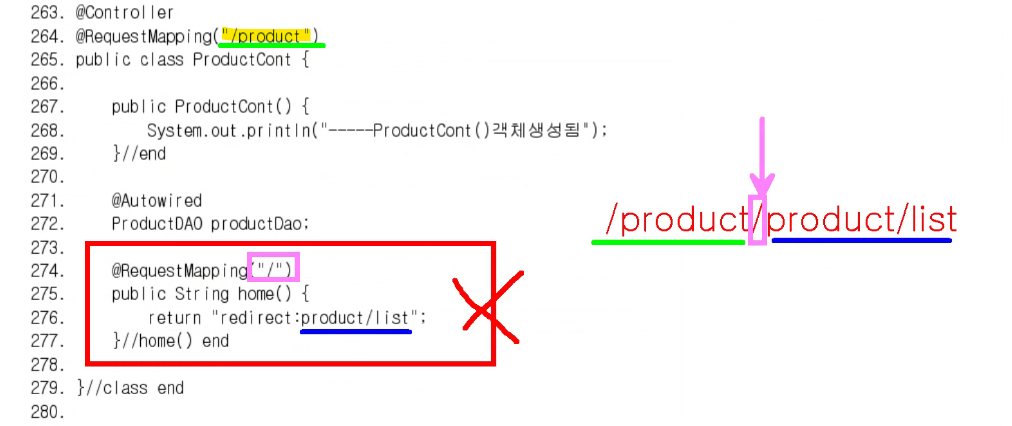
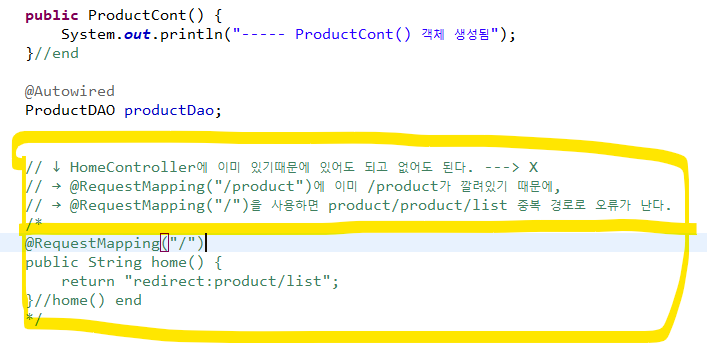
redirect의 기능
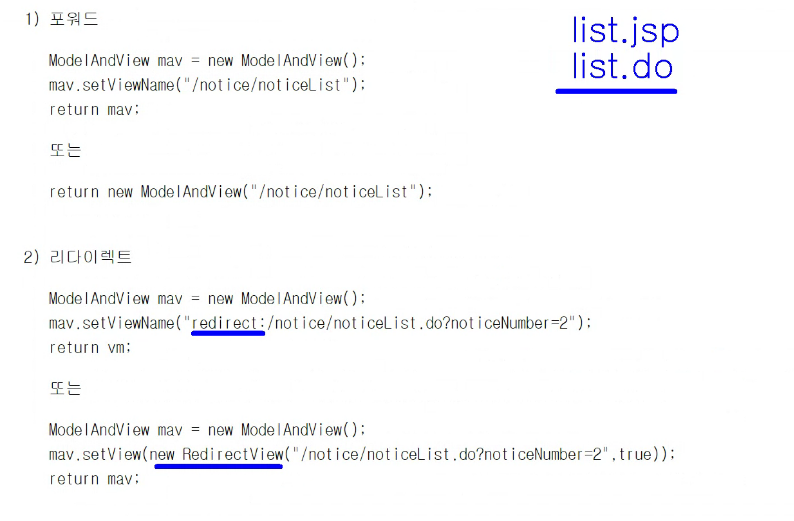
redirect로 호출하면 list.do가 호출(명령어 호출)이 되는 것이고,
쓰지않으면 list.jsp 페이지가 호출이 된다.
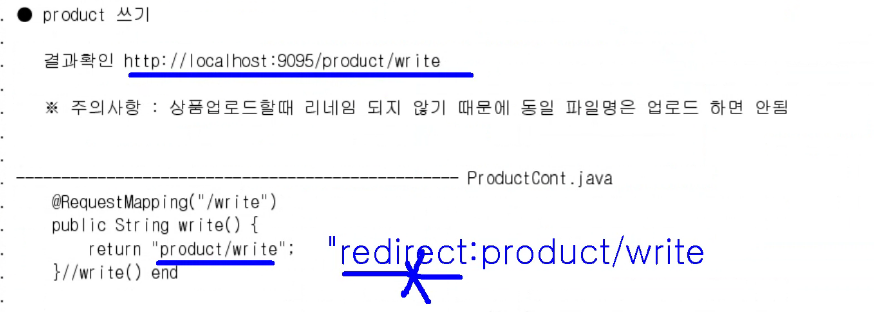
상품등록 - product 쓰기
write.jsp front단 이동하기

여기로 이동
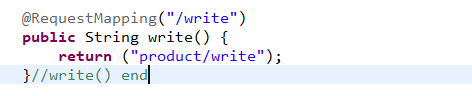
1) ProductCont.java
2) write.jsp 생성 후 front단 구성
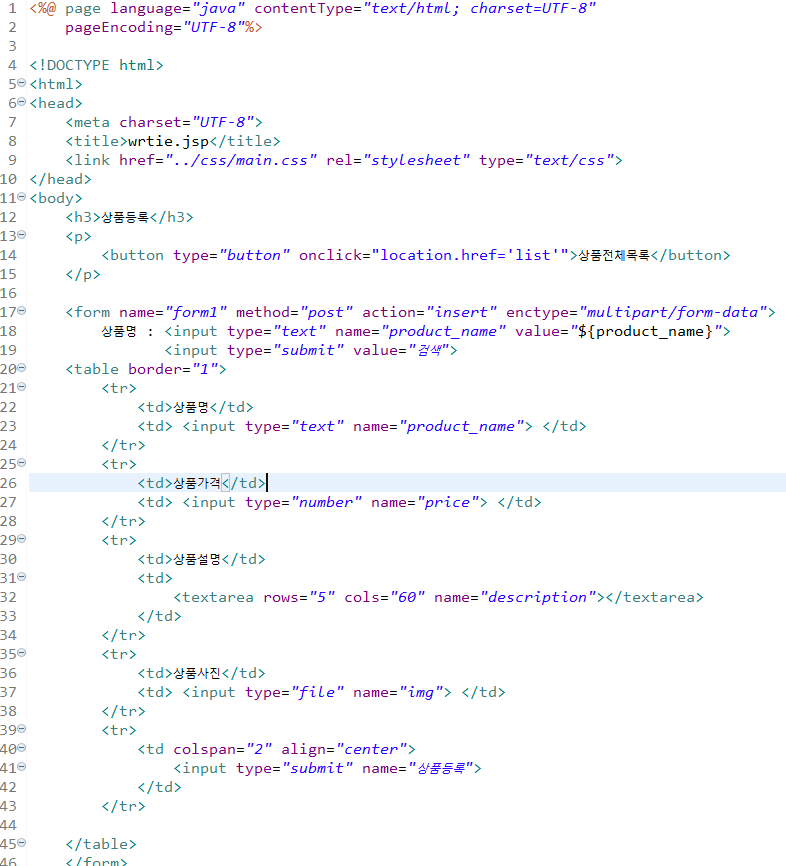
<%@ page language="java" contentType="text/html; charset=UTF-8"
pageEncoding="UTF-8"%>
<!DOCTYPE html>
<html>
<head>
<meta charset="UTF-8">
<title>wrtie.jsp</title>
<link href="../css/main.css" rel="stylesheet" type="text/css">
</head>
<body>
<h3>상품등록</h3>
<p>
<button type="button" onclick="location.href='list'">상품전체목록</button>
</p>
<form name="form1" method="post" action="insert" enctype="multipart/form-data">
상품명 : <input type="text" name="product_name" value="${product_name}">
<input type="submit" value="검색">
<table border="1">
<tr>
<td>상품명</td>
<td> <input type="text" name="product_name"> </td>
</tr>
<tr>
<td>상품가격</td>
<td> <input type="number" name="price"> </td>
</tr>
<tr>
<td>상품설명</td>
<td>
<textarea rows="5" cols="60" name="description"></textarea>
</td>
</tr>
<tr>
<td>상품사진</td>
<td> <input type="file" name="img"> </td>
</tr>
<tr>
<td colspan="2" align="center">
<input type="submit" name="상품등록">
</td>
</tr>
</table>
</form>
</body>
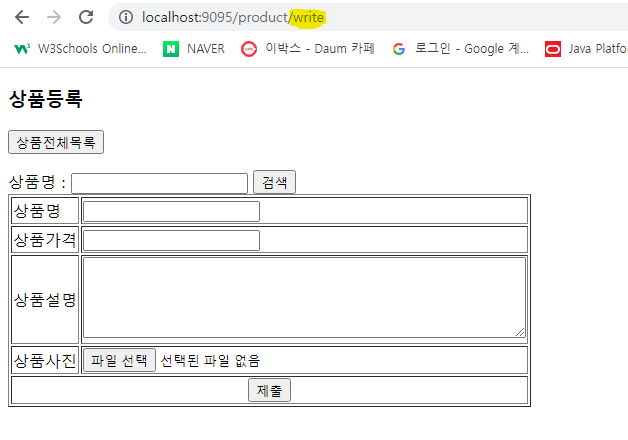
</html>3) 결과확인
파일경로 (절대경로, 상대경로) 개념
의문점 및 느낀점
- 수업시간에 공부했던 내용을 잘 활용해볼 수 있는 사이트라고 생각을 했다.
