HTML
웹 문서를 만들기 위하여 사용하는 기본적인 웹 언어의 한 종류
CSS
웹 문서의 전반적인 스타일을 미리 저장해 둔 스타일시트
HTML 로 전체적인 구조를 만들고 CSS 로 스타일적 요소를 추가하며 홈페이지 화면을 구성하는 것
01 Inline / Block
a. Inline tag
txt처럼 옆으로 쌓는 형태 , 한 줄에 여러 개
: 자기가 갖고 있는 내용물만큼만 차지
ex) span
b. Block tag
블록처럼 아래로 쌓는 형태 , 한 줄에 하나씩
: 내용물의 크기에 관계없이 한 줄 전체 차지
ex) form
' 요소들을 어떻게 쌓아가는가에 대한 차이 '
_Inline / Block tag _ ex_

<!Doctype html>
<html lang = 'ko'>
  <head></head>
  <body>
    <style>
      li{
        list-style: None;
      }
      .blockTag{
        background-color: yellowgreen;
      }
      .blockTag > div{
        background : gray;
        border :1px solid black;
      }
      .inlineTag span{
        background : skyblue;
        border : 1px solid black;
      }
    </style>

    <div class = 'blockTag'>
      <div>1</div>
      <div>2</div>
      <div>3</div>
    </div>

    <div class = 'inlineTag'>
      <span>inline 1</span>
      <span>inline 2</span>
      <span>inline 3</span>
    </div>
    <span></span>
  </body>
</html>
자식 요소
class blogTag 가 3개의 div를 감싸고 있는데 여기서 div 들을 자식 요소라 칭함
CSS 에서 불러올 때
class : 앞에 .(점)을 찍어 불러오는 방식
tag : 바로 불러오는 방식
result

02 제목 태그 / 목록 태그
a. 제목 태그
contents 제목을 표시할 때 사용할 수 있는 태그
문서 구조를 표현하기 위한 용도로 사용
<hn>b. 목록 태그
ol (순서형 목록) , ul(비순서형 목록) 의 마크업을 바탕으로 자식 요소 li 를 작성하여 표기
    <ul>
      <li> </li>
      <li> </li>
      <li> </li>
    </ul>
_제목 태그와 목록 태그 _ ex_
<!Doctype html>
<html lang = 'ko'>
<head></head>
<body>
<style>
      li{
        list-style: None;
      }
</style>
<h1>1</h1>
<h2>2</h2>
<h3>3</h3>
<h4>4</h4>
<h5>5</h5>
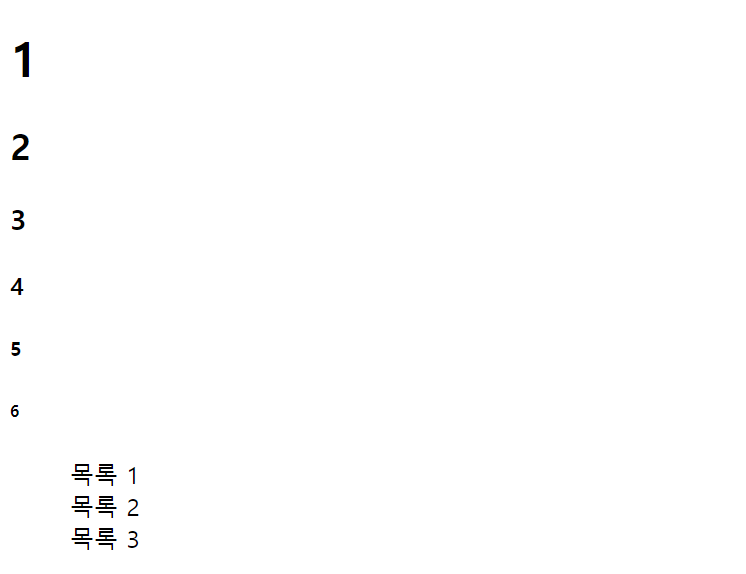
<h6>6</h6>
<ul>
<li>목록 1</li>
<li>목록 2</li>
<li>목록 3</li>
</ul>
</body>
</html>위의 코드 중 다음 코드를 작성하는 이유
<style> li{ list-style: None; } </style>목록 태그 앞에 .(점)이 붙는 것이 default 값으로 지정되어 있기 때문
result
03 입력 양식 태그
a. form tag
사용자의 정보를 입력 받을 수 있게 만들어놓은 형식
서버 사이드 , 데이터베이스 등에 데이터를 전송할 때 작성
<form [속성 = '속성값']> 폼 요소 </form>b. input tag
여러 type 양식을 갖고 있으며 여러 데이터를 입력 받기 위해 사용되는 태그
<input type = 'text' id = 'name'>span 처럼 inline 속성을 지니고 있는 이유
회원가입 양식을 만드는데 한 줄로 이어져 붙어 있을 경우 UXUI 측면에서의 질이 현저히 떨어짐
c. radio
name이라는 속성으로 한 분류를 묶어주는 형태로 작성 , 한 개만 선택 가능
( but , 다른 name 속성으로 나뉘어졌을 경우엔 선택 가능 )
<input type = 'radio' name = '' value = ''>d. checkbox
선택 / 해제 중 하나를 선택하는 폼 요소 , 다중 선택 가능
<input type = 'checkbox' value = '' >_텍스트_입력 양식 태그 _ ex
<!Doctype html>
<html lang = 'ko'>
<head></head>
<body>
<style>
li{list-style: None;}
</style>
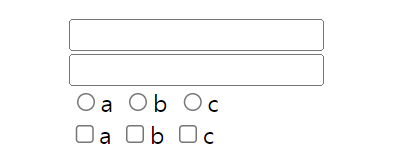
<form>
<ul>
<li><input type = 'text'></li>
<li><input type = 'password'></li>
<li>
<label><input type = 'radio' name = 'alpha' id = 'a'>a</label>
<label><input type = 'radio' name = 'alpha' id = 'b'>b</label>
<label><input type = 'radio' name = 'alpha' id = 'c'>c</label>
</li>
<li>
<label><input type = 'checkbox' name = 'alpha' id = 'a'>a</label>
<label><input type = 'checkbox' name = 'alpha' id = 'b'>b</label>
<label><input type = 'checkbox' name = 'alpha' id = 'c'>c</label>
</li>
</ul>
</form>
</body>
</html>result
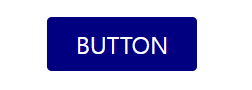
04 div 직접 디자인
div 로 직접 디자인 / 기능 지정 가능
a. color / background-color
글자색 / 지정되어진 부분의 배경색
b. text-align
글자 정렬 지정
c. line-height
글의 높이 지정
d. cursor
마우스 커서 모양 지정
e. border-radius
박스 테두리 반경 지정
_div _ ex_

<!Doctype html>
<html lang = 'ko'>
  <head></head>
  <body>
    <style>
      li{list-style: None;}
      .colorBtn{
        width : 100px ;
        height: 36px ;
        background-color: navy;
        color : white;
        text-align: center;
        line-height: 36px;
        cursor : pointer;
        border-radius: 3px;
      }
    </style>
    <form>
      <ul>
        <li><div class = 'colorBtn'>BUTTON</div></li>
      </ul>
    </form>
  </body>
</html>
result
05 이미지 / 링크 삽입
a. a tag
a 태그는 앵커 , 링크라고도 불림
html 페이지를 만들 때 서로 연결하는 용도로 사용
b. img tag
웹 페이지에서 이미지를 넣고 싶을 때 사용하는 태그
- 상대경로
작성 중인 문서를 중심으로 파일 위치를 지정해주는 것
<img src = '이미지 파일'>
<img src = '../ 이미지 파일'>
<img src = '폴더 이름 / 이미지 파일'>
- 절대경로
이미지 링크 복사를 사용하여 첨부하는 방법
<img src ='복사한 이미지 링크 주소'>이미지가 불러와지지 않는 경우 , 경로 checking
_이미지 , 링크 삽입 _ex_
<!Doctype html>
<html lang = 'ko'>
<head></head>
<body>
<style>
img{
width : 200px;
height : 200px;
}
</style>
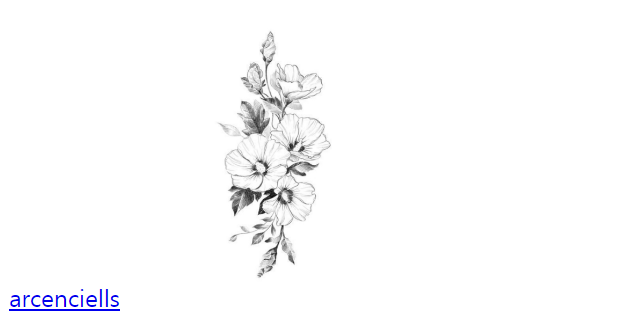
<a href ='https://velog.io/@arcenciel'>arcenciells</a>
<img src ='img/1.jpg'>
</body>
</html>result
06 Margin / Padding
a. margin
border 를 기준으로 외부 여백 , 자신을 중심으로 떨어뜨리는 것
b. padding
border 를 기준으로 내부 여백 , 자신의 몸을 확장 시키는 것
_margin / padding _ ex_

<!DOCTYPE html>
<html lang="ko">
  <head></head>
  <body>
    <style>
      div{
        background: gray;
        padding : 10px;
      }
      div > span:first-child{
        background : white;

      }
      div > span {
        background: darkolivegreen;
        padding: 10px;
        margin : 40px;
      }
    </style>
    <div>
      <span>---</span>
      <span>arcenciells</span>
      <span>---</span>
    </div>
  </body>
</html>
result

07 Table tag
html 기본 구조처럼 head / body 로 나뉘어짐
a. table
가장 큰 틀
b.thead / tbody
가장 큰 틀 안에 바로 들어있는 태그
c. th
table head , 표의 제목을 쓰는 역할
d. tr
table row , 가로줄을 만드는 역할
e. td
table data , 표의 셀을 만드는 역할
_table tag _ ex_

<!DOCTYPE html>
<html lang="ko">
  <head></head>
  <body>
    <style>
      table{
        border: 1px solid black;
        border-collapse: collapse;
      }
      table > thead > tr > th {
        border : 1px solid gray;
      }
      table > tbody > tr > td {
        border : 1px solid gray;
        background : lightgray;
      }


    </style>
    <table>
      <thead>
        <tr>
          <th>이름</th>
          <th>성별</th>
          <th>나이</th>
          <th>키</th>
        </tr>
        <tbody>
          <tr>
            <td>arcenciel</td>
            <td>여성</td>
            <td>23</td>
            <td>168</td>
          </tr>
        </tbody>
      </thead>
    </table>
  </body>
</html>
border-collapse 설정하는 이유
목록 태그처럼 default 값으로 칸이 제각각 나뉘어지게 지정된 것을 다음과 같이 설정으로써 머릿속으로 구상한 표 그대로를 실현할 수 있음border-collapse : collapse
result

08 * 선택자
a. 전체 선택자
*(아크테리크) 를 붙여주고 속성값을 넣어주는 형태
한 번에 모든 태그에 적용할 수 있는 선택자
css 를 작성할 때 기본적으로 작성하는 초기화 요소가 몇 가지 중 한 가지
* {속성 : 값 ;}_* 선택자 _ ex_
*{
border-collapse: collapse;
margin : 0px;
padding : 0px;
text-decoration : None;
color: black;
list-style : None;
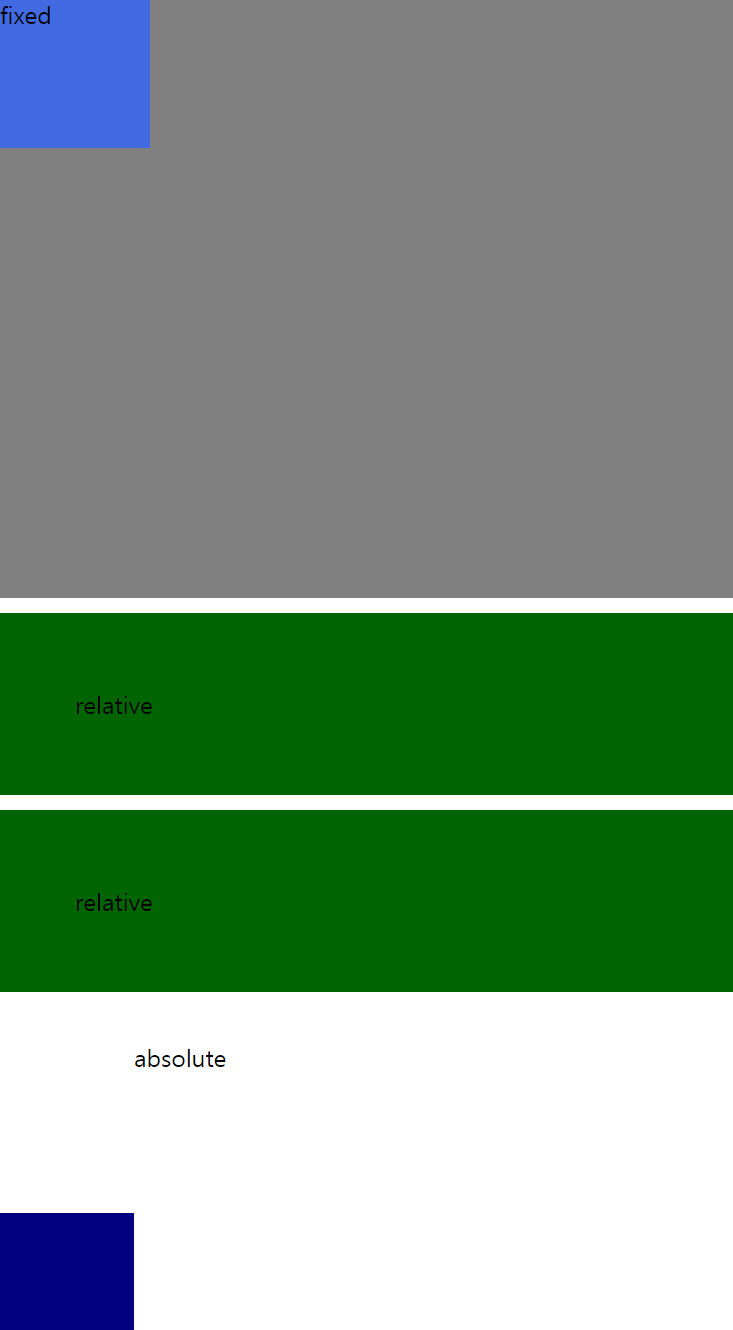
}09 Postion 위치 속성
a. static
모든 요소의 default 포지션 값으로 지정되어 있는 일반적인 배치
b. relative
html 문서의 흐름에 따라 요소가 배치되며 element 의 본래의 위치를 기준으로 top , bottom , right, left 값에 의해 상대적인 위치에 배치
c. absolute
html 문서의 흐름에 따라 배치되지 않으며 top , bottom , right , left 값에 의해 정해진 절대적인 위치에 배치
d. fixed
웹 브라우저에서 브라우저의 스크롤에 의한 영역 이동에 대해 고정적인 위치에 배치
e. sticky
조건형 relative + fixed , 스크롤의 위치에 따라 relative / fixed 전환
요소의 위치가 거리 속성으로 정한 위치 밖으로 벗어나는 유무에 따라 전환 가능
_position _ ex_

<!DOCTYPE html>
<html lang = 'ko'>
  <head></head>
  <body>
    <style>
      *{
        border-collapse: collapse;
        margin : 0px;
        padding : 0px;
        text-decoration : None;
        color: black;
        list-style : None;
      }
      .blankPosition{
        width : 100%;
        height : 400px;
        background :gray;
      }

      .relativePosition{
        width : 100%;
        height : 400px;
        background :white;
      }

      .relativePosition > div {
        padding: 50px;
        background : darkgreen;
        margin-top : 10px;
      }
      .relativePosition > div:first-child{
        position : relative;
        top : -100 px;
      }

      .absolutePosition{
        width : 100%;
        height : 400px;
        background :navy;
      }
      .absolutePosition > div{
        position : absolute;
        right : 0px;
        bottom : 0px;
        width : 400px;
        height : 200px;
        background : white;
      }

      .fixedPosition{
        width : 100%;
        height : 400px;
        background :green;
      }

      .fixedPosition > div{
        position : fixed;
        top : 0px;
        left : 0px;
        background: royalblue;
        width : 100px;
        height :100px;
      }
    </style>
    <div class = 'blankPosition'>
      <div>blank</div>
    </div>
    <div class = 'relativePosition'>
      <div>relative</div>
      <div>relative</div>
    </div>
    <div class = 'absolutePosition'>
      <div>absolute</div>
    </div>
    <div class = 'fixedPosition'>
      <div>fixed</div>
    </div>
  </body>
</html>
result
10 Display 속성
a. none
요소를 렌더링 하지 않아 화면 상에 존재하지 않는 형태로 만드는 속성
display : noneb. block
블록 레벨로 변경할 수 있도록 바꿔주는 속성
display : blockc. inline
인라인 레벨로 변경할 수 있도록 바꿔주는 속성
display : inlined. flex
부모가 담고 있는 자식들의 위치를 정렬하는 방법
- 부모에 속성을 부여하는 방법
- 자식에 속성을 부여하는 방법
.container{
 display: flex;
}
_display _ ex_
<!DOCTYPE html>
<html lang="ko">
<head></head>
<body>
<style>
*{
border-collapse: collapse;
margin : 0px;
padding : 0px;
text-decoration : None;
color: black;
list-style : None;
}
div > span{
display: block;
border : 1px solid white;
background: gray;
}
.flexable{
display: flex;
}
div > div {
display : inline;
}
div > div:first-child{
flex :2;
}
div > div {
flex :1;
background: navy;
border :1px solid white;
}
</style>
<div>
<span>span</span>
<span>span</span>
</div>
<div>
<div>div</div>
<div>div</div>
<div>div</div>
</div>
</body>
</html>result

VS code TIP
- ctrl + / : 주석 생성 및 삭제
- ctrl +/- : 화면 글자크기 조절 가능
- CSS 적용되지 않을 경우 선택자가 제대로 들어갔는지 checking
HTML 로 전체적인 구조를 만든 후 CSS 로 스타일적인 요소를 추가하며 태그의 기본적인 속성 위주로 스터디 진행