🏔️ 들어가며
AppBar 위젯은 다음과 같이 어플리케이션 상단에 위치하는 요소를 가리킨다. Flutter에서는 주로 Scaffold의 프로퍼티로 사용된다.
플러터 공식 문서에 따르면 AppBar 내부는 크게 leading, title, actions, flexibleSpace, bottom으로 나뉜다.
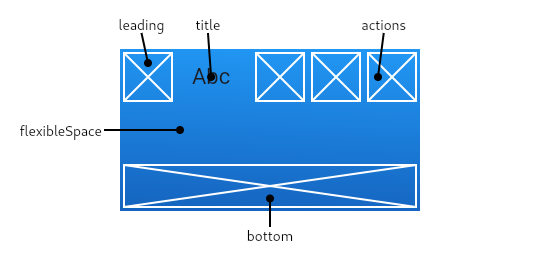
leading:AppBar좌측 상단의 아이콘(한 개)title:AppBar에 표시되는 제목actions:AppBar우측의 아이콘(복수 개)flexibleSpace:toolBar와tab bar뒤쪽으로 쌓인다.높이는AppBar의 전체 높이와 같다.bottom: 주로TabBar설정을 위해 사용
🗂️ TabBar 예시

⚜️ 주요 속성
📔 title
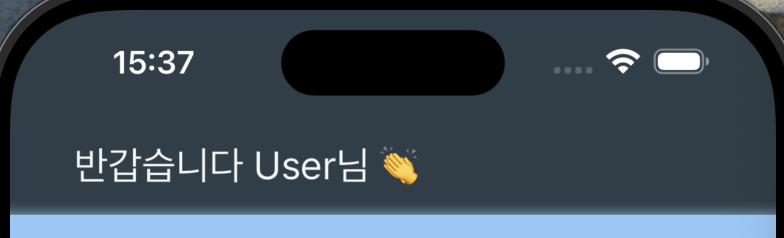
AppBar에 표시되는 제목을 설정한다. 주로 Text위젯이 온다. 나의 경우는 padding을 주고 싶어서 Container 위젯 내에 Text 위젯을 넣었다.
appBar: AppBar(
	title: Container(
		padding: const EdgeInsets.all(20.0),
		child: const Text(
			'반갑습니다 User님 👏',
			style: TextStyle(color: Color(0xffF5F9FC)),
		),
	),
),EdgeInsets.all(n): 상하좌우 모두n만큼의 패딩을 준다TextStyle:Text위젯의 텍스트 스타일을 설정한다.
Flutter는ARGB를 사용한다. 맨 처음 두 글자는 투명도, 그 다음 두 글자는Red, 그 다음은 각각Green과Blue이다.
🏬 centerTitle
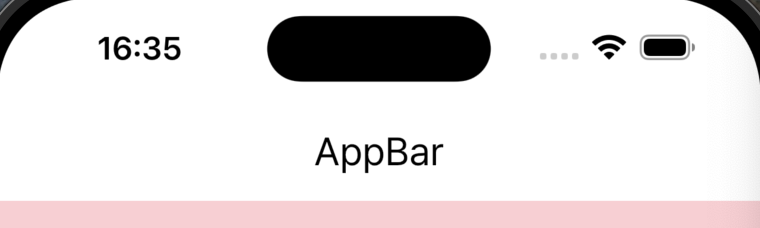
title 중앙정렬 여부를 설정한다. 기본값은 true로, 중앙정렬된 상태이다.
appBar: AppBar(
	centerTitle: false
	title: const Text('AppBar'),
),- 기본 값

false

🎨 backgroundColor
AppBar의 배경색을 지정한다.
appBar: AppBar(
	backgroundColor: const Color(0xdd20282D),
),
🛫 elevation
AppBar가 부모 위젯으로부터 얼마나 떨어져있는지, 그 z좌표를 설정하는데 사용된다.
appBar: AppBar(
	elevation: 10,
	title: const Text('AppBar'),
),
⚠️
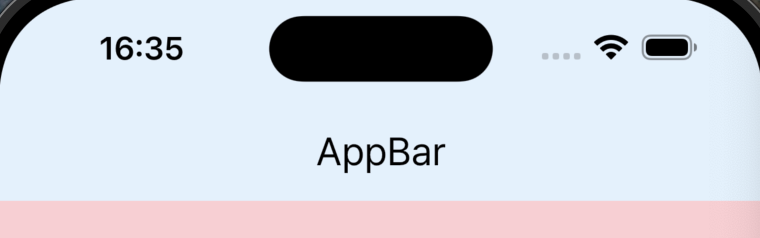
Flutter의 기본 배경 색은 하늘 색인 것 같고,appBar와body가 겹친 것이 아니라appBar바로 아래에body가 놓인다. 그래서elevation에 값을 넣으면body의 배경 색이 아니라 하늘색이 입혀진다...⚠️
elevation: 0
elevation: 10
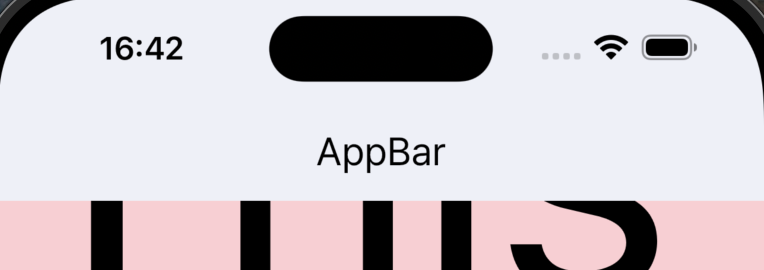
📜 scrolledUnderElevation
body에 들어있는 내용이 많아 스크롤을 하는 경우, AppBar의 배경색에 하늘색이 입혀진다(아마 elevation과 유사하게 작동하는 듯). 이를 방지하기 위해 사용한다. 말 그대로 스크롤을 할 때 elevation 값을 조정하는 것이다.
appBar: AppBar(
	backgroundColor: const Color(0xddffffff),
	scrolledUnderElevation: 0,
	title: const Text('AppBar'),
),- 기본
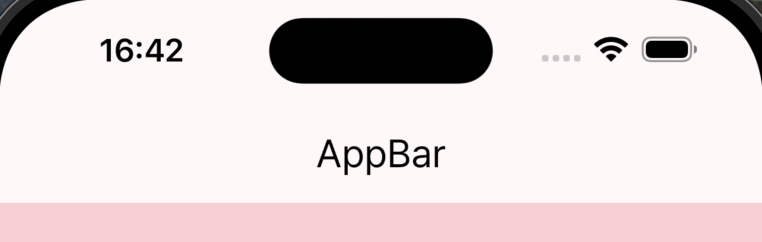
- 스크롤 시
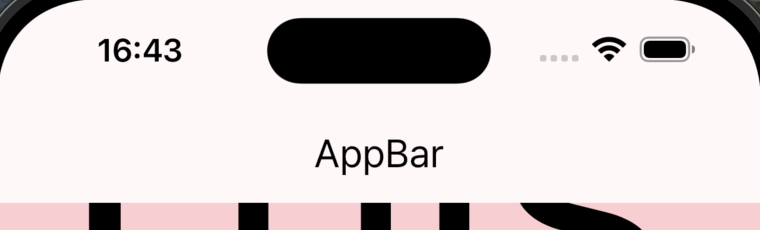
scrolledUnderElevation: 0설정 후
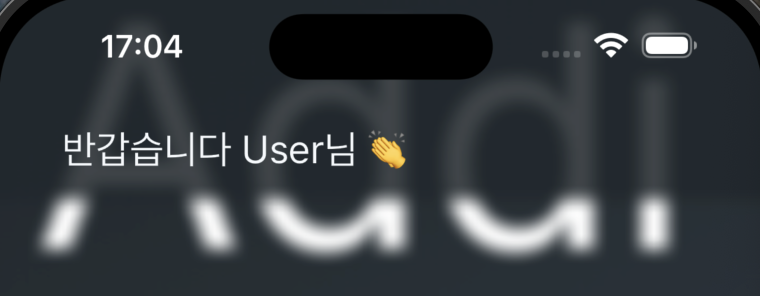
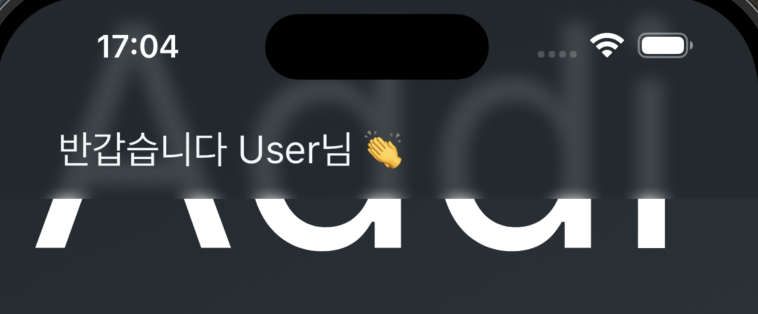
🫥 AppBar 투명하게 만들기
flexibleSpace: ClipRRect(
	child: BackdropFilter(
		filter: ImageFilter.blur(sigmaX: 5, sigmaY: 5),
		child: Container(
			color: Colors.transparent,
        ),
    ),
),
블러 처리는 filter 프로퍼티에서 처리한다. sigmaX는 가로축 블러 정도를, sigmaY는 세로축 블러 정도를 설정한다. 값이 커질 수록 블러 효과는 커진다.
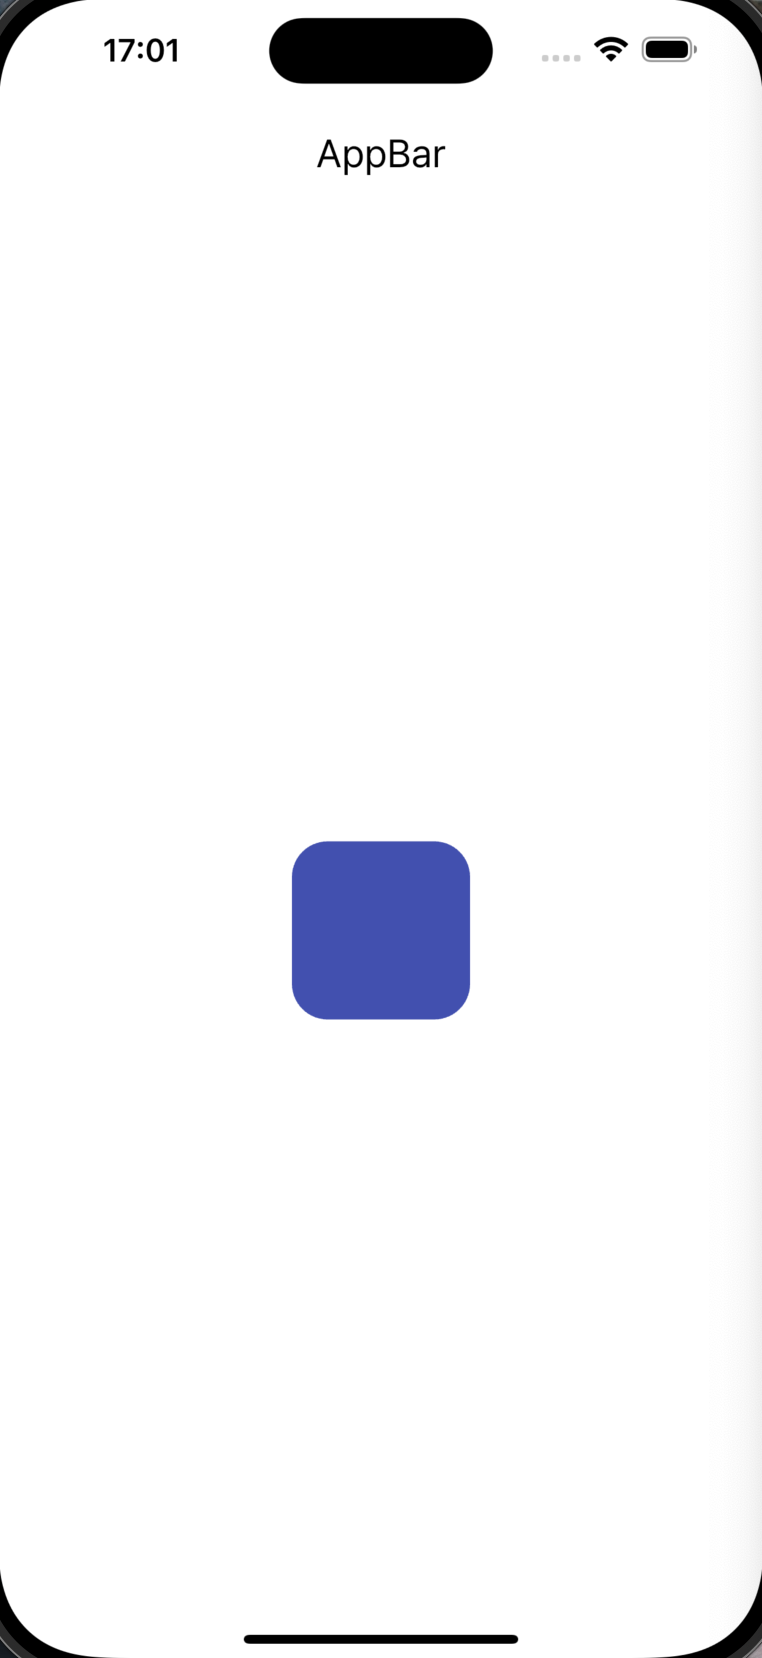
🙋♀️ ClipRRect를 사용한 이유
ClipRRect 위젯은 주로 사각형 끝을 둥글게 만들기 위해 사용한다.
body: Center(
	child: ClipRRect(
		borderRadius: BorderRadius.circular(20),
        child: Container(
            width: 100,
            height: 100,
            color: Colors.indigo,
        ),
    ),
),- 실행 화면
처음에는 BackdropFilter를 바로 넣으면 되지 않을까? 했지만 BackdropFilter 자체에는 특정 부분만 필터를 적용하게끔 자르는 기능이 없기 때문에 ClipRRect를 이용해 AppBar 영역으로만 한정시킨 것이다.
ClipRRect미적용
ClipRRect적용
BackdropFilter의 child에 Container를 넣어준 까닭은, BackdropFilter는 자식 위젯의 배경을 흐리게 만들기 때문에, 자식 위젯이 없으면 아무런 효과도 볼 수 없기 때문이다. 대신 부모위젯에 영향을 주지 않도록 배경 색을 투명하게 설정했다.
🚀 코드
appBar: AppBar(
	elevation: 0,
    scrolledUnderElevation: 0,
    backgroundColor: const Color(0xdd20282D),
	title: Container(
		padding: const EdgeInsets.all(20.0),
		child: const Text(
            '반갑습니다 User님 👏',
            style: TextStyle(color: Color(0xffF5F9FC)),
        ),
    ),
    centerTitle: false,
	flexibleSpace: ClipRRect(
		child: BackdropFilter(
			filter: ImageFilter.blur(sigmaX: 5, sigmaY: 5),
			child: Container(
				color: Colors.transparent,
			),
		),
 	),
),
🏛️ AppBar를 class로 분리하기
Dart의 최대 단점: 코드가 더럽다..
그래서 AppBar를 클래스로 분리했다!

VSCode는 좌측 노란 전구를 통해 다양한 기능을 제공한다. Extract 부분은 말 그대로 해당 위젯을 함수, 로컬변수, 위젯 클래스로 추출한다는 소리고, 그 이하는 해당 위젯을 특정 위젯으로 감싸거나 하는 등의 기능이다.
그렇게 위젯을 분리했는데..

어김없이 에러가 뜬다..
appBar 프로퍼티에는 PreferredSizeWidget이 와야하기 때문이다.
📏 PreferredSizeWidget
달리 제한이 없는 경우 선호하는 크기를 반환하는 위젯용 인터페이스이다. 공식 문서에 따르면 위젯이 크기를 제한하는 것이 바람직하지 않지만 AppBar나 ToolBar 등의 경우에는 제한할 필요가 있다고 한다. preferedSize를 이용해 위젯 크기를 지정한다.
따라서 MyAppBar 클래스에서 PreferredSizeWidget를 implements로 상속받아 preferredSize를 설정한다.
→ implements: 이 키워드로 상속된 클래스는 인터페이스의 역할을 한다. 따라서 모든 멤벼변수와 멤버함수가 재정의되어야 한다. PrefferedSizeWidget에는 preferredSize밖에 없으므로 이것만 오버라이딩 하면 된다.
🚀 최종 코드
...
appBar: const MyAppBar(),
...
class MyAppBar extends StatelessWidget implements PreferredSizeWidget {
const MyAppBar({super.key});
Widget build(BuildContext context) {
return AppBar(
elevation: 0,
scrolledUnderElevation: 0,
backgroundColor: MyColors.myBlack,
title: Container(
padding: const EdgeInsets.all(20.0),
child: const Text(
'반갑습니다 User님 👏',
style: TextStyle(color: MyColors.myWhite),
),
),
centerTitle: false,
flexibleSpace: ClipRRect(
child: BackdropFilter(
filter: ImageFilter.blur(sigmaX: 5, sigmaY: 5),
child: Container(
color: Colors.transparent,
),
),
),
);
}
Size get preferredSize => const Size.fromHeight(kToolbarHeight);
}
📑 Reference