지금까지 배운 리액트 내용으로 미니 프로잭트를 만들어보자!!🔥🔥
아직까지 리액트를 이용해서 어떻게 구상하고 코드를 작성해서 만들어야 하는지 항상 막막하지만! 이런 작은 것들을 만들어보면서 내가 원하는 것을 구현할 수 능력을 키워봅시다!! 모두 화이팅!
1. 프로젝트 준비하기
리액트를 설치를 합니다.
이번 프로젝트에서는 Sass를 사용하고 Classnames를 사용해 조건부 스타일링을 좀 더 편하게 하기 위해서 설치한다! 리액트 아이콘도 사용하기 때문에 설치해준다!
$ npm install node-sass
$ npm install classnames --save
$ npm install react-icons --save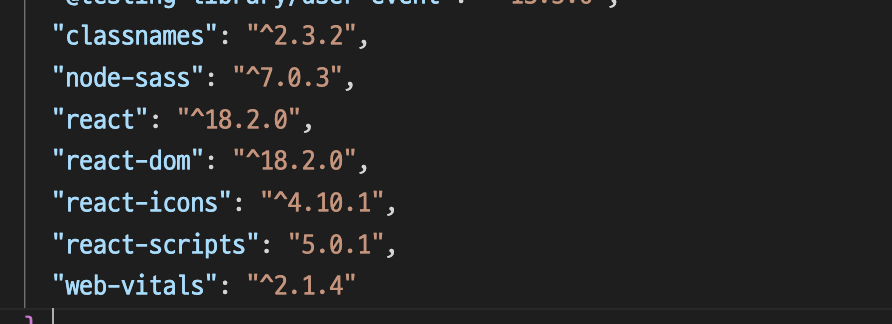
package.json 파일에 설치가 된 것을 확인할 수 있다!
1.1 Prettier 설정
Prettier를 설정하면 코드를 작성할 떄 코드 스타일링을 깔끔하게 정리할 수 있습니다. 프초젝트의 최상위 디렉터리에 .prettierrc 파일을 생성하면 된다. 여기서 최상위는 public과 src폴더가 있는 곳에 생성하면 된다.
.prettierrc
{
    "singleQuote": true,
    "semi": true,
    "useTabs": false,
    "tabWidth": 2,
    "trailingComma": "all",
    "printWidth": 80
}
1.2 index.css 수정
프로젝트의 글로벌 스타일 파일이 들어 있는 index.css를 조금 수정하자. background 속성을 설정!
index.css
body {
  margin: 0;
  padding: 0;
  background: #e9ecef;
}
저장해보면 배경이 회색으로 변경!
10.2 UI 구성하기
컴포넌트
1. TodoTemplate : 앱 타이틀 보여줌
2. TodoInsert : 새로운 항목을 입력, 추가
3. TodoListItem : 각 항목에 대한 정보를 보여주기
4. TodoList : 여러 개의 TodoListItem 컴포넌트로 변환하여 보여주기
이 컴포넌트들은 src 디렉터리에 components라는 디렉터리를생성하여 그 안에 저장. 그 이유는 기능이나 구조상 필요한것이 아니라 자주 사용되는 괍습이기 때문이라고 한다.
TodoTemplate.scss
TodoInsert.scss
TodoListItem.scss
TodoList.scss
scss 파일도 미리 생성해두자! css랑 똑같은 기능을 하는 파일이라고 생각하면 쉬울 거 같다!
2.1 TodoTemplate 만들기
// TodoTemplate.js
import './TodoTemplate.scss';
const TodoTemplate = ({children}) => {
return (
<div className='TodoTemplate'>
<div className='app-title'>일정관리</div>
<div className='content'>{children}</div>
</div>
);
};
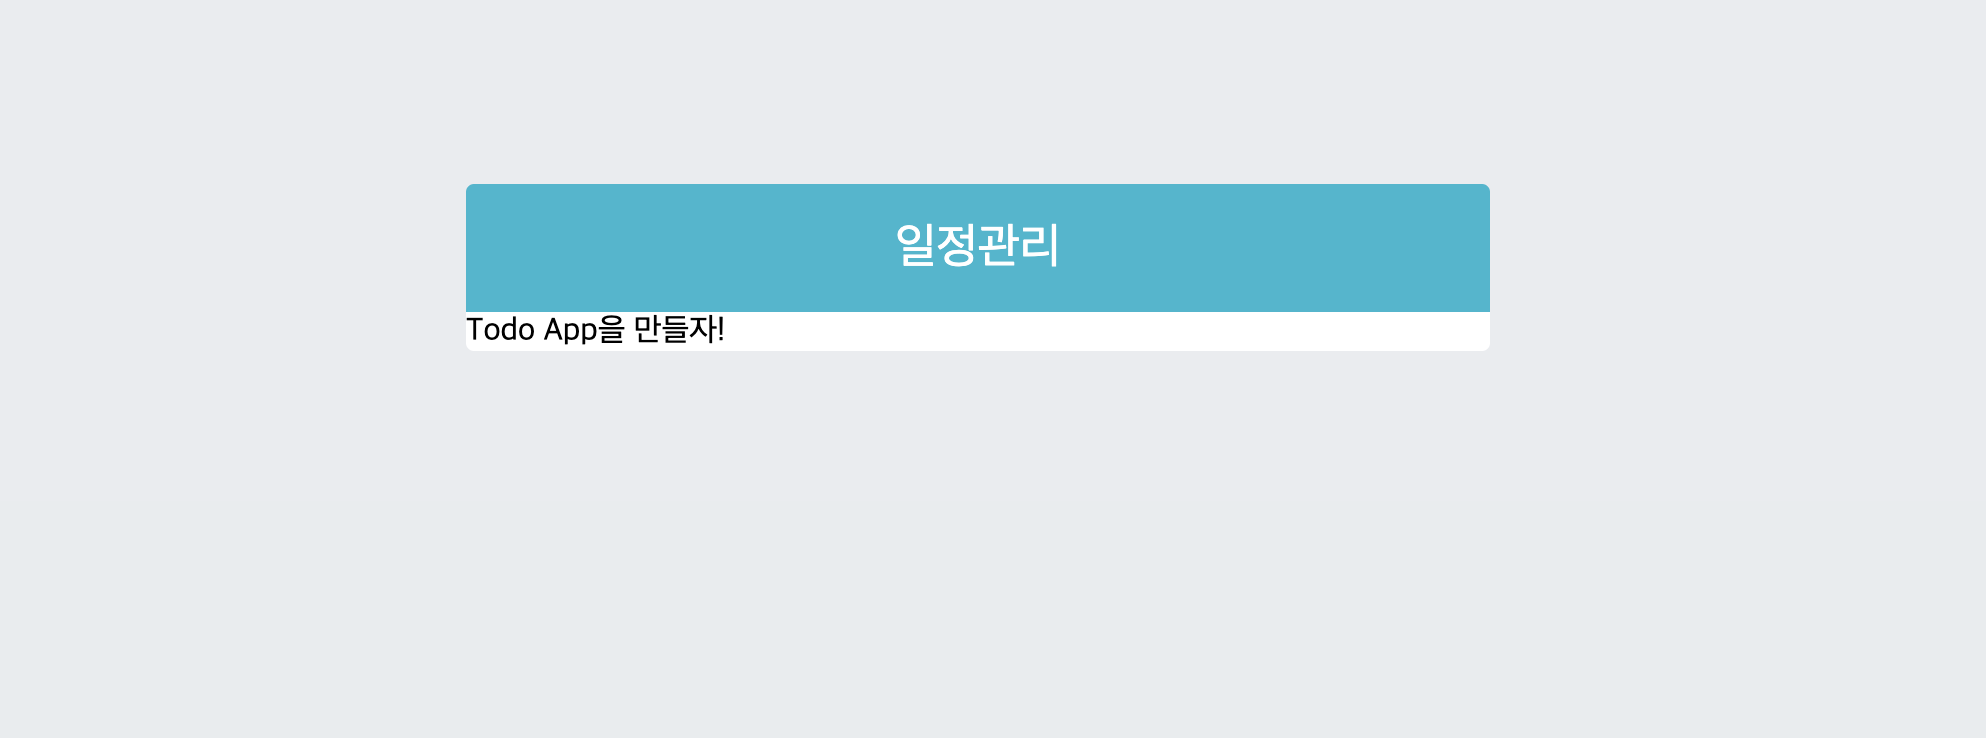
export default TodoTemplate;// App,js
import TodoTemplate from './components/TodoTemplate';
const App=()=>{
return <TodoTemplate>Todo App을 만들자! </TodoTemplate>
};
export default App;✔️ Tip
//jsconfig.json
{
    "compilerOptions": {
        "target": "es6"
    }
}- 만약 import문을 직접 입력하는 것이 귀찮다면 위와 같은 jsconfig.json 파일을 최상위 디렉토리에 만들면 됨.
- 파일을 저장하면 자동완성을 통해 컴포넌트를 불러와서 사용 가능.
// TodoTemplate.scss
.TodoTemplate {
    width: 512px;
    // width가 주어진 상태에서 좌우 중앙 정렬
    margin-left: auto;
    margin-right: auto;
    margin-top: 6rem;
    border-radius: 4px;
    overflow: hidden;


    .app-title {
        background: #22b8cf;
        color: white;
        height: 4rem;
        font-size: 1.5rem;
        display: flex;
        align-items: center;
        justify-content: center;
    }

    .content {
        background: white;
    }
}
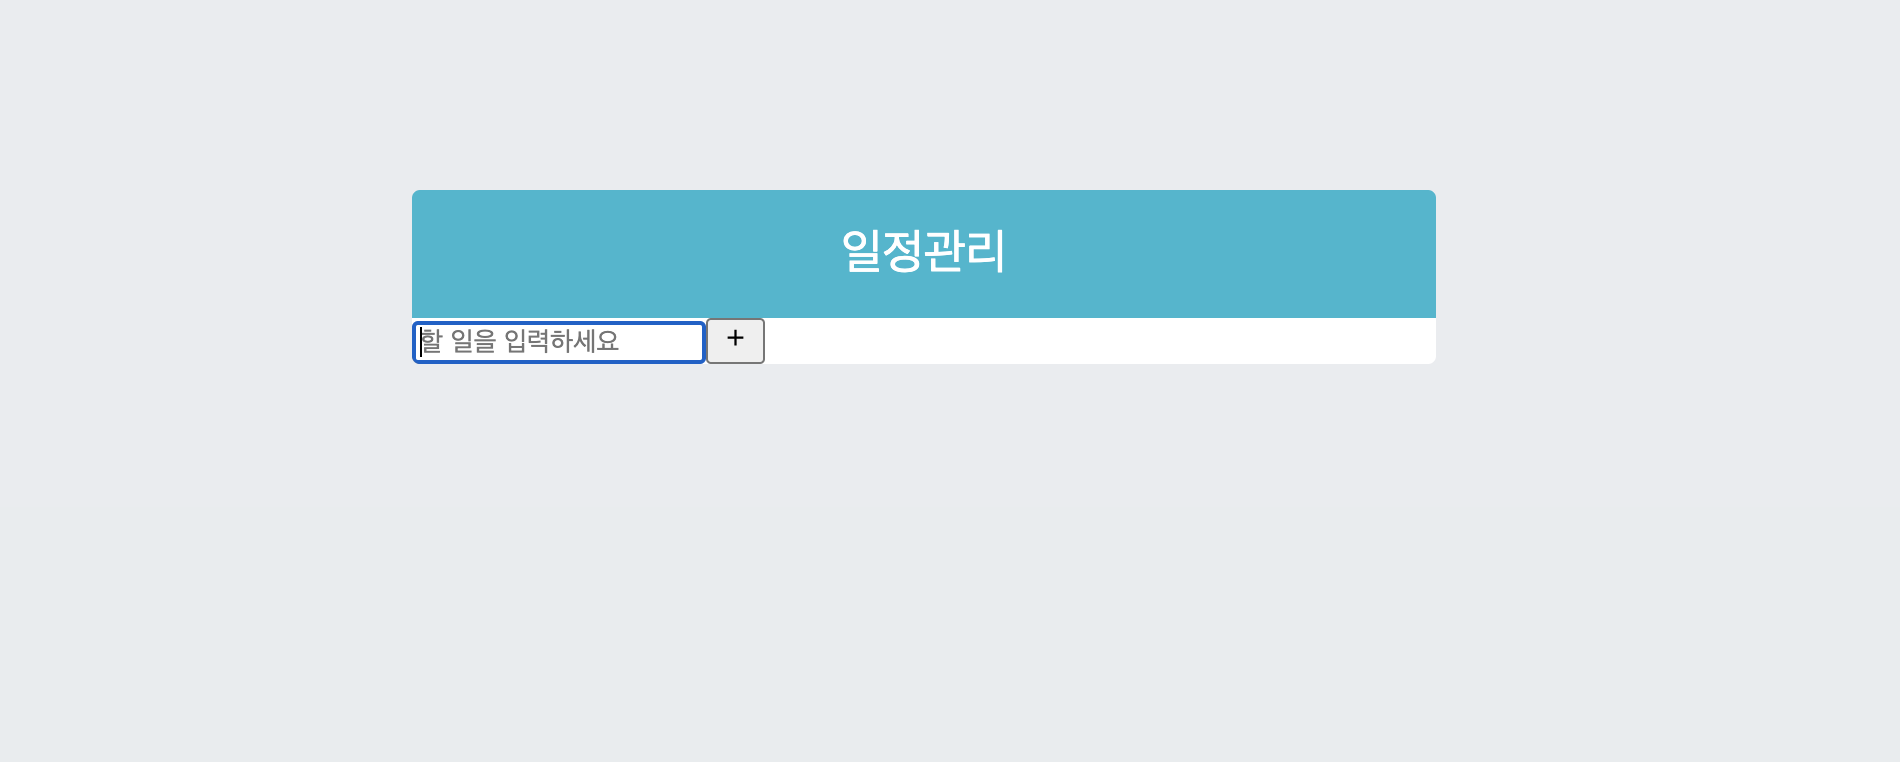
2.2 TodoInsert 만들기
//TodoInsert.js
import{MdAdd} from 'react-icons/md';
import './TodoInsert.scss';

const TodoInsert=()=>{
    return(
        <form className="TodoInsert">
        <input placeholder="할 일을 입력하세요"/>
        <button type="submit">
            <MdAdd/>
        </button>
        </form>
    );
};

export default TodoInsert;
여기서 react-icons을 사용하는 방법은 리액트 아이콘 사이트에 들어가서 내가 사용하고 싶은 아이콘을 누르면 아이콘 이름이 복사가 된다.
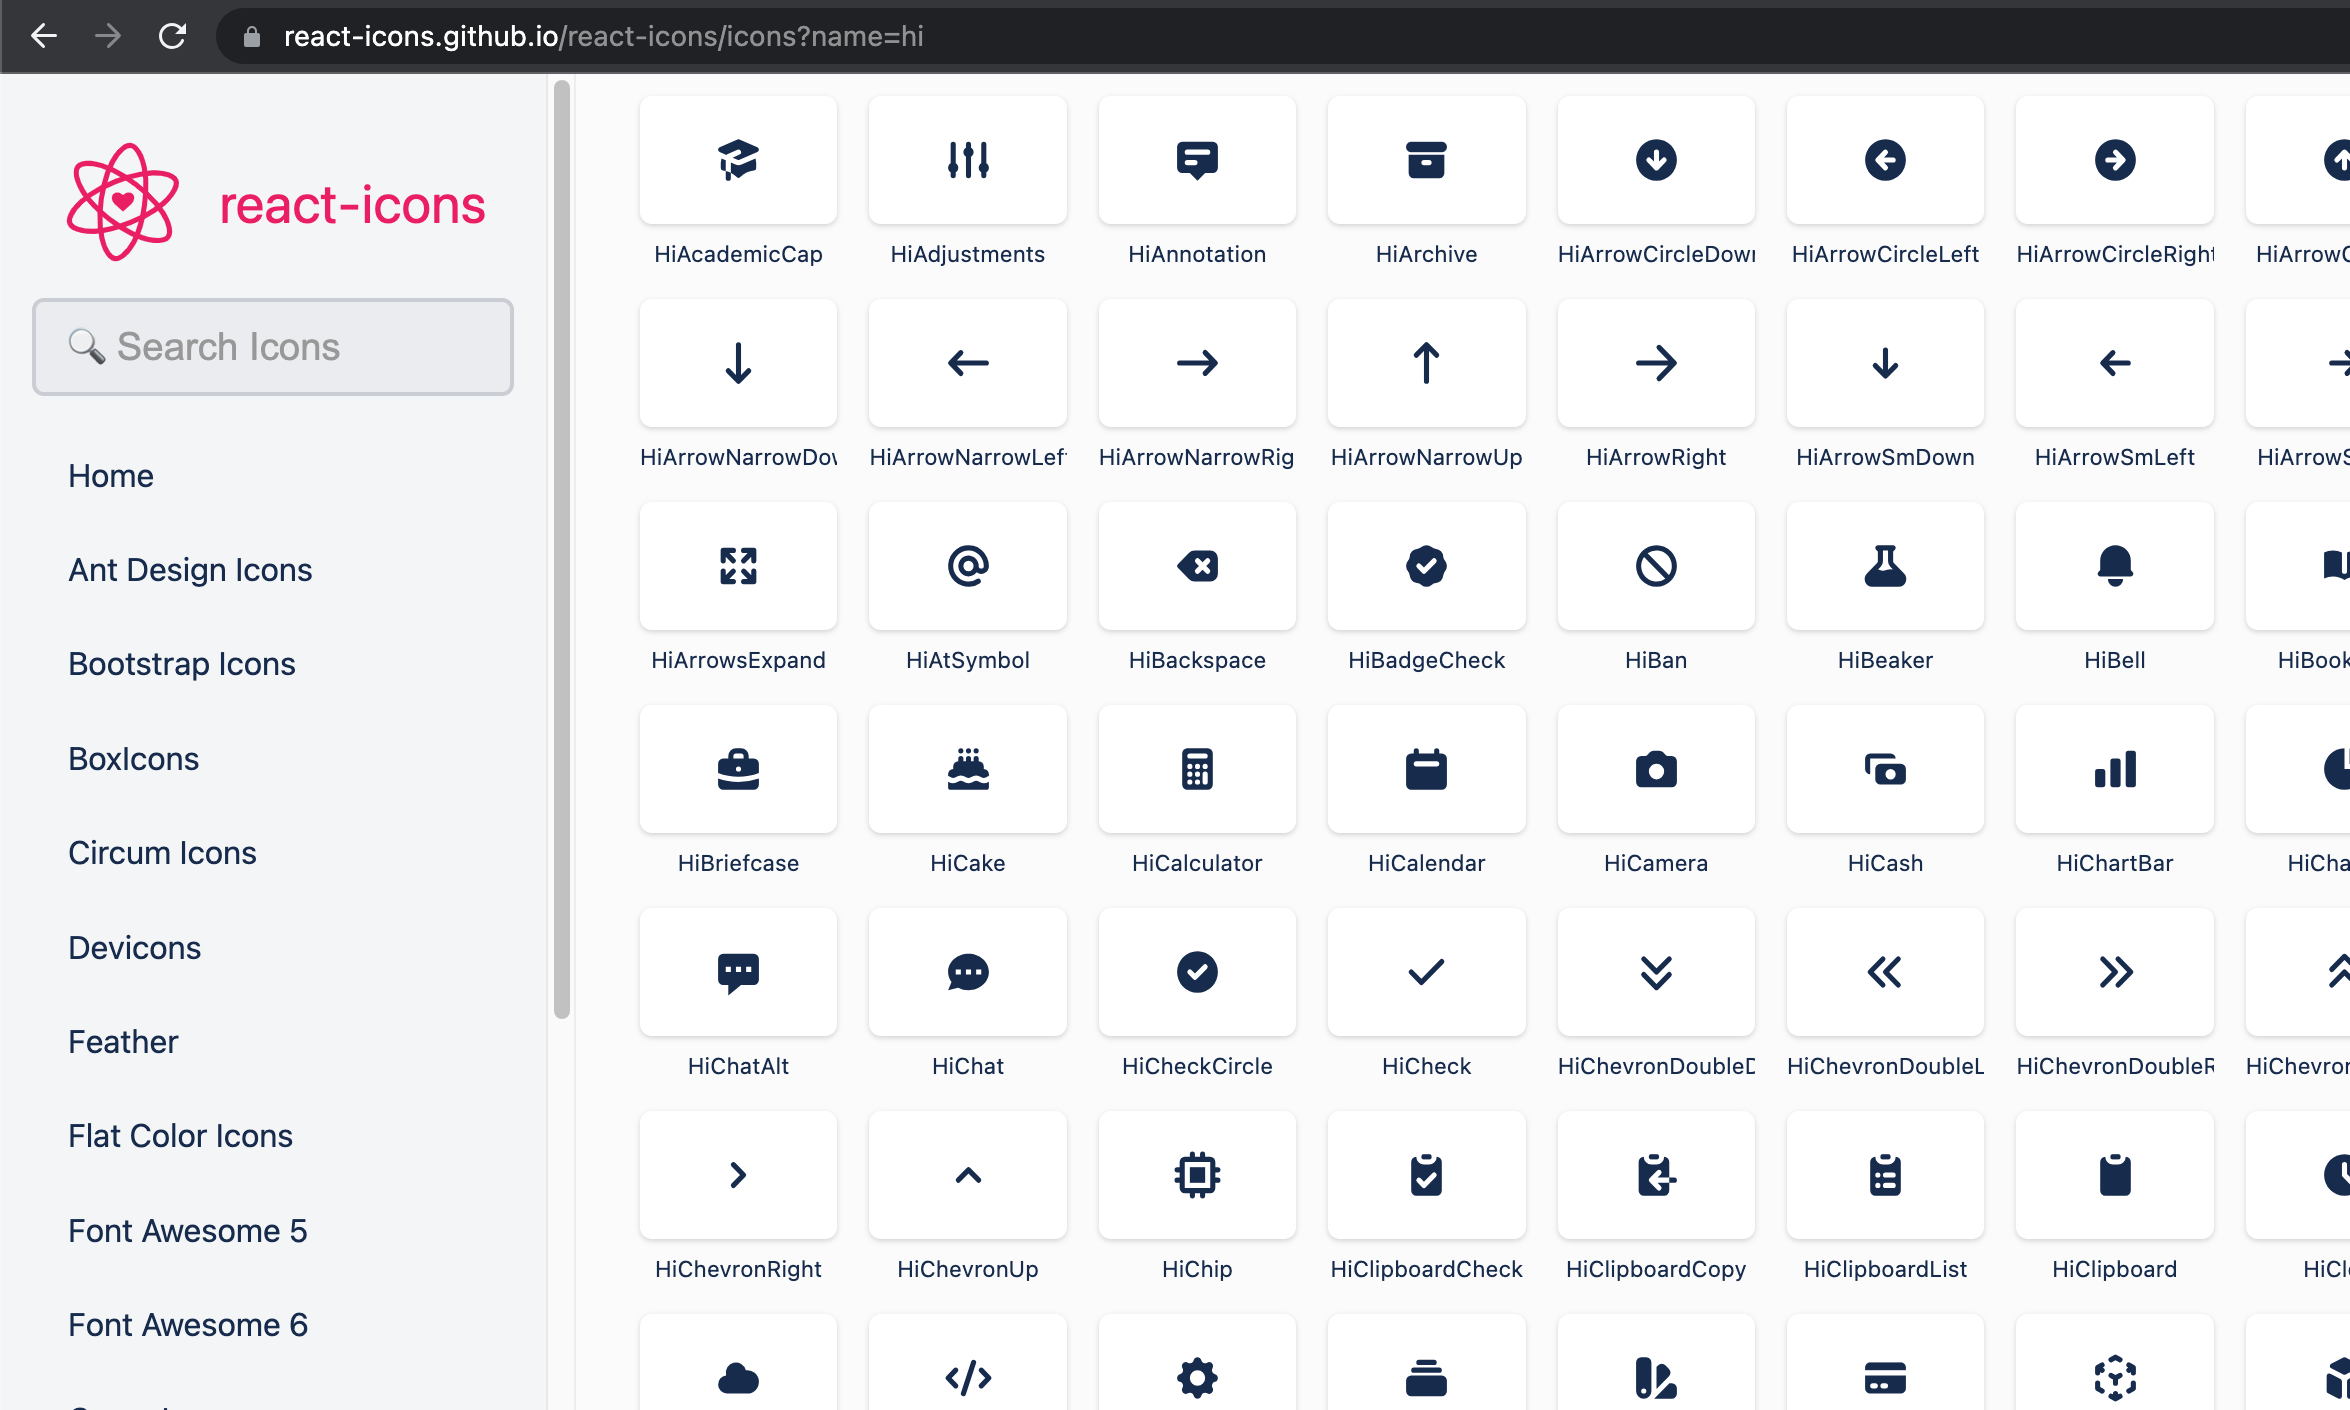
import{아이콘 이름} from 'react-icons/md'; 위에서 사용하고 싶은 아이콘을 선택하여 import구문을 이용해 컴포넌트 처럼 사용가능하다.
끝에 /md 부분은 아이콘에 따라 다르게 작성한다, 홈페이지에 들아가 보면 상단에서 확인할 수 있다!!
-
컴포넌트를 App에서 불러와서 렌더링 해보자!!
-
이 컴포넌트를 이쁘게 스타일해 보자!
// TodoInsert.scss
.TodoInsert {
    display: flex;
    background: #495057;
    input {
      // 기본 스타일 초기화
      background: none;
      outline: none;
      border: none;
      padding: 0.5rem;
      font-size: 1.125rem;
      line-height: 1.5;
      color: white;
      &::placeholder {
        color: #dee2e6;
      }
      // 버튼을 제외한 영역을 모두 차지하기
      flex: 1;
    }
    button {
      // 기본 스타일 초기화
      background: none;
      outline: none;
      border: none;
      background: #868e96;
      color: white;
      padding-left: 1rem;
      padding-right: 1rem;
      font-size: 1.5rem;
      display: flex;
      align-items: center;
      cursor: pointer;
      transition: 0.1s background ease-in;
      &:hover {
        background: #adb5bd;
      }
    }
  }
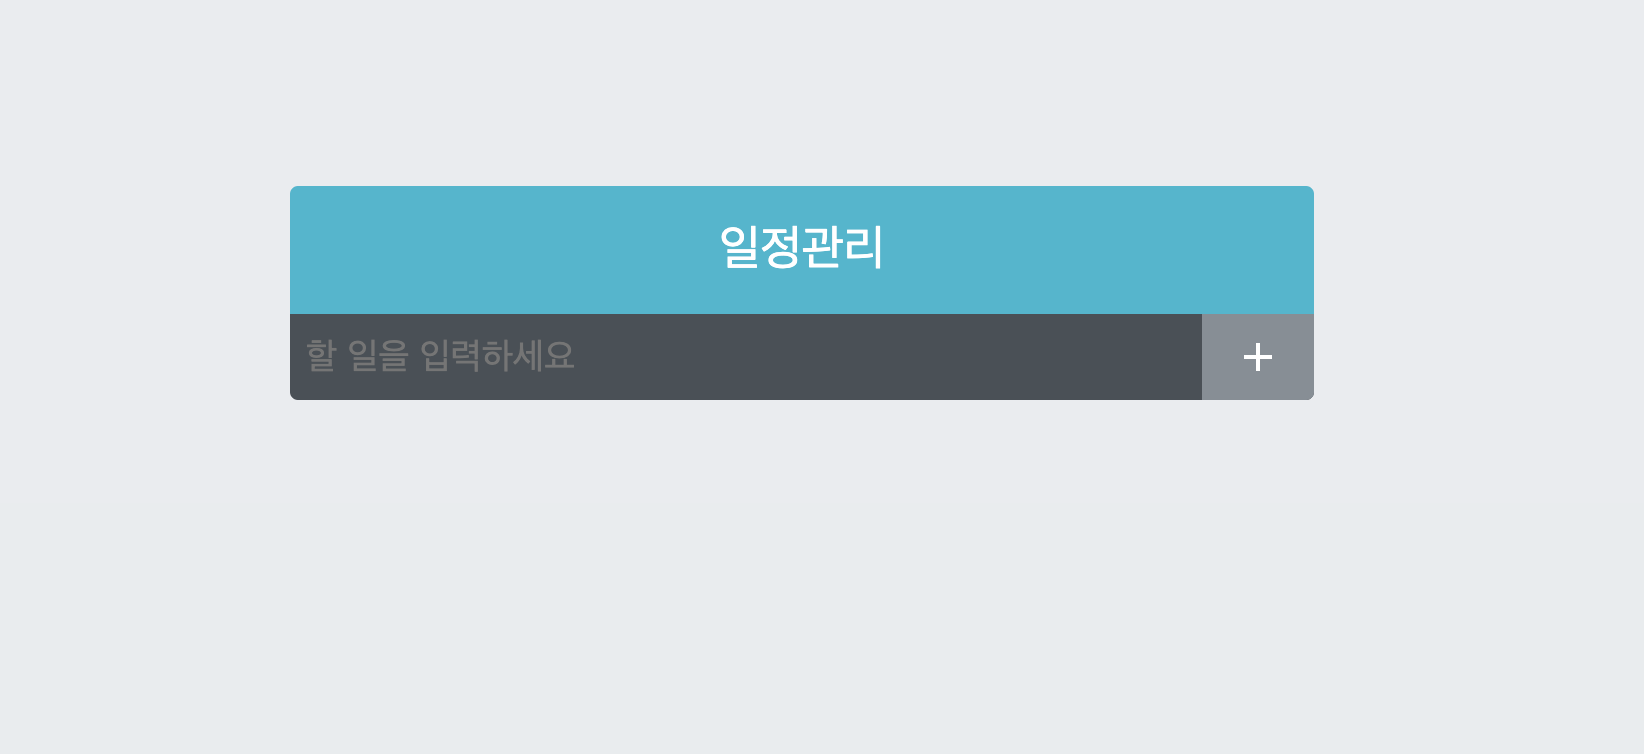
이제 마우스를 + 버튼에 올려보면 커서 모양도 바뀌고 버튼의 배경색도 변경이 된다. 조금씩 갖춰가는 모습이다!
2.3 TodoListItem과 TodoList 만들기
이제 일정 관리 항목이 보일 TodoListItem과 TodoList를 만들어 보자!
// TodoListItem.js
import React from 'react';
import {
  MdCheckBoxOutlineBlank,
  MdCheckBox,
  MdRemoveCircleOutline,
} from 'react-icons/md';
import './TodoListItem.scss';

const TodoListItem = () => {
  return (
    <div className="TodoListItem">
      <div className="checkbox">
        <MdCheckBoxOutlineBlank/>
        <div className='text'>할 일</div>
      </div>
      <div className="remove">
        <MdRemoveCircleOutline/>
      </div>
    </div>
  );
};

export default TodoListItem;
// TodoList.js
import TodoListItem from './TodoListItem';
import './TodoList.scss';
const TodoList = () => {
return (
<div className="TodoList">
<TodoListItem />
<TodoListItem />
<TodoListItem />
</div>
);
};
export default TodoList;지금은 이 컴포넌트에 TodoListItem을 불러와서 별도의 props 전달 없이 그대로 여러 번 보여 주고 있다.
- App에서 렌더링하기
// App.js
import TodoTemplate from './components/TodoTemplate';
import TodoInsert from './components/TodoInsert';
import TodoList from './components/TodoList';

const App = () => {
  return (
    <TodoTemplate>
      <TodoInsert />
      <TodoList />
    </TodoTemplate>
  );
};
export default App;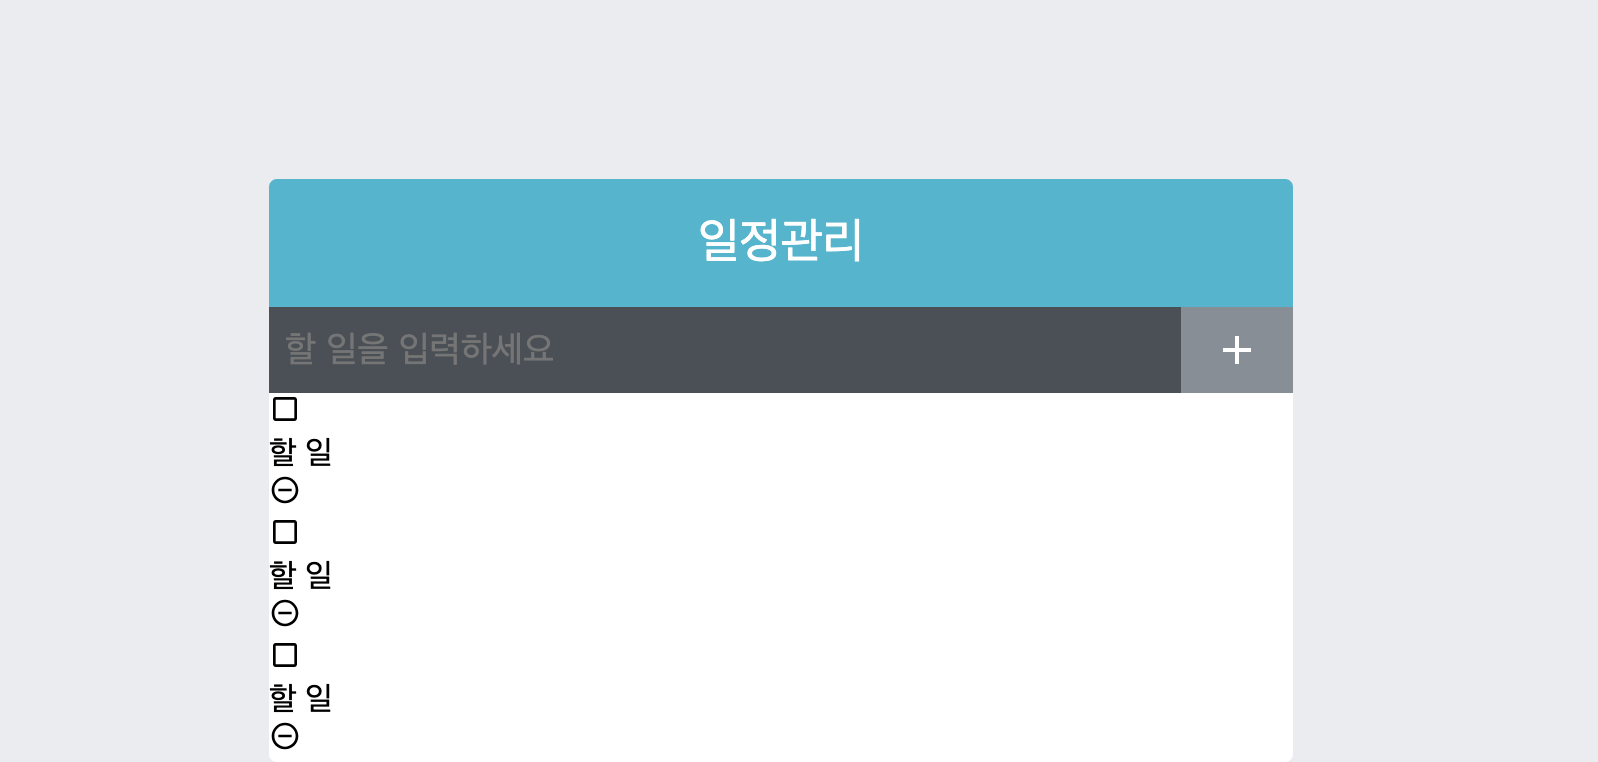
- 이제 여기에 스타일링을 해보자!
// TodoList.scss
.TodoList {
    min-height: 320px;
    max-height: 513px;
    overflow-y: auto;
  }
// TodoLIstItem.scss
.TodoListItem {
padding: 1rem;
display: flex;
align-items: center; // 세로 중앙 정렬
&:nth-child(even) {
background: #f8f9fa;
}
.checkbox {
cursor: pointer;
flex: 1; // 차지할 수 있는 영역 모두 처지
display: flex;
align-items: center; // 세로 중앙 정렬
svg {
//아이콘
font-size: 1.5rem;
}
.text {
margin-left:0.5rem;
flex: 1; // 차지할수 있는 영역 모두 차지
}
// 체크되었을 때 보여 줄 스타일링
&.checked {
svg{
color:#22b8cf;
}
.text {
color: #adb5bd;
text-decoration: line-through;
}
}
}
.remove{
display: flex;
align-items: center;
font-size: 1.5rem;
color: #ff6b6b;
cursor: pointer;
&:hover {
color: #ff8787;
}
}
// 엘리먼트 사이사이에 테두리를 넣어 줌
& + & {
border-top: 1px solid #dee2e6;
}
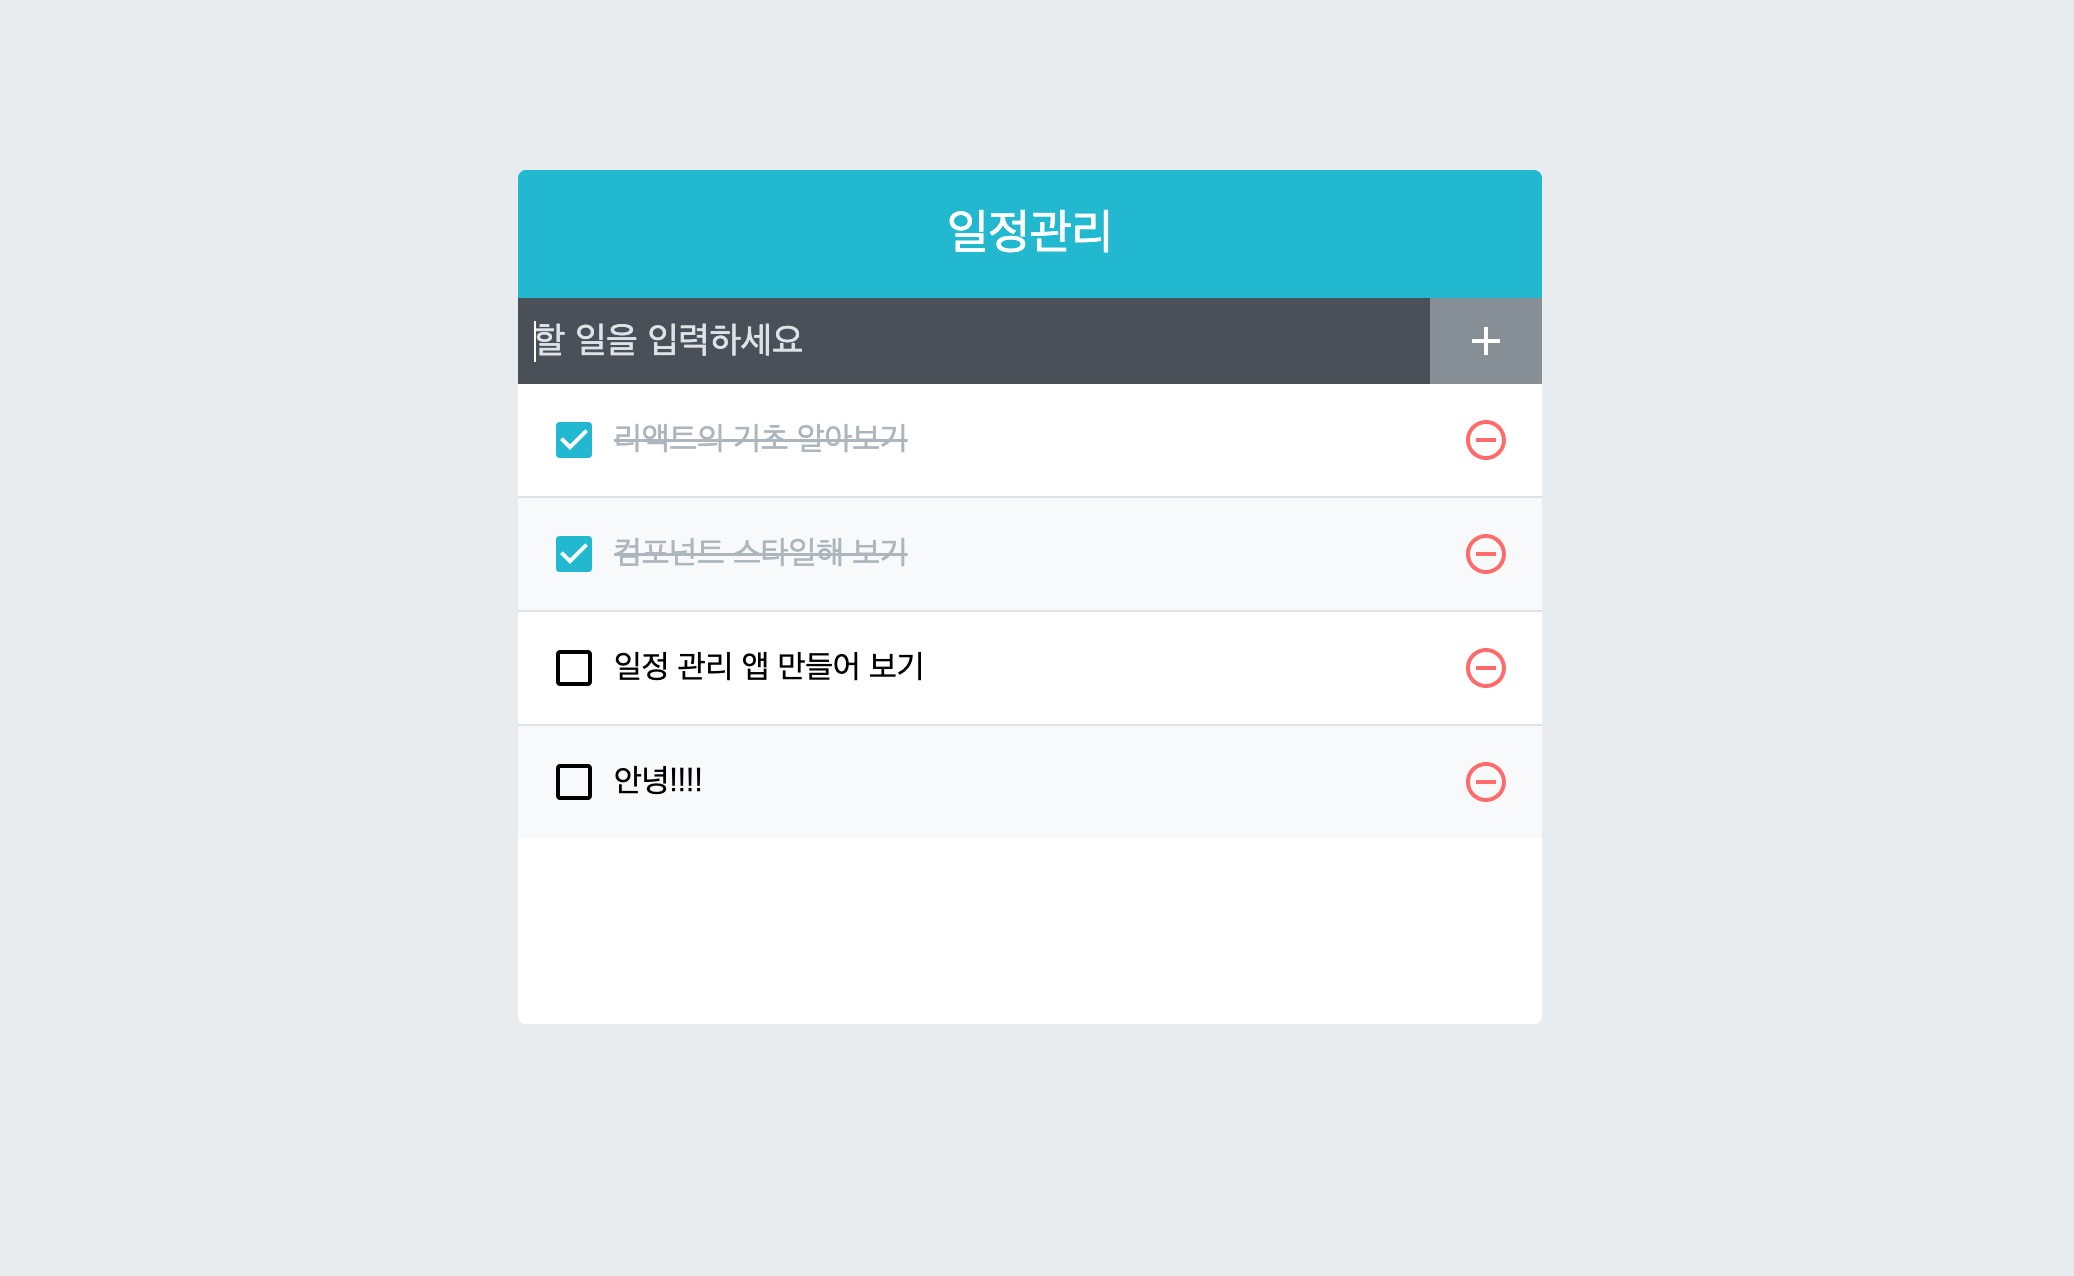
}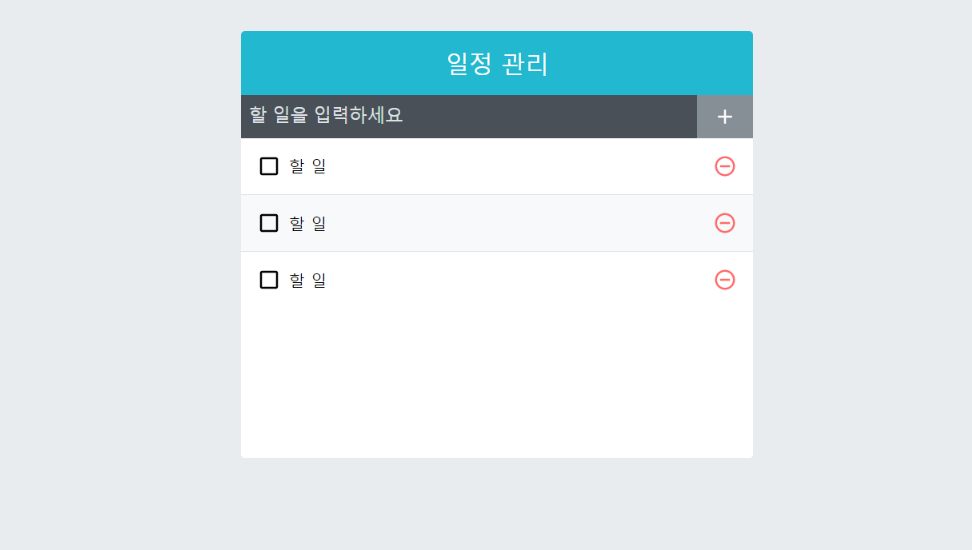
여기까지가 일정 관리 애플리케이션이 동작할 수 있도록 기능을 구현하기 전까지이다. 일정 관리 웹 애플리케이션 만들기 2부터 기능을 구현해 보자!
참고자료