Before Learn...
-
React 컴포넌트 계층 구조로 나누기
React는 페이지 단위가 아닌 컴포넌트 단위로 개발을 시작한다.(bottom-up) -
props
부모 컴포넌트의 데이터를 자식 컴포넌트로 보낼 수 있다.
데이터는 위에서 아래로 흐른다. (top-down) -
state : 컴포넌트 내부에서 변할 수 있는 값
-
데이터 정의
props와 state를 구분하는 것, 어떻게 구분할 것인지 파악하는 게 중요!
✅ TIL
- React 데이터 흐름
- lifting state up
React :: 단방향 데이터 흐름
컴포넌트는 props를 통해 전달받은 데이터가 어디서 왔는지 알 수 없다.
하나의 상태를 기반으로 두 컴포넌트가 영향을 받는 경우
= 두 개 이상의 자식 컴포넌트에서 하나의 state에 접근하는 경우
state를 공통 부모 컴포넌트에 위치시켜야 한다.
즉, 상태를 부모 컴포넌트에서 관리하게 한다.
부모 컴포넌트의 state를 자식 컴포넌트에서 props로 받아서 데이터를 변경, 관리한다.
https://ko.reactjs.org/docs/state-and-lifecycle.html
https://ko.reactjs.org/docs/thinking-in-react.html
State 끌어올리기
자식 컴포넌트에서 부모 컴포넌트의 state를 변경하는 경우
상위 컴포넌트의 "상태를 변경하는 함수" 그 자체를 하위 컴포넌트로 전달하고, 이 함수를 하위 컴포넌트가 실행한다
import React, { useState } from "react";

export default function ParentComponent() {
  const [value, setValue] = useState("기본값 입니다.");

  const handleChangeValue = () => {
    setValue("부모 컴포넌트의 값");
  };

  return (
    <div>
      <div>값은 {value} 입니다</div>
      // 자식 컴포넌트의 props로 event handler 전달하기
      <ChildComponent handleButtonClick={handleChangeValue} />
    </div>
  );
}

function ChildComponent({ handleButtonClick }) {
  const handleClick = () => {
    // 이 버튼을 눌러서 부모의 상태를 변경할 수 있다.
    // 인자로 받은 상태 변경 함수를 실행한다
    handleButtonClick()

  };

  return <button onClick={handleClick}>값 변경</button>;
}
위의 코드에서 부모 컴포넌트의 이벤트 핸들러 매개변수를 작성하고,
state 변경 함수의 인자로 받고,
자식 컴포넌트에서 '인자로 받은 상태 변경 함수'의 인자로 원하는 값을 작성하면
= 설정할 값을 콜백 함수의 인자로 넘겨서 state 끌어올리기 가능
데이터 변경사항을 상위 컴포넌트로 전달하는 것이지만,
state를 직접 전달하는 게 아닌 state 갱신 함수를 전달 받아 해당 함수를 실행시키는 원리이다.
컴포넌트 간 데이터 교환 구현
-
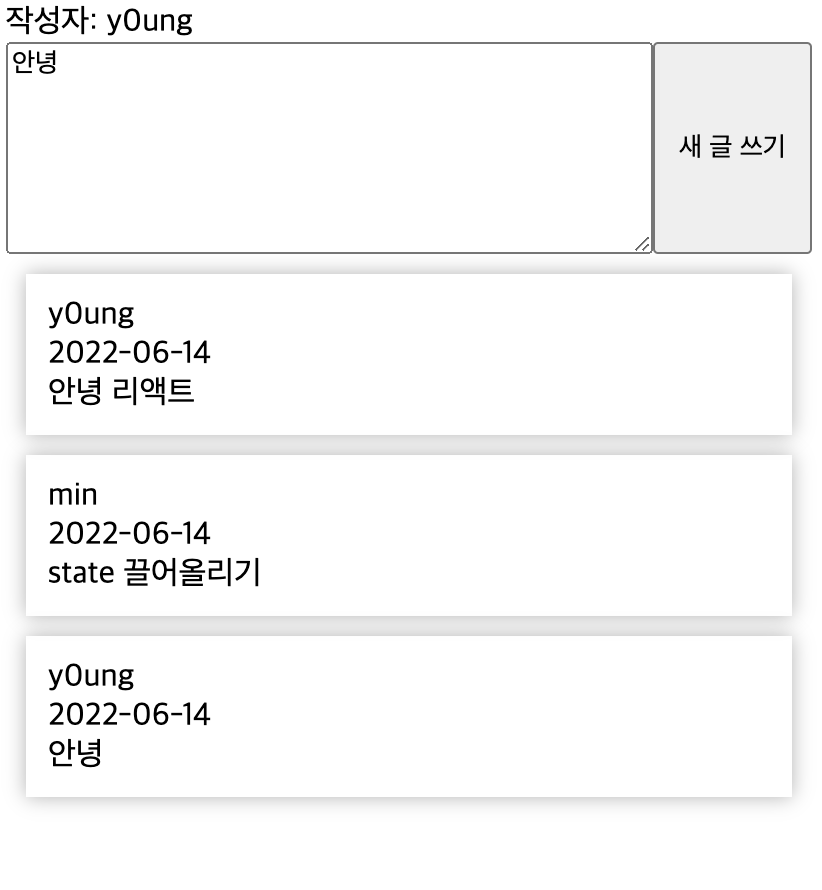
새 트윗을 작성하면, 기존 트윗 목록에 추가되어 전체 트윗 목록이 보이도록 구현하려 한다.
-
컴포넌트 만들기 & 데이터 정의
이 경우에 새 트윗 작성폼 NewTweetForm 컴포넌트와
하나의 트윗을 관리하는 SingleTweet 컴포넌트는
'전체 트윗 목록'이라는 상태에 의존적이라고 할 수 있다.
따라서 Twttitler 컴포넌트(부모 컴포넌트)에서 '전체 트윗 목록' state를 관리하게 했다. (tweets)
import React, { useState } from "react";
import "./styles.css";

const currentUser = "y0ung";

function Twittler() {
  const [tweets, setTweets] = useState([
    {
      uuid: 1,
      writer: "y0ung",
      date: "2022-06-14",
      content: "안녕 리액트"
    },
    {
      uuid: 2,
      writer: "min",
      date: "2022-06-14",
      content: "state 끌어올리기"
    }
  ]);

  const addNewTweet = (newTweet) => {
    setTweets([...tweets, newTweet]);
  };

  return (
    <div>
      <div>작성자: {currentUser}</div>

      {/* 자식 컴포넌트로 props 전달 */}
      <NewTweetForm onButtonClick={addNewTweet} />

      <ul id="tweets">
        {tweets.map((t) => (
          <SingleTweet key={t.uuid} writer={t.writer} date={t.date}>
            {t.content}
          </SingleTweet>
        ))}
      </ul>
    </div>
  );
}

function NewTweetForm({ onButtonClick }) {
  const [newTweetContent, setNewTweetContent] = useState("");

  const onTextChange = (e) => {
    setNewTweetContent(e.target.value);
  };

  const onClickSubmit = () => {
    let newTweet = {
      uuid: Math.floor(Math.random() * 10000),
      writer: currentUser,
      date: new Date().toISOString().substring(0, 10),
      content: newTweetContent
    };

    // 부모 컴포넌트에서 받은 이벤트 핸들러 실행 & 부모 컴포넌트로 state 끌어올리기
    onButtonClick(newTweet);
  };

  return (
    <div id="writing-area">
      <textarea id="new-tweet-content" onChange={onTextChange}></textarea>
      <button id="submit-new-tweet" onClick={onClickSubmit}>
        새 글 쓰기
      </button>
    </div>
  );
}

function SingleTweet({ writer, date, children }) {
  return (
    <li className="tweet">
      <div className="writer">{writer}</div>
      <div className="date">{date}</div>
      <div>{children}</div>
    </li>
  );
}

export default Twittler;- state 끌어올리기
= state 갱신함수를 props로 전달받아 실행하는 방법
= 단방향 데이터 흐름 원칙
자식 컴포넌트에 props로 받아와 콜백 함수로 실행한
'부모 컴포넌트의 state 변경 함수(onButtonClick={addNewTweet})'의 인자로
newTweet을 넘겨준다.
위와 같은 과정으로 tweets state가 변경된다.