https://nextjs.org/docs/getting-started
git clone을 받아온 뒤
> npx create-next-app@latest
or
yarn create next-app
or
pnpm create next-app
선언하면 다음의 선택지가 나온다.
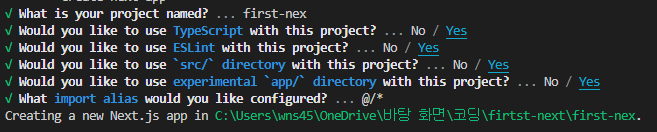
이렇게하면 TS없이 세팅이 되기 때문에
폴더를 지우고 다시 세팅을 시도 했다.
npx create-next-app@latest --typescript
or
yarn create next-app --typescript
or
pnpm create next-app --typescript
위와 같은 방법으로 설정하여 설치를 완료하였다.
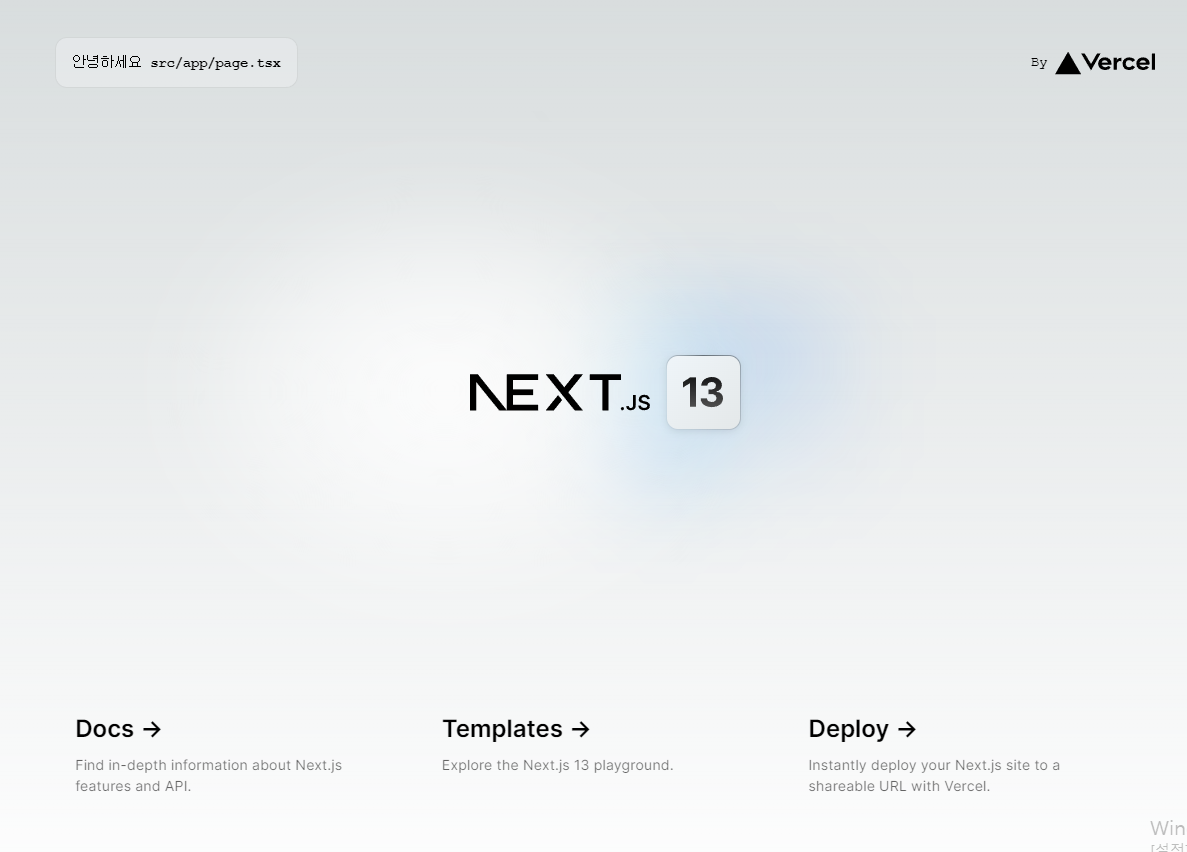
Run npm run dev or yarn dev or pnpm dev to start the development server on http://localhost:3000
yarn dev를 입력하니 서버가 켜졌다.
리액트에서는 알아서 localhost로 가주었는데, next.js는 직접 입력을 해야한다
Visit http://localhost:3000 to view your application
Edit pages/index.js and see the updated result in your browser
pages/index.js에 들어가서 해당 페이지 내용을 수정할 수 있다.
생각보다 공식홈페이지를 보면서하니 수월했다
dev - Runs next dev to start Next.js in development mode
build - Runs next build to build the application for production usage
start - Runs next start to start a Next.js production server
lint - Runs next lint to set up Next.js' built-in ESLint configuration
React와는 다르게 dev가 개발 환경실행이었고,
완성된 파일을 확인하는 것은 바로 build 한 뒤 start를 실행하는 것이다.
pages - Associated with a route based on their file name. For example, pages/about.js is mapped to /about
public - Stores static assets such as images, fonts, etc. Files inside public directory can then be referenced by your code starting from the base URL (/).
pages는 파일이름 기반으로 맵핑되어진다는 점이 신기하다.
Public은 정적자산 이미지 폰트등등이 저장되어지는 공간이다.
React는 인터넷에서 검색해서 사람들이 만들어놓는 블로그를 참고해서 작성하였는데,
공식 사이트에서 했어도 좋았을거 같다.
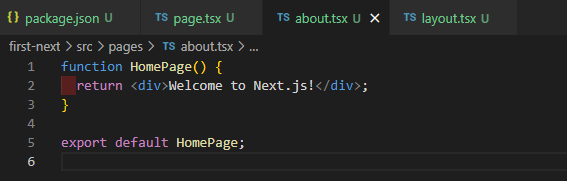
pages 맵핑 기능을 확인하기 위해 파일을 하나 만들었다.

반가워 넥스트 !
이렇게 페이지까지 만들어보고 넥스트를 탐구하는 시간을 가졌다.
앞으로 넥스트로 이것저것 시도해볼 예정이다.