
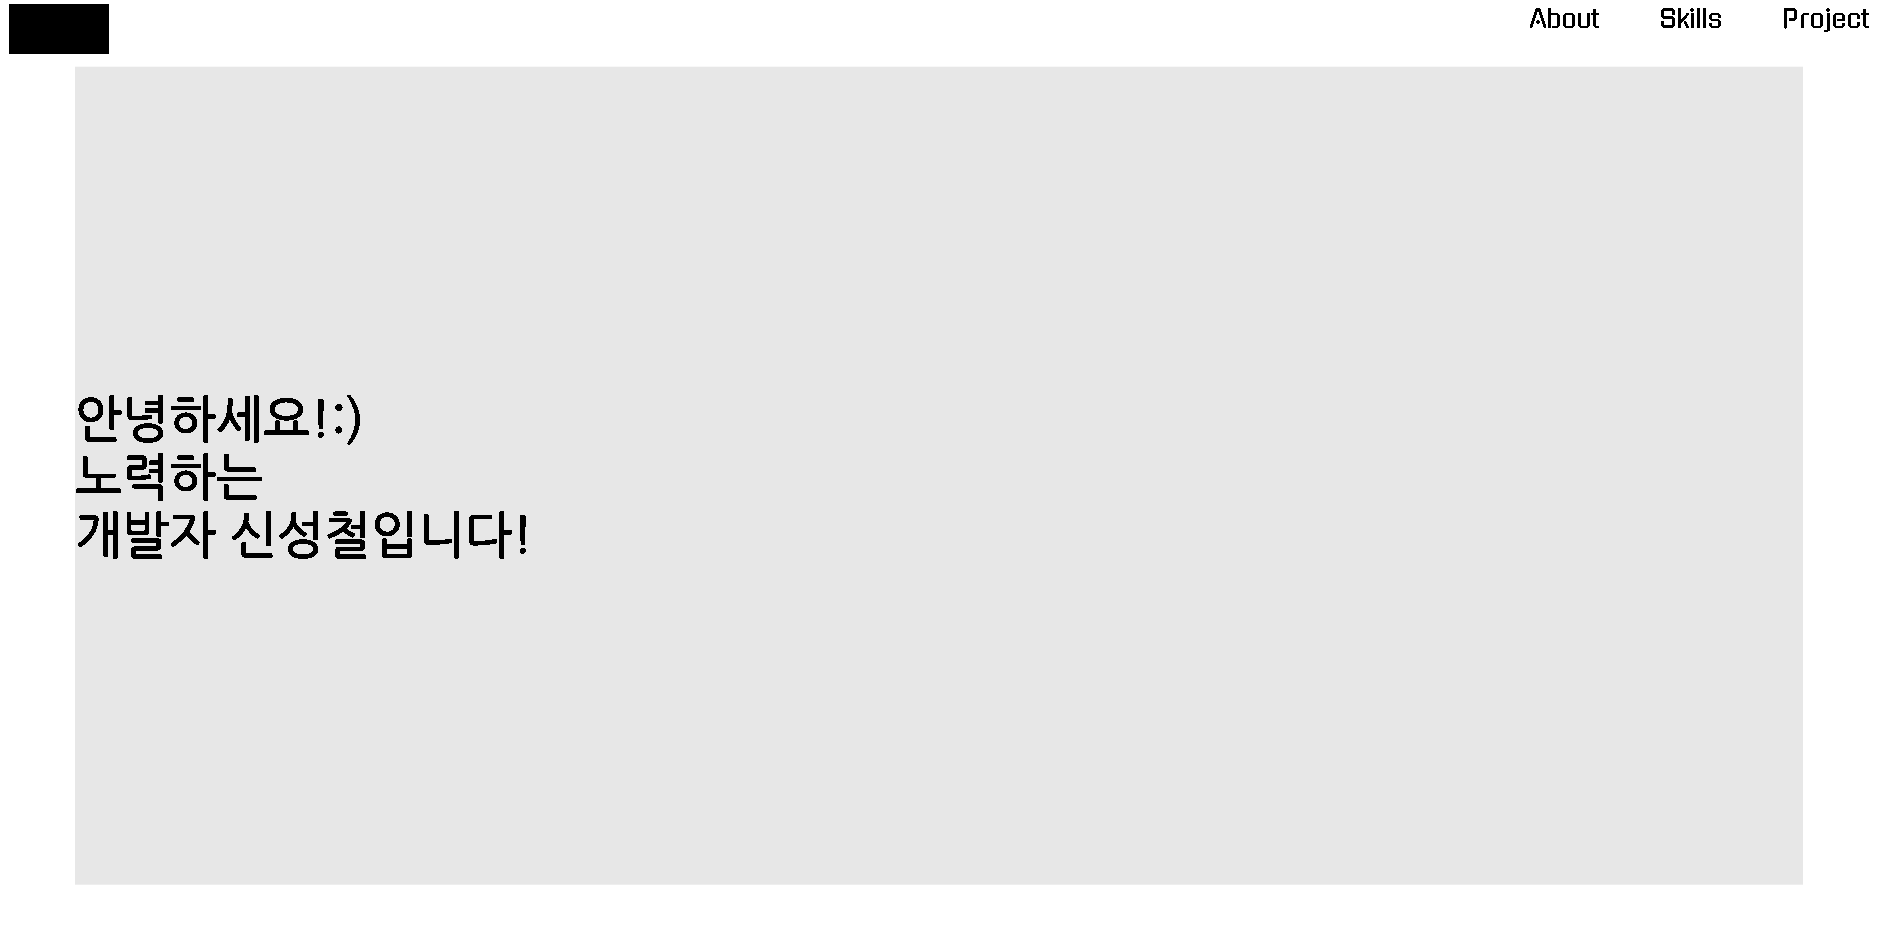
포트폴리오 웹페이지에 들어가면 처음 뵤여지게 될 페이지를 만들어 보자.
헤더
버튼 생성
가장 먼저 헤더에 들어가게 될 메뉴 버튼들을 만들었다.
const Header = () => {
  return (
      <div>
        <Button>About</Button>
        <Button>Skills</Button>
        <Button>Project</Button>
      </div>
  );
};

export default Header;

const Button = styled.button`
  font-family: "Gugi", serif;
  font-size: 25px;
  border: none;
  background-color: transparent;
  cursor: pointer;
  margin: 10px 30px;
  &:hover {
    color: #b85d5d;
  }
`;
그 뒤로 왼쪽 상단에 넣을 로고의 자리를 만들어 주고, 버튼들은 오른쪽으로 배치한다.
display: flex justify-content: space-between 를 사용했다.

마지막으로 헤더는 항상 상단에 고정되어 있어야하고, 다른 페이지 상단에 있어야한다.
position: fixed를 사용해 고정하고 z-index: 1000로 항상 상단에 오도록 했다.
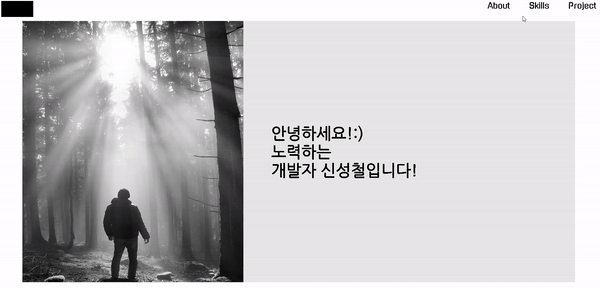
첫 번째 페이지
애니메이션 효과
첫번째 페이지에는 포트폴리오의 표지를 만들었다.
다음으로 가운데있는 노력하는부분을 타이핑 / 커서의 깜빡임 효과를 주고싶었다.
const typing = keyframes`
	0% {
    width: 0
  }
  50% {
    width: 100%;
  }
  90%, 100%{ //글자가 지워진 뒤 다시 나타날때 까지의 시간을 주기 위해
    width: 0
  }
`;

const blink = keyframes`
	50% {
    border-color: transparent
  }
`;

const Typing = styled.div`
  animation: ${typing} 5s steps(20) infinite,
    ${blink} 0.5s step-end infinite alternate;
  white-space: nowrap;
  overflow: hidden;
  border-right: 3px solid;
`;
이렇게 만드니 문제가 생겼다.

typing의 width값을 100%로 했더니 Typing의 크기만큼 애니메이션이 작동했다.
해결하기 위해 typing의 width값을 width: fit-content;로 해보았지만
keyframes의 값은 px단위나 %가 아니면 작동하지 않았다.
해결 방법은 Typing의 최대 크기를 글자 크기로 지정하는 방법이였다.
const Typing = styled.div`
  animation: ${typing} 5s steps(20) infinite,
    ${blink} 0.5s step-end infinite alternate;
  white-space: nowrap;
  overflow: hidden;
  border-right: 3px solid;
  max-width: fit-content;
글자 변경
다음은 애니메이션이 들어간 글자의 내용을 바꾼다.
  const [textIndex, setTextIndex] = useState(0);

  const texts = ["노력하는", "팀원을 생각하는", "의견을 경청하는"];

  useEffect(() => {
    setInterval(() => {
      setTimeout(() => {
        setTextIndex((Index) => {
          if (Index === texts.length - 1) {
            return 0;
          } else {
            return Index + 1;
          }
        });
      }, 0);
    }, 5000);
  }, []);
글자가 써지고 지워지는 시간 후 글자를 변경시킨다.

개발자가 되고싶은 잡초