1. 환경설정
1. NodeJS
2. vue.cli
🔻 VSCode의 terminal에 아래 코드 작성해 npm 설치
npm install -g @vue/cli3. Vetur
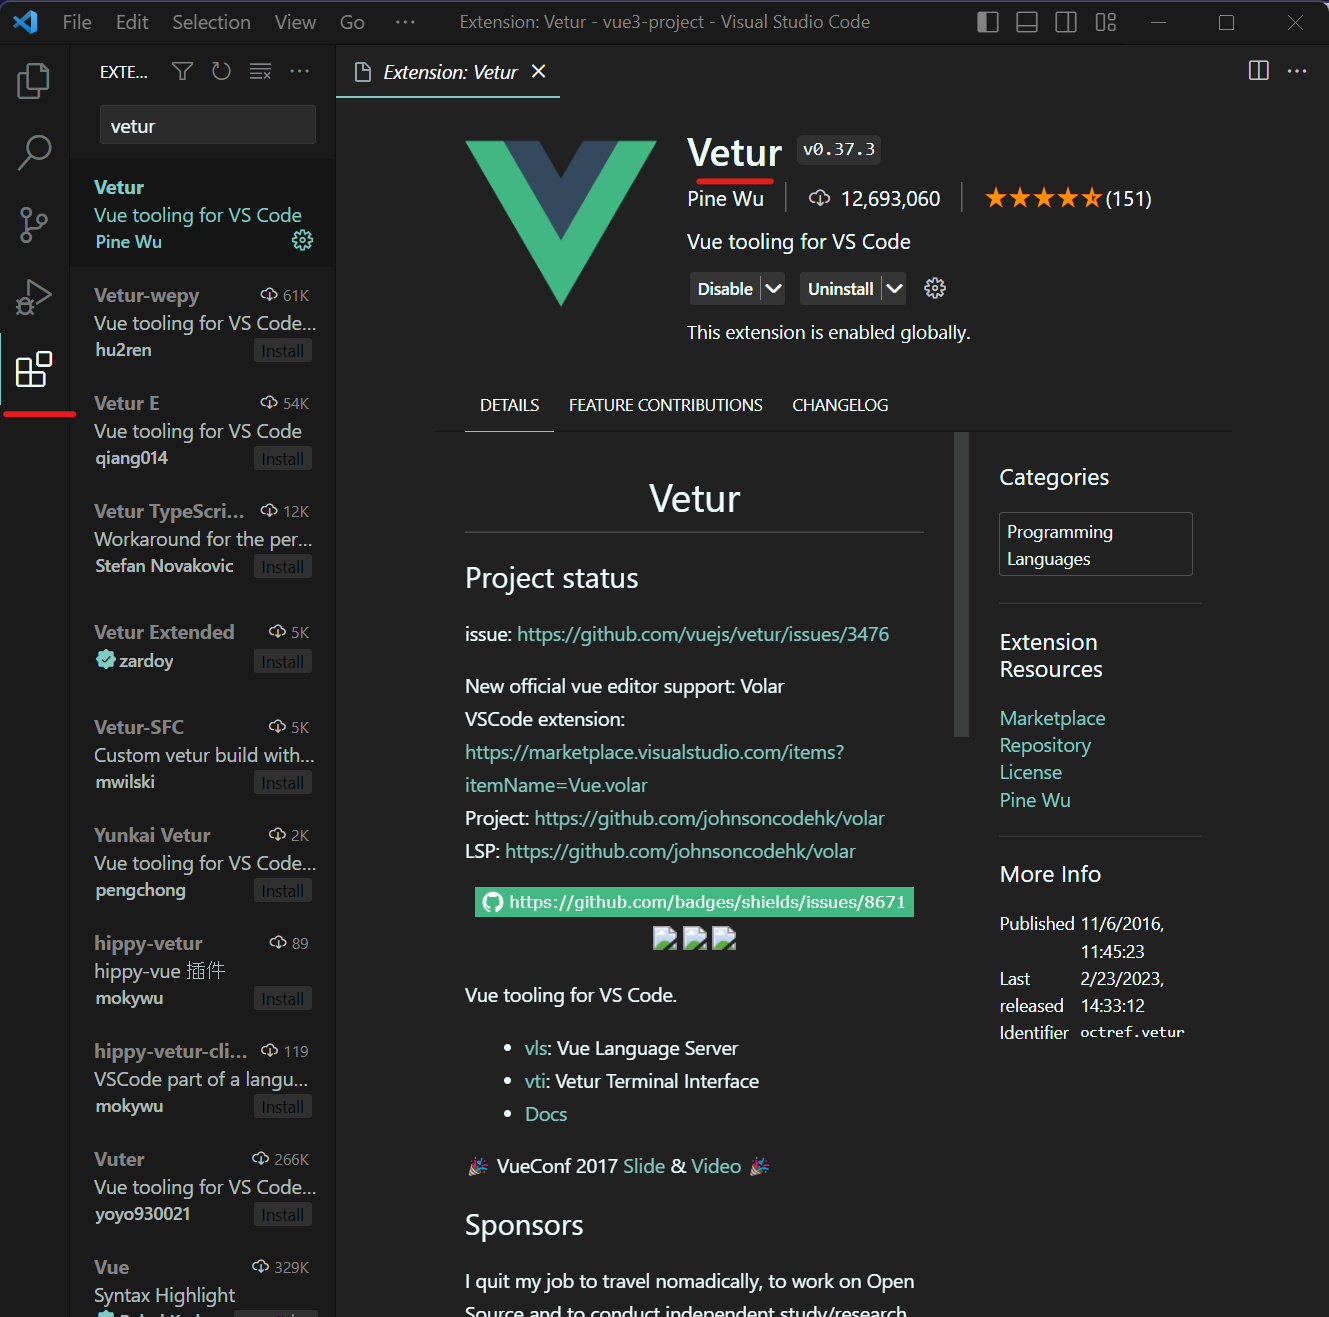
- Extension에서 Vetur 설치
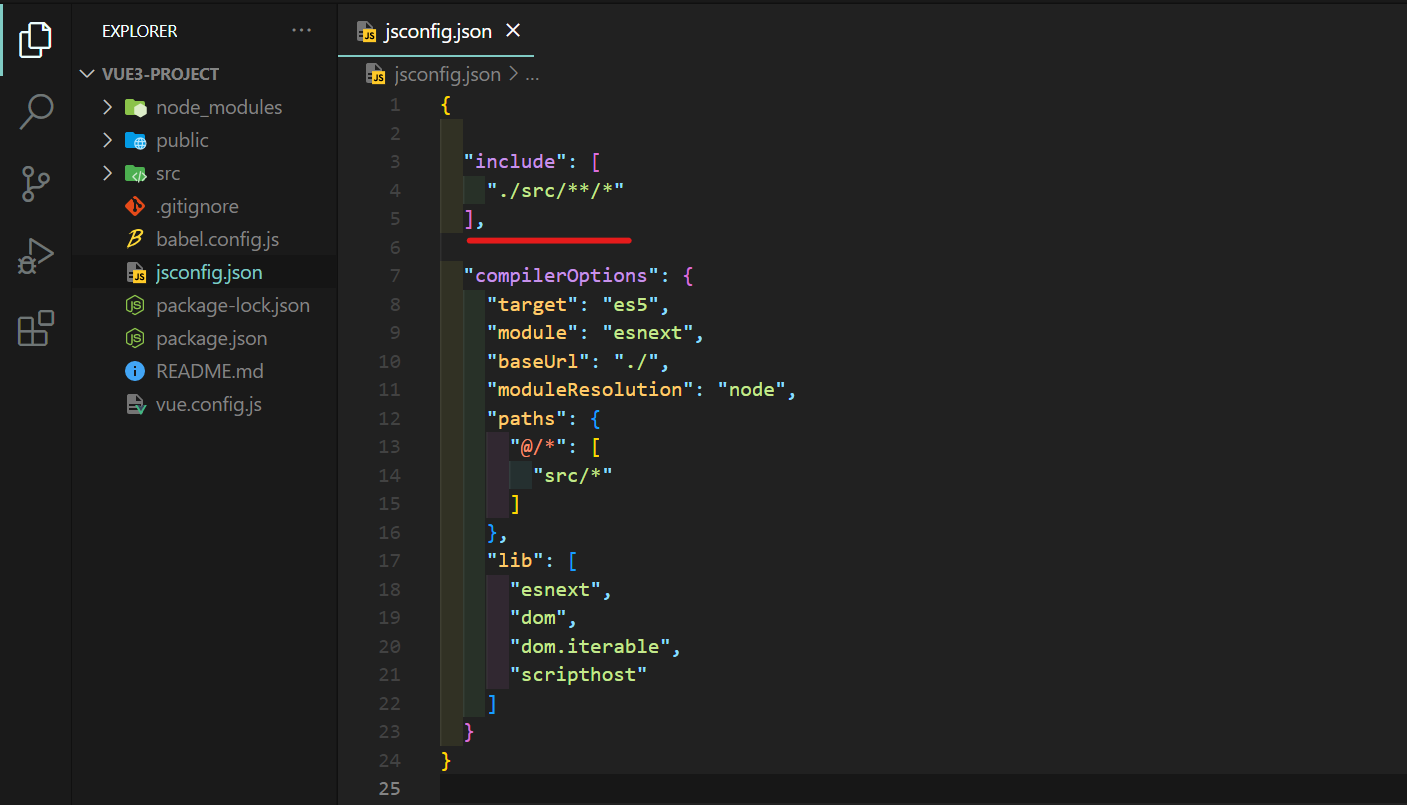
- jsconfig.json에 아래 코드 복붙
{
    "include": [
      "./src/**/*"
    ]
}
4. axios
npm install --save axios2. Vue.js 프로젝트 생성
🔻 Vue.js는 CDN, NPM, CLI 방식 중 선택해 설치 가능. CLI로 설치
1. 버전 확인
🔻 Vue.js3를 사용하려면 @vue/cli 4.5 이상이어야함 => cmd에서 아래 명령어 수행
vue vue -V @vue/cli #버전 확인2. 프로젝트 생성
🔻 cmd에서 원하는 폴더로 이동 후 아래 명령어 수행
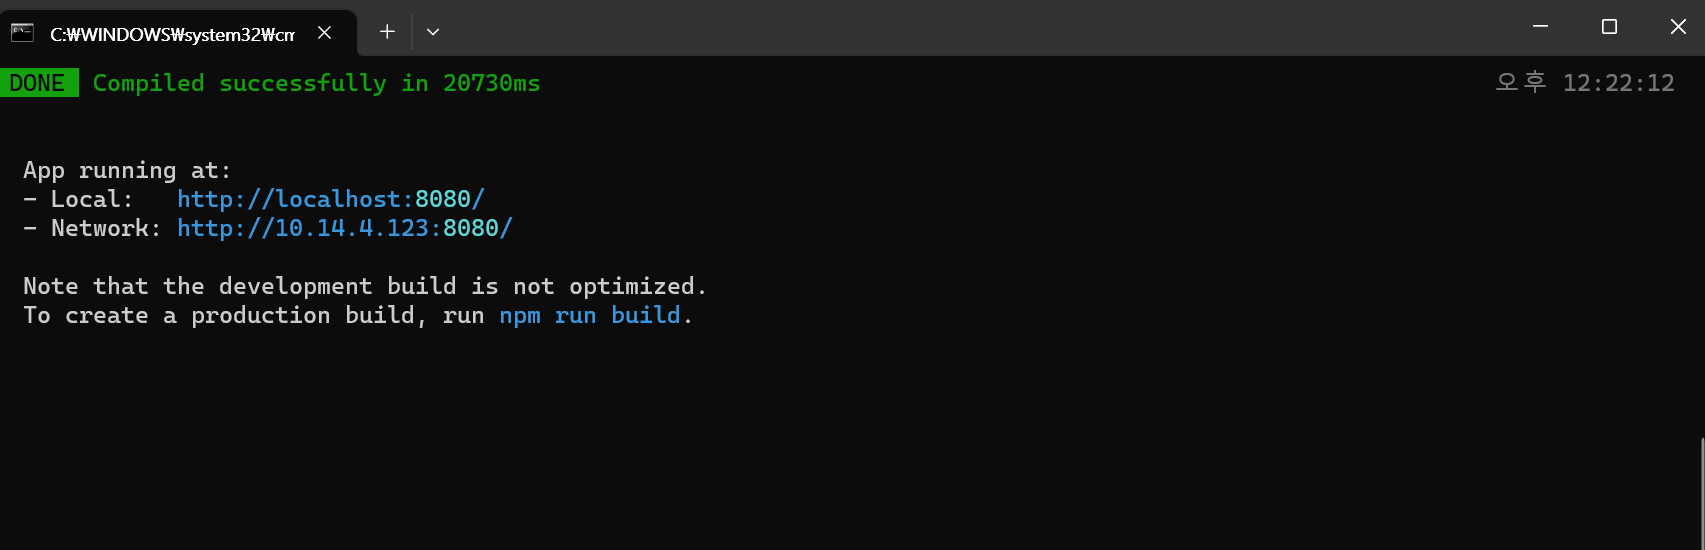
vue create [프로젝트명]🔻 정상적으로 생성
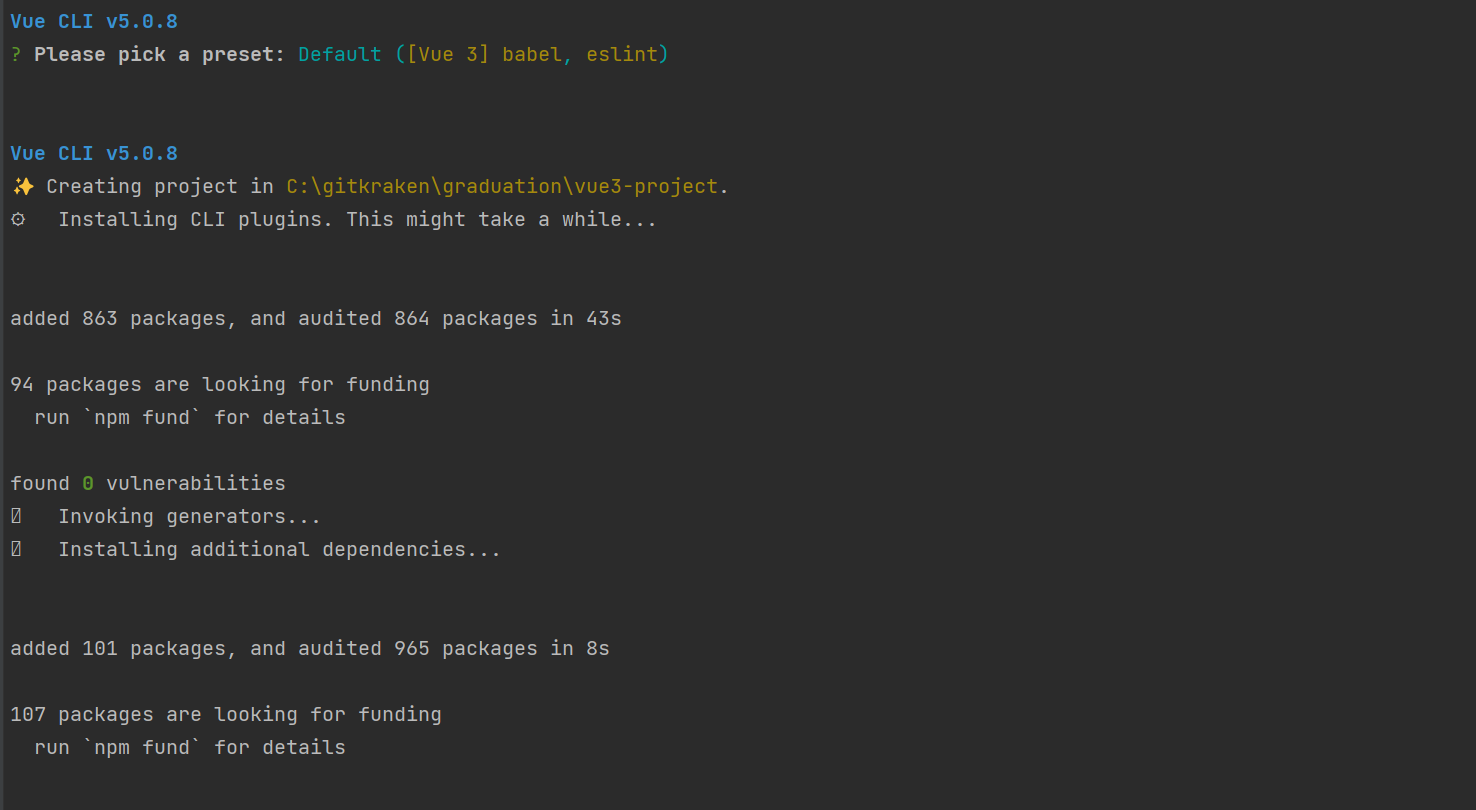
📢 수정
위에서 C:\gitkraken\graduation로 경로 설정했는데 경로를 C:\gitkraken으로 수정
3. 프로젝트 구조

package.json
🔻 dependencies와 devDependencies 중요
🔻 필요한 패키지 저장하는 공간
dependencies는 개발과 production 올릴 때에도 필요한 패키지
devDependencies는 개발 시 유용한 패키지
🔻 패키지 설치 시 node_modules에 설치됨
public/index.html
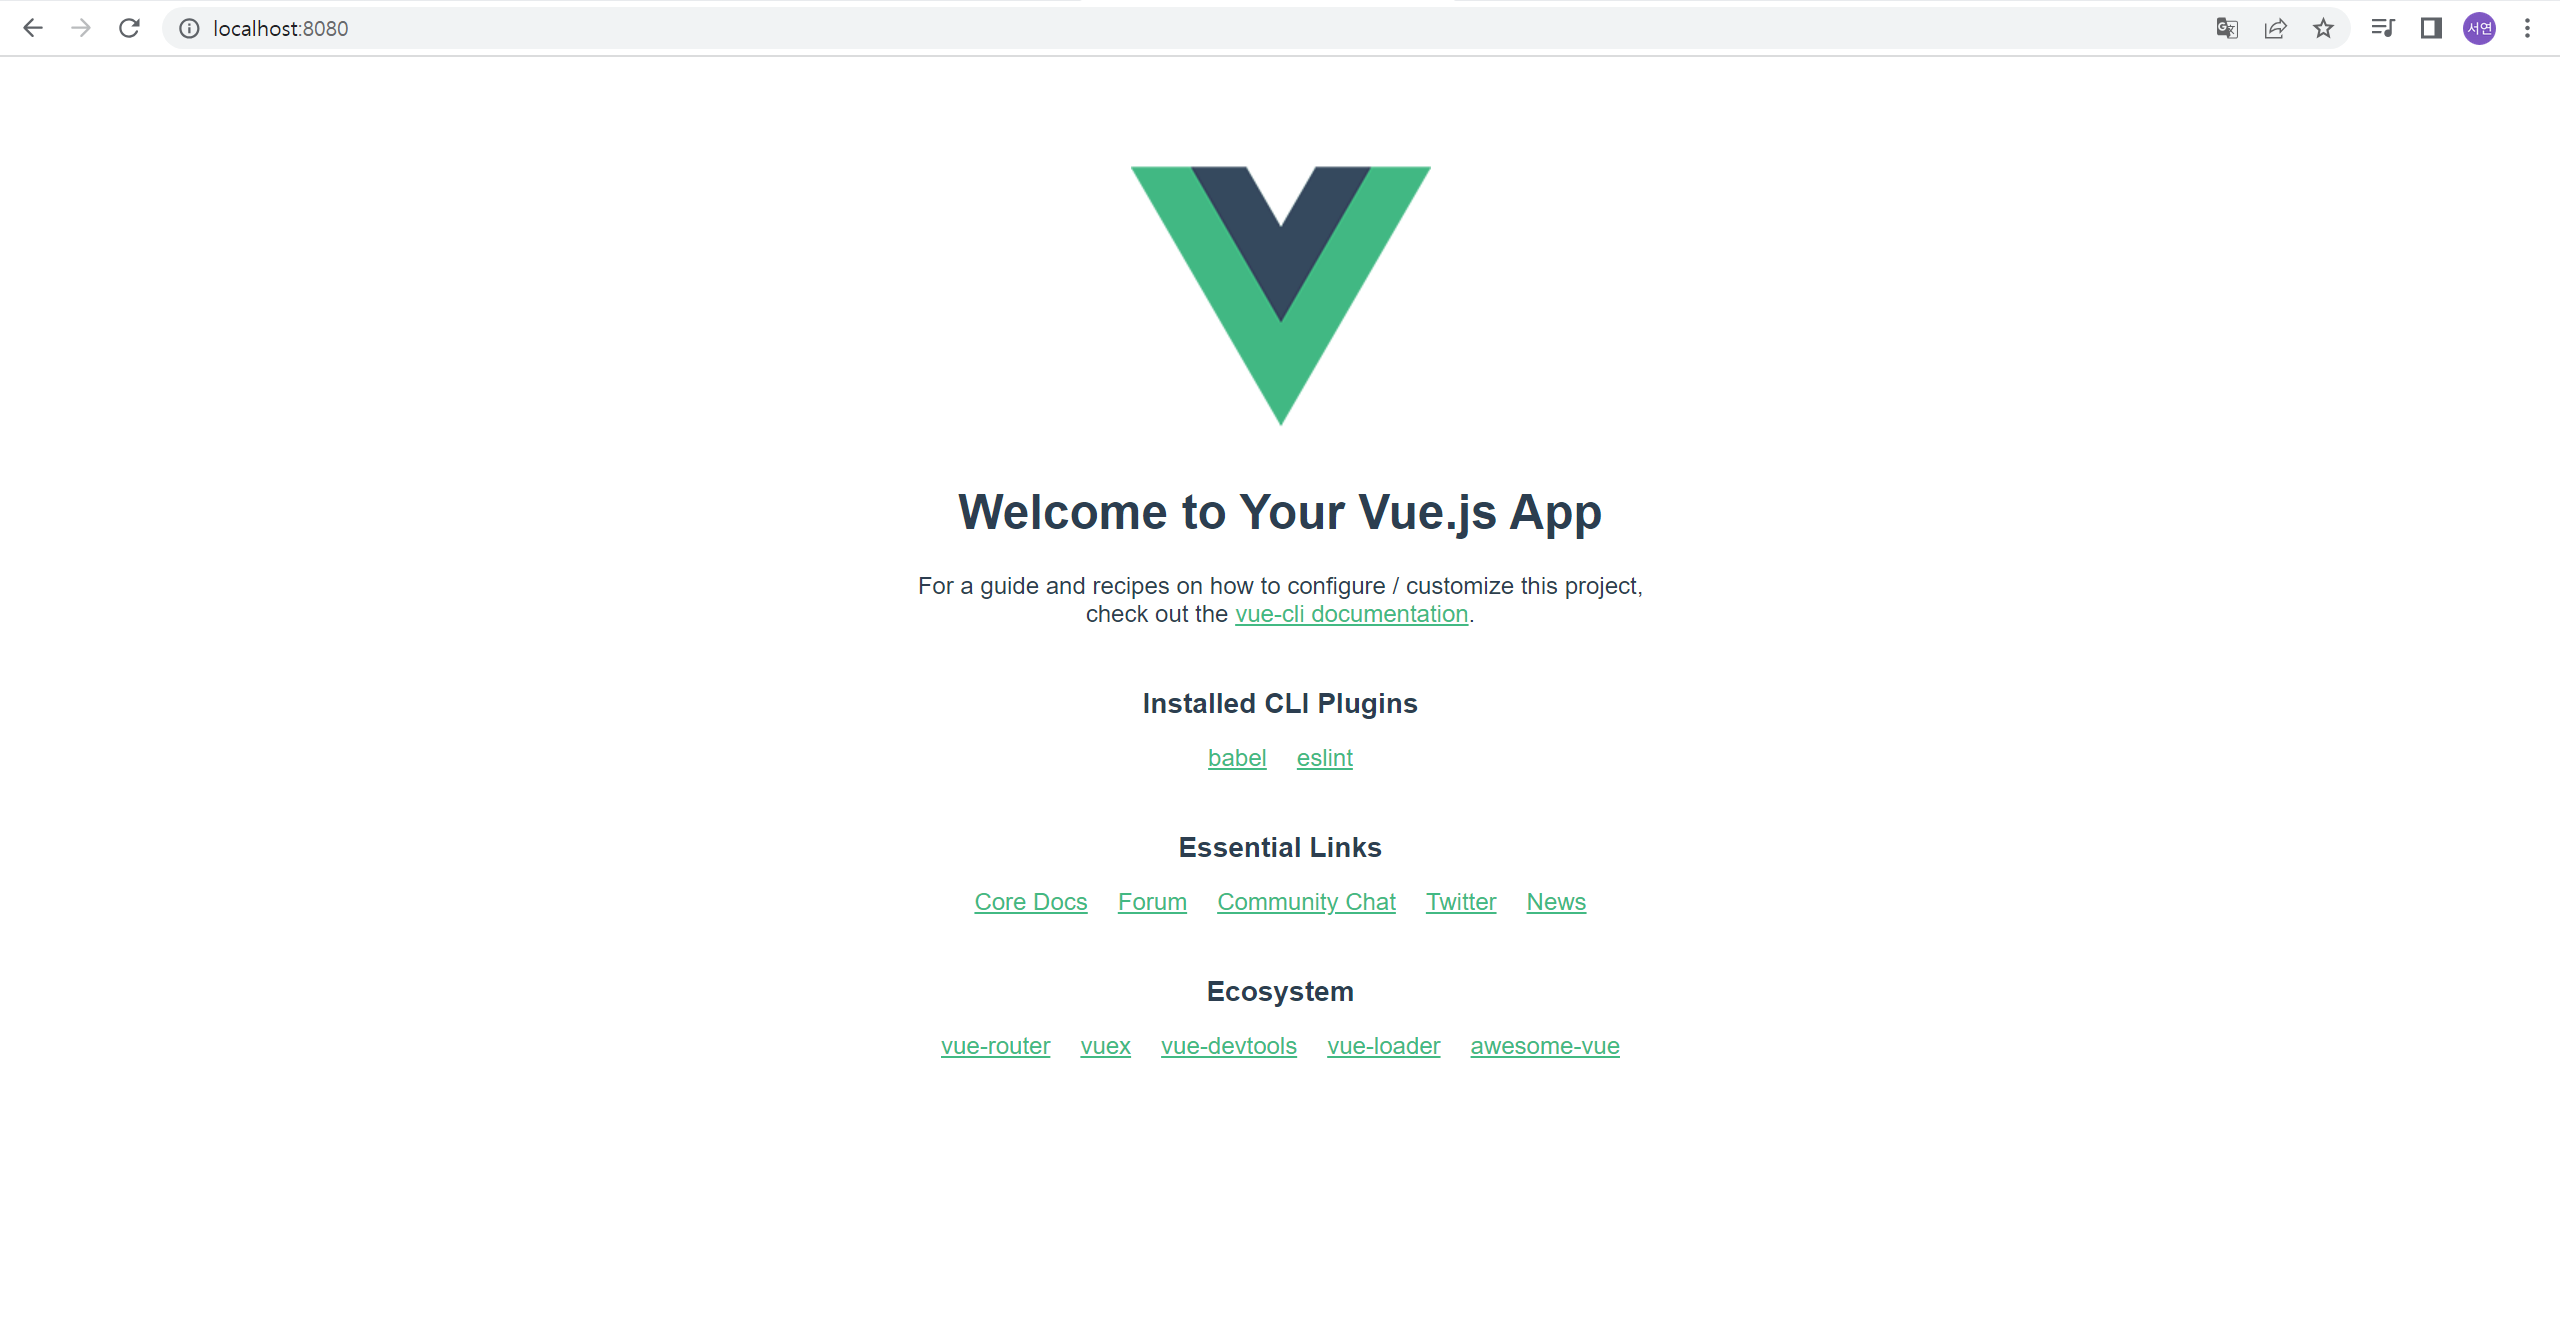
🔻 웹브라우저에서 열었을 때 처음으로 받아오는 HTML file
🔻 빌드 시 해당 파일에 JavaScript가 자동으로 들어감
src
🔻 대부분의 개발 코드 존재
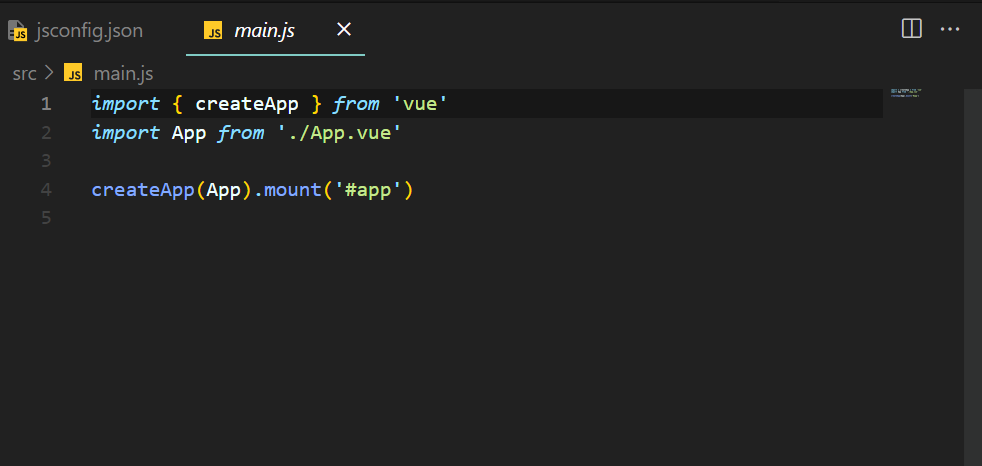
src/mian.js
🔻 빌드 시 자동으로 들어가는 JavaScript
🔻 vue에서 createApp을 가져와 최상위 컴포넌트(App)를 가져와 id가 app(#app)인 div에 넣어줌
package.json
🔻 "scripts" 안의 serve를 사용해 서버 구동. build는 production 올리기 전 최적화된 파일 생성시 사용
=> 서버 구동: cmd에서 해당 프로젝트 폴더로 들어와 npm run serve 명령어 실행
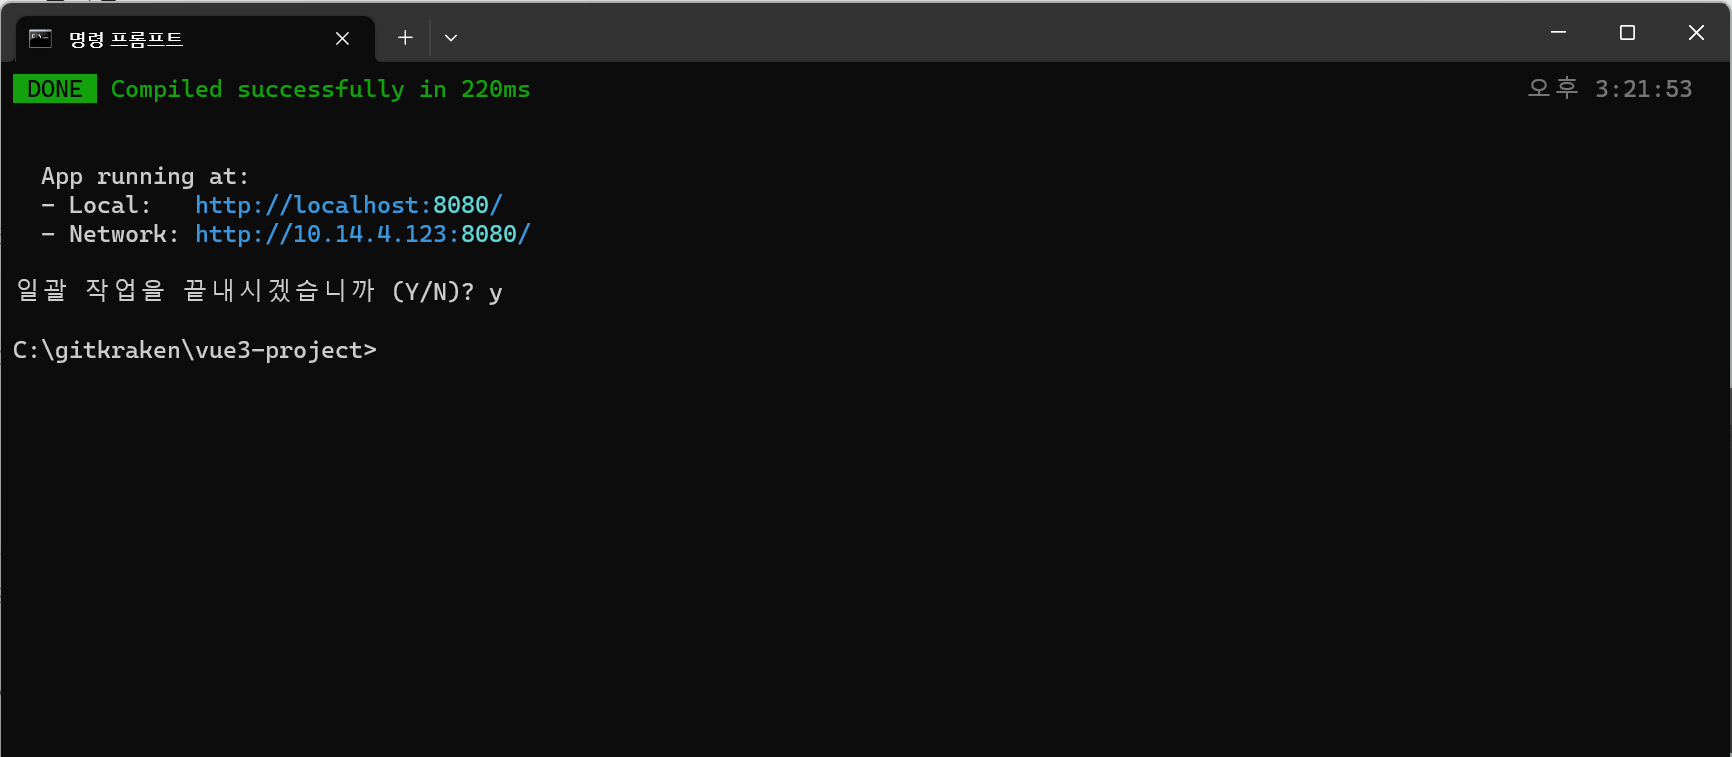
서버 종료: cmd에서 ctrl+c
4. Vue Component
1. 파일 생성
components 확장자가 vue로 들어가 [원하는파일명].vue 형태로 파일명 작성
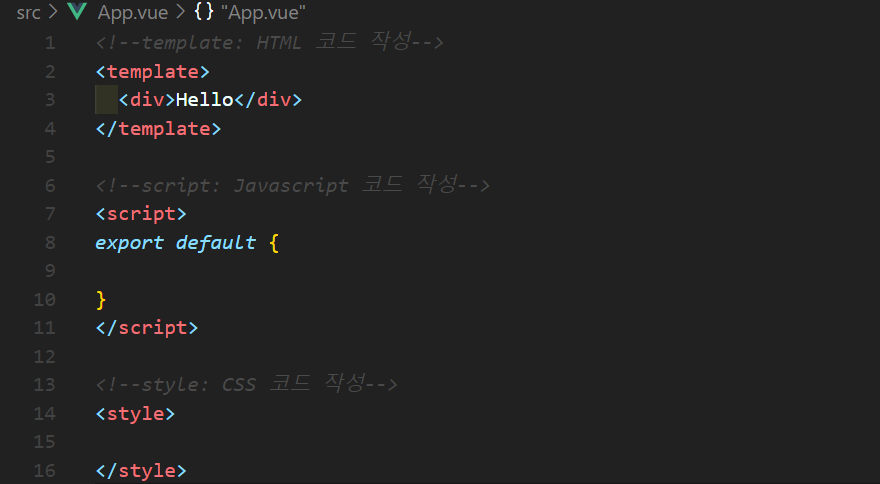
2. Vue Component
1. template
HTML code가 들어감
2. script
JavaScript 로직이 들어감
3. style
CSS code가 들어감
5. axios
🔻 스프링부트 서버와 vue.js 서버의 기본 URL이 동일하므로 스프링부트의 application.properties에 아래 코드 추가해 겹치지 않도록 함
server.port=80🔻 axios 설치
npm install axios🔻 사용 예시: post
axios
.post('http://localhost:80/calendars/minutes', this.setParams)
.then((response) => {
	if (response.data.message == "Success") {
    	console.log("post",response);
        }
    })
.catch((e) => {
	console.log(e);
})
참고 블로그
axios : https://jjluveeecom.tistory.com/50
실제 성공: https://jiurinie.tistory.com/114
6. CORS
📢 아래와 같은 오류 발생 => CORS 위반
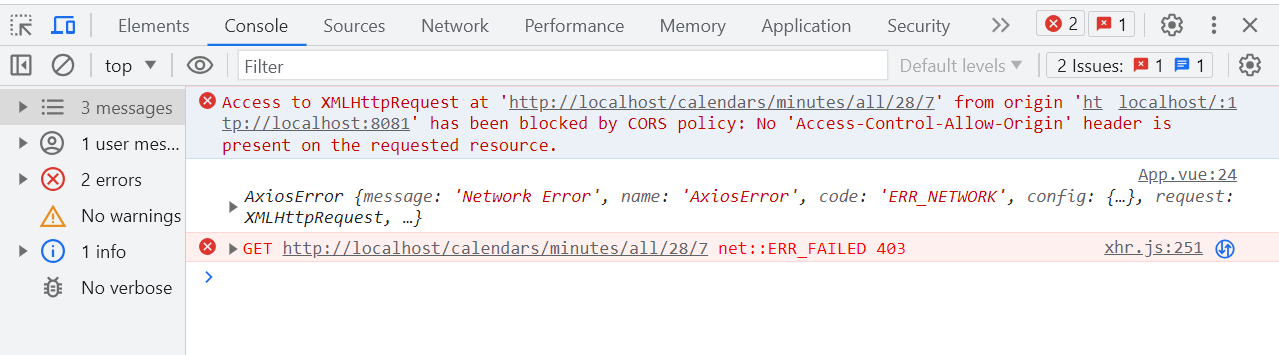
1. 개념
🔻 SOP란 같은 출처에서만 리소스를 공유할 수 있다는 규칙을 가진 정책. 이때 같은 출처란 URL의 Protocol, Host, Port를 모두 합친 것
🔻 CORS(Cross-Origin Resource Sharing Policy)는 SOP와 관련된 보안 정책으로, 다른 출처의 리소스를 요청할 때 브라우저가 요청 헤더에 Origin 필드에 출처를 담아 전송해 리소스에 접근 가능하도록 함
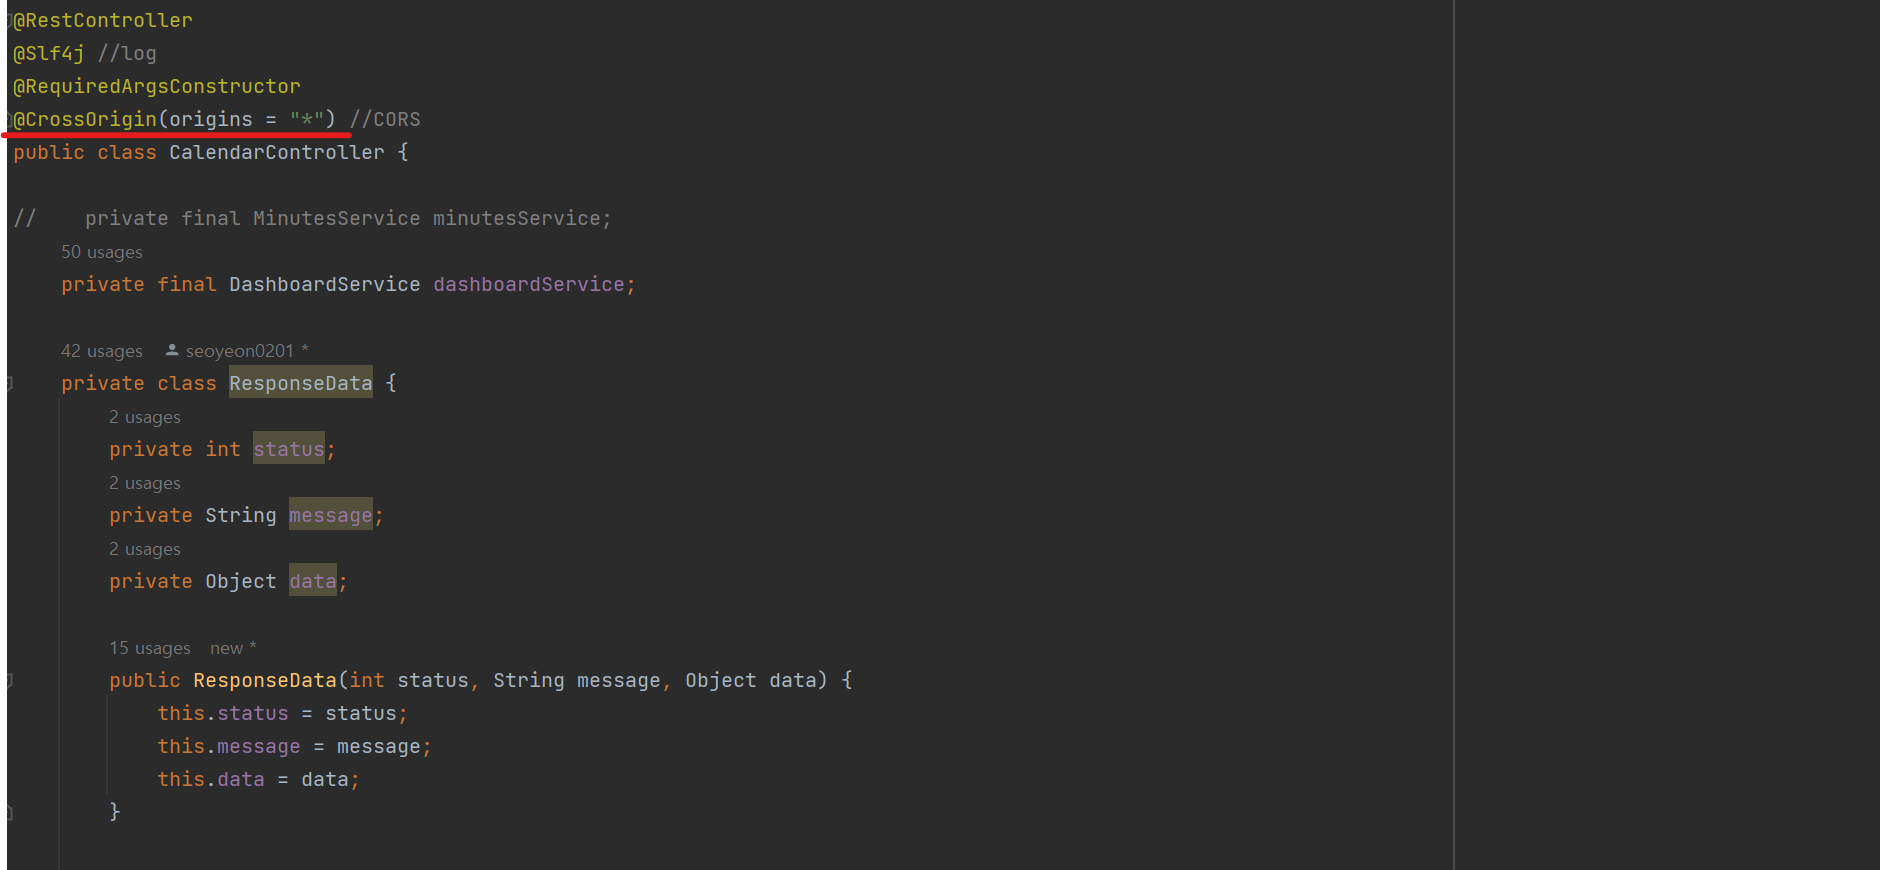
2. 사용
🔻 스프링부트(백엔드)에서 코드 수정
@CrossOrigin Annotation 방식과 WebMvcConfigurer 방식 중 하나 사용
🔻 @CrossOrigin Annotation 방식 선택
CalendarController
참고 블로그
7. vue-router
1. 개념
🔻 라우트에 컴포넌트를 매핑한 후, 어떤 주소에서 렌더링할 지 알려줘 싱글 페이지를 매핑
Ex. 버튼 클릭 시 main.vue로 이동
2. 사용
🔻 1. npm install vue-router
🔻 2. router 등록1
src/main.js
import { createApp } from 'vue'
import App from './App.vue'
//router
import router from './router/index.js'
//element-plus(=element-ui)
import ElementPlus from 'element-plus'
import 'element-plus/dist/index.css'
//라우터


//index.html의 app에 App(즉 ./App.vue) 들어감
const app = createApp(App)

app.use(ElementPlus)
app.use(router);
app.mount('#app');
🔻 3. 라우터 등록2
1) routers: 라우팅할 URL과 컴포넌트 값 지정
2) mode: URL의 해쉬값 제거 속성
src/router/index.js
import {createRouter, createWebHistory} from 'vue-router';
import Calendar from '../components/mainCalendar.vue';
import main from '../components/mainFirst.vue';
import postMinutes from '../components/postMinutes.vue';

export default createRouter({
    history: createWebHistory(),
    routes: [{
        path: '/',
        name: 'main',
        component: main
    }, {
        path: '/calendar',
        component: Calendar
    }, {
        path: '/post',
        component: postMinutes
    }
    ]
})
🔻 4. router-link로 연결 후 router-view로 출력
App.vue
<router-link to="/">main</router-link>
<router-link to="/calendar">Calendar</router-link>
<router-link to="/post">회의록 생성</router-link>
<router-view></router-view>	<!--이곳에 라우팅된 페이지 나타남-->
잘 봤습니다. 좋은 글 감사합니다.