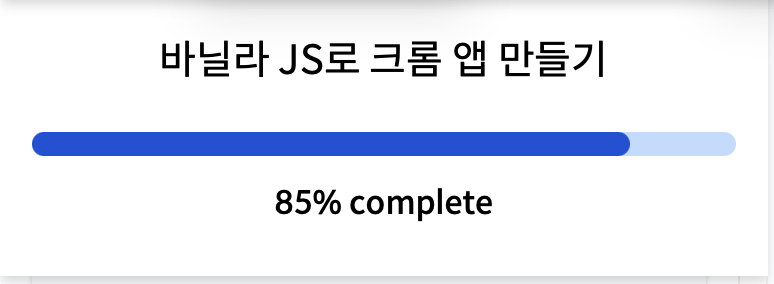
이번에는 Math클래스에 들어있는 random()메서드를 사용하여 배경화면과 명언들을 가져왔고, toDoList의 일부분을 들었다.
먼저 random()부터 보자.
- random()함수 사용
1. 명언과 배경화면 준비
object형태로 quote와 author 10개의 내용이 들어있는 배열을 만들어준다.
<quotes.js>
const quotes=[
{
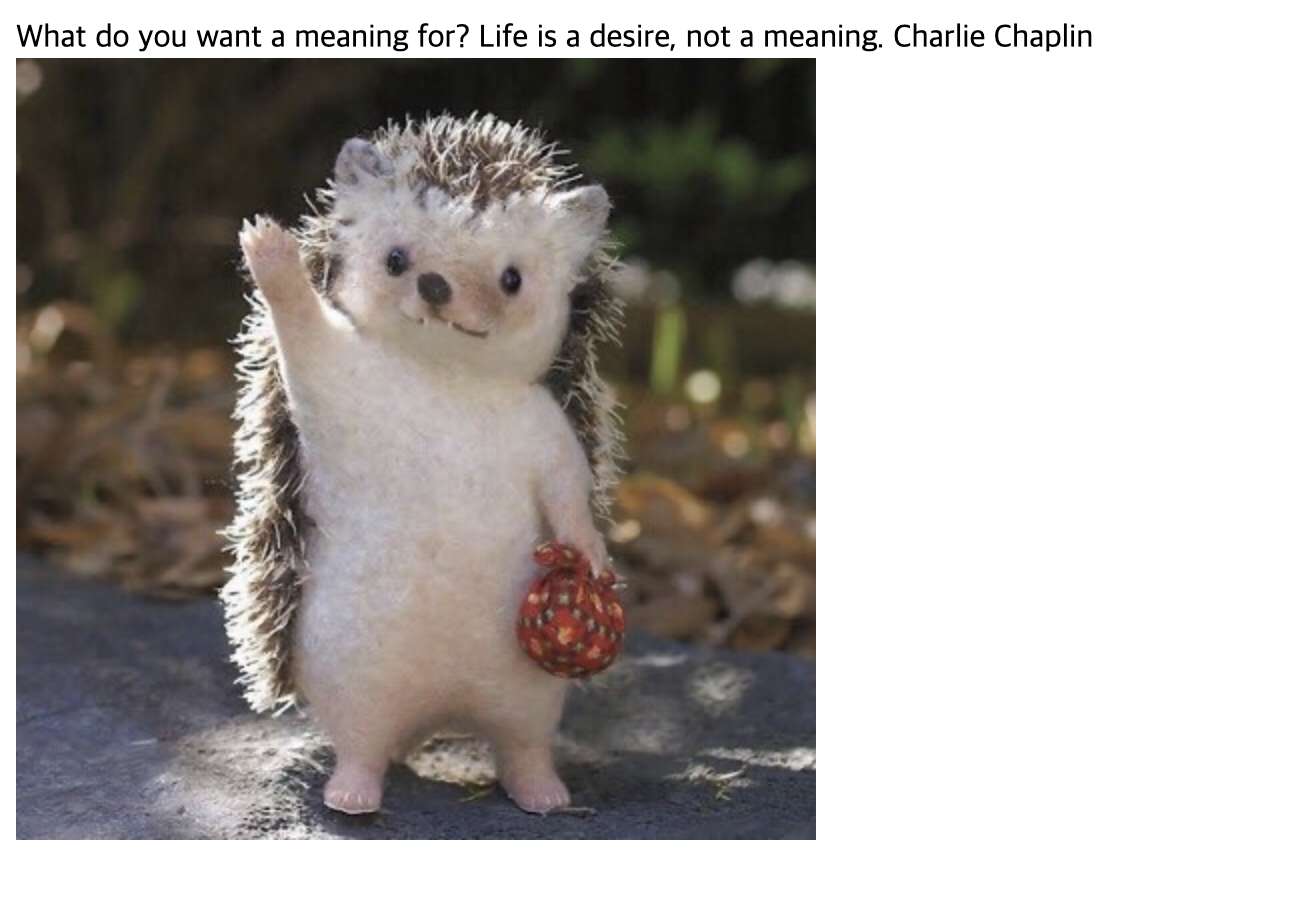
quote:"What do you want a meaning for? Life is a desire, not a meaning.",
author:"Charlie Chaplin",
},{
quote:"When you jump for joy, beware that no one moves the ground from beneath your feet.",
author:"Stanislaw J. Lec",
},{
quote:"It is wise to apply the oil of refined politeness to the mechanisms of friendship.",
author:"Colette",
},{
quote:"A penny saved is a penny earned.",
author:"Benjamin Franklin",
},{
quote:"Mistakes are the portals of discovery.",
author:"James Joyce",
},{
quote:"By perseverance the snail reached the ark.",
author:"Charles Haddon Spurgeon",
},{
quote:"If I had to live my life again, I'd make the same mistakes, only sooner.",
author:"Tallulah Bankhead",
},{
quote:"The greatest virtues are those which are most useful to other persons.",
author:"Aristotle",
},{
quote:"No passion so effectually robs the mind of all its powers of acting and reasoning as fear.",
author:"Edmund Burke",
},{
quote:"Force without wisdom falls of its own weight.",
author:"Horace"
}
];
img파일에 사진을 넣은 후에 배열을 만들어준다.
<background.js>
const images=[
    "0.JPG",
    "1.JPG",
    "2.JPG"
];
2. 화면에 명언 보여주기
웹화면에 명언을 보여주기 위해 id=quote인 div태그를 만들어주고 명언과 이름을 넣어줄 span태그를 각각 만든다.
<div id="quote">
    <span></span>
    <span></span>
</div>
그 후 quotes.js에서 작업을 이어가면된다.
-배열의 값을 직접 가져오는 방법
quote.innerText = quotes[0].quote;
author.innerText = quotes[0].author;
-배열의 값을 무작위로 가져오는 방법
quote.innerText = quotes[Math.floor(Math.random()*quotes.length)].quote;
author.innerText = quotes[Math.floor(Math.random()*quotes.length)].author;
random()메서드는 0<= random() < 1 의 값을 가져오기때문에 배열의 길이만큼 곱해주고 정수를 가져오기 위해 floor()을 사용해 소수점이하의 숫자들을 버려주었다.
const quote = document.querySelector("#quote span:first-child");
const author = document.querySelector("#quote span:last-child");


const todaysQuote = quotes[Math.floor(Math.random()*quotes.length)];

quote.innerText = todaysQuote.quote;
author.innerText = todaysQuote.author;
3. 배경화면 임의로 가져오기
배경화면은 html에서 태그를 가져오지 않고 자바스크립트에서 직접 넣어주는 방식을 사용했다.
태그를 만들어주는 createElement()함수를 사용해 img태그를 만들어주고,
img태그의 src속성도 직접 입력해주면된다.
html의 body내부에 태그를 넣기위해 document.body.appendChild()를 이용했다.
//배경화면을 무작위로 가져오기
const chosenImage = images[Math.floor(Math.random()*images.length)];
//img태그와 속성을 지정해준다.
const bgImage = document.createElement("img");
bgImage.src=`img/${chosenImage}`;
//body에 img태그 삽입
document.body.appendChild(bgImage);
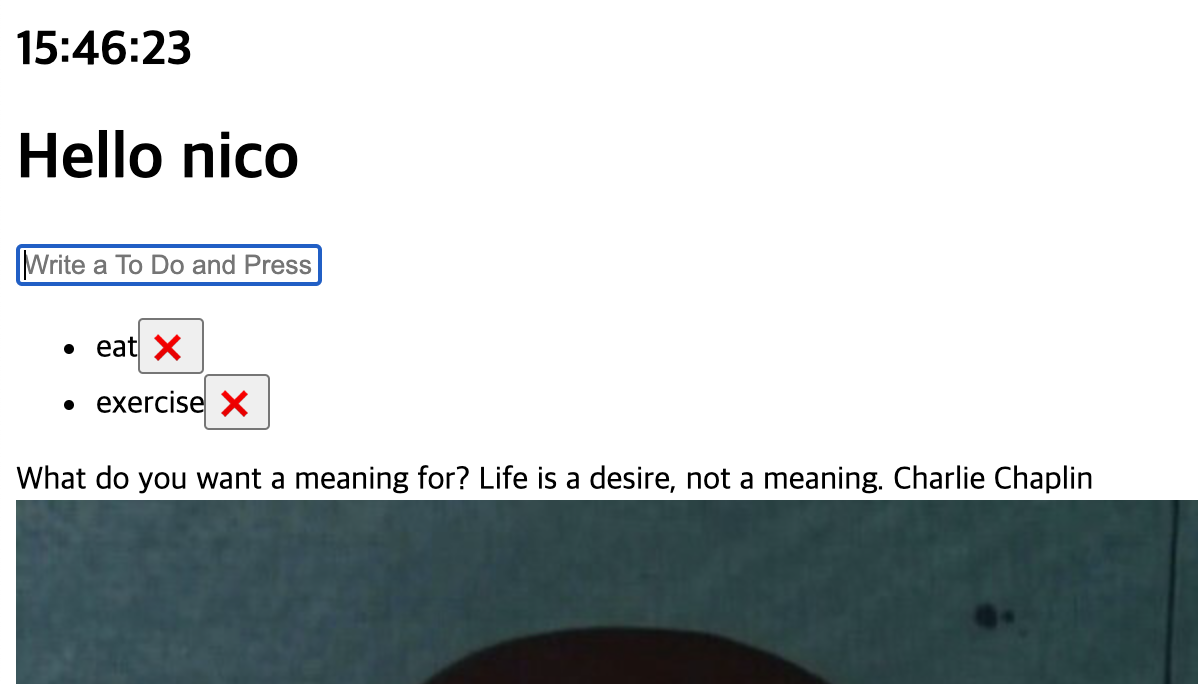
크롬을 실행하면 명언과 img태그가 html에 삽입된 것을 확인할 수 있다.

- ToDoList만들기
todoList를 만들어주기 위해 입력할 form태그와 리스트를 html에 먼저 만들어준다.
1. toDOList 입력하기
<index.html>
<form id="todo-form">
<input type="text" placeholder="Write a To Do and Press Enter" required/>
</form>
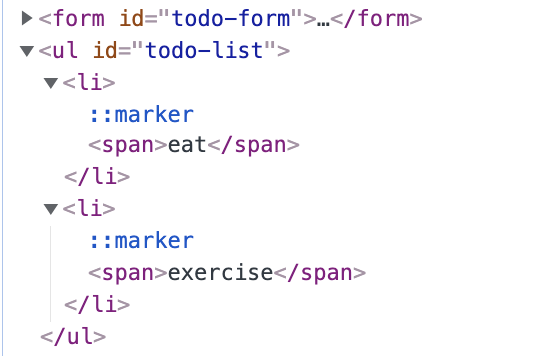
<ul id="todo-list"></ul>리스트는 자바스크립트에서 직접 넣어줄거라서 ul태그만 만들었다.
<todo.js>
const toDoForm = document.getElementById("todo-form");
const toDoInput = toDoForm.querySelector("input");
const toDoList = document.getElementById("todo-list");
function handleToSubmit(event){
event.preventDefault();
const newToDo = toDoInput.value;
toDoInput.value=""; //input상자에 내용 지우기
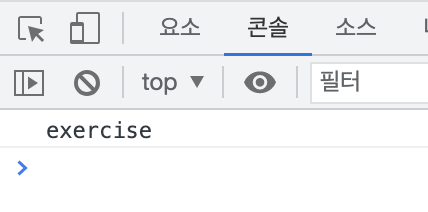
console.log(newToDo);
}
toDoForm.addEventListener("submit", handleToSubmit);
값이 잘 입력된다.!
2. 입력한 리스트 화면에 보이기
const toDoForm = document.getElementById("todo-form");
const toDoInput = toDoForm.querySelector("input");
const toDoList = document.getElementById("todo-list");

function paintToDo(newToDo){
	//html에 넣어줄 태그 만들어주기
	const li = document.createElement("li");
    const span = document.createElement("span");
    //입력한 값 넣기
    span.innerText = newToDo;
    li.appendChild(span);
    toDoList.appendChild(li);
}

function handleToSubmit(event){
	event.preventDefault();
    const newToDo = toDoInput.value;
    toDoInput.value="";  //input상자에 내용 지우기
    paintToDo(newToDo);
}

toDoForm.addEventListener("submit", handleToSubmit);
아주 잘 나오쥬?
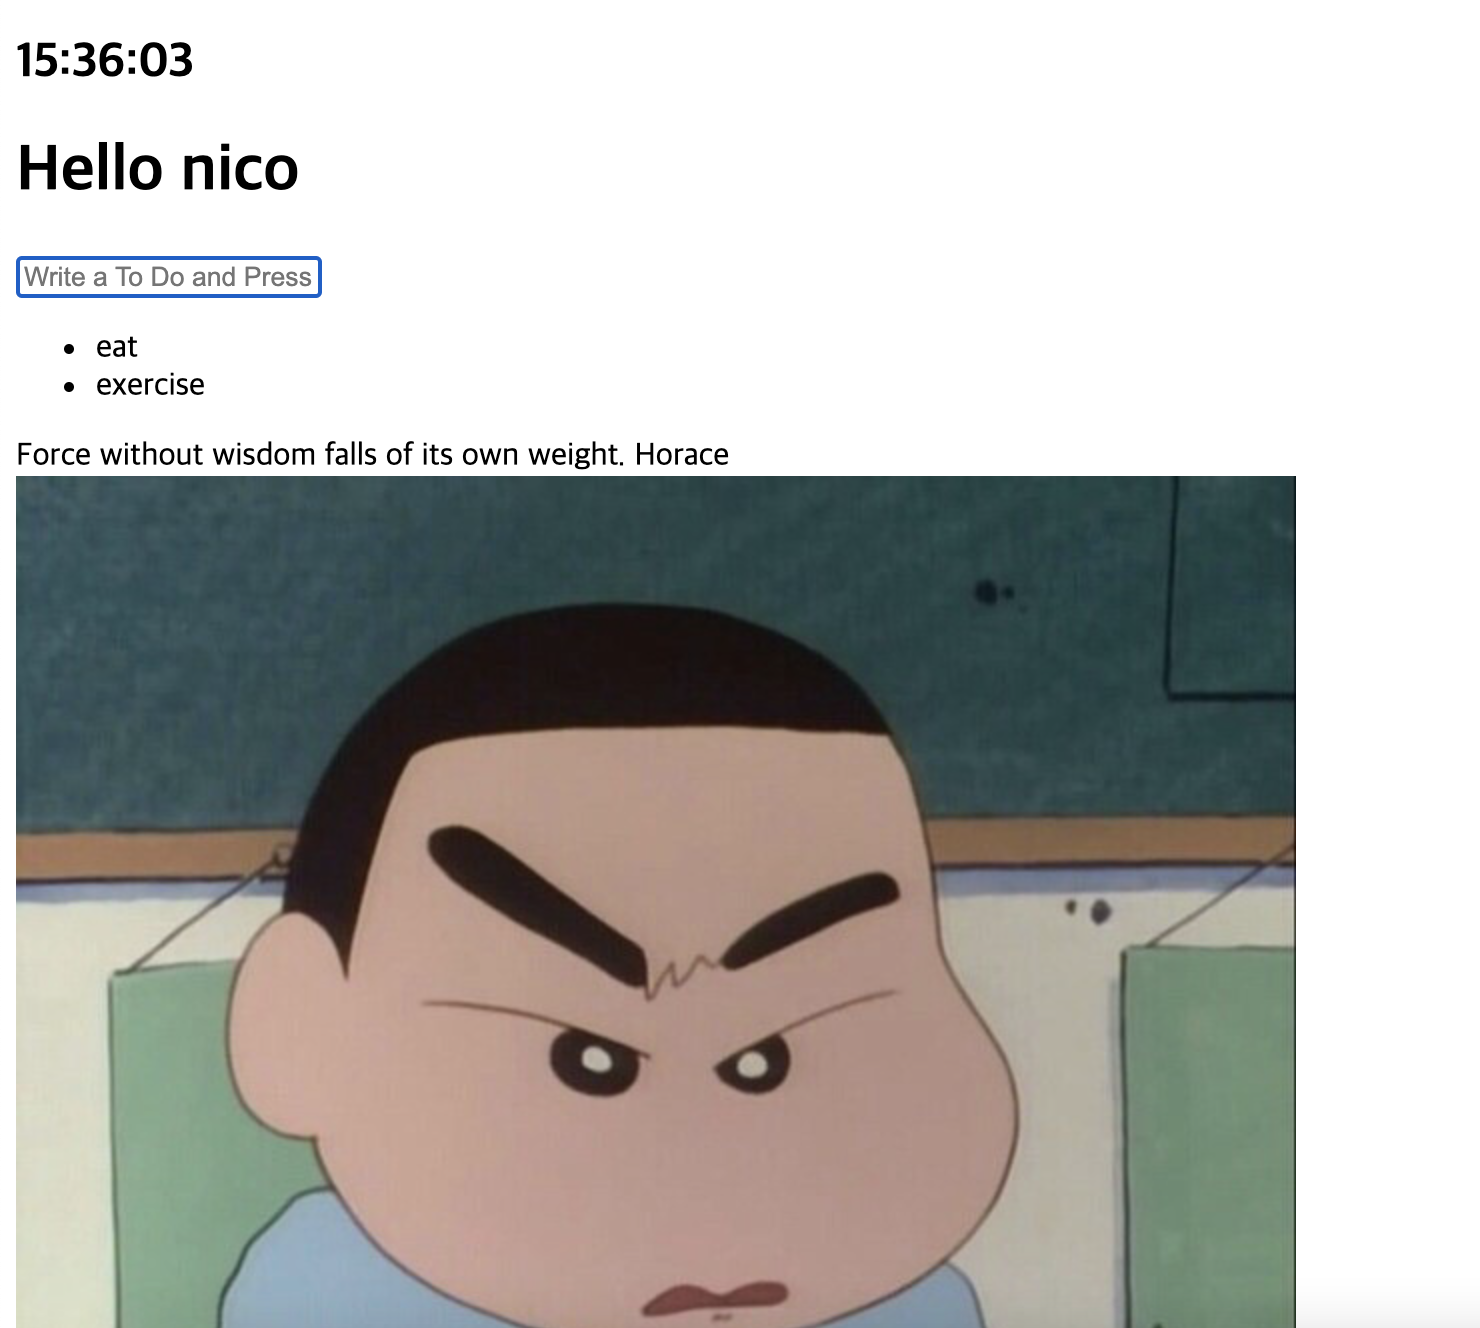
html에도 추가가 잘 된 것을 볼 수 있다.
3. 리스트 삭제하기
const toDoForm = document.getElementById("todo-form");
const toDoInput = toDoForm.querySelector("input");
const toDoList = document.getElementById("todo-list");


function deleteToDo(event){
    const li = event.target.parentElement;
    li.remove();
}

function paintToDo(newToDo){
	const li = document.createElement("li");
    const span = document.createElement("span");
    span.innerText = newToDo;
    const button = document.createElement("button");
    button.innerText="❌";
    button.addEventListener("click", deleteToDo); //삭제버튼을 누르면 발생하는 이벤트
    li.appendChild(span);
    li.appendChild(button);
    toDoList.appendChild(li);
}

function handleToSubmit(event){
	event.preventDefault();
    const newToDo = toDoInput.value;
    toDoInput.value="";  //input상자에 내용 지우기
    paintToDo(newToDo);
}

toDoForm.addEventListener("submit", handleToSubmit);
❌를 누르면 리스트가 잘 삭제된다.
4. 입력한 리스트 저장하기
페이지를 새로고침하면 기존에 적었던 리스트도 사라지기 때문에 localStorage에 저장해주려한다.
const toDoForm = document.getElementById("todo-form");
const toDoInput = toDoForm.querySelector("input");
const toDoList = document.getElementById("todo-list");

toDos = [];

function saveToDOs(){
    localStorage.setItem("toDos", JSON.stringify(toDos));
}

function deleteToDo(event){
    const li = event.target.parentElement;
    li.remove();
}

function paintToDo(newToDo){
	const li = document.createElement("li");
    const span = document.createElement("span");
    span.innerText = newToDo;
    const button = document.createElement("button");
    button.innerText="❌";
    button.addEventListener("click", deleteToDo);
    li.appendChild(span);
    li.appendChild(button);
    toDoList.appendChild(li);
}

function handleToSubmit(event){
	event.preventDefault();
    const newToDo = toDoInput.value;
    toDoInput.value="";  //input상자에 내용 지우기
    toDos.push(newToDo);
    paintToDo(newToDo);
    saveToDOs();
}

toDoForm.addEventListener("submit", handleToSubmit);
일반적으로 localStorage.setItme("toDos", toDos);를 이용해 값을 저장하면 아래와 같이 나온다.
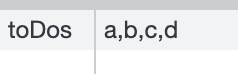
toDos는배열 형식인데 localStorage는 문자열로밖에 저장을 못하기 때문에 a,b,c,d 를 ["a","b","c","d"]와 같은 형식으로 나타내기 위해서는 JSON.stringify()를 사용하면 된다.

JSON.stringify() : string형식으로 저장해줌
아마 다음시간에 더 자세히 설명해줄 것 같아 일단은 깊게 파지않고 넘어가야할 것 같다.
강의를 끝까지 보지않았기 때문에 값의 저장에서 완벽하지는 않다. 그래도 리스트 입력과 삭제 저장을 구현했다.! 더 헷갈리기전에 다음 강의를 보러가자!
