
✨ 문제 풀이
✅ 기본 문제 - FlutterBootPlus
✅ 심화 문제 - MyCuteGPT
✨ TIL
1. Flexible vs. Expanded
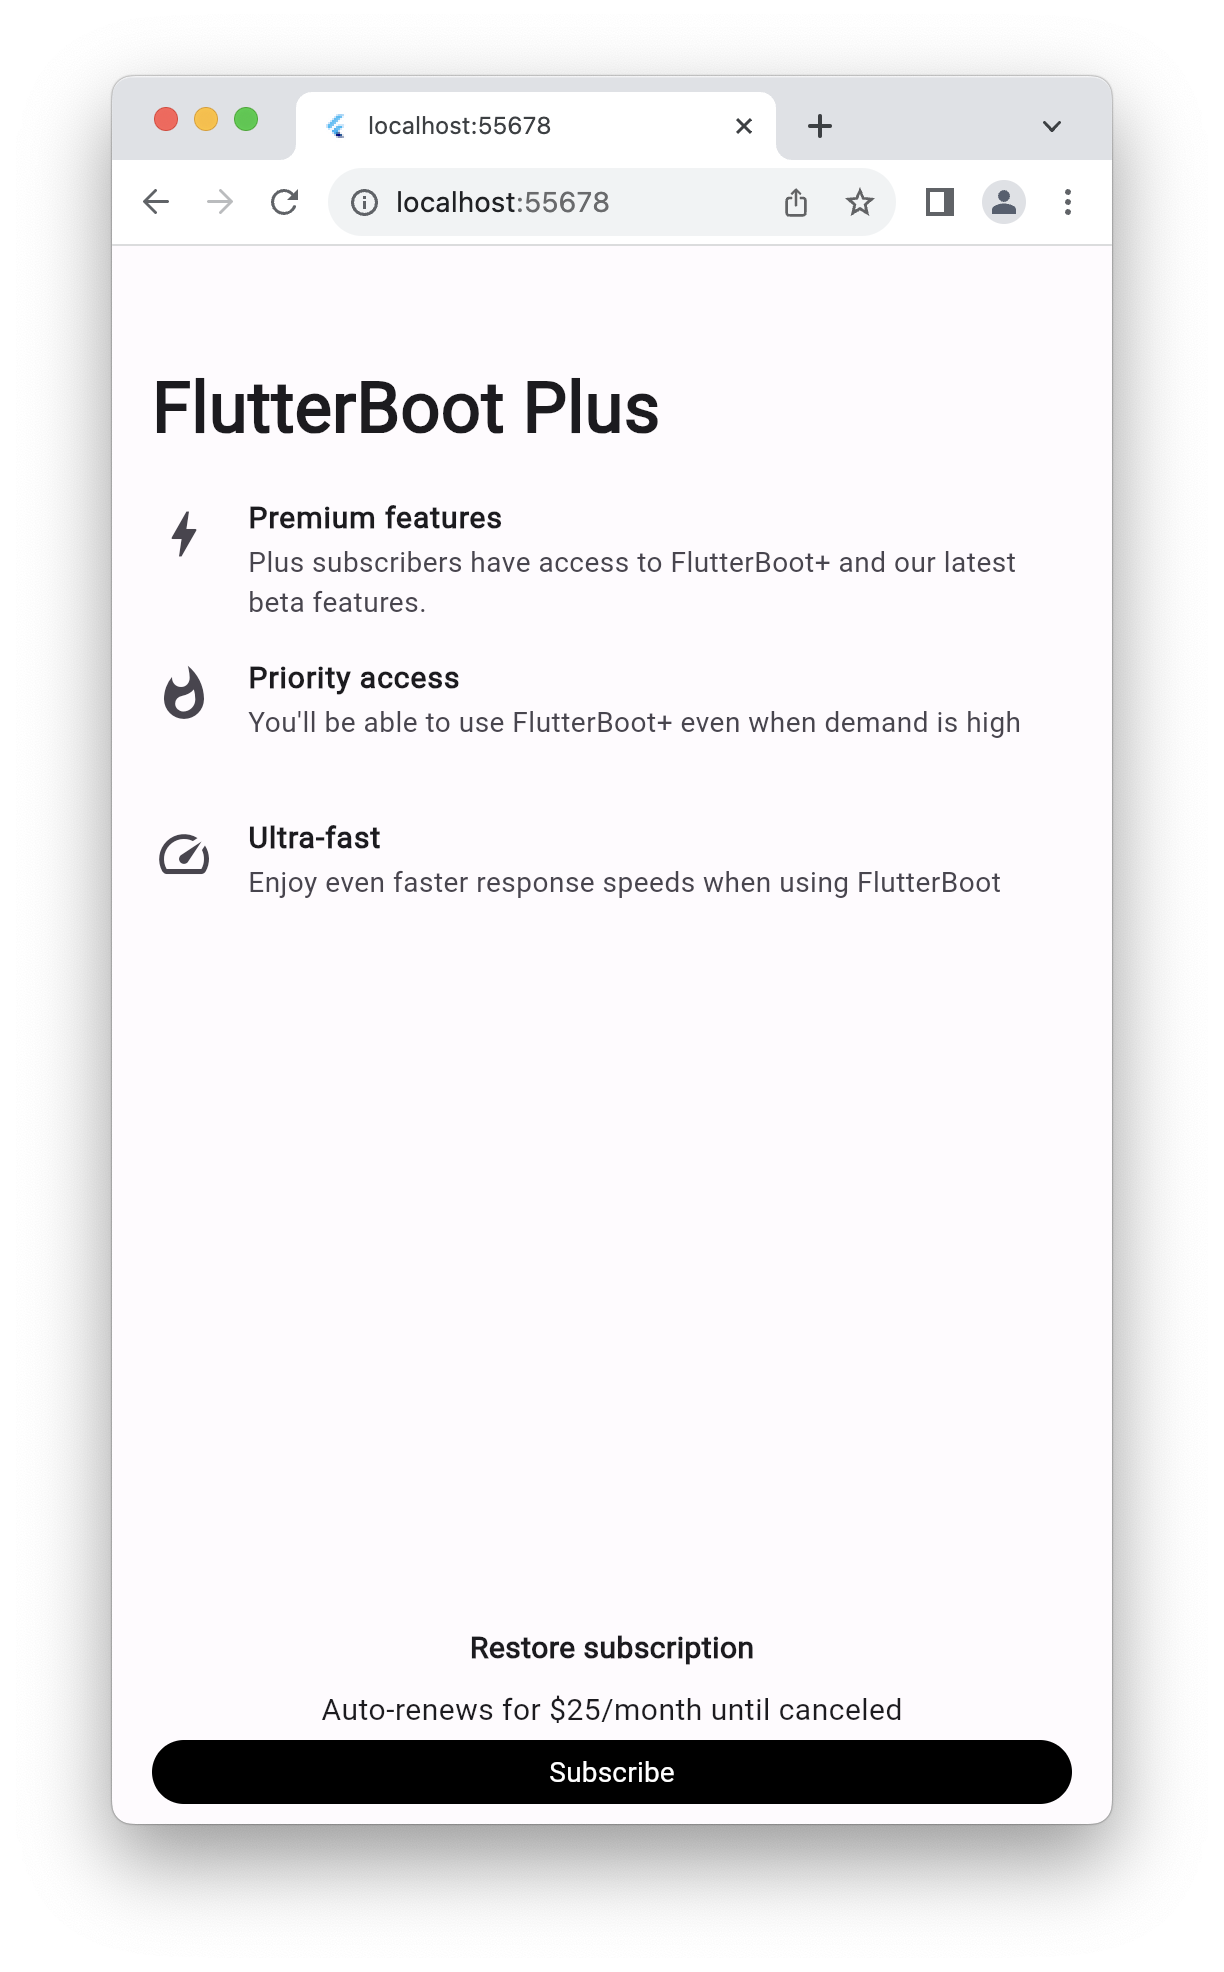
기본 문제는 이런 레이아웃을 만드는 것이다. 가운데 여백이 필요하기 때문에, 공간을 차지하도록 하는 위젯이 필요했다. 그러다가 찾은 것이 Flexible과 Expanded다.
어제 Row와 Column에 대해서 배웠었다. Flexible과 Expanded는 Row와 Column의 자식 리스트에 있는 위젯에 사용했을 때 가능한 모든 공간을 차지하도록 사이즈를 확장한다.
둘의 차이는 자식에게 강요하느냐, 안 하느냐는 것이다. 자식의 사이즈가 영역 사이즈보다 작을 때, Expanded는 자식을 억지로 늘린다. 반면에 Flexible은 자식을 억지로 늘리지 않는다.
이 두 위젯 말고 Spacer라는 위젯으로 빈 공간을 채워주는 방법도 있다!
3. ListView
사실 내가 위 레이아웃을 보자마자 생각한 것은 features를 객체로 관리해서 컴포넌트를 재사용해야지! 라는 것이었다. 그래서 찾아본 것이 ListView다. ListView는 리스트를 순회하면서 차례대로 위젯을 반환해 준다.
final List<String> entries = <String>['A', 'B', 'C'];
final List<int> colorCodes = <int>[600, 500, 100];

Widget build(BuildContext context) {
  return ListView.builder(
    padding: const EdgeInsets.all(8),
    itemCount: entries.length,
    itemBuilder: (BuildContext context, int index) {
      return Container(
        height: 50,
        color: Colors.amber[colorCodes[index]],
        child: Center(child: Text('Entry ${entries[index]}')),
      );
    }
  );
}
요게 공식 문서에서 제공해 주는 예시다. itemCount를 받고, 그만큼 index를 더해가면서 colorCodes[index] 데이터를 사용한다.
보통 리스트가 비어있을 때 대체할 위젯을 함께 넣어준다고 한다.
Widget build(BuildContext context) {
  return Scaffold(
    appBar: AppBar(title: const Text('Empty List Test')),
    body: itemCount > 0
      ? ListView.builder(
          itemCount: itemCount,
          itemBuilder: (BuildContext context, int index) {
            return ListTile(
              title: Text('Item ${index + 1}'),
            );
          },
        )
      : const Center(child: Text('No items')),
  );
}
나는 Feature class를 만들어서 List로 관리했다.
class Feature {
  final Icon icon;
  final String title;
  final String description;

  Feature({
    required this.icon,
    required this.title,
    required this.description,
  });
}

List<Feature> features = [
  Feature(
    icon: const Icon(Icons.bolt, size: 30),
    title: 'Premium features',
    description:
        'Plus subscribers have access to FlutterBoot+ and our latest beta features.',
  ),
  Feature(
    icon: const Icon(Icons.whatshot, size: 30),
    title: 'Priority access',
    description:
        'You\'ll be able to use FlutterBoot+ even when demand is high ',
  ),
  Feature(
    icon: const Icon(Icons.speed, size: 30),
    title: 'Ultra-fast',
    description: 'Enjoy even faster response speeds when using FlutterBoot',
  ),
];
그리고 features 리스트에 index로 접근하여 데이터를 사용했다. 다른 사람들 코드를 보니 굳이 리스트로 관리 안 하고, 각 feature를 위젯 생성자에서 받아 하나의 feature를 반환해 주는 위젯을 만들었더라. 무엇이 더 좋은 코드인지는 아직 감이 잘 안 온다!
4. ListTile
이런게 있는지 몰랐다.
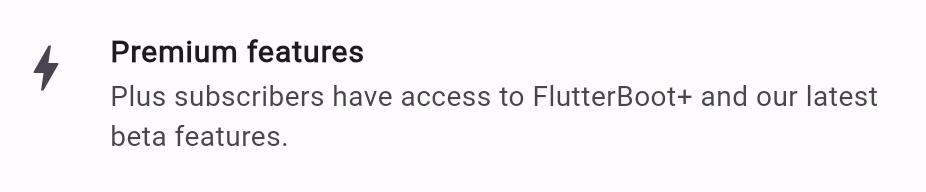
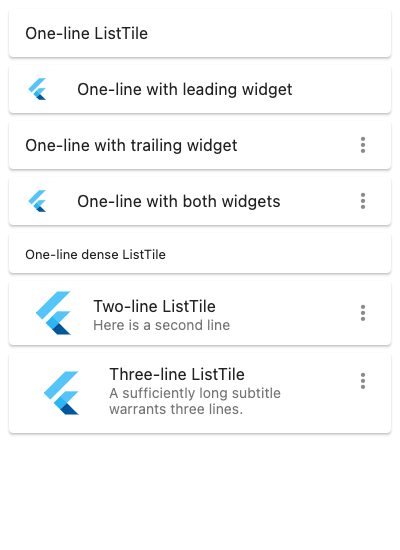
이놈. 이놈을 Row와 Column으로 꾸역꾸역 만들고 나서야 김한결이 이런 게 있다며 알려줬다. ListTile은 아래와 같은 포맷을 가지고 있는 위젯이다. 너무 편리하지 않은가? 감동적이었다.
다 만들고서야 알아버린 게 약간 억울했지만, 사실 좀 좋았다. 신나는 마음으로 바로 적용해버렸다. 이건 내가 Row와 Column으로 한 땀 한 땀 만든 이전 코드다.
Widget build(BuildContext context) {
return Expanded(
child: ListView.builder(
itemCount: features.length,
itemBuilder: (context, index) => Row(
mainAxisAlignment: MainAxisAlignment.start,
crossAxisAlignment: CrossAxisAlignment.start,
children: [
Container(
margin: const EdgeInsets.fromLTRB(0, 0, 15, 0),
child: features[index].icon,
),
Flexible(
child: Column(
mainAxisAlignment: MainAxisAlignment.start,
crossAxisAlignment: CrossAxisAlignment.start,
children: [
Text(
features[index].title,
style: const TextStyle(
fontSize: 15,
fontWeight: FontWeight.w700,
),
),
Text(features[index].description),
const SizedBox(
height: 20,
),
],
),
),
],
),
),
);
}이건 ListTile 위젯을 사용한 코드다.
Widget build(BuildContext context) {
return Expanded(
child: ListView.builder(
itemCount: features.length,
itemBuilder: (context, index) => ListTile(
leading: SizedBox(
width: 40,
height: 40,
child: Center(child: features[index].icon),
),
title: Text(
features[index].title,
style: const TextStyle(
fontSize: 15,
fontWeight: FontWeight.w700,
),
),
subtitle: Text(features[index].description),
isThreeLine: true,
),
),
);
}훨씬 깔끔해졌다. 기분이 좋다!
5. TextField
심화 문제는 GPT같은 레이아웃을 만드는 것이다. 그러기 위해서는 텍스트를 입력받을 수 있는 위젯이 필요했다. 그게 바로 TextField!
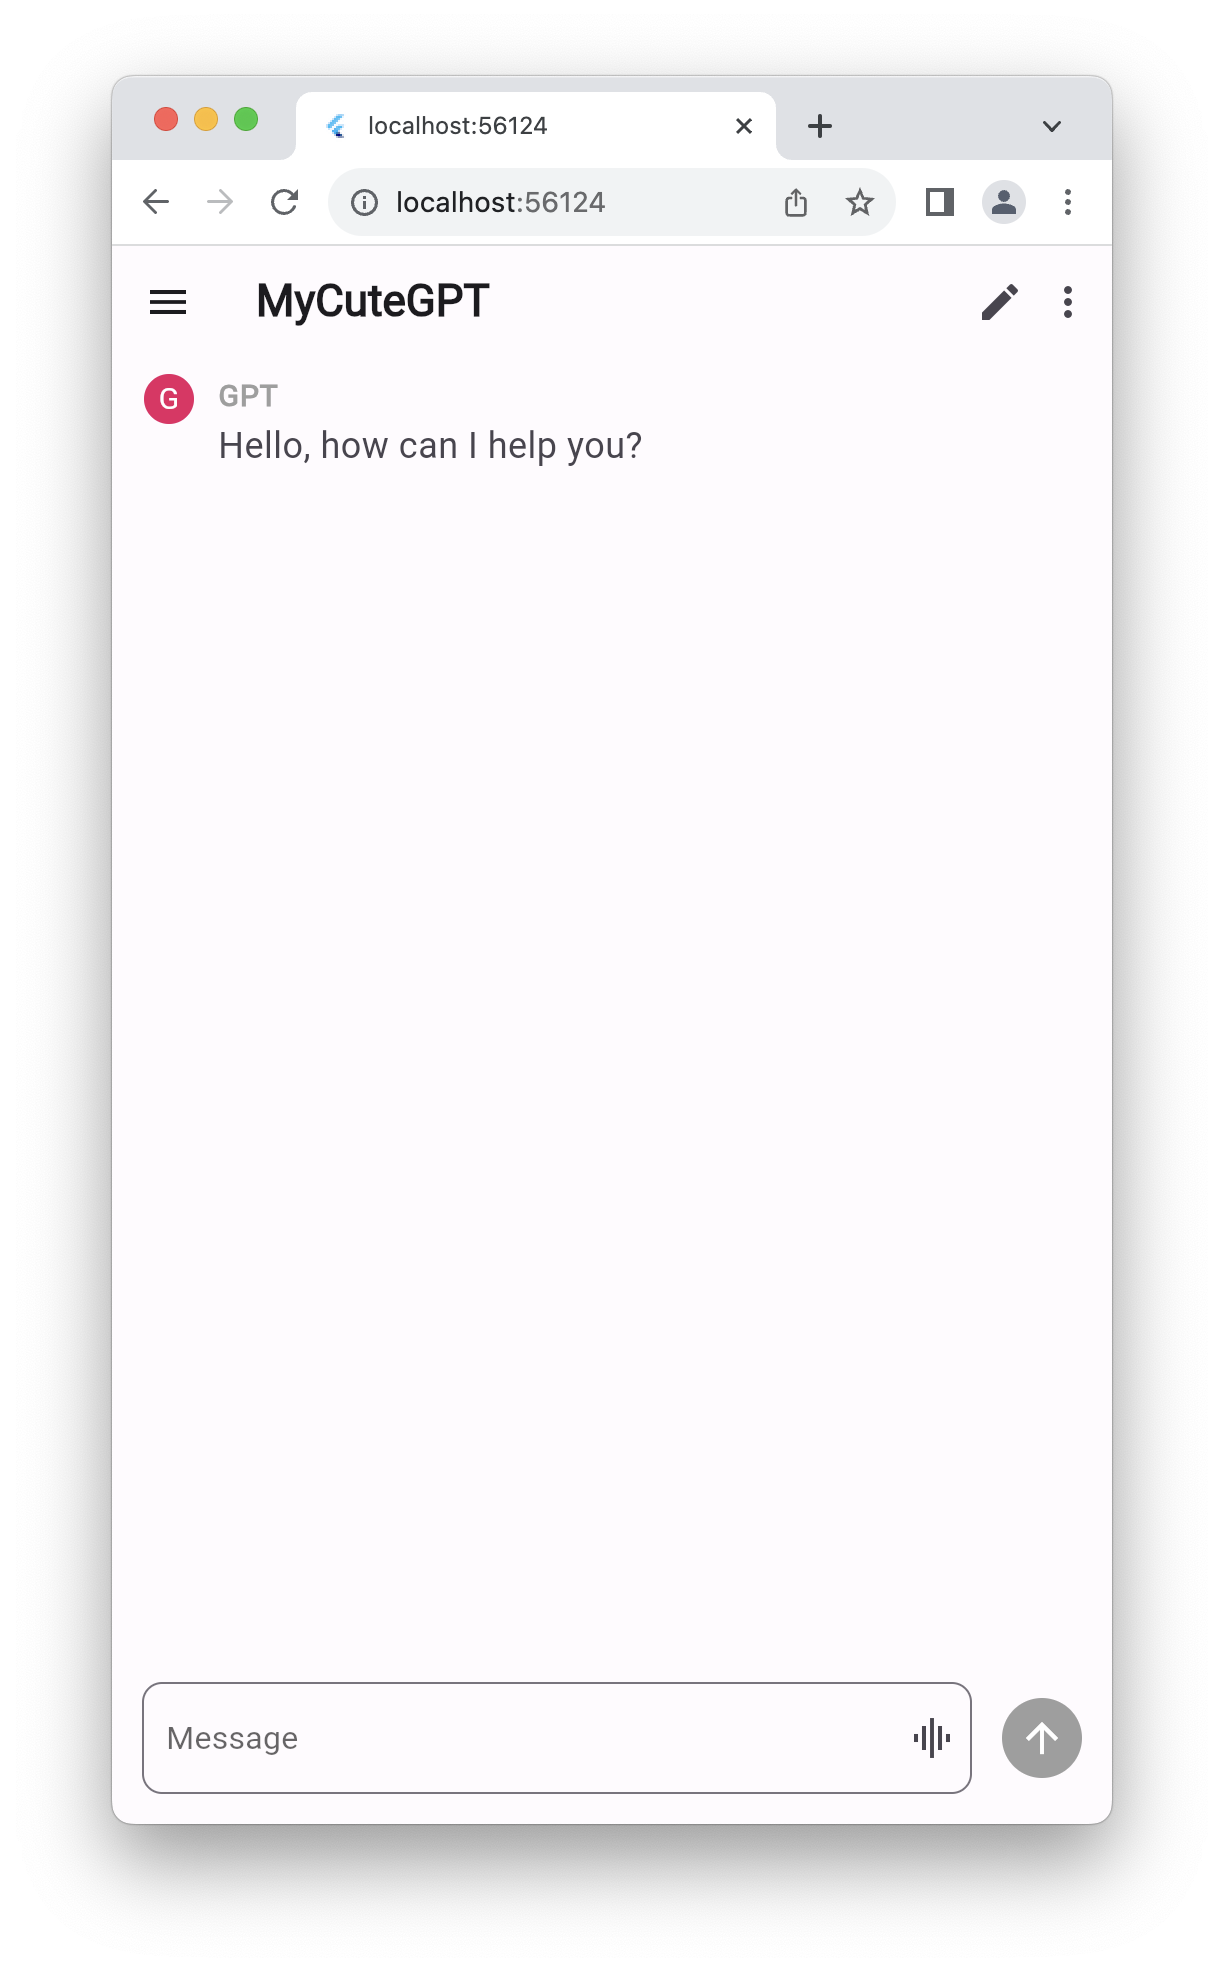
위 레이아웃 하단의 TextField 위젯과 보내기 버튼을 Scaffold 위젯의 bottomNavigationBar에 넣어줬다.
bottomNavigationBar: Container(
  margin: const EdgeInsets.all(15),
  child: Row(
    children: [
      Flexible(
        child: TextField(
          controller: inputController,
          maxLines: null,
          decoration: InputDecoration(
            hintText: 'Message',
            suffixIcon: isTextEmpty ? const Icon(Icons.graphic_eq) : null,
            border: const OutlineInputBorder(
              borderRadius: BorderRadius.all(Radius.circular(10.0)),
            ),
          ),
        ),
      ),
      const SizedBox(width: 15),
      IconButton(
        onPressed: isTextEmpty ? null : addMessage,
        icon: const Icon(Icons.arrow_upward),
        style: ButtonStyle(
          backgroundColor: MaterialStateProperty.all<Color>(
              isTextEmpty ? Colors.grey : Colors.green),
          foregroundColor: MaterialStateProperty.all<Color>(Colors.white),
        ),
      )
    ],
  ),
),
TextField 위젯도 여러 가지 속성을 가지고 있다. controller는 입력된 텍스트를 제어한다. 이 속성을 사용하기 위해서는 해당 TextField에서 사용할 컨트롤러를 따로 생성하고 할당해 줘야 한다.
TextEditingController inputController = TextEditingController();maxLines는 텍스트를 몇 줄까지 입력할 수 있는지에 대한 값을 받는다. 위의 코드 같은 경우 null을 넣어줬기 때문에 최대 입력 줄에 대한 제한이 없다.
hintText는 css의 placeholder와 같은 역할을 한다.
suffixIcon은 TextField 오른쪽에 있는 아이콘을 위한 속성이다. suffix와 prefix도 있지만, 그들은 TextField가 활성화되지 않았을 때 나타나지 않기 때문에 suffixIcon을 사용했다.
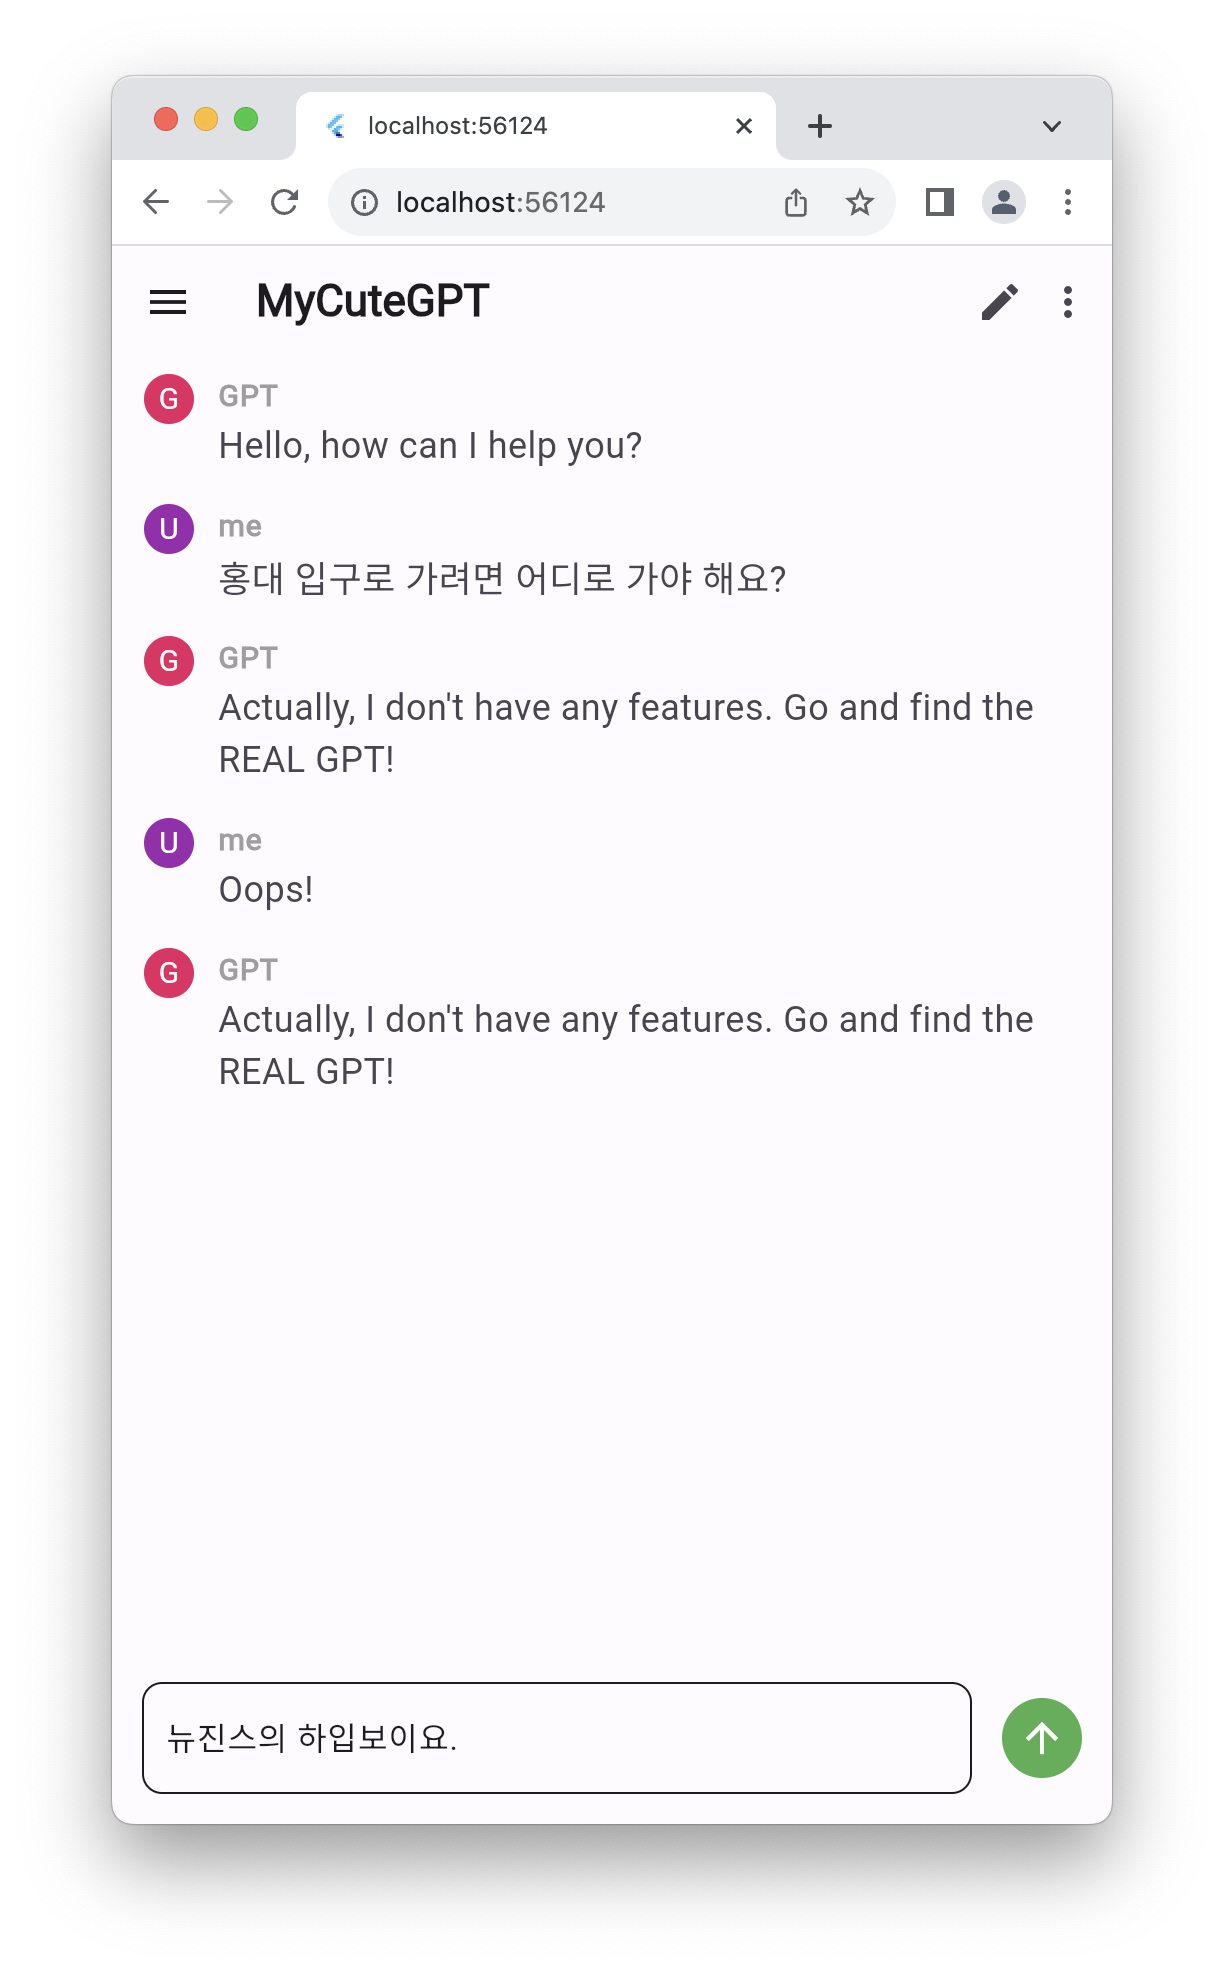
MyCuteGPT는 사용자가 채팅을 전송하면 저렇게 답변을 해준다. 즉, 입력받은 텍스트를 setState()로 저장하고 화면을 동적으로 구성해 줘야 한다. 이때 사용하는! 어제 배운 위젯. 바로 StatefulWidget이다!
class _MyCuteGPTState extends State<MyCuteGPT> {
  final List<String> messages = ['Hello, how can I help you?'];
  TextEditingController inputController = TextEditingController();

  void addMessage() {
    setState(() {
      messages.add(inputController.text);
      messages.add(
          'Actually, I don\'t have any features. Go and find the REAL GPT!');
      inputController.clear();
    });
  }
TextField에 텍스트를 입력하고 오른쪽 버튼을 우르면 addMessage() 함수가 실행되고, setState()로 messages 리스트가 업데이트된다. inputController로 입력받은 텍스트를 확인하여 추가하고, GPT의 답변도 추가해 준 뒤, TextField의 값을 초기화한다.
6. initState
이 과제에는 몇가지 조건들이 있다.
- 텍스트 입력 필드가 비어있을 때 :위로_화살표:버튼이 비활성화 됩니다 (이때 이 버튼을 눌러도 빈칸이 입력되면 안됩니다)
- 텍스트 필드가 비어있지 않으면(입력중이면) 텍스트필드 오른쪽 끝에 음성 아이콘이 사라집니다.
위 조건들을 만족시키기 위해 TextField의 텍스트가 비어있는지, 아닌지에 대한 정보를 주는 변수가 필요하다.
class _MyCuteGPTState extends State<MyCuteGPT> {
final List<String> messages = ['Hello, how can I help you?'];
TextEditingController inputController = TextEditingController();
bool isTextEmpty = true;
void initState() {
super.initState();
inputController.addListener(() {
setState(() {
isTextEmpty = inputController.text.isEmpty;
});
});
}여기서 initState를 사용하게 된다. initState는 React의 useEffect의 의존성 배열에 아무것도 넣지 않았을 때와 비슷한 동작을 한다.
initState는 객체가 트리에 삽입되었을 때 호출된다. 즉, 객체가 생성될 때 단 한번만 실행되는 함수다. 공식 문서에 객체를 구독하는 것에 대해 뭐가 잔뜩 써있는데, 아직은 무슨 말인지 모르겠다. 다음에 더 자세히 살펴볼 시간이 있겠지!
✨ Comment
플러터 너무 재밌다. 시간 가는 줄 모른다. 위젯이 너무 많아서 뭐가 있는지도 잘 모르겠지만, 어찌어찌 열심히 찾아서 하고 있다. 시간이 너무 없어서 글이 밀릴 것 같은 기분이 막 든다. 그래도 이번에는 심화 문제까지 풀었다! 칭찬해~
참고
https://api.flutter.dev/flutter/widgets/ListView-class.html
https://api.flutter.dev/flutter/material/ListTile-class.html
https://api.flutter.dev/flutter/material/TextField-class.html
https://api.flutter.dev/flutter/widgets/NavigatorState/initState.html