이전 포스트에서 웹하드라고 하는 웹 응용서비스를 활용해보았다.
이번 포스트에서는 클라우드 저장소 기능을 제공하는 오픈소스 'owncloud'를 설치해 활용해보았다.
과정
- APM 패키지 설치 및 데이터베이스 설정
[root@localhost ~]# dnf install -y httpd mariadb-server php php-mysqlnd php-gd php-mbstring php-pecl-zip php-xml php-json php-intl
[root@localhost ~]# systemctl restart mariadb
[root@localhost ~]# systemctl enable mariadb
[root@localhost ~]# mysql
MariaDB [(none)]> create database webDB;
MariaDB [(none)]> grant all on webDB.* to webUser@localhost identified by '1234';
MariaDB [(none)]> exit[root@localhost ~]# systemctl restart httpd
[root@localhost ~]# systemctl enable httpd
[root@localhost ~]# firewall-cmd --permanent --add-service=http
[root@localhost ~]# firewall-cmd --permanent --add-service=https
[root@localhost ~]# firewall-cmd --reload- ownCloud 다운로드
[root@localhost html]# wget https://download.owncloud.org/community/owncloud-10.3.1.zip
[root@localhost html]# unzip -q owncloud-10.3.1.zip
[root@localhost html]# mkdir owncloud/data
[root@localhost html]# chown -R apache.apache owncloud
[root@localhost html]# chown -R 755 owncloud
[root@localhost html]# systemctl restart httpd-
owncloud 접속 화면
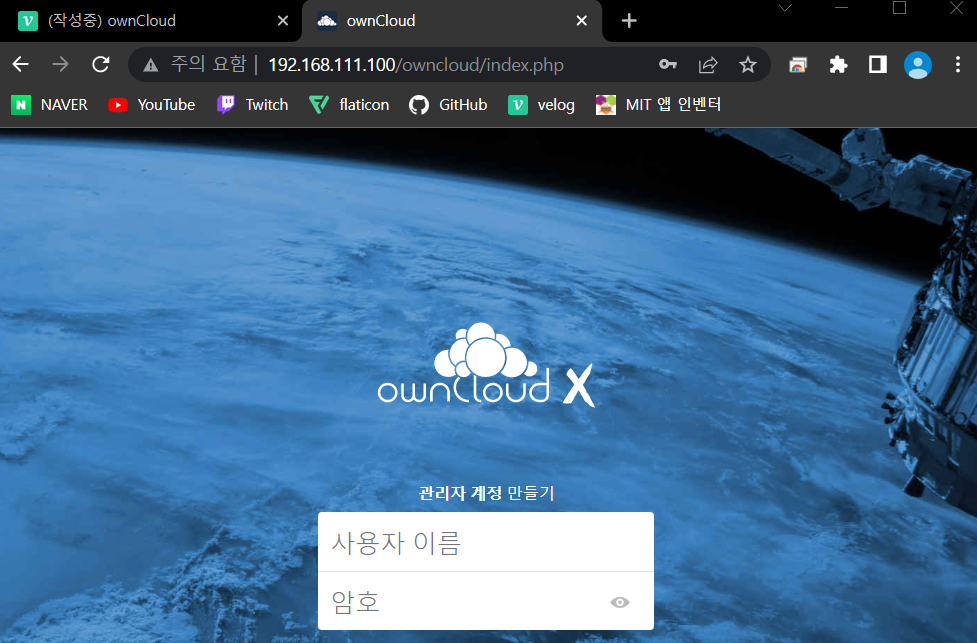
-
Client 설치
[centos@localhost ~]$ su
[root@localhost centos]# cd /etc/yum.repos.d/
[root@localhost yum.repos.d]# wget https://download.opensuse.org/repositories/isv:ownCloud:desktop/CentOS_8/isv:ownCloud:desktop.repo
[root@localhost yum.repos.d]# dnf install -y owncloud-client
[root@localhost yum.repos.d]# exit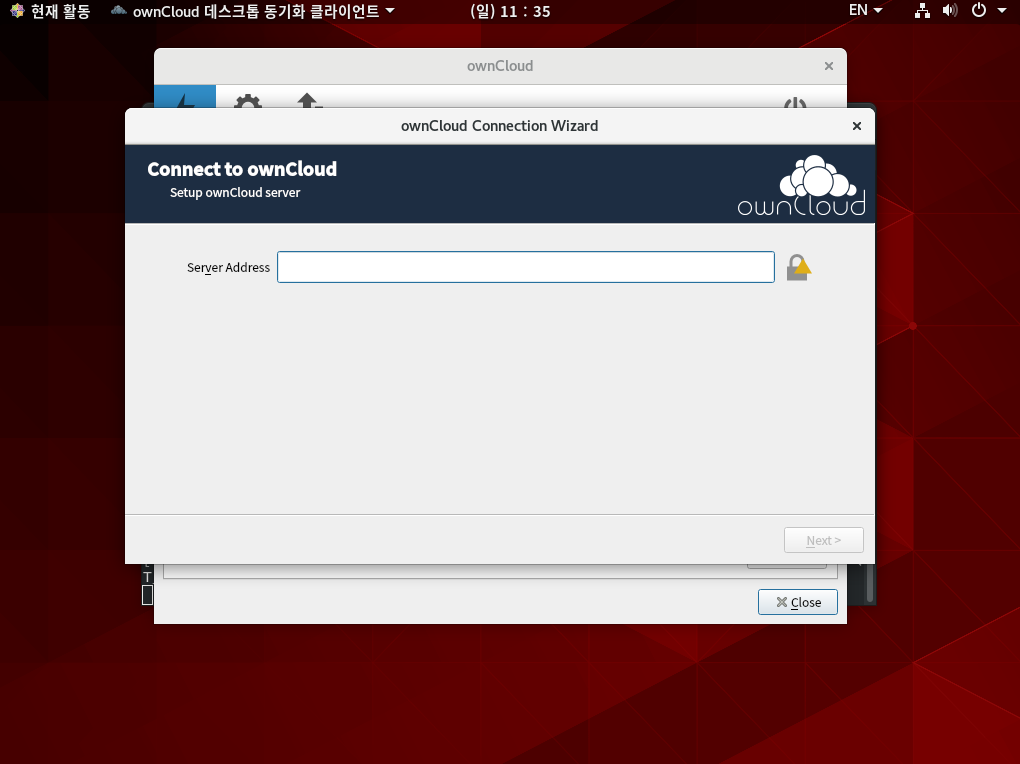
[centos@localhost ~]$ owncloud &- 실행결과
웹 서버 설정 파일
웹 서비스를 구현하려면 웹 서버의 설정파일은 /etc/httpd/conf/httpd.conf 파일의 의미를 알아야 한다.
httpd.conf 내용 중 중요한 의미
- 웹 서버의 설정 파일, 로그 파일 등이 저장되는 최상위 디렉토리
ServerRoot "/etc/httpd"- 웹 서버의 포트번호 80번
Listen 80- 설정 파일에 포함될 파일의 경로와 이름이 들어있음
Include conf.modules.d/*.conf- 웹 서비스를 작동하는 사용자와 그룹
User apcahe / Group apache- 관리자의 메일 주소
ServerAdmin root@localhost- 웹 서버의 홈 디렉토리
DocumentRoot "/var/www/html"- 디렉토리 단위로 설정하기 때문에 각 디렉토리마다 허가/거부 등의 접근권한을 다르게 할 수 있다.
<Directory "/var/www/html">
	Option Indexes FollowSymLinks
    AllowOveride None
    Require all granted
</Directory>
- Option Indexes FollowSymLinks
현재 디렉토리에서 Directoryindex에 지정된 파일이 없다면 파일 목록을 대신 출력하라는 의미를 가짐
- httpd.conf 파일을 수정 후 문법적으로 오류가 있는지 체크하기 위해서는
service httpd configtest명령어를 입력하고 이상없는 상태라면Syntax OK라는 메세지가 나타난다.

아침엔 운동하고 밤엔 잠을 잔다.