프로젝트 생성
$ npx create-next-app [project-name]프로젝트 이동 및 aws-amplify 관련 패키지 설치
$ cd [project-name]
$ yarn add aws-amplify @aws-amplify/ui-react
Amplify CLI 설치
$ npm install -g @aws-amplify/cliCLI에서 AWS credential 사용하도록 설정
$ amplify configure

- Specify the AWS Region: ap-northeast-2
- Specify the username of the new IAM user: amplify-cli-user
> In the AWS Console, click Next: Permissions, Next: Tags, Next: Review, & Create User to create the new IAM user. Then return to the command line & press Enter.
- Enter the access key of the newly created user:
? accessKeyId: (<YOUR_ACCESS_KEY_ID>)
? secretAccessKey: (<YOUR_SECRET_ACCESS_KEY>)
- Profile Name: amplify-cli-user
Amplify Project초기화
$ amplify init
- Enter a name for the project: amplifyforum
- Enter a name for the environment: dev
- Choose your default editor: Visual Studio Code (or your default editor)
- Please choose the type of app that youre building: javascript
- What javascript framework are you using: react
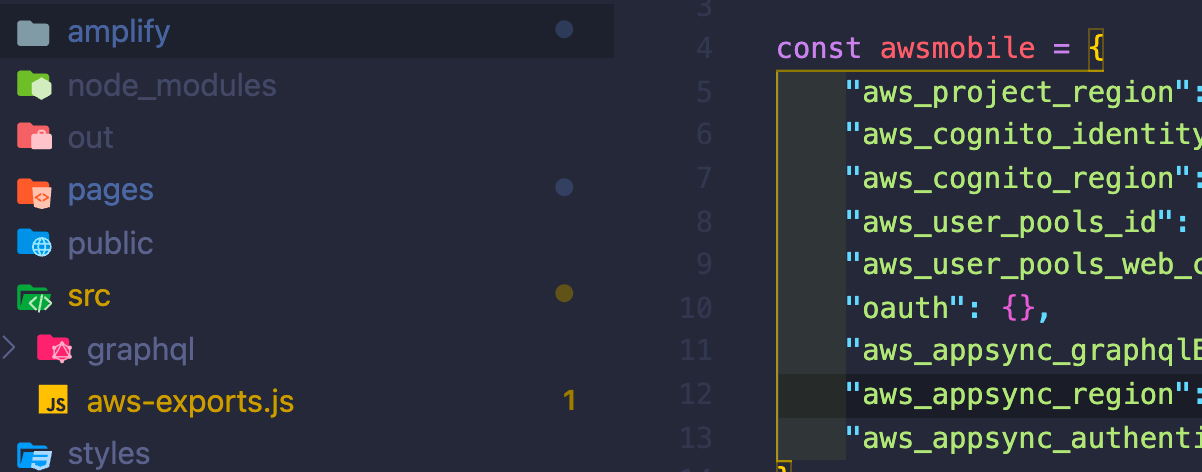
- Source Directory Path: src
- Distribution Directory Path: out
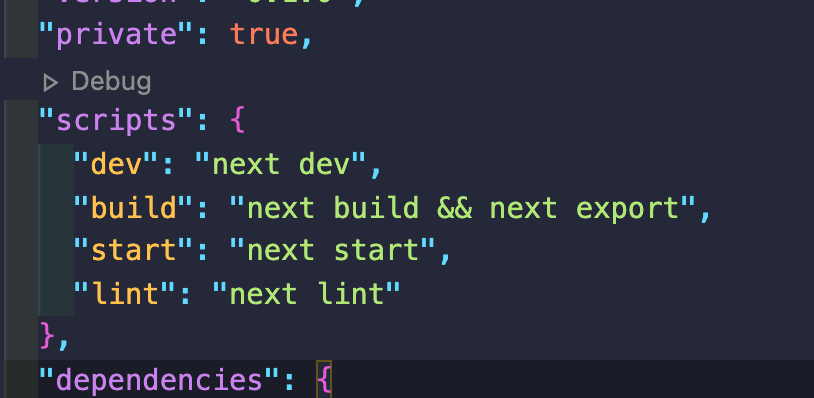
- Build Command: npm run-script build
- Start Command: npm run-script start
- Do you want to use an AWS profile? Y
- Please choose the profile you want to use: amplify-cli-userDistribution Directory Path는 out으로 변경해줘야 build후 export할때 out디렉토리로 결과물이 들어간다.
amplify init이 끝나면 amplify 폴더가 생성되고, src폴더 아래에는 aws-exports.js가 생성된다.
위 설정 변수들을 가지고
pages/_app.js 에 import해
다음과 같은 설정을 해준다

app을 html로 변환해주는 next export 추가
hosting을 추가하기위해 다음 명령 실행
$ amplify add hosting

? Select the plugin module to execute: Hosting with Amplify Console (Managed hosting with custom domains, Continuous deployment)
? Choose a type: Manual deployment
다음 명령어로 add한 위의 내용 적용
$ amplify push다음 명령어로 hosting으로 배포
$ amplify publish--> 이렇게하면 배포된 URL이 나오게 됩니다.
