Vue3+Vite를 github page로 올려보자(github action과 함께!)

주의
본 예제에서는 기본적으로 [githubId].github.io가 이미 만들어졌다고 가정합니다.
예제에서는 [githubId].github.io/[repoName] 형식으로 github Page를 할당합니다.
Node.js와 Vue가 설치가 되있음을 전제합니다.
프로젝트 init
https://v3-docs.vuejs-korea.org/guide/quick-start.html#with-build-tools
Vue 공식문서를 참조하여 커맨드로 초기 프로젝트를 설정
프로젝트 폴더를 생성하고자 하는 상위 폴더에서 다음의 커맨드를 입력
npm init vue@latest
프로젝트 초기화를 진행하면 세부 요소에 대해서 선택이 가능(상황과 선호에 맞춰서 자유롭게 설정)
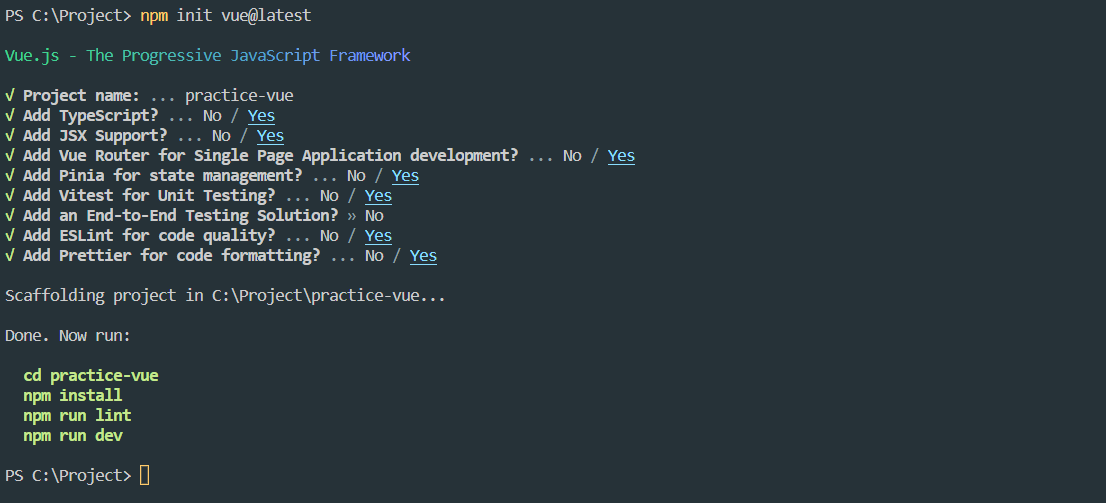
생성된 프로젝트 내부 구조를 확인하면 Webpack 대신 Vite를 사용함
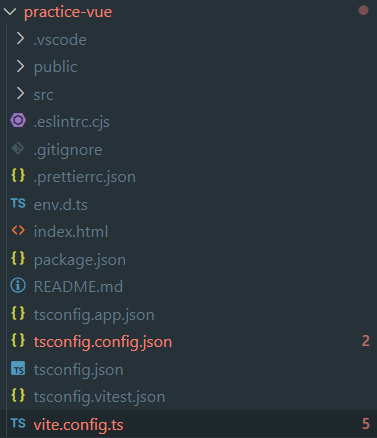
배포 관련 설정을 위해 Vite.config.ts를 Open하고 base 내용을 추가
![]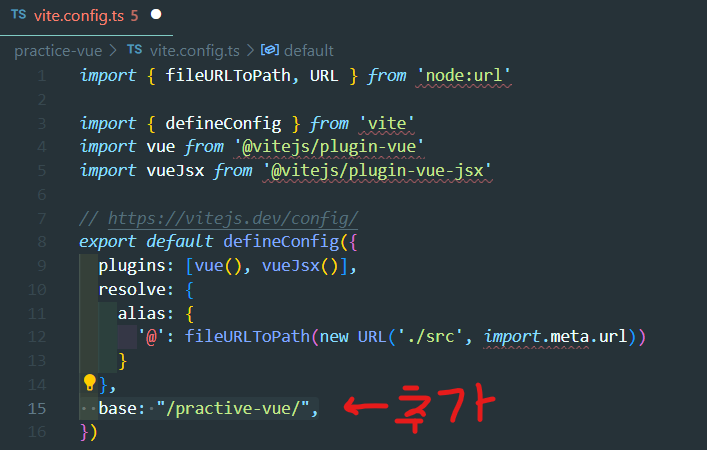
만약 https://<USERNAME>.github.io/ 형태로 배포하는 경우는 생략하거나 기본값 /으로 지정하면 됨
https://<USERNAME>.github.io/<REPO>/ 형태로 배포하는 경우 /<REPO>/로 지정
이 값은 추후에 생성할 github 레포지토리 명과 동일해야 하며, 추후에 배포될 하위 주소명과 동일해야함
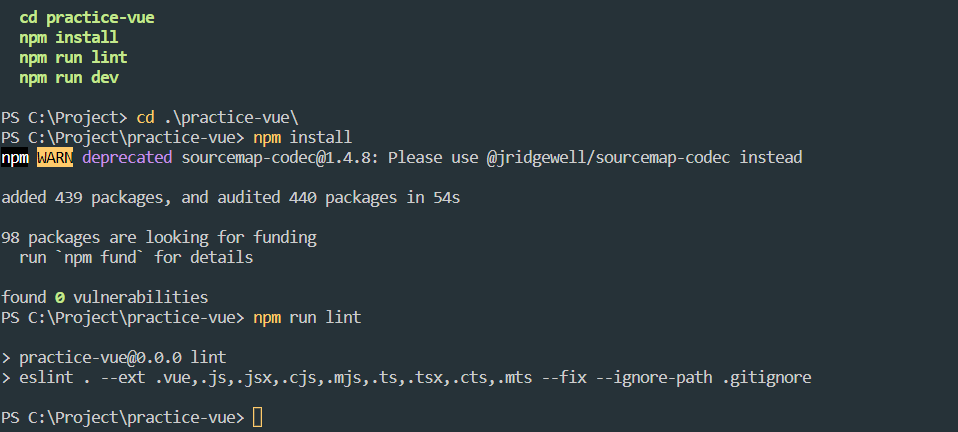
이제 프로젝트에 대한 npm install 및 lint를 진행
# 만들어진 프로젝트 명 따라서 진입
cd pratice-vue
npm install
npm run lint
git repo 생성
설치가 끝났다면 실제 github에 올리기 위해 github repository 생성
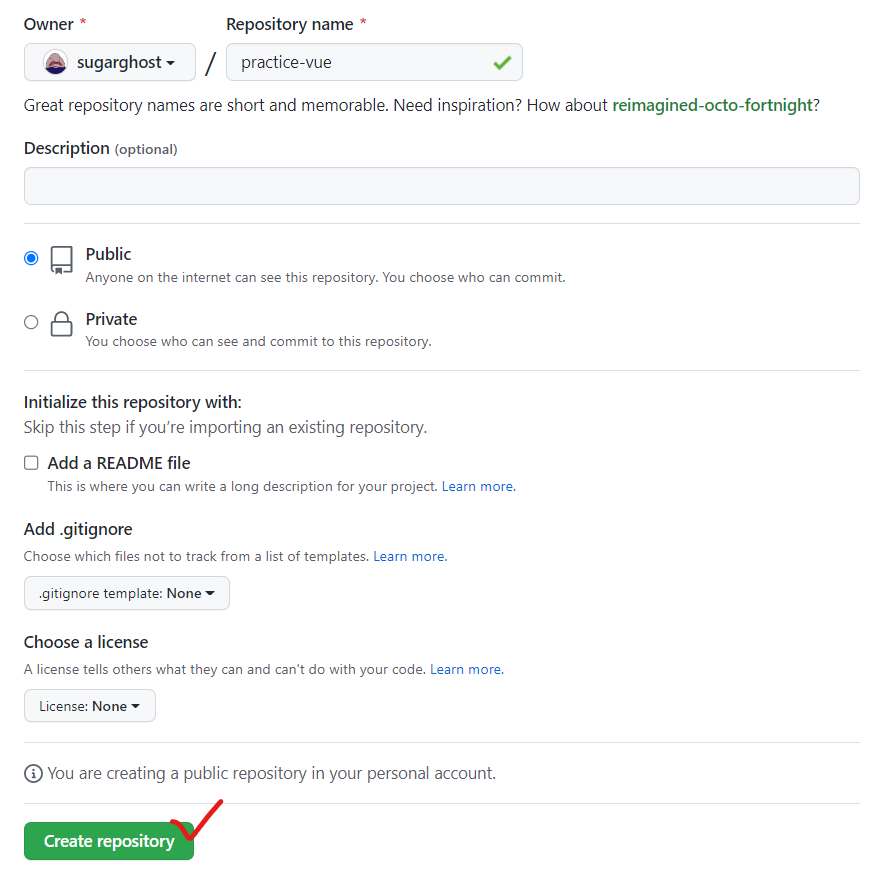
Repository name는 base에 설정한 값과 일치해야함

Repository이 생성 되었다면 주소를 복사해 remote로 연결 진행

# git 레포지토리 초기화
git init
# 생성한 레포지토리를 remote로 연결
git remote add origin <복사해둔 github repo 주소>
# 현재 변경 내용을 저장
git add .
# 저장된 변경 내용을 commit해 반영
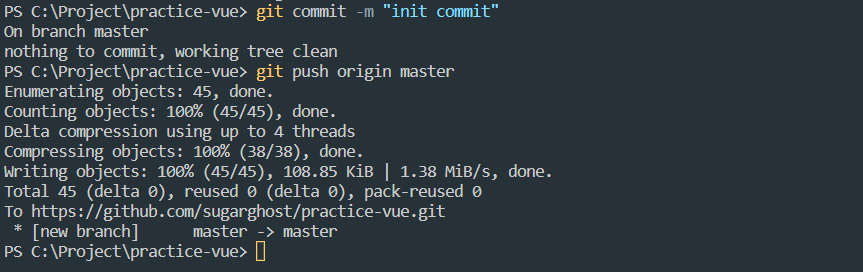
git commit -m "커밋 메시지"
# commit 내용을 연결해둔 remote로 전송
git push origin mastergit pages
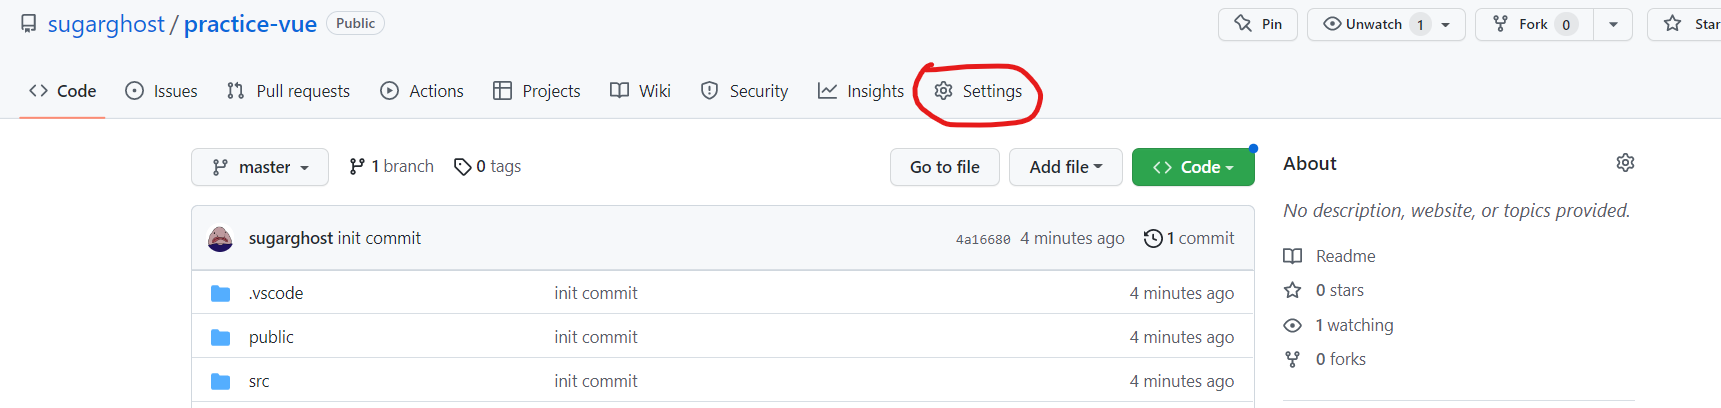
여기까지 완료하면 레포지토리가 잘 등록됨을 확인 할 수 있음
Setting을 클릭해 page 설정을 진행
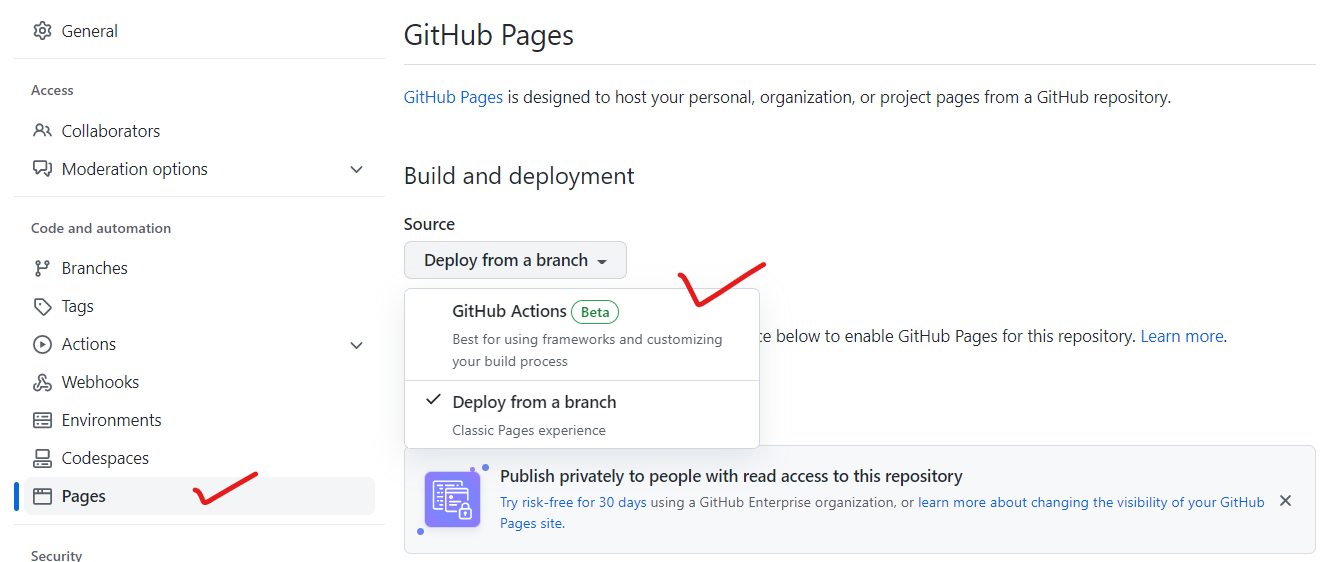
왼쪽의 Pages를 클릭하고 설정 내용중 중앙에 Source(Deploy from a branch)를 클릭하면 GitHub Actions를 선택 가능
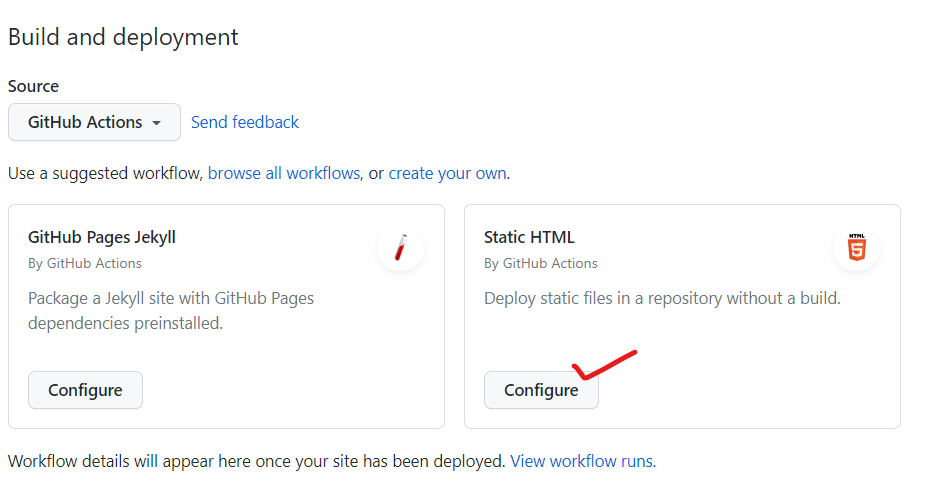
Github Actions을 선택하면 구성이 바뀌며, Static HTML을 선택해 진행
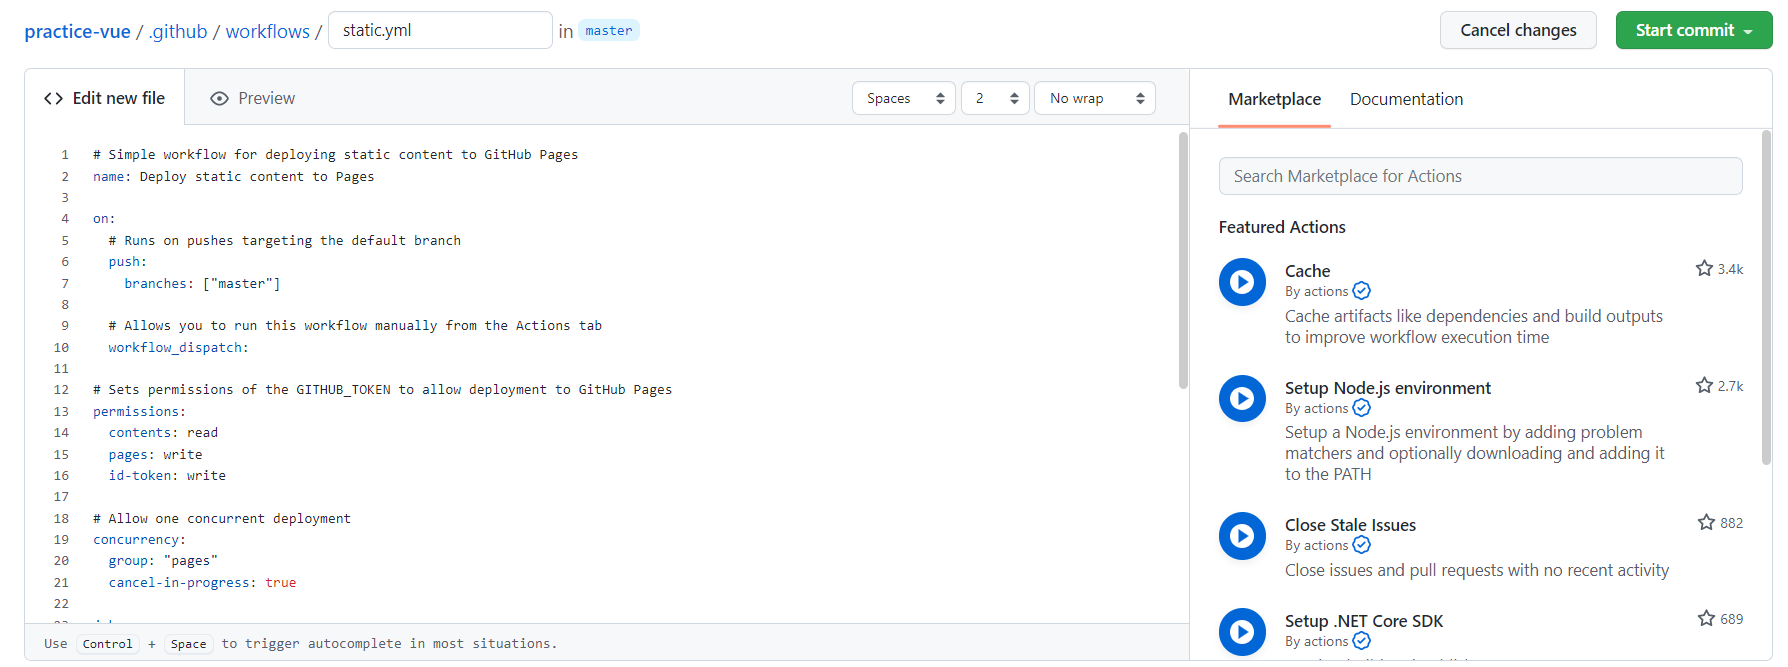
Action workflow 등록을 위한 페이지가 열리며 내용을 다음과 같이 수정
# Simple workflow for deploying static content to GitHub Pages
name: Deploy static content to Pages

on:
  # Runs on pushes targeting the default branch
  push:
    branches: ["master"]

  # Allows you to run this workflow manually from the Actions tab
  workflow_dispatch:

# Sets permissions of the GITHUB_TOKEN to allow deployment to GitHub Pages
permissions:
  contents: read
  pages: write
  id-token: write

# Allow one concurrent deployment
concurrency:
  group: "pages"
  cancel-in-progress: true

jobs:
  # Single deploy job since we're just deploying
  deploy:
    environment:
      name: github-pages
      url: ${{ steps.deployment.outputs.page_url }}
    runs-on: ubuntu-latest
    steps:
      - name: Checkout
        uses: actions/checkout@v3
      - name: Setup Pages
        uses: actions/configure-pages@v3
      - uses: actions/setup-node@v3
        with:
          node-version: 16
          # cache: 'npm'

      - run: npm ci --legacy-peer-deps
      - run: npm run build
        env:
          CI: false
      - name: Upload artifact
        uses: actions/upload-pages-artifact@v1
        with:
          # Upload entire repository
          path: './dist'
      - name: Deploy to GitHub Pages
        id: deployment
        uses: actions/deploy-pages@v1
차이점을 비교해보면 다음과 같음
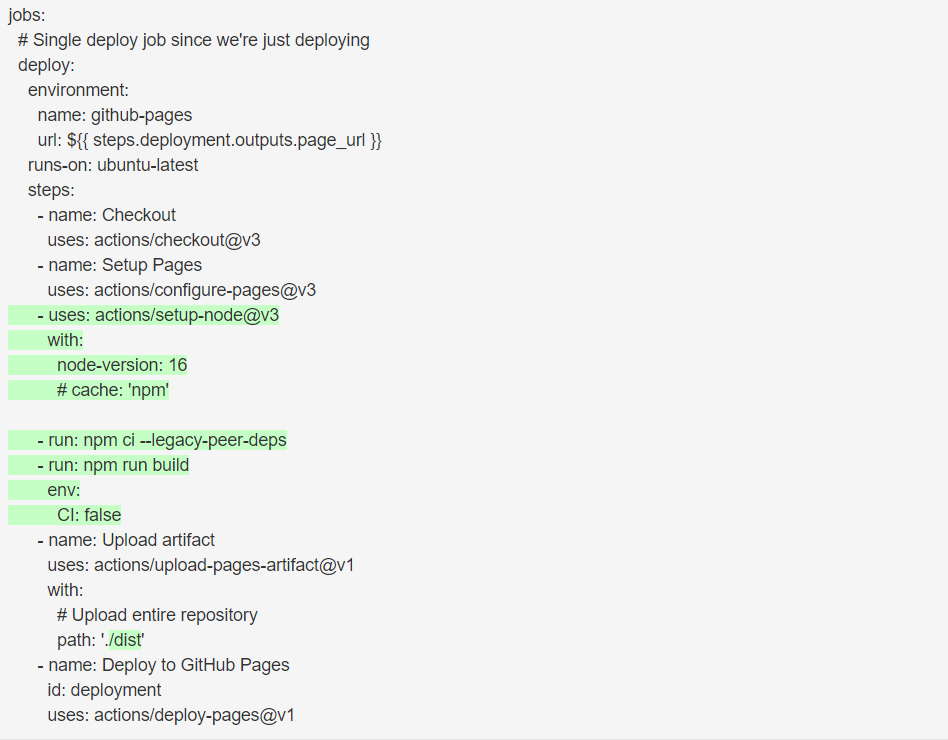
배포(deploy) 과정에서 node를 setup하고 build하는 과정을 추가,
이후 upload-pages-artifact 과정에서 배포할 대상 위치를 build 결과물이 있는 ./dist 경로로 수정
내용 작성 후 commit을 반영해 파일을 생성
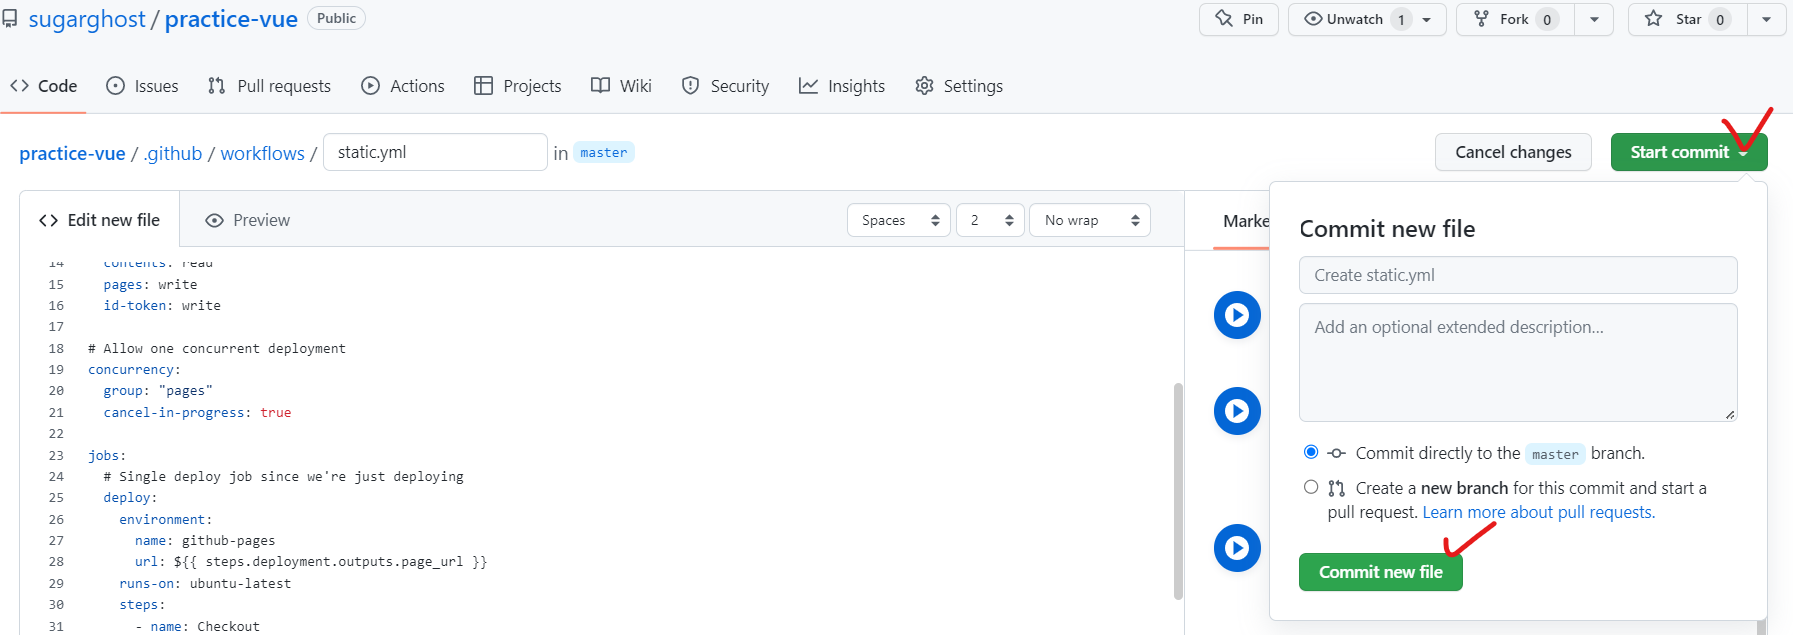
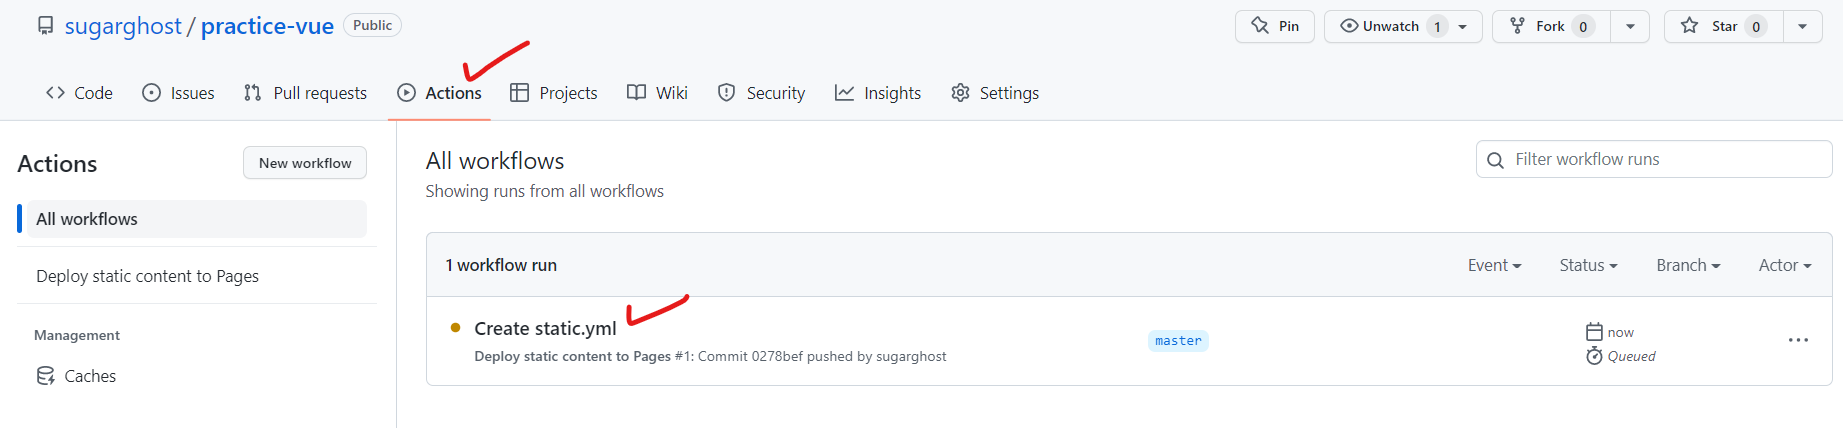
workflows가 반영 되면 Actions 탭에서 확인 가능
deploy가 완료되면 https://<github아이디>.github.io/<repo이름>/ 주소로 접근해서 확인 가능

Vue init에서 제공되는 페이지가 표시되며, 이후 commit시 build한 결과물이 반영됨