도커 빌드할 프로그램 준비
- Python를 사용해 단순한 서비스를 시작 및 작성
- 다음 파일을 작상하여 test_server.py로 저장
# test_server.py
import socket

with socket.socket() as s:
  s.bind(("0.0.0.0", 12345))
  s.listen()
  print("server is started")
  conn, addr = s.accept()
  # conn 클라이언트와 통신할 소켓
  # addr 클라이언트의 정보가 들어있음
  with conn:
    print("Connected by", addr)
    while True:
      data = conn.recv(1024)
      if not data: break
      conn.sendall(data)
nc 127.0.0.1 12345도커파일 생성
-
별도의 디렉토리를 생성하고 dockfile과 위에서 생성한 python파일을 새 디렉토리에 배치
mkdir my_first_project
mv test_server.py ./my_first_project
cd my_first_project
gedit dockerfile -
dockerfile
- FROM, RUN, COPY > 이미지를 빌드할 때 사용되는 명령어
- CMD > 이미지 빌드 후, 컨테이너가 시작될 때, 사용되는 명령어
FROM python:3.7

RUN mkdir /echo
COPY test_server.py /echo

CMD["python", "/echo/test_server.py]- 빌드 후 테스트
ls
dockerfile test_server.pysudo docker build -t ehco_test
sudo docker images
sudo docker run -d -p 12345:12345 --name echo_test echo_test
nc 127.0.0.1 12345
실행
gedit test_server.py
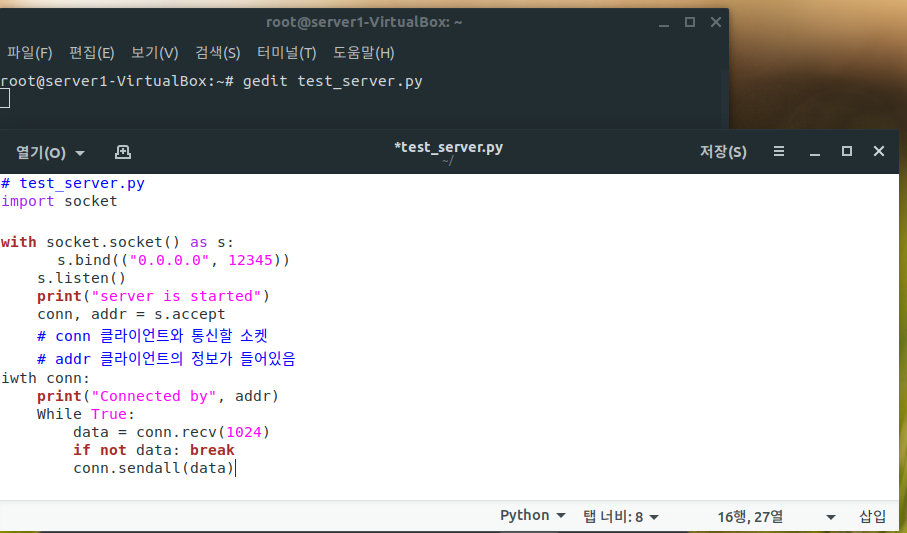
- 노트를 만들어 실행할 .py 파일 생성
python3 test_server.py
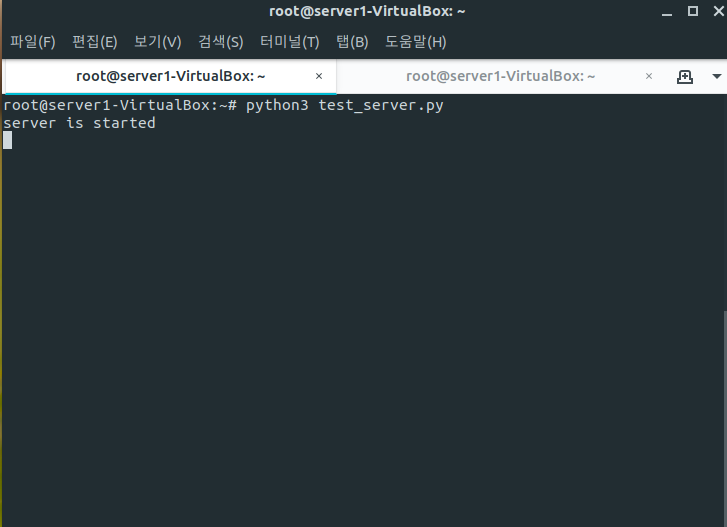
- python3로 실행한 모습
curl 127.0.0.1 12345
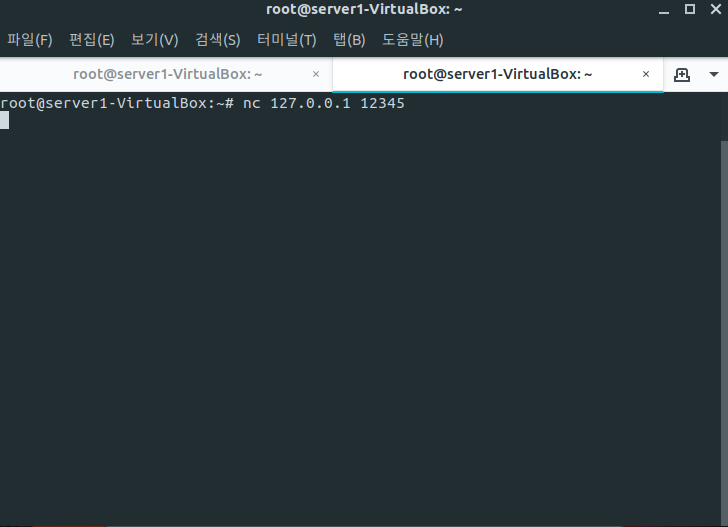
- 새탭에서 연결한 모습
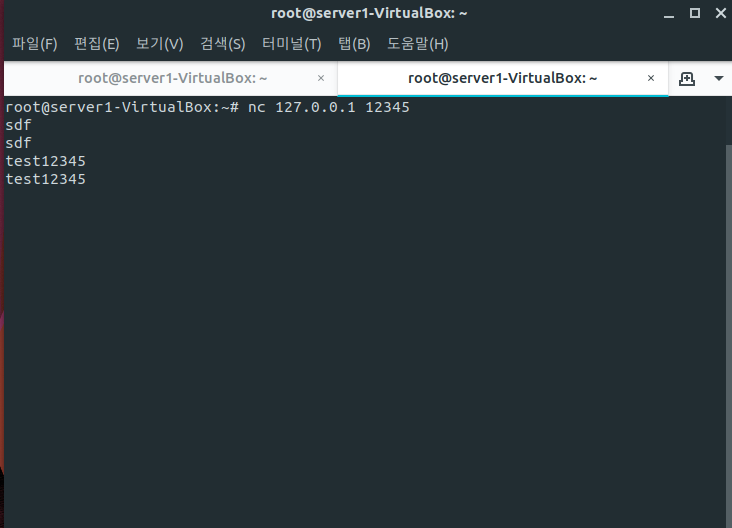
- 보낸 데이터를 그대로 응답해주는 모습
mkdir my_first_project
mv test_server.py my_first_project
cd my_first_project
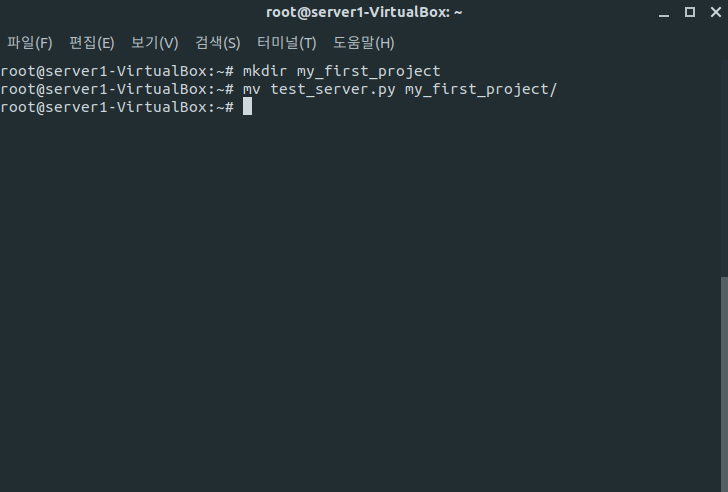
- my_first_project 디렉토리 생성 및 test_server.py 파일 이동
gedit dockerfile
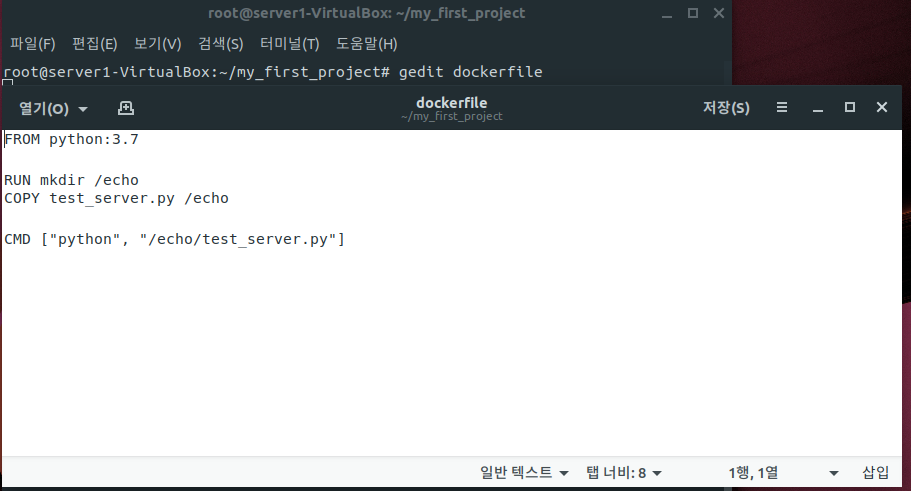
- dockerfile 생성 및 작성
docker build -t echo_test .
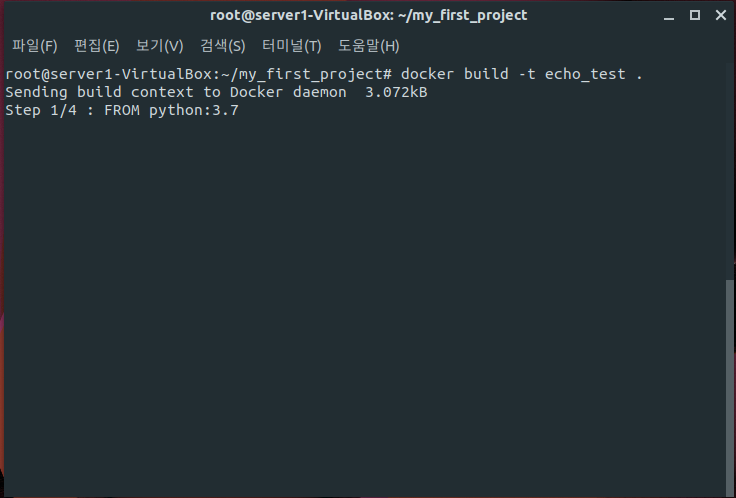
- 도커 빌드
- "." > 파일위치가 현재 디렉토리에 있어 온점(.)을 찍어준 모습
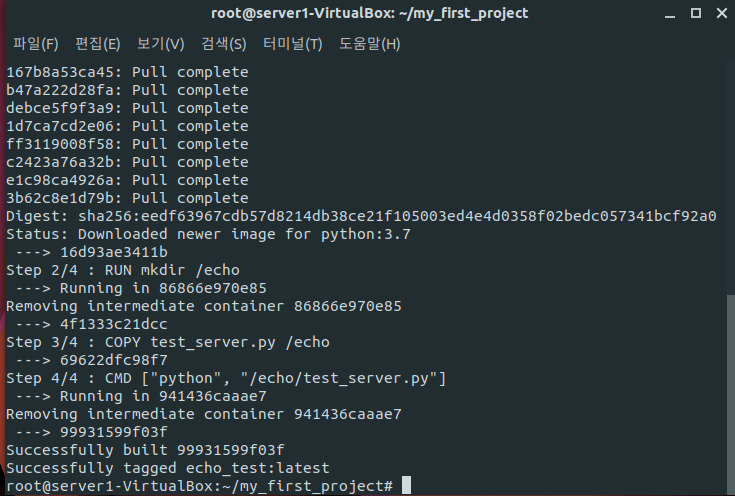
- dockerfile에 작성한 step별로 읽어낸 모습
- 현재 python pull받고, test_server.py 파일을 복사까지 완료
- CMD는 컨테이너가 생성될 때, 실행될 예정
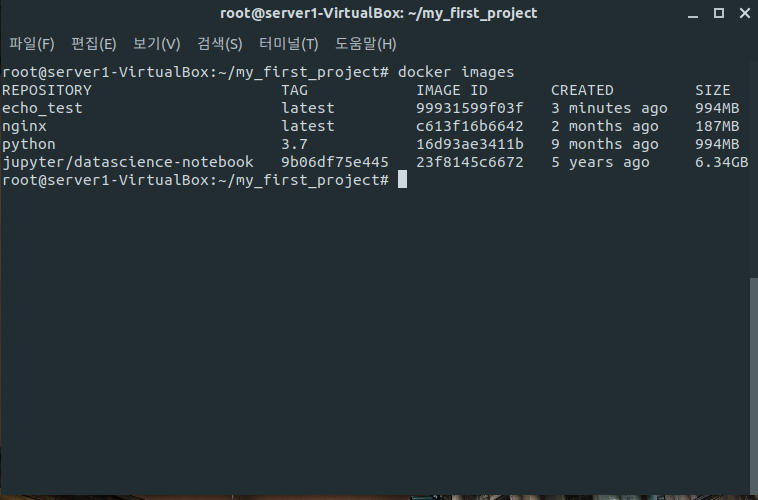
- 도커 이미지에 python, echo_test가 빌드된 모습
docker run -t -p 12345:12345 --name et --rm echo_test
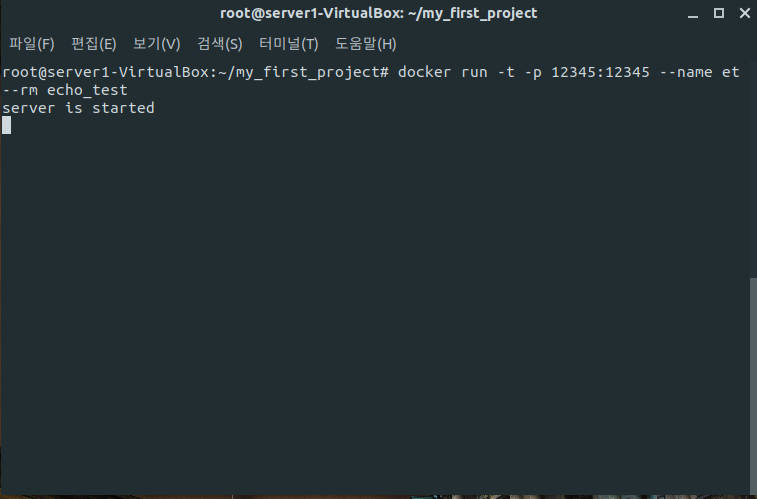
- 컨테이너 실행
- -t : 터미널 실행
- -p : 포트번호 지정
- --name : 이름지정
- --rm : 컨테이너 정지시 컨테이너 삭제
nc 127.0.0.1 12345
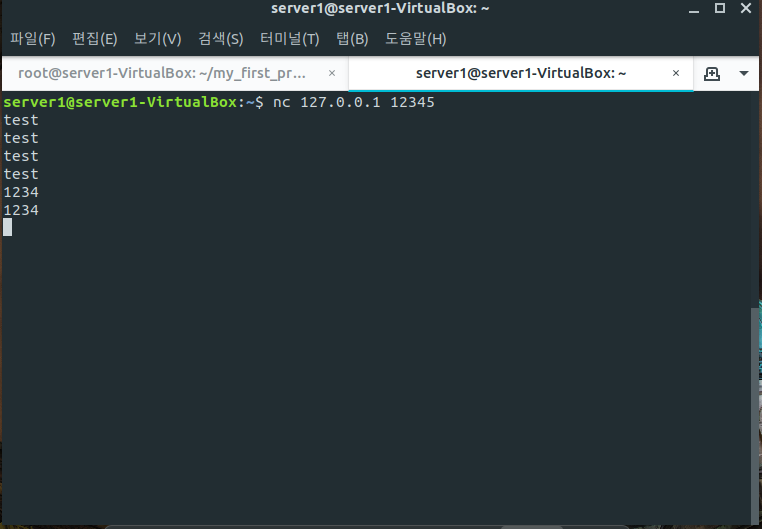
- 새탭에서 127.0.0.1 12345 접속
출처

사진은 남아 추억이 메모는 남아 스펙이 된다