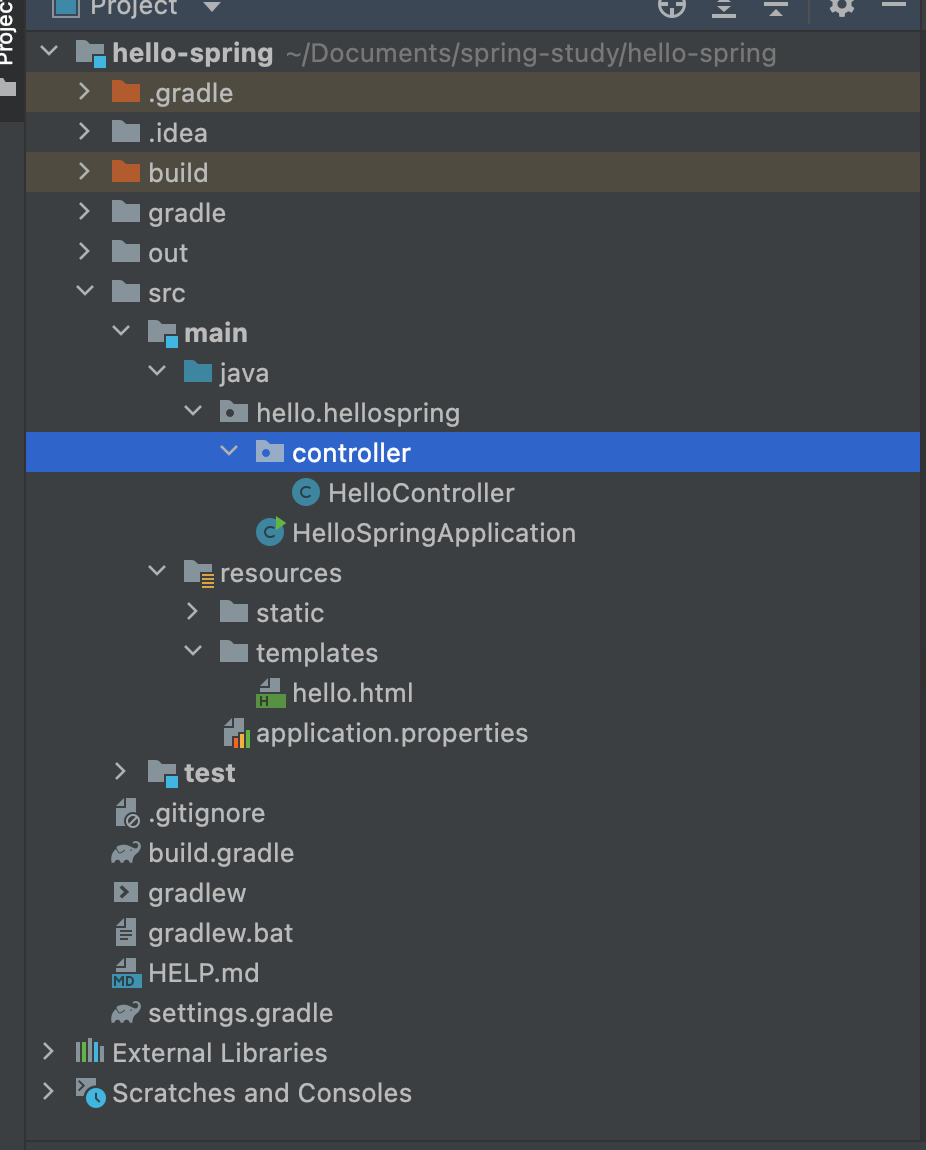
위 사진과 같이 main - java - hello - hellospring - controller라는 폴더를 생성합니다. 그리고 그 안에 HelloController라는 controller 파일을 생성합니다.
MVC 패턴을 착안했습니다.
rest api에서는 controller부분에서 restAPI 통신을 클라이언트 측으로 부터 받는 용도로 controller에서 응답 요청을 위한 시작점을 가짐으로 controller controller라는 폴더를 만들었습니다.
controller 폴더 안에서 HelloController라는 controller를 만들었고 내부 내용은
package hello.hellospring.controller;

import org.springframework.stereotype.Controller;
import org.springframework.ui.Model;
import org.springframework.web.bind.annotation.GetMapping;

@Controller
public class HelloController {
    @GetMapping("hello")
    public String Hello(Model model) {
        model.addAttribute("data", "hello");
        return "hello";
    }
}
와 같이 구성했습니다.
Node에서는 nest로 예를 들면
import { Controller, Get } from '@nestjs/common';

@Controller('cats')
export class CatsController {
  @Get()
  findAll(): string {
    return 'This action returns all cats';
  }
}
와같이 구성하는데 어노테이션(=@)을 쓴다는 의미에서 추상화하여 Controller기능을 가져와 사용한다는 것을 볼 수 있습니다.
여기서 차이점은 spring같은 경우에는 return "hello"라는 것이 문자열 hello를 리턴하는 것이 아니라,
위 사진 resources/templetes/hello.html의 hello.html파일의 hello라는 이름으로 model의 값을 넣어서 return 해준다는 말입니다.
이부분이 node의 nestjs의 return의 값의 차이라고 말 할 수 있을 것 같습니다.

코드 한줄에 의미를 생각할 수 있는 개발자가 되어 가는중... 🧑🏻💻