이 글은 webpack을 이용하여 creact-reat-app 과 동일한 화면을 구현하는 목적으로 작성된 글입니다.
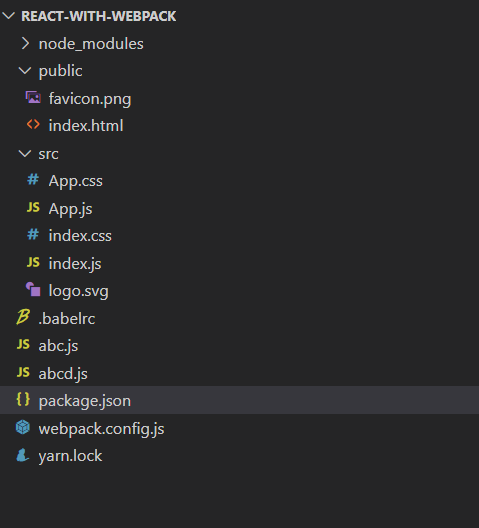
project 구조
프로젝트 폴더를 만들고 프로젝트 폴더로 cd 합니다.
$ mkdir react-with-webpack && cd "$_"yarn init 명령어로 packge.json 을 생성합니다.
$ yarn init -ydevDependency 추가
$ yarn add webpack webpack-cli webpack-dev-server css-loader style-loader babel-loader html-webpack-plugin --dev- webpack - Webpack은 모듈 번들러입니다. 주요 목적은 브라우저에서 사용할 JavaScript 파일을 번들로 묶는 것이지만 거의 모든 리소스 또는 asset을 변환, 번들링 또는 패키징할 수도 있습니다.
- webpack-cli - webpack CLI는 개발자가 맞춤형 웹팩 프로젝트를 설정할 때 속도를 높일 수 있는 명령어를 제공합니다.
- webpack-dev-server - 라이브 재로딩을 제공하는 개발 서버와 함께 webpack 을 사용할 수 있게 도와주는 라이브러리입니다. 개발용에서만 사용해야 합니다 .
- css-loader - @import, url(), import/require()을 interprets 하기 위해 사용합니다.
- style-loader - CSS를 DOM에 삽입합니다.
- babel-loader - webpack에서 babel 를 load하기 위해 사용합니다.
- html-webpack-plugin - 번들링에 필요한 간단한 html 을 만들기 위해 사욯합니다.
dependency 추가
$ yarn add @babel/core @babel/preset-env @babel/preset-react react react-dom -
@babel/core - Babel compiler core.
Babel은 최신 버전의 JavaScript로 코드를 작성하는 데 도움이 되는 도구입니다. 지원되는 환경이 특정 기능을 기본적으로 지원하지 않는 경우 Babel은 이러한 기능을 지원되는 버전으로 컴파일하는 데 도움을 줄 것입니다.
-
@babel/preset-env - 각 환경에 대한 Babel 사전 설정을 합니다.
-
@babel/preset-react - 모든 React 플러그인에 대한 Babel 사전 설정을 합니다.
-
react - React는 사용자 인터페이스를 구축하기 위한 JavaScript 라이브러리입니다.
-
react-dom - DOM 작업을 위한 React 패키지입니다.
src 폴더 및 indes.js, App.js 생성
$ mkdir src && cd $_ && touch index.js App.jssrc/index.js
import React from "react";
import ReactDOM from "react-dom";
import App from "./App";

ReactDOM.render(<App />, document.getElementById("root"));
src/App.js
import React from "react";
import logo from "./logo.svg";
import "./App.css";

function App() {
  return (
    <div className="App">
      <header className="App-header">
        <img src={logo} className="App-logo" alt="logo" />
        <p>
          Edit <code>src/App.js</code> and save to reload.
        </p>
        <a
          className="App-link"
          href="https://reactjs.org"
          target="_blank"
          rel="noopener noreferrer"
        >
          Learn React
        </a>
      </header>
    </div>
  );
}

export default App;
public 폴더 및 index.html 생성
$ mkdir public && cd $_ && touch index.htmlpublic/index.html
<!DOCTYPE html>
<html lang="en">
  <head>
    <meta charset="utf-8" />
    <meta name="viewport" content="width=device-width, initial-scale=1" />
    <meta name="theme-color" content="#000000" />
    <meta
      name="description"
      content="Web site created using create-react-app"
    />

    <title>React App</title>
  </head>
  <body>
    <noscript>You need to enable JavaScript to run this app.</noscript>
    <div id="root"></div>
    <script src="./js/index.js"></script>
    <!--
      This HTML file is a template.
      If you open it directly in the browser, you will see an empty page.

      You can add webfonts, meta tags, or analytics to this file.
      The build step will place the bundled scripts into the <body> tag.

      To begin the development, run `npm start` or `yarn start`.
      To create a production bundle, use `npm run build` or `yarn build`.
    -->
  </body>
</html>
webpack config 및 .babelrc 생성
$ touch webpack.config.js .babelrcwebpack.config.js
const path = require("path");
const HtmlWebpackPlugin = require("html-webpack-plugin");

module.exports = {
  mode: "development",
  entry: {
    index: "./src/index.js",
  },
  devtool: "inline-source-map",
  devServer: {
    compress: true,
    port: 3000,
    historyApiFallback: true,
    open: true,
  },
  plugins: [
    new HtmlWebpackPlugin({
      template: "public/index.html",
      favicon: "public/favicon.png",
    }),
  ],
  output: {
    filename: "js/[name].js",
    path: path.resolve(__dirname, "dist"),
    clean: true,
    publicPath: "/",
  },
  module: {
    rules: [
      {
        test: /\.(js|jsx)$/,
        use: ["babel-loader"],
        exclude: /node_modules/,
      },
      {
        test: /\.css$/i,
        use: ["style-loader", "css-loader"],
      },
      {
        test: /\.(png|svg|jpg|jpeg|gif)$/i,
        type: "asset/resource",
      },
    ],
  },
  resolve: {
    extensions: [".jsx", ".js"],
  },
};
.babelrc
{
  "presets": [
    [
      "@babel/preset-env",
      { "targets": { "browsers": ["last 2 versions", ">= 5% in KR"] } }
    ],
    "@babel/react"
  ]
}
그 외 파일
public/favicon.png
src/index.css
src/App.css
src/logo.svg
은 CRA 로 만든 프로젝트에서 가져와서 사용한다.
packge.json script
...

  "scripts": {
    "watch": "webpack --watch",
    "start": "webpack serve",
    "build": "webpack"
  },

...
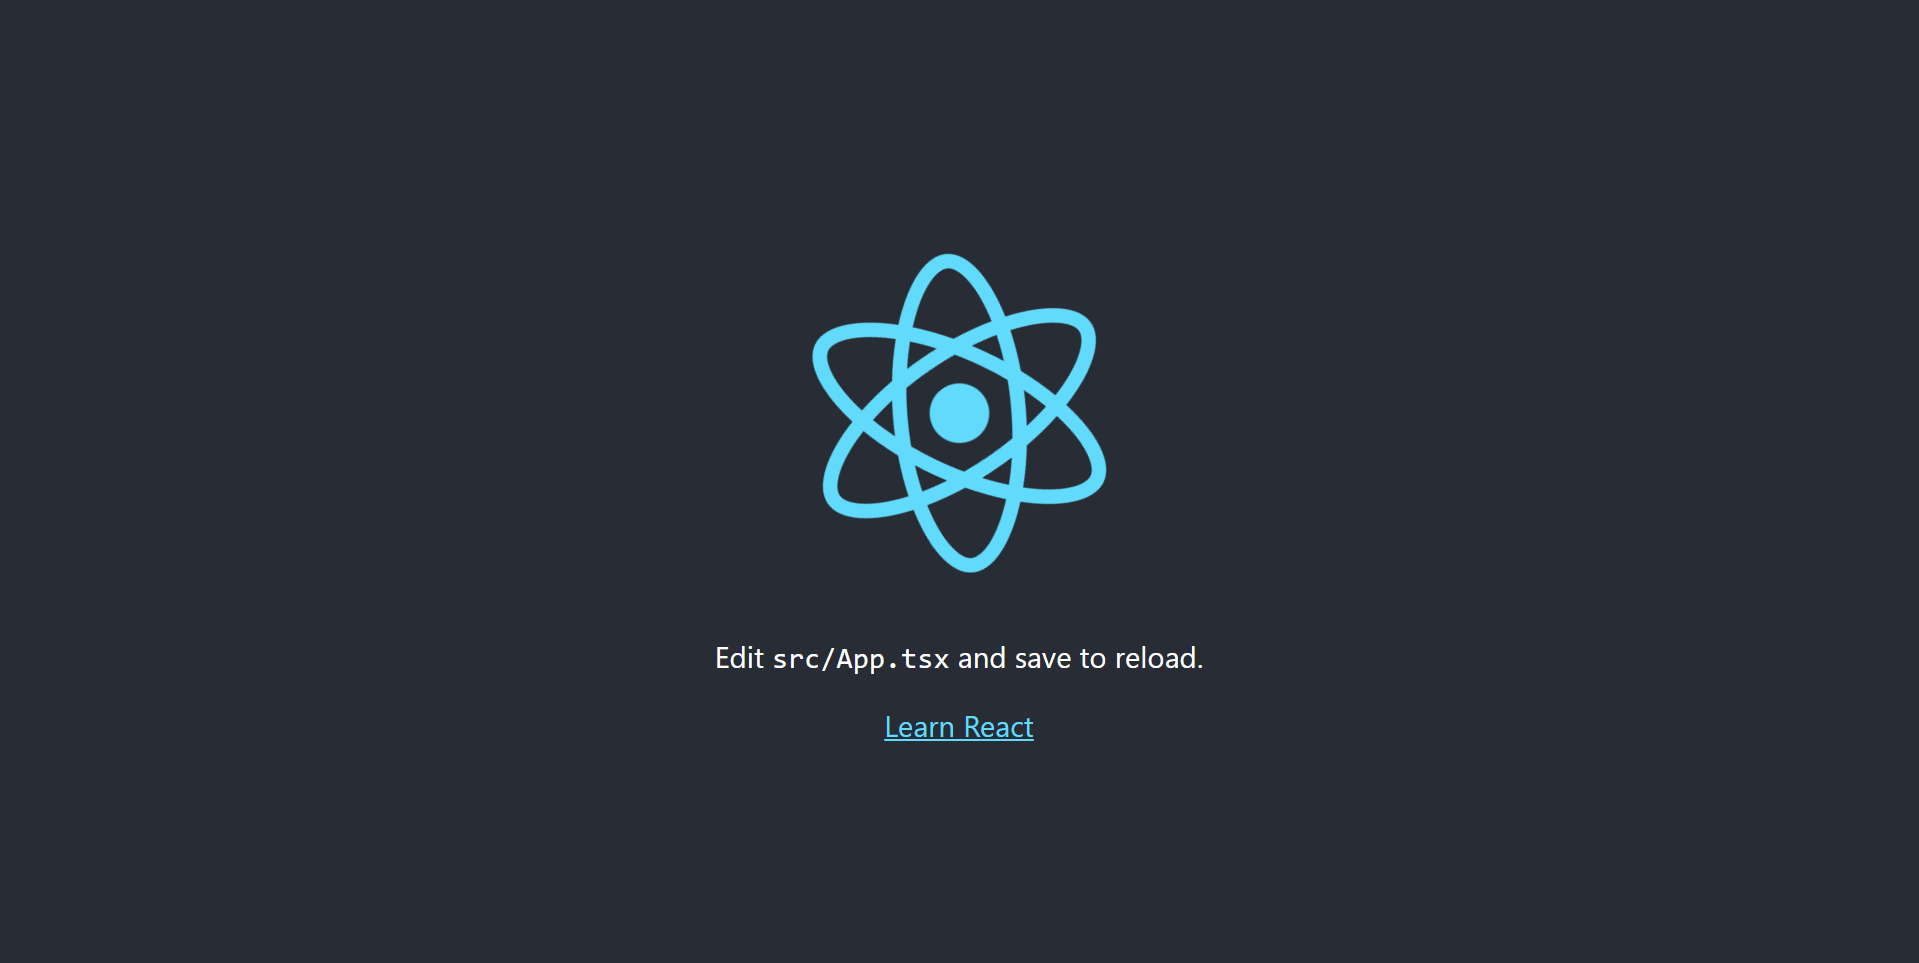
yarn start 로 실행
$ yarn startcreact-react-app 으로 만든것과 같은 화면을 볼수 있다.
github
잘못된 부분 지적환영입니다.
참고자료
https://webpack.js.org/guides/
https://dev-yakuza.posstree.com/ko/react/start/
https://yarnpkg.com/package/