
개발자는 아니지만 친한 동생이 백엔드 서버 개발자인데 뜬금 프로젝트 하나 해보자고 해서 진행을 하게 되었는데 Next.JS에 네이버 맵을 띄워야 하는 상황이 오게 되어 이리저리 삽질(?) 하다가 확인된 내용들을 정리하고자 합니다..
벨로그와 구글링을 통해 Next.js에 네이버 맵을 얹으려고 정보를 찾아보면 거의 대부분이 이전 버전의 naver map npm 모듈 을 사용한 글이거나 원인은 잘 모르겠으나 그대로 따라해도 작동을 하지 않아 이것 저것 찾아보며 결국 띄우긴 하여 기록을 합니다.
Next.js 프로젝트 생성
$ npx create-next-app next-naver-map --typescriptNaver Map API 등록
프로젝트 생성 후 네이버 클라우드 플랫폼 에 가입 후 네이버 맵 API 사용을 신청합니다.
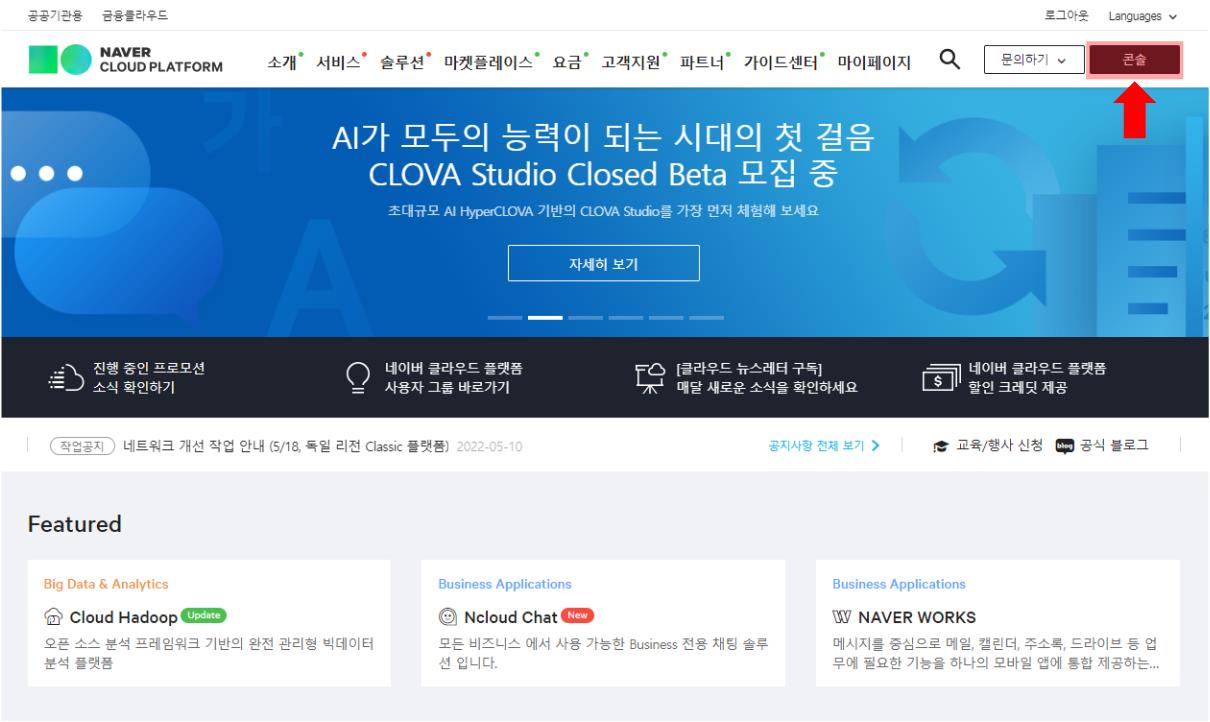
네이버 클라우드 플랫폼에 접속하여 로그인 후 우측 상단의 콘솔 메뉴를 클릭합니다
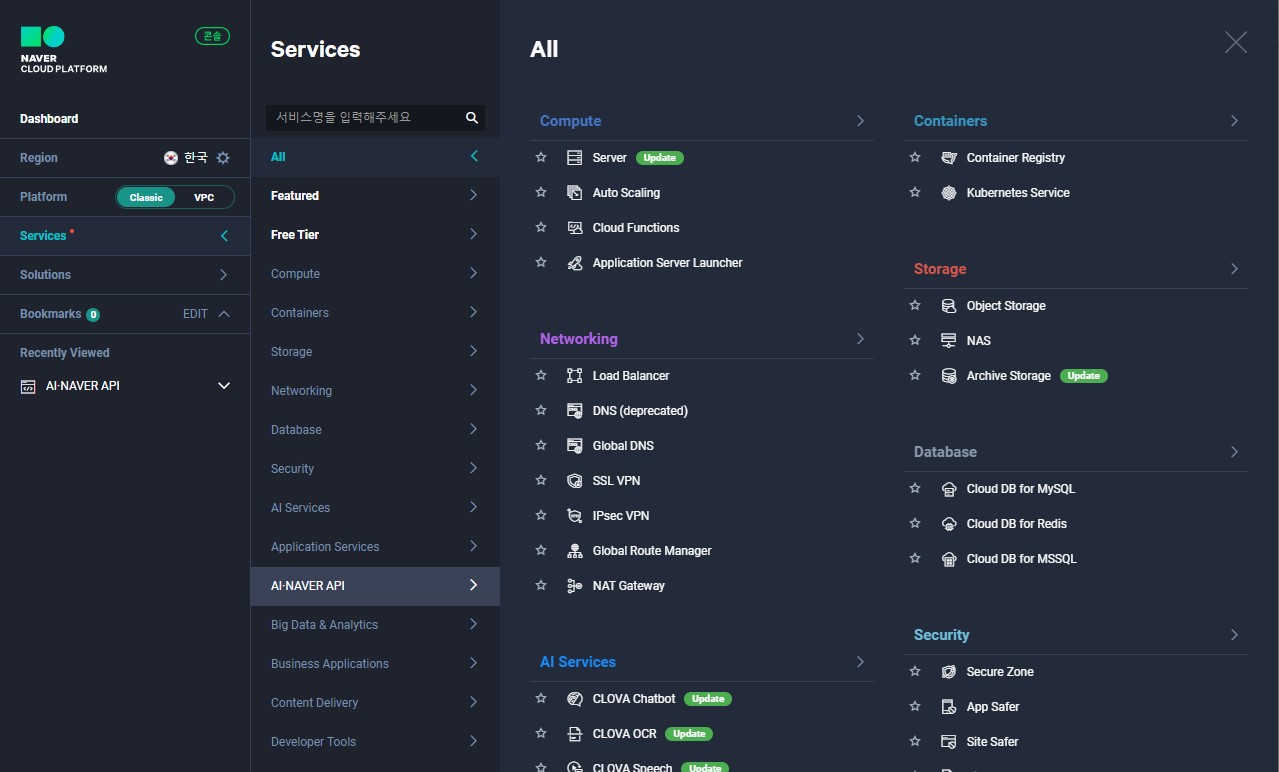
메뉴 중 Services → AI·NAVER API
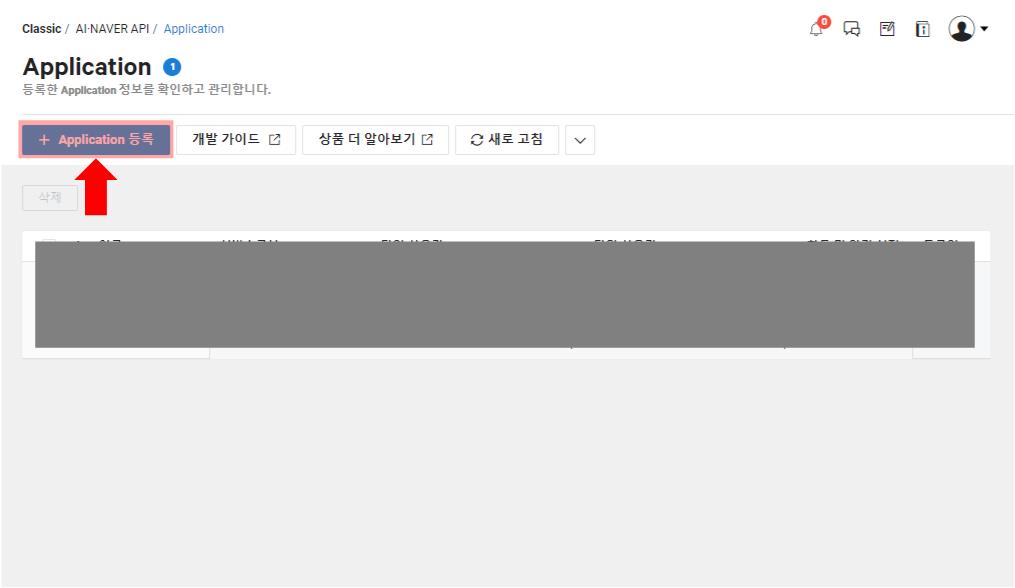
Application 등록 메뉴를 눌러 새 앱을 생성합니다
이후 아래와 같이 설정 후 +추가 를 해준 후 등록합니다
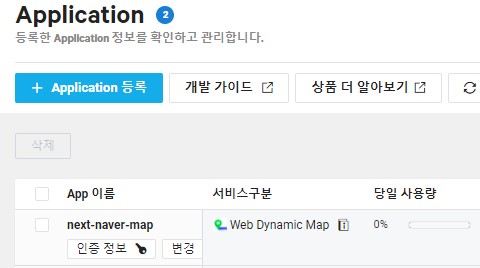
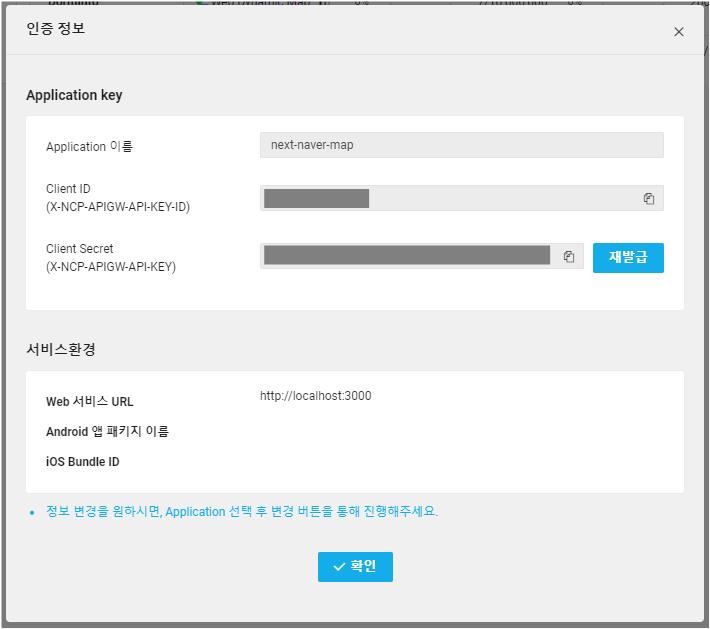
그럼 이와 같이 앱이 등록되는데 저기서 인증정보를 눌러 Client ID키 값을 복사해 둡니다
Next.js에 네이버 맵 등록
Next.js 프로젝트 루트 경로에 .env.local 파일을 생성하고 아래와 같이 저장합니다
NEXT_PUBLIC_MAP_KEY=조금 전 Client ID 키Next.js에서 .env.local 설정을 읽어올 때는 NEXT_PUBLIC_을 반드시 앞에 붙여주어야 합니다
CRA 로 프로젝트를 만들었으면 /public/index.html 내부에 네이버 스크립트를 작성하겠지만 Next.js 는 _app.tsx 내부에 next/script 모듈을 사용하여 작성해 줍니다
import type { AppProps } from 'next/app';
import Head from 'next/head';
import Script from 'next/script';

function MyApp({ Component, pageProps }: AppProps) {
	return (
    	<>
    		<Head>
    			<meta charSet="utf-8 />
    			<title>Next Naver maps</title>
    		</Head>
    		<Script
    			strategy="beforeInteractive"
    			src={`https://openapi.map.naver.com/openapi/v3/maps.js?ncpClientId=${process.env.NEXT_PUBLIC_MAP_KEY}`}
    		></Script>

			<Component {...pageProps} />
    	</>
	);
};

export default MyApp;
그리고 저는 타입스크립트를 사용하였기에 @types/navermaps 모듈을 설치합니다
styled-components로 스타일을 할 거라 아래와 같이 설치 및 파일을 작성합니다.
 $ npm i styled-components
 $ npm i -D @types/styled-components babel-plugin-styled-components @types/navermaps
_document.tsx
import type { DocumentContext, DocumentInitialProps } from 'next/document';
import Document, { Html, Head, Main, NextScript } from 'next/document';
import { Fragment } from 'react';
import { ServerStyleSheet } from 'styled-components';

class MyDocument extends Document {
  static async getInitialProps(
    ctx: DocumentContext
  ): Promise<DocumentInitialProps> {
    const sheet = new ServerStyleSheet();
    const originalRenderPage = ctx.renderPage;

    try {
      ctx.renderPage = () =>
        originalRenderPage({
          enhanceApp: (App) => (props) =>
            sheet.collectStyles(<App {...props} />),
        });

      const initialProps = await Document.getInitialProps(ctx);

      return {
        ...initialProps,
        styles: [
          <Fragment key={new Date().toString()}>
            {initialProps.styles}
            {sheet.getStyleElement()}
          </Fragment>,
        ],
      };
    } finally {
      sheet.seal();
    }
  }

  render() {
    return (
      <Html>
        <Head />
        <body>
          <Main />
          <NextScript />
        </body>
      </Html>
    );
  }
}

export default MyDocument;
.babelrc
{
  "presets": ["next/babel"],
  "plugins": [
    [
      "styled-components", {
        "ssr": true,
        "displayName": true,
        "preprocess": false
      }
    ]
  ]
}
그럼 아래 코드와 같이 네이버 맵을 불러올 수 있습니다
div 태그에 꼭 id 값을 map 으로 하고 너비와 높이를 지정해주면 됩니다
import type { NextPage } from 'next';

const IndexPage: NextPage = () => {
  return (
    <div id="map"></div>
   );
};

export default IndexPage;
위와 같이 작성하고 나면 텅~ 빈 화면이 나올 겁니다.
맵의 크기 및 위치를 지정해 주어야 하죠.
지도 위치 초기화
navigator의 Geolocation API를 이용하여 현재 위치를 확인하며 위치 정보 동의를 못 구할 시 임의 좌표를 입력합니다
그리고 myLocation 이 'string' 이 아니라면 즉, 좌표값이 들어 있다면 그 위치를 센터로 네이버 맵을 생성합니다.
useMap.ts
import { useEffect, useRef, useState } from 'react';

function useMap() {
  const mapRef = useRef<HTMLElement | null | any>(null);
  const [myLocation, setMyLocation] = useState<
    { latitude: number; longitude: number } | string
  >('');

  useEffect(() => {
    // geolocation 이용 현재 위치 확인, 위치 미동의 시 기본 위치로 지정
    if (navigator.geolocation) {
      navigator.geolocation.getCurrentPosition((position) => {
        setMyLocation({
          latitude: position.coords.latitude,
          longitude: position.coords.longitude,
        });
      });
    } else {
      window.alert('현재 위치를 알 수 없어 기본 위치로 지정합니다.');
      setMyLocation({ latitude: 37.4862618, longitude: 127.1222903 });
    }
  }, []);

  useEffect(() => {
    if (typeof myLocation !== 'string') {
      // 현재 위치 추적
      let currentPosition = [myLocation.latitude, myLocation.longitude];

      // Naver Map 생성
      mapRef.current = new naver.maps.Map('map', {
        center: new naver.maps.LatLng(currentPosition[0], currentPosition[1]),
        zoomControl: true,
      });
    }
  }, [myLocation]);

  return {
    myLocation,
  };
}

export default useMap;
index.tsx
import type { NextPage } from 'next';
import styled from 'styled-components';
import useMap from '../hooks/useMap';

const IndexPage: NextPage = () => {
  useMap();

  return <MapBox id="map"></MapBox>;
};

// Styles
const MapBox = styled.div`
  width: 800px;
  height: 800px;
`;

export default IndexPage;
이렇게 작성하면 쨔란
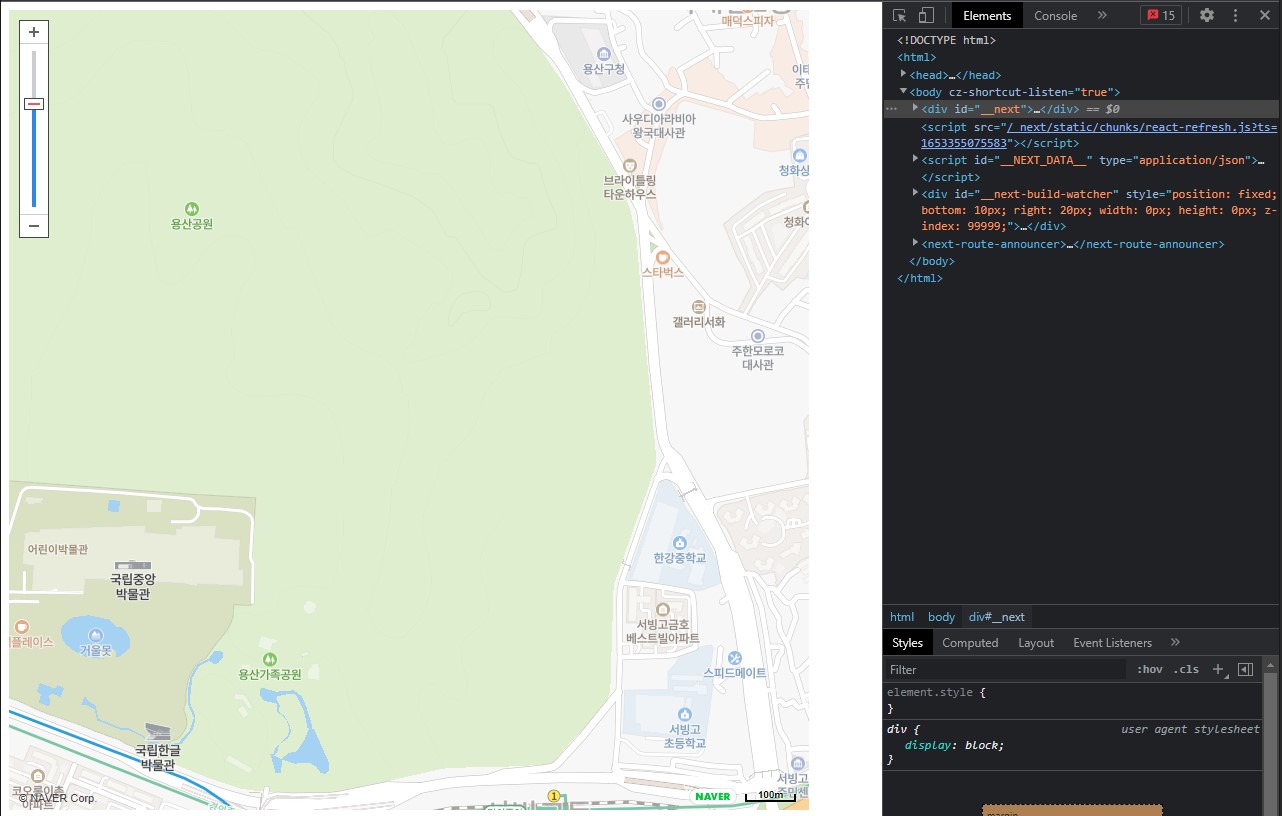
이렇게 지도가 나옵니다~
나중에 시간이 가용하면 마커 작성 및 위치 추적 등 부가 기능도 기록해야겠네요

6개의 댓글

참고 잘 했습니다!
strategy="beforeInteractive
큰 따옴표 빠져있네요 :)
- @types/navermaps 모듈 설치
npm install --save @types/navermaps
(ref : https://dj-min43.medium.com/next-js%EC%97%90-%EB%84%A4%EC%9D%B4%EB%B2%84%EB%A7%B5-api-%EC%98%AC%EB%A6%AC%EA%B8%B0-8ee385cbf160)

잘봤습니다 감사합니다!