진행할 과제 간단 소개
이번 유닛에서 웹팩을 학습하면서 진행한 웹팩을 이용한 번들링 과제를 기록해보려고 한다.
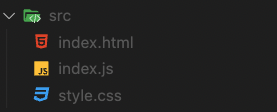
바닐라 js로 작성한 프로젝트 하나를 src 디렉토리에 복사해와서 js → html → css 순서로 번들링 진행했다. (이렇게 작은 프로젝트에 번들링이 필요한 과정일지 모르겠으나, 웹팩에 친숙해지는데는 큰 도움이 되었다.)
1. 현재 디렉토리에 npm 설치
npm init -y
- package.json 파일 생성됨
2. webpack 설치
npm install -D webpack webpack-cli
-D:--save-devpackage.json 파일의 devDependencies 항목에 저장(개발 단계에서만 이용)
3. Webpack 설정 파일 작성
- 웹팩은 우선 번들링하는 원하는 파일을 확인하고(entry), 여기에 import한 라이브러리나 코드가 있으면 해당 코드를 모드 인식해서 하나의 번들(output) 안으로 압축한다.
webpack.config.js파일에 entry와 output 정보를 작성한다.
const path = require('path');

module.exports = {
  entry: './src/index.js',
  output: {
    filename: 'app.bundle.js',
    path: path.resolve(__dirname, 'dist'),
  },
};
4. js 파일 번들링 하기
npx webpack
- src 폴더에 있는 js 파일을 번들링한다.
- package.json 파일에 스크립트를 추가해서 번들링을 명령어를 사용할 수 있다. 이제
npm run build로 번들링을 실행할 수 있다.
"scripts": {
    "build": "webpack",
    "test": "echo \"Error: no test specified\" && exit 1"
},- 번들링 결과 output으로 지정해준 dist 폴더가 생겼고,
dist/app.bundle.js파일에 웹팩이 uglify, minify를 통해 읽기 어려운 한 줄의 코드로 바꿔놓은 것을 확인할 수 있다.


5. HTML파일 번들링하기 (plugin)
5-1. html-webpack-plugin 설치
npm i -D html-webpack-plugin
5-2. webpack.config.js 파일에 해당 플러그인을 등록
const path = require('path');
const HtmlWebpackPlugin = require('html-webpack-plugin');

module.exports = {
  entry: './src/index.js',
  output: {
    filename: 'app.bundle.js',
    path: path.resolve(__dirname, 'dist'),
  },
  plugins: [
    new HtmlWebpackPlugin({
      template: path.resolve(__dirname, 'src', 'index.html'),
    }),
  ],
};template옵션을 추가해서 기존에 만들어둔 파일을 이용해서 html 번들링 파일을 생성한다.
5-3. npm run build 로 번들링 한다.
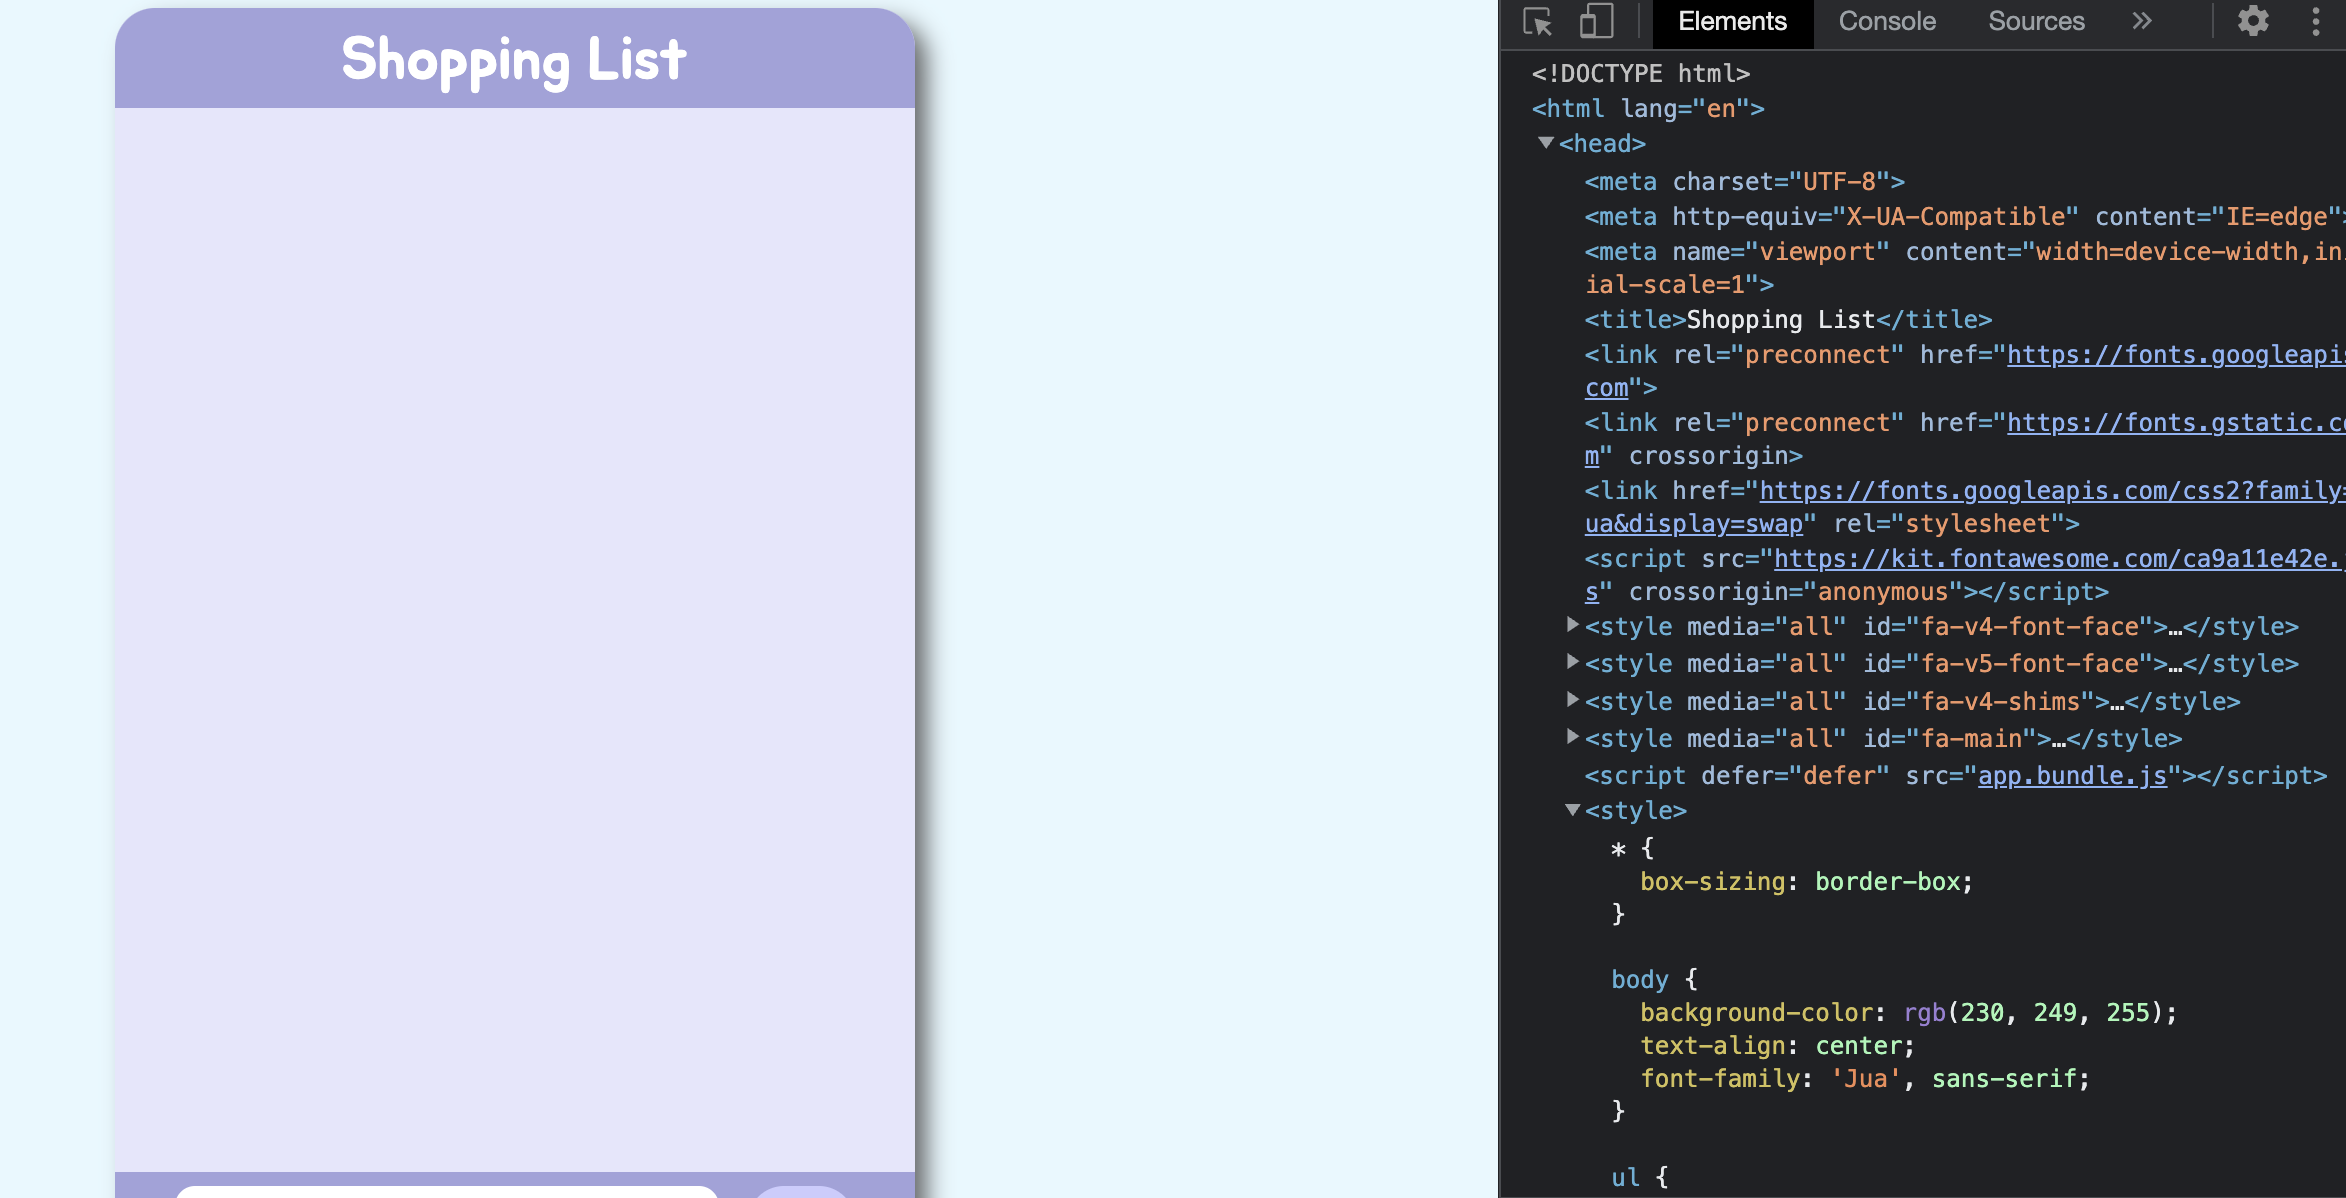
5-4. dist 폴더에 index.html 파일이 생성된다.
<script defer="defer" src="app.bundle.js"></script>- 그리고 파일을 열어보면 위 코드가 추가 되어 있는 것을 볼 수 있다.
index.html브라우저에서 실행시켜보면 스타일은 적용되지 않았지만 잘 동작하는 것을 확인할 수 있다.


6. CSS 번들링 (loader)
6-1. style-loader 와 css-loader 설치
npm i -D style-loader css-loader
6-2. index.js 파일에서 CSS 파일 임포트
import './style.css";- index.js파일을 기준으로 css파일을 함께 묶어주는 개념이기때문에 css파일과의 연결 관계도 js파일에 명시되어야 한다(는 것으로 이해했다..)
6-3. webpack.config.js 웹팩 설정 로더 등록
const path = require('path');
const HtmlWebpackPlugin = require('html-webpack-plugin');

module.exports = {
  entry: './src/index.js',
  output: {
    filename: 'app.bundle.js',
    path: path.resolve(__dirname, 'dist'),
  },
  module : {
    rules: {
        test: /\.css$/,
        use: ["style-loader", "css-loader"],
        exclude: /node_modules/,
    }
  },
  plugins: [
    new HtmlWebpackPlugin({
      template: path.resolve(__dirname, 'src', 'index.html'),
    }),
  ],
};- module.rules 속성에 등록한다.
test항목에 정의된 정규식에 매칭되는 파일(확장자가 .css인 파일)은use항목에 등록된 로더를 통해서 처리된다.- 로더는
css-loader가 먼저 적용되고,styled-loader가 적용된다.(순서에 주의) - exclude 규칙은 필수는 아니다.
6-4. npm run build 로 번들링 한다.
6-5. dist/index.html 파일을 브라우저에서 열어보면 스타일이 적용된 것을 확인 할 수 있다.
<header>태그 내부에 있는style태그에 해당 css 스타일이 적용됨 (internal 방식)
여기까지 진행하면 내 프로젝트 파일이 모두 dist 폴더 아래에 번들링된다. 아래에는 advanced 과제를 진행하면서 알게된 내용을 정리해보려고 한다.
Advanced Challenge
github page 배포
webpack.config.js에서 output을dist에서docs로 바꿔준다.- 이미 번들링된 dist파일이름을 docs로 바꿨다.(깃헙 페이지 배포가 목표라면 애초에 output을 docs로 설정하고 저장할 것! )
- 빌드를 다 마치고
git push - 현재 작업 중인 깃헙 리포지토리의 setting- pages에서 source 옵션을 현재 브랜치, root를 /docs 폴더로 설정하고 저장한다.
webpack-dev-server
코드 변경시마다 빌드를 다시 하고 이 결과물을 브라우저에 띄워서 확인하는 과정을 편리하게 진행할 수 있다.
실제 번들링된 결과물을 파일로 생성하는 것이 아니라, 메모리에 올려놓은채로 보여주기 때문에 빠른 속도로 변경된 코드를 개발 서버에 반영해서 보여줄 수 있다.
(create-react-app으로 개발할때 npm start로 실행해놓으면 변경 내용을 저장하면 라이브 서버로 바로바로 결과를 확인해볼 수 있는 것처럼!)
npm i -D webpack-dev-server
webpack.config.js 웹팩 설정
devServer: {
  static: {
    directory: path.resolve(__dirname, 'dist'),
  },
    port: 3001, //포트 번호는 임의로 지정한다.
},
package.json scripts에 webpack serve를 추가
"scripts": {
    "build": "webpack --mode=production",
    "start": "webpack serve --open --mode=development",
    "test": "echo \"Error: no test specified\" && exit 1"
},- 개발 모드에서 사용하기 때문에 mode옵션을 위와 같이 작성
npm start로 실행해놓으면, 변경되는 코드를 바로바로 반영해서(빌드된 것처럼) 보여준다.
clean-webpack-plugin
기존 빌드를 통해 생성되었지만 사용하지 않는 번들 파일을 지우고싶은 경우 사용하는 플러그인
npm i -D clean-webpack-plugin
webpack.config.js 웹팩 설정
const {CleanWebpackPlugin} = require("clean-webpack-plugin");

module.exports = {
  // 생략
  plugins: [new CleanWebpackPlugin()],
};
배포 페이지 및 전체 설정 코드
package.json
{
  "name": "bundling-webpack-prac",
  "homepage": "https://seul-dev.github.io/bundling-webpack-prac",
  "version": "1.0.0",
  "description": "",
  "main": "index.js",
  "scripts": {
    "build": "webpack --mode=production",
    "predeploy": "npm run build",
    "deploy": "gh-pages -d dist",
    "start": "webpack serve --open --mode=development",
    "test": "echo \"Error: no test specified\" && exit 1"
  },
  "keywords": [],
  "author": "",
  "license": "ISC",
  "devDependencies": {
    "clean-webpack-plugin": "^4.0.0",
    "css-loader": "^6.7.1",
    "gh-pages": "^4.0.0",
    "html-webpack-plugin": "^5.5.0",
    "style-loader": "^3.3.1",
    "webpack": "^5.74.0",
    "webpack-cli": "^4.10.0",
    "webpack-dev-server": "^4.9.3"
  }
}
webpack.config.js
onst path = require('path');
const HtmlWebpackPlugin = require('html-webpack-plugin');
const { CleanWebpackPlugin } = require('clean-webpack-plugin');

module.exports = {
  entry: './src/index.js',
  output: {
    filename: 'app.bundle.js',
    path: path.resolve(__dirname, 'docs'),
  },
  module: {
    rules: [
      {
        test: /\.css$/,
        use: ['style-loader', 'css-loader'],
        exclude: /node_modules/,
      },
    ],
  },
  plugins: [
    new HtmlWebpackPlugin({
      template: path.resolve(__dirname, 'src', 'index.html'),
    }),
    new CleanWebpackPlugin(),
  ],
  devServer: {
    static: {
      directory: path.resolve(__dirname, 'docs'),
    },
    port: 3001,
  },
};
참고