
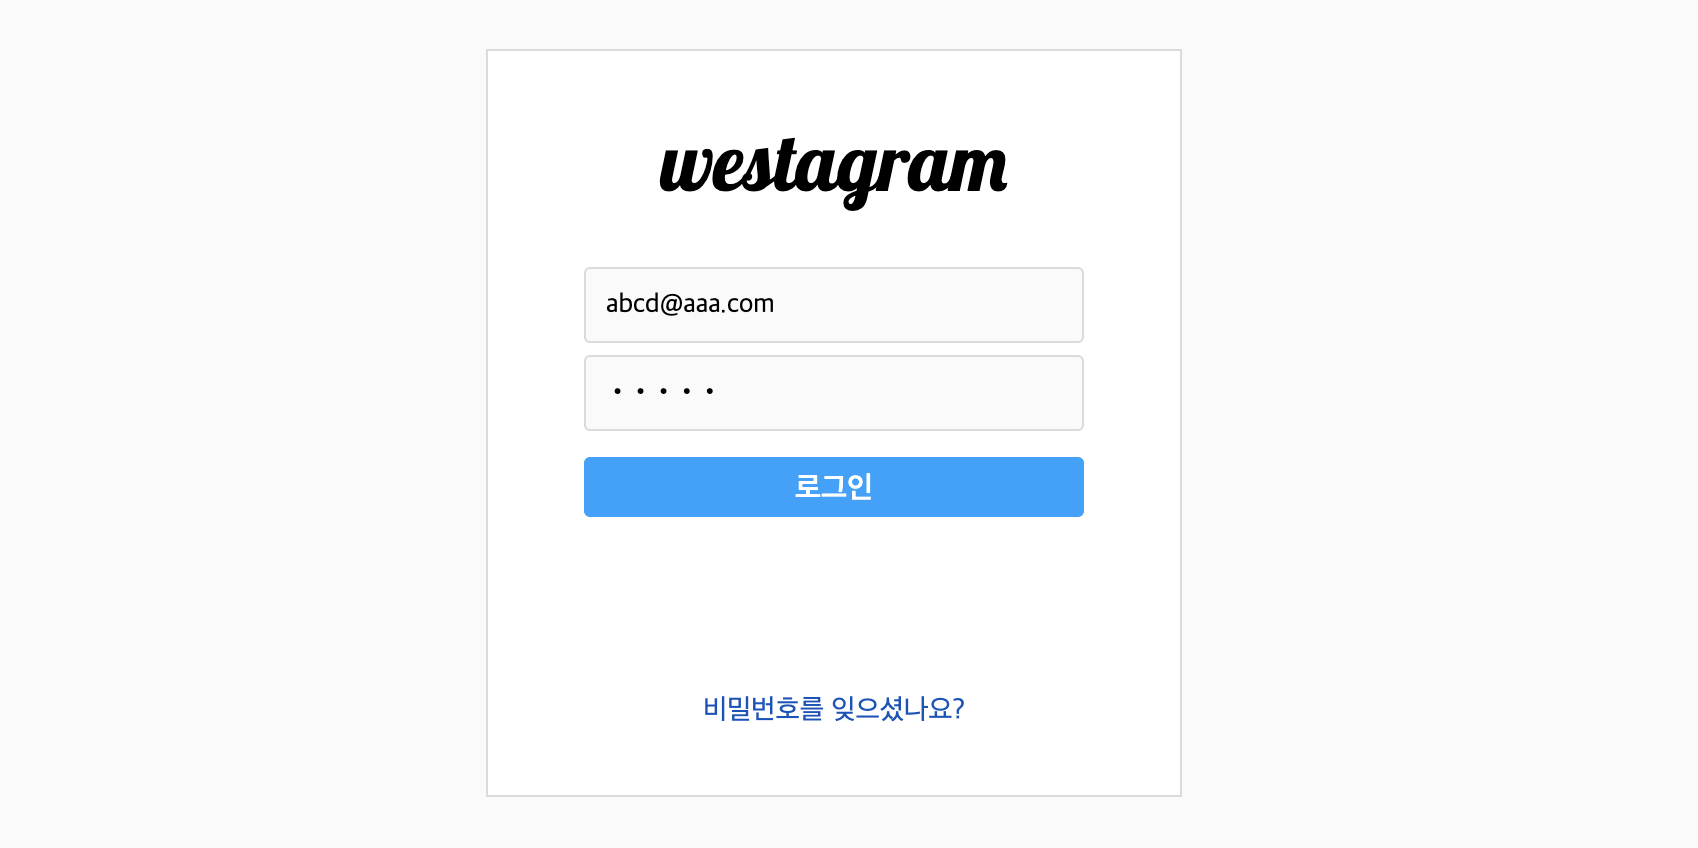
✍️ wetagram을 만들면서 이전에 바닐라js로 기능 구현한 것들을 react로 적용해보자!
1. 사용자 입력데이터 저장하기
let [idValue, setIdValue] = useState('');
let [pwValue, setPwValue] = useState('');

  const handleIdInput = e => {
    setIdValue(e.target.value);
  };

  const handlePwInput = e => {
    setPwValue(e.target.value);
  };

<form className="loginForm" action="./main.html">
  <input
    type="text"
    className="loginInputId"
    placeholder="전화번호, 사용자 이름 또는 이메일"
    onChange={handleIdInput}
  />
  <input
    type="password"
    className="loginInputPw"
    placeholder="비밀번호"
    onChange={handlePwInput}
  />
  <button
    className="loginBtn"
    onClick={goToMain}
    disabled={
      idValue.includes('@') && pwValue.length >= 5 ? false : true
    }
  >
    로그인
  </button>
</form>- id
input과 pwinput에서onChangeevent가 발생한다. - 이벤트가 발생하면 각각
handleIdInput함수와handlePwInput함수가 실행되면서 이벤트를 인자로 받는다. - 이벤트가 일어난 요소에 담긴 value값을 state에 저장한다.
✍️ 구조분해 할당을 통해 아래처럼도 작성할 수도 있겠다. 😀
 const handleIdInput = e => {
    setIdValue(e.target.value);
  };

  const handlePwInput = e => {
    setPwValue(e.target.value);
  };


// ▼ 구조분해할당
  const handleIdInput = ({ target: { value } }) => {
    setIdValue(value);
  };

  const handlePwInput = ({ target: { value } }) => {
    setPwValue(value);
  };
2. 로그인 버튼 활성화 (validation) 하기
<button
  className="loginBtn"
  onClick={goToMain}
  disabled={
    idValue.includes('@') && pwValue.length >= 5 ? false : true
}- 삼항연산자를 사용해서 button 의 disabled 속성에 false 혹은 true 값을 리턴하도록 작성했다.
- id값에
@가 포함되어있고 pw값의 길이가 5이상이면 false를 줌으로써 버튼을 활성화시킬 수 있다. 😀
3. 댓글기능 구현하기 / Key & useRef
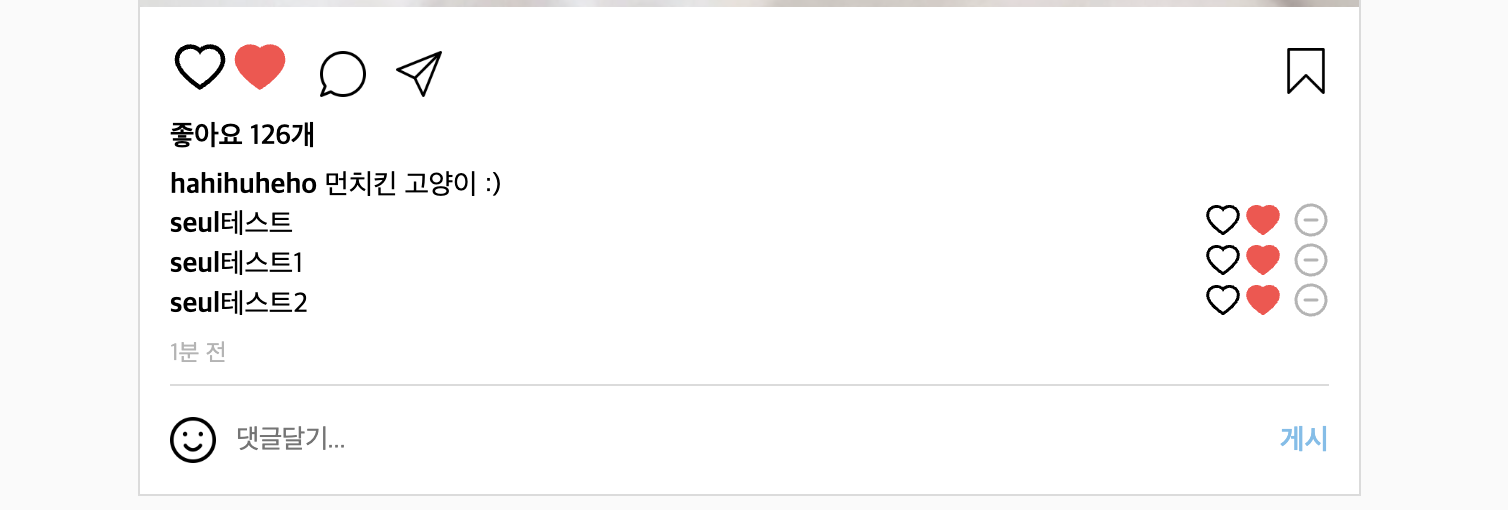
- 사용자가 댓글 입력 후 enter or 버튼 클릭시 댓글 추가하기
- 댓글기능은 배열 데이터 타입을 활용 (Array.map)
- reference)
react로 댓글기능 구현
React로 양식(form) UI 구현하기
✍️ 시도 1)
const MainSb = () => {
  const [comment, setComment] = useState('기본');
  const [commnetArr, setCommentArr] = useState([
    { id: '1', userName: 'seul', comment: comment },
  ]);
  const handleChange = e => {  // 1-1)
    e.preventDefault();
    const commentValue = e.target.comment.value; // 3-1)
    setComment(commentValue);

    const copyArr = [...commnetArr];
    if (commentValue !== '')
      copyArr.push({ userName: 'seul', comment: comment });
    setCommentArr(copyArr);
    e.target.comment.value = '';
  };

  ...

<form // 1)
  className="commentForm"
  onSubmit={handleSubmit}
  onKeyUp={handleComment}
>
  <img alt="smile icon" src="/images/seulbiKim/smile.png" />
  <input
    type="textarea"
    name="comment" // 3)
    placeholder="댓글달기..."
    className="commentInput"
  />
  <button className="commentBtn">게시</button>
</form>

  ...

// comment UI
<ul> // 2)
  {commnetArr.map(commentData => (
    <li key={commentData.id}>
      <div className="commentsCommented">
        <p>
          <span>{commentData.userName}</span>{' '}
          {commentData.comment}
        </p>
      </div>
      <AiOutlineHeart className="articleDataIconsHeart" />
      <AiFillHeart className="articleDataIconsHeart fill" />
      <CgRemove className="articleDataIconsRemove" />
    </li>
  ))}
</ul>- 1) 먼저 form에 onSubmit으로 값을 가져오고 코멘트 배열에 추가한다.
- 2) UI를 그려주고 map을 통해서 댓글이 추가된 렌더링이 발생하도록 한다.
- 이 방법에서 만약 입력값과 댓글 UI 부분의 동기화에 문제가 있다면 onKeyUp을 따로 사용해서 value값을 가져와서 확인해보아야 겠다고 생각했다.
- 3) ❗️ form에서 onSubmit이벤트로 인풋값에 접근하는 것과 onKeyUp으로 인풋값에 접근하는 방식이 달랐다!
form은 input에 name 속성을 추가해서 event에서 받아온 그 값으로 접근해야 했다.
✍️ 결과적으로는 동기적으로 댓글이 달리지 않았다. value값을 따로 가져와 보자.
✍️ 시도 2)
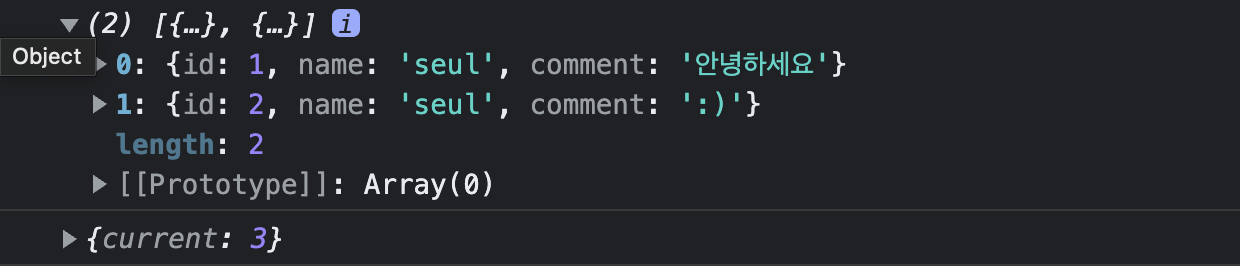
📌 value값을 따로 받아오기
📌 고유한 Key 값 설정하기 & useRef() 사용하기
 const [comment, setComment] = useState('');
 const [commentArr, setCommentArr] = useState([]);
 const nextId = useRef(1);

  // 댓글 배열 저장
  const handleSubmit = e => {
    e.preventDefault();

    const copyArr = [...commentArr];
    if (e.target.comment.value !== '')
      copyArr.push({ id: nextId.current, name: 'seul', comment: comment });
    setCommentArr(copyArr);
    e.target.comment.value = '';
    nextId.current += 1;
  };

  // 코멘트 저장
  const handleComment = e => {
    e.preventDefault();
    setComment(e.target.value);
  };


// form
<form
  className="commentForm"
  onSubmit={handleSubmit}
  onKeyUp={handleComment}
>
  <img alt="smile icon" src="/images/seulbiKim/smile.png" />
  <input
    type="textarea"
    name="comment"
    placeholder="댓글달기..."
    className="commentInput"
  />
  <button className="commentBtn">게시</button>
</form>- 코멘트값을 저장(업데이트)하는 함수와 댓글 배열을 저장(업데이트)하는 함수 두개를 따로 만들었다.
- onKeyUp 이벤트를 받아서 value 값을 setComment로 저장 및 업데이트를 해준다.
- onSubmit 이벤트에서는 댓글의 배열commnetArr에 값을 push한다.
- 처음 업로드 되었을 때 댓글배열은 빈 상태이므로 commentArr 의 초기값은 빈 배열로 바꾸어 주었다.

<ul>
  {commentArr.map(commentData => (
    <li key={commentData.id}>
      <div className="commentsCommented">
        <p>
          <span>{commentData.name}</span>{' '}
          {commentData.comment}
        </p>
      </div>
      <AiOutlineHeart className="articleDataIconsHeart" />
      <AiFillHeart className="articleDataIconsHeart fill" />
      <CgRemove className="articleDataIconsRemove" />
    </li>
  ))}
</ul>
✍️ 댓글 컴포넌트화 하기
Array.map()메소드를 적용해서 필요한 댓글 컴포넌트를 생성한다. 이 때 key값을 지정해 준다.useRef훅을 이용해서 key값에 고유한 id를 지정해 주었다.
❓ 왜 이렇게 따로 key를 설정해 주어야 할까? 🤔
▶ key props를 지정해주지 않으면 불필요한 렌더링이 발생될 수 있다.
📌 활용예시
// index.js
const root = ReactDOM.createRoot(document.getElementById('root'));
root.render(
  <React.StrictMode>
    <KeyTest />
  </React.StrictMode>
);


// KeyTest.js
import React from 'react';

//NameList 컴포넌트(하위)
const NameList = ({ names }) => {
  return <li>{`${names.name} hello !`}</li>;
};

// KeyTest 컴포넌트(상위)
const KeyTest = () => {
  const names = [
    { id: 1, name: 'seul' },
    { id: 2, name: 'kim' },
    { id: 3, name: 'lee' },
  ];
  const list = names.map((names) => <NameList names={names} key={names.id} />);

  return <ul>{list}</ul>;
};

export default KeyTest;

📌 Check!
- map() 함수 내부에 있는 엘리먼트에 key를 넣어주는 게 좋다.
- key는 형제 사이에서만 고유한 값이어야 한다. 전체 범위에서 고유할 필요는 없다. 즉, 두 개의 다른 배열을 만들 때 동일한 key 사용이 가능하다. 😀
+) 📌 댓글 삭제시 발생된 에러에 대해
처음코드(수정전)
// Comment.js
const Comment = ({ commentData, commentRemove }) => {
  const [commentLiked, setCommentLiked] = useState(false);
  const clickedLike = () => {
    setCommentLiked(isLiked => !isLiked);
  };
  return (
    <li>
      <div className="commentsCommented">
        <p>
          <span>{commentData.name}</span>
          {commentData.comment}
        </p>
      </div>
      {commentLiked === false ? (
        <AiOutlineHeart
          className="articleDataIconsHeart"
          onClick={clickedLike}
        />
      ) : (
        <AiFillHeart
          className="articleDataIconsHeart fill"
          onClick={clickedLike}
        />
      )}

      <CgRemove
        className="articleDataIconsRemove"
        id={commentData.id}
        onClick={commentRemove}
      />
    </li>
  );
};


// FeedArticle.js
  const commentRemove = e => {
    const removeId = parseInt(e.target.id);
    const filtered = commentList.filter(comment => comment.id !== removeId);
    setCommentList(filtered);
  };
✍️ 발생된 문제점
- delete 버튼에 onClick 이벤트로 deleteComment 함수를 호출시킨다. 이때, 버튼을 눌렀을 때 삭제가 될 때가 있었고 되지 않을 때가 있었다. 왜 그럴까? 🤔
❓ 이유는 svg를 클릭할 때와 svg내 path를 클릭 했을 때가 달랐기 때문이다.
svg를 클릭하면 e.target.id 가 맞게 출력되지만, path를 클릭하면 e.target.id 가 NaN이 발생된다.
❗️이때 피해야할 점은 컴포넌트에 id를 주는 것은 좋지 않다. 컴포넌트 재사용성을 떨어트리기 때문이다.
1차 수정
// FeedArticle.js
  const commentRemove = e => {
    console.log('target', e.target);
    console.log('current', e.currentTarget);
    const removeId = parseInt(e.currentTarget.id);
    const filtered = commentList.filter(comment => comment.id !== removeId);
    setCommentList(filtered);
    console.log(removeId);
    console.log(commentList);
};- 현재 코드에서 수정을 최소한으로 한다면 위와같이 작성할 수 있다.
currentTarget은 내가 그 버튼을 눌렀을 때, svg나 path 따라서 target이 설정되는 것이 아니고, 그 evnet가 달린 컴포넌트가 선택되기 때문에e.target.id가 아니고e.currentTarget.id으로 설정하면 된다. - Event.currentTarget
2차 수정
// FeedArticle.js
  const commentRemove = id => {
    const removeId = parseInt(id);
    const filtered = commentList.filter(comment => comment.id !== removeId);
    setCommentList(filtered);
  };

// Comment.js
<CgRemove
  className="articleDataIconsRemove"
  // id={commentData.id}
  onClick={deleteComment}
/>- 컴포넌트에
id={commentData.id}를 지정해서 사용하지 않고 받아온commentData의id를 바로 넘겨주면서 deleteComment 함수를 호출한다. - 또, 아래처럼 위에서 함수를 호출하지 않고도 바로 화살표함수로 호출할 수 있다. 😀
onClick={() => commentRemove(commentData.id)}

기억보단 기록을 ✨