✍️ Instagram의 로그인 창과 메인 페이지를 clone코딩(westagram)하면서 메모한 것들
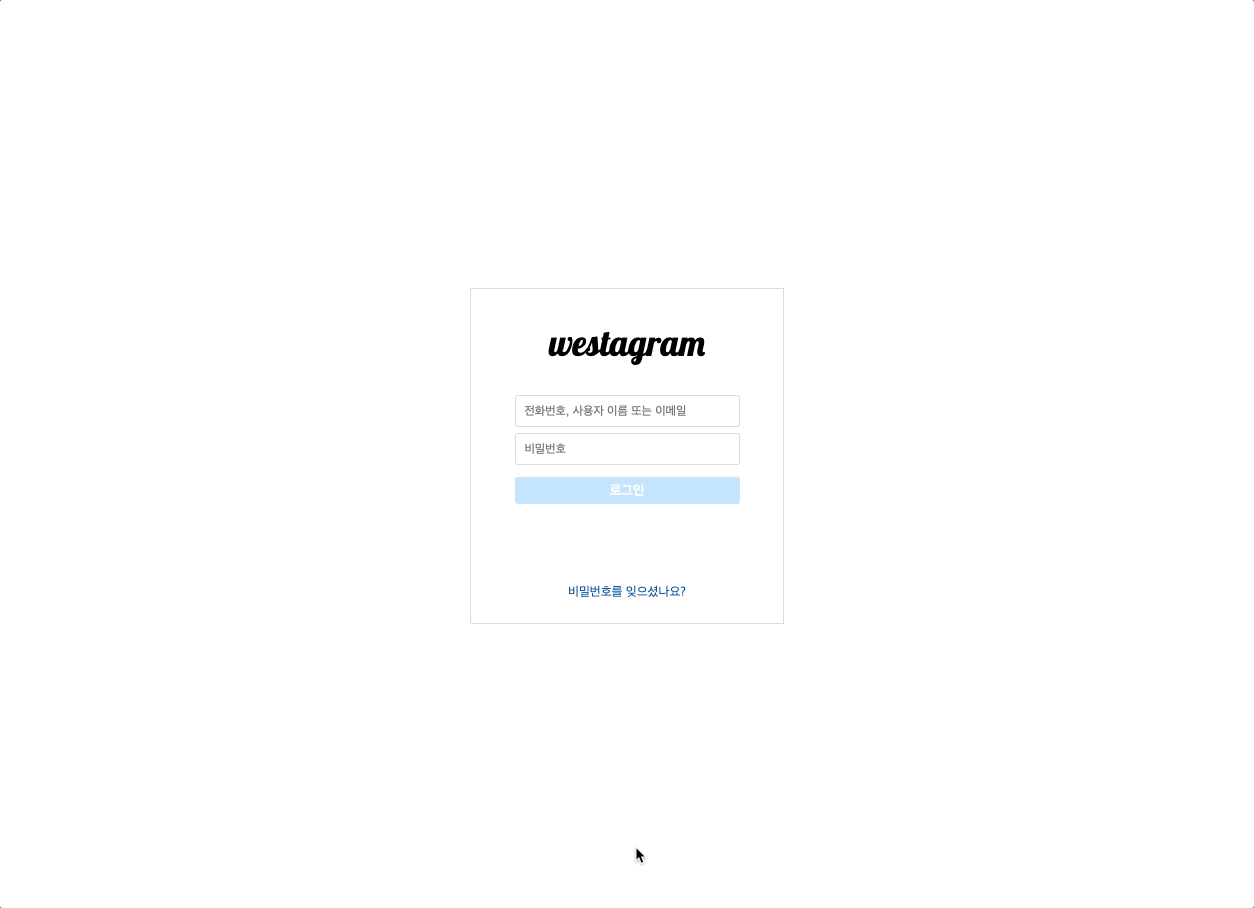
login
1. form 태그로 묶기
<form class="login__form">
  <input
    type="text"
    class="login__input-id"
    placeholder="전화번호, 사용자 이름 또는 이메일"
  />
  <input
    type="password"
    class="login__input-pw"
    placeholder="비밀번호"
  />
  <button class="login__btn" disabled>로그인</button>
</form>form태그 안에input login,input password태그와button태그를 넣어주었다.- input을 form 으로 묶어준 이유는 추후 js를 통해 로그인 아이디와 비밀번호 값을 가져올 때 form 태그 안에서 한번에 값을 가져오기 위해서였다. ✍️
- 버튼은 조건에 맞지 않는 경우 비활성화 시켜주기 위해 기본값은
disabled로 설정하였다.
2. 로그인 버튼 비활성화 & 활성화
/* css */
.login__btn {
  width: 100%;
  height: 30px;
  margin-top: 10px;
  text-align: center;
  line-height: 32px;
  font-size: 15px;
  font-weight: 600;
  border: none;
  border-radius: 3px;
  color: white;
  background-color: rgb(197, 229, 255);
  cursor: pointer;
}

.login__btn:enabled {
  background-color: rgb(11, 161, 255);
}- 기본 설정은 버튼이 비활성화 된 상태이다. 먼저
disabled상태의 CSS 속성을 준다. - 버튼이 활성화가 될 경우의 CSS 설정을 한다.
// js
const loginHandler = (e) => {
  if (loginId.value.length > 0 && loginPw.value.length > 0) {
    loginBtn.disabled = false;
  } else {
    loginBtn.disabled = true;
  }
};

loginForm.addEventListener('keyup', loginHandler);- 조건문을 넣고
disabled의 값을 조정하는 것으로 버튼 동작을 구현해 보았다.
✍️ 시도 1) 처음에는 form 태그에 addEventListener 를 통해서 submit 을 사용하면 되지 않을까 고민했다.
그런데 여기서 submit 을 사용해버리면 login input과 pw input 모두 키가 적히는 동안에는 이벤트리스너가 감지를 하지 못하므로 다른 방법을 찾아야 했다. 🤔
✍️ 시도 2) keypress를 사용했다. value 값이 적히는 것을 실시간으로 감지 했지만, backspase를 감지하지 못했으므로 disabled 속성이 조건에 맞아서 한번 사라지면(false) 값을 지웠을때 다시 true를 감지하지 못했다.
문제를 해결하기 위해 무한 구글링! 도움받은 글
✍️ 시도 3) keydown 이벤트를 사용해서 disabled 속성이 제대로 인식되었다.😀 그런데 여기서 input 값이 1글자씩 적혀있을 경우에만 활성화 되어야 하는데 keydown 은 적고 난 뒤에 반영이 되어서 문자를 한번 더 적어야 버튼이 활성화가 되었다.
✍️ 해결) keydown 대신 keyup 을 사용했다. value 값이 각각 1글자, 1글자 적혀있을때 바로 활성화가 된다.
3. 로그인 버튼 조건 추가
1) input id에 @ 가 포함되어야 한다. (id, pw 에 각각 한 글자 이상)
2) input pw의 길이가 5자 이상이어야 한다.
const loginHandler = (e) => {
  const loginBtn = document.querySelector('.login__btn');
  const idValue = loginId.value; // 1)
  const pwValue = loginPw.value;

  if (idValue.includes('@') && idValue.length > 0 && pwValue.length > 5) { // 2)
    loginBtn.disabled = false;
  } else {
    loginBtn.disabled = true;
  }
};- 1) loginId와 loginPw의 value를 따로 변수를 만들어서 저장하였다.
- 2) 큰틀은 변경하지 않고 조건만 추가해 주었다.
includes()사용해서 '@' 문자가 포함되었는지 확인한다.
처음에는 따로 id조건, pw 조건을 함수로 빼서 해당 자리에는 boolean 값을 반환해서 판별하면 어떨지 고민해 보았다. 🤔 조건이 크게 세분화 되어있지 않기 때문에 우선 그대로 진행하는 방향으로 구현해 보았다.
📌 삼항연산자 사용해보기
idValue.includes('@') && idValue.length > 0 && pwValue.length > 5
? (loginBtn.disabled = false) : (loginBtn.disabled = true);- if 문을 삼항연산자로 바꾸어 보았다. 조금 더 간결하게 표현할 방법은 없을까? 🧐
4. 로그인 페이지 리팩토링 ✨
📌 HTML
- login container 태그를
main으로 변경했다 - ligin-logo 를
h1으로 변경했다.
📌 JavaScript
const loginForm = document.querySelector('.login__form');

const checkID = (idValue) => {
  return idValue.includes('@') && idValue.length > 0;
};

const checkPw = (pwValue) => {
  return pwValue.length > 5;
};

const loginHandler = (e) => {
  const loginBtn = document.querySelector('.login__btn');
  const idValue = document.querySelector('.login__input-id').value;
  const pwValue = document.querySelector('.login__input-pw').value;
  loginBtn.disabled = !(checkID(idValue) && checkPw(pwValue));
};

loginForm.addEventListener('keyup', loginHandler);
✍️ 리팩토링 가이드에 따라 리팩토링을 진행했다.
- loginHandler 함수에서 필요한 변수들을 정의한다.
- disabled 속성에 true 혹은 false 를 할당할 수 있도록 삼항연산자로 변경했던 코드를 다시 토글 형식처럼
!를 사용해서 간결하게 수정했다. - ID와 PW의 유효성을 검사하는 함수를 따로 정의해서 boolean 값을 반환 받도록 작성했다.
- boolean 값을 반환 받을 때 if...else 문이나 삼항연산자를 사용하지 않고 바로 비교연산자를 통해서 true나 false를 반환한다.
✍️ 리팩토링을 진행하면서
리팩토링전 코드가 더 짧지만, 무조건 코드가 짧고 간결하다고 꼭 좋은 것은 아니라고 생각되었다. 추후 코드를 추가 & 수정할 일이 생기거나 다른사람이 내 코드를 확인해야할 일이 생길 수 있다. 재사용성과 가독성 측면을 고려한 코드를 짜보도록 노력하자. 😀
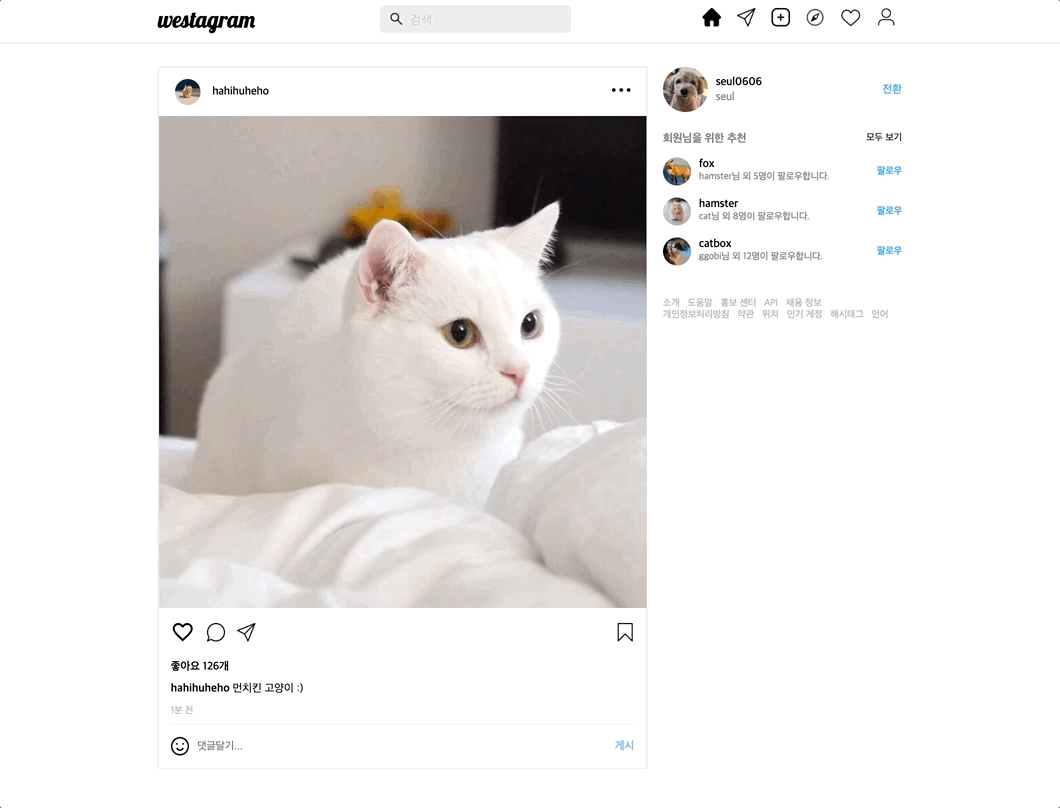
main
1. img 태그 비율 맞추기
.article__header__profile-img {
  width: 32px;
  height: 32px;
  object-fit: cover;
  border-radius: 50%;
  margin-right: 15px;
}- width 값과 heigth 값을 주었을때 이미지의 비율이 깨지는 것을 막기 위해
background-size: cover와 같은 효과로 html의 img 태그를 스타일링 해주고 싶었다. 🤔 object-fit: cover를 적용해서 이미지의 비율을 일정하게 유지할 수 있었다.
2. outline: none
.comment-form input:focus {
  outline: none;
}- input에 focus할 때 기본적으로 적용된 효과를 제거할 수 있다.
3. 코멘트 추가 & 삭제
3-1. 코멘트 값 가져오기
const form = document.querySelector('.comment-form');
const input = document.querySelector('.comment-input');

const commentHandler = (e) => {
  e.preventDefault();
  if (input.value === '') return;
  const comment = input.value;
  input.value = '';
  input.focus();
};
form.addEventListener('submit', commentHandler);form태그를 통해서input값을 입력하거나 버튼을 눌렀을 때 이벤트리스너를 동작시킨다.e.preventDefault()를 사용해서 페이지가 새로고침 되는 것을 방지할 수 있다.- 아무 글자도 입력하지 않고 제출했을 경우 return 하도록 작성했다.
3-2. 코멘트 추가 & 화면에 나타내기
const commentPrint = (comment) => {
  const ul = document.querySelector('.reaction__comments ul');
  const li = document.createElement('li');
  li.innerHTML = commentMaker(comment);
  ul.appendChild(li);
};

const commentMaker = (comment) => {
  return `<div class="comments__commented">
      <p><span>test2</span> ${comment}</p>
    </div>
    <div class="comments__like-btns">
      <img
        src="./img/heart.png"
        alt="하트"
        class="comments__like-btn"
      />
      <img
        src="./img/colorheart.png"
        alt="좋아요 하트"
        class="comments__liked-btn"
      />
    </div>`;
};- 코멘트를 화면에 표시할 수 있도록 commentPrint 함수를 정의했다.
- 기존에 html에서 작성해둔
ul태그를 가져오고,createElement를 통해서 새로운li태그를 생성한 다음appendChild를 통해 자식 요소로 넣어주었다. innerHTML은 따로commentMaker를 통해서 html 노드를 입력했다. 혹시 다른방법으로도 같은 동작을 시킬 수 있을까? 🤔
3-3. 코멘트 삭제하기
const commentRemove = (e) => {
  const li = e.target.parentElement;
  li.remove();
};

const commentPrint = (comment) => {
  const ul = document.querySelector('.reaction__comments ul');
  const li = document.createElement('li');
  li.innerHTML = commentMaker(comment);
  const removeBtn = document.createElement('img');
  removeBtn.src =
    'https://s3.ap-northeast-2.amazonaws.com/cdn.wecode.co.kr/bearu/more.png';
  li.appendChild(removeBtn);
  ul.appendChild(li);

  removeBtn.addEventListener('click', commentRemove);
};li태그처럼 삭제 버튼도createElement를 통해서 새로운 요소를 만들고 src 속성을 부여한다.commentRemove함수를 만들고li.remove()를 통해서 해당 요소를 지워 보았다.
4. Local Storage 활용하기
4-1. 추가된 코멘트를 화면에 나타내기 + 코멘트 누적하기
let comments = [];

const saveComment = () => {
  localStorage.setItem(COMMENT, JSON.stringify(comments));
};- 이전에 todo list를 통해 사용해 보았던 방식으로 복습해 보았다.
- 빈 배열을 만들고 해당 배열에 코멘트가 생성되면
push한 배열을localStorage에 넣어준다. - 텍스트가 아닌 배열로 저장해주고 싶기 때문에
JSON.stringify를 이용한다.
const savedComment = localStorage.getItem(COMMENT);
if (savedComment !== null) {
  const parsedComment = JSON.parse(savedComment);
  comments = parsedComment;
  parsedComment.forEach(commentPrint);
}- 로컬스토리지에 저장된 데이터를 가져와서
JSON.parse와forEach를 통해 페인트 함수를 실행시켜서 화면에 나타나도록 했다. comments = parsedComment를 통해서 새로고침시 전에 작성했던 코멘트들도 유지시킬 수 있었다.
4-2. 클릭된 코멘트 삭제하기
const commentHandler = (e) => {
  e.preventDefault();
  if (commentInput.value === '') return;
  const comment = commentInput.value;
  commentInput.value = '';
  commentInput.focus();
  const commentObj = {
    comment,
    id: Date.now(),
  };
  comments.push(commentObj);
  commentPrint(commentObj);
  saveComment();
};

const commentRemove = (e) => {
  const li = e.target.parentElement;
  comments = comments.filter((comment) => comment.id !== parseInt(li.id));
  li.remove();
  saveComment();
};commentObj를 작성한 뒤, 각각의 list 에Date.now()을 통해서 독립적인 id값을 부여한다.- 생성되는 코멘트
li에 id 값을 주고,commentRemove함수를 통해서 comments 배열에 담겨있는 코멘트의 id 값과 클릭된 li의 id 값을 비교할 수 있다. filter()를 사용해서 id 값이 같지 않은 요소들만 comments 에 할당한다.😀- 마지막으로
saveComment()를 다시 호출해 준다.
5. 하트버튼에 색상 넣기 + 리팩토링✨
const likeBtn = document.querySelector(
  '.article-data__icons-heart.material-icons'
);

const likeColorHandler = (e) => {
  const emptyHeart = 'favorite_border';
  const filledHeart = 'favorite';

  if (e.target.innerText === emptyHeart) {
    e.target.innerText = filledHeart;
    e.target.classList.add('fill');
  } else {
    e.target.innerText = emptyHeart;
    e.target.classList.remove('fill');
  }
};

likeBtn.addEventListener('click', likeColorHandler);
✍️ 처음 코드를 짰을 때는 먼저 빈하트와 채워진 하트 이미지 두 개를 준비안 후, 이미지의 src 속성을 이용해서 클릭했을 때 src 값을 변경하는 식으로 만들었다.
그런데 이미지 경로에 따라서 유동적으로 변경해야 하는 상황에서는 이 방법이 좋지 않다는 조언을 얻고 classList 등의 방법으로 다시 리팩토링 하게 되었다. 🤔
- 외부 아이콘을 가져오는 방법으로 수정했다. 우선 댓글 상단의 좋아요 버튼을 클릭 했을 때 모양과 색상이 변경되도록
innerText와classList를 활용했다. - 여기서 e의 타겟으로 가져오게 되면 추후 코멘트에 생기는 좋아요 하트버튼의 이벤트도 함께 동작할 수 있을 것이다.
  const commentLikeBtn = document.createElement('span');
  commentLikeBtn.innerHTML = 'favorite_border';
  commentLikeBtn.setAttribute(
    'class',
    'article-data__icons-heart material-icons'
  );
  li.appendChild(commentLikeBtn);
commentLikeBtn.addEventListener('click', likeColorHandler);- 코멘트에 생기는 하트 버튼을
createElement을 통해서 생성한다. 이후 방법은 이전 코멘트 추가와 삭제의 방법과 같이 작성했다. - 같은모양의 기존 하트 아이콘의 소스를 가져오기 위해
setAttribute를 통해서 클래스명을 넣어 주었다. addEventListener로 기존에 작성해둔likeColorHandler함수를 실행 시켰다. 이때 이벤트를 받아와서 해당요소를 찾는 방식으로 서로 다른 하트들을 동작시킬 수 있었다. 😀