
컨트롤러란?
들어오는 요청을 받고 처리된 결과를 응답으로 돌려주는 역할을 한다.
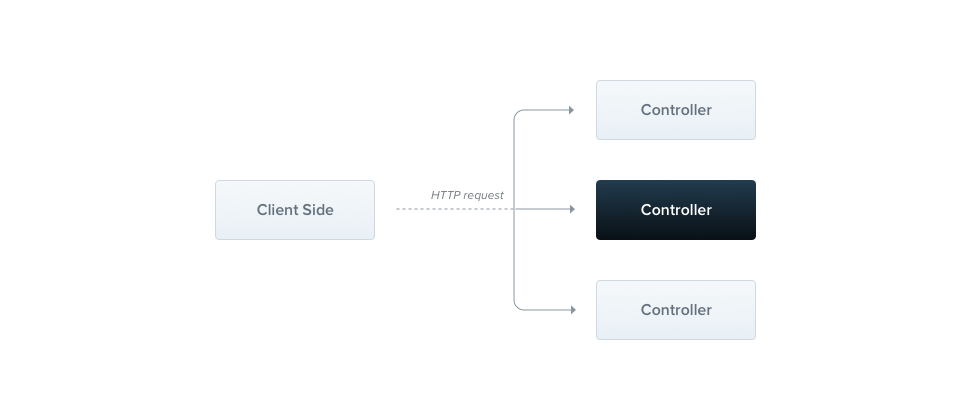
컨트롤러는 엔드포인트 라우팅을 통해 컨트롤러가 받을 수 있는 요청을 분류한다.
라우팅
import { Controller, Get } from '@nestjs/common';

@Controller('cats')
export class CatsController {
  @Get()
  findAll(): string {
    return 'This action returns all cats';
  }
}
- 클래스에 @Controller() 데코레이터를 선언하는 것으로 컨트롤러 역할을 하게 된다.
- 클래스 안의 함수에 @Get(), @Post(), @Put(), @Delete()등의 데코레이터를 선언 하여 특정 엔드 포인트로 들어오는 요청을 처리 할 수 있다.
- @Controller(), @Get(), @Post(), @Put(), @Delete() 데코레이터 인자에 문자열을 넣어 특정 엔드포인트의 요청을 처리 할 수 있다.
ex) 위 코드에서는 http://localhost:3000/cats 로 보낸 요청을 해결 할 수 있다.
요청 객체
import { Controller, Get, Req } from '@nestjs/common';
import { Request } from 'express';

@Controller('cats')
export class CatsController {
  @Get()
  findAll(@Req() request: Request): string {
    return 'This action returns all cats';
  }
}
@Req() 등의 데코레이터를 통해 요청을 통해 들어온 데이터를 처리 할 수 있다.
요청 객체를 처리 할 수있는 데코레이터의 종류는 위와 같다.

DTO - Data Transfer Object
DTO를 활용하여 요청 객체를 처리 할 수 있다.
class CreateCatDto {
  name: string;
  age: number;
  breed: string;
}

@Post()
async create(@Body() createCatDto: CreateCatDto) {
  return 'This action adds a new cat';
}