Redux Toolkit
이번 포스팅에서는 redux를 쉽게 사용할 수 있게 도와주는 Redux Toolkit에 대해 알아보자! 😊
💡 이 포스팅은 redux toolkit 공식문서를 기반으로 작성되었습니다.
Redux Toolkit이 뭔가요?
Redux Toolkit은 Redux 개발팀에서 작년에 새로 release한 라이브러리로, 기존 Redux 이용시 필요한 보일러 플레이트 코드를 많이 줄여 주고 비동기 통신에 필요한 thunk 미들웨어 라이브러리를 내장하고 있다는 장점이 있다.
Redux Toolkit 출시 이후 redux 공식문서를 보면 redux 로직을 작성할때 redux toolkit을 사용할 것을 권장하고 있다! (배워야겠쥬?😁)
공식문서의 RTK 소개 부분을 살펴보자.
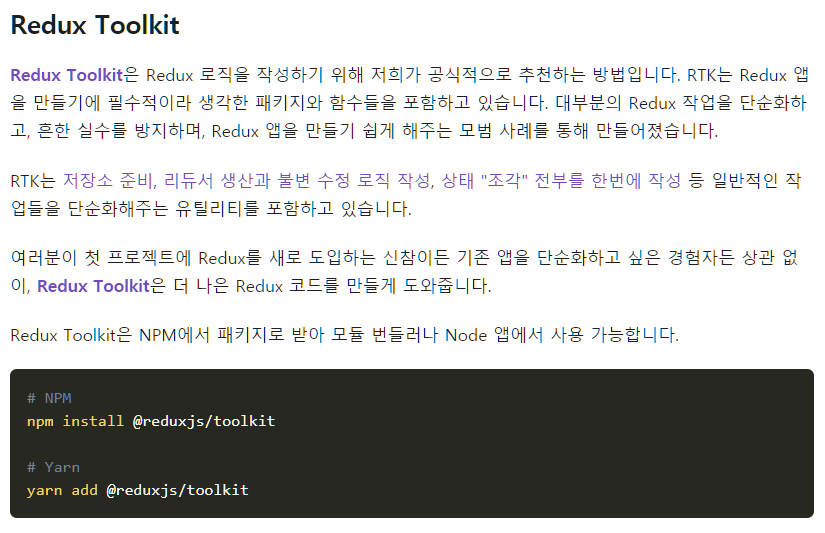
뭔지는 몰라도 많이 좋아진 듯한 느낌이 든다..! 글로만 봐서는 잘 감이 오지 않으니, redux toolkit 공식문서를 보며 새로워진 RTK(Redux Toolkit)에서 제공하는 주요 기능들을 하나씩 정리해 보도록 하자.
Redux Toolkit 주요 함수
RTK에서 우리가 주로 사용하는 함수로는 configureStore, createReducer, createAction, createSlice, createAsyncThunk가 있다.
ConfigureStore
RTK에서는 createStore 함수를 Wrapping한 함수로 ConfigureStore을 제공한다. 기존에 reducer들을 합치는 과정을 진행해주고, Redux thunk 및 Redux DevTools Extension을 기본으로 제공한다.
기존에는 createStore() 호출 후 root reducer함수에 전달하는 방식으로 redux store를 구성했지만, RTK를 사용하면 configureStore() 호출 시 Object에 reducer를 전달 하면 된다.
// Before:
const store = createStore(counter)

// After:
const store = configureStore({
  reducer: {
    language: languageReducer,
    user: userReducer,
    write: writeReducer,
  },
  devTools: ... ,
});
주의해야할 점은 reducer를 전달할때는 꼭 reducer라는 property name으로 전달해야 한다는 것이다.
CreateAction
createAction 함수는 action 타입 문자열을 인자로 받고, 해당 타입을 사용하는 액션 생성자함수를 return한다. 기존에는 액션 type과 생성함수를 모두 작성 해야 했지만, createAction을 사용하면 그럴 필요가 없다.
//before
const INCREMENT = 'counter/increment'

function increment() {
  return { type: INCREMENT }
}

//after
const increment = createAction("counter/increment");
let action = increment(); // returns { type: 'counter/increment' }
CreateReducer
Redux Toolkit에는 기존 Reducer 함수를 대체하는 CreateReducer 함수를 제공한다. 기존의 Reducer 함수는 주로 Switch문을 활용해 action.type 필드를 확인하고 그에 따른 action logic을 수행하는 방식으로 진행된다.
반면에 CreateReducer 함수는 lookup 테이블을 사용하여 reducer를 작성할 수 있다. 여기서 객체의 각 키는 redux action type 문자열이며 값은 reducer 함수이다. 즉 RTK에서는 switch문을 작성할 필요 없이 reducer가 table lookup하여 action에 따른 적절한 reducer를 호출한다.
createReducer 함수는 두가지 파라미터를 전달 받는다. 첫 번째 파라미터는 초기 상태 값 객체(initialState), 두 번째 파라미터는 리듀서 맵 객체이다.
const increment = createAction("increment");
const decrement = createAction("decrement");

const counter = createReducer(0, {
  [increment]: state => state + 1,
  [decrement]: state => state - 1
})
위에 코드를 보면 reducer 함수에서 주로 보이던 switch 문이 사라진 것을 확인할 수 있다.
또한 RTK의 중요한 특징 중 하나는 immer library를 내장한다는 것이다.
reducers: {
  add: {
    reducer: (state, action) => {
      // 👇👇👇
      state.items.push(action.payload)
    },
  // ...
  },
},
위 코드를 보면 payload를 통해 전달된 요소를 state에 직접 push하고 있다. redux toolkit은 immer를 내장하고 있기 때문에, 리듀서 함수에서 새로운 상태(state) 객체를 리턴할 필요가 없이 상태 값을 직접 변경하는 방식으로 코드를 작성할 수 있다.
CreateSlice
createSlice는 Redux Toolkit에서 가장 크게 변한 부분 중 하나로, createSlice를 이용하면 Action과 Reducer를 한번에 정의할 수가 있다.
개인적으로는 RTK에서 제공하는 가장 강력한 기능이라고 생각한다!
const counterSlice = createSlice({
  name: 'counter',
  initialState: 0,
  reducers: {
    increment: state => state + 1,
    decrement: state => state - 1
  }
})

const store = configureStore({
  reducer: counterSlice.reducer
})

document.getElementById('increment').addEventListener('click', () => {
  store.dispatch(counterSlice.actions.increment())
})
createSlice는 하나의 Object를 parameter로 받는다. createSlice를 이용하여 reducer 이름, initialState, action을 property로 한 object를 전달하여 모두 한번에! 정의할 수 있다.
CreateAsyncThunk
Redux는 동기적인 로직만 처리 가능 하기 때문에, 서버 통신과 같은 비동기 통신을 위해서는 외부 library를 사용해야 한다. Redux Toolkit은 비동기 통신을 위한 library인 thunk를 내장하고 있다. createAsyncThunk API를 이용하면 thunk를 이용해 비동기 통신을 처리할 수 있다.
createAsyncThunk는 두가지의 parameter를 인자로 받는데, 첫번째 인자는 action type이고 두번째 인자로는 처리할 비동기 로직을 담은 callback 함수이다.
Action이 dispatch되면 thunk action 생성자는 callback promise를 실행하고 reducer에서 반환된 promise, 즉 promise의 결과에 기반한 action을 실행한다.
따라서 thunk 사용시 reducer에서 promise 시작, 성공, 실패에 따른 3가지 action을 정의해 주어야 한다!
thunk action이 dispatch 되었을때, thunk가 하는 행동을 순차적으로 정리해보면 다음과 같다.
- pending action dispatch
- 전달된 callback 함수 실행
- promise 성공,실패에 따라 fulfilled or rejected action을 dispatch
- 3단계에서 dispatch된 action을 기반으로 fullfilled promise 반환
공식문서에 나온 예제 코드를 살펴보며 확인해보자.😊
const fetchUserById = createAsyncThunk( // action과 callback함수 전달
  'users/fetchByIdStatus',
  async (userId, { getState, requestId }) => {
    const { currentRequestId, loading } = getState().users
    if (loading !== 'pending' || requestId !== currentRequestId) {
      return
    }
    const response = await userAPI.fetchById(userId)
    return response.data
  }
)

// Then, handle actions in your reducers:
const usersSlice = createSlice({
  name: 'users',
  initialState: { entities: [], loading: 'idle' },
  reducers: {
    // standard reducer logic, with auto-generated action types per reducer
  },
  extraReducers: {
    // Add reducers for additional action types here, and handle loading state as needed
    [fetchUserById.pending]: (state, action) => {
      if (state.loading === 'idle') {
        state.loading = 'pending'
        state.currentRequestId = action.meta.requestId
      }
    },

    [fetchUserById.fulfilled]: (state, action) => {
      const { requestId } = action.meta
      if (state.loading === 'pending' && state.currentRequestId === requestId) {
        state.loading = 'idle'
        state.entities.push(action.payload)
        state.currentRequestId = undefined
      }
    },

    [fetchUserById.rejected]: (state, action) => {
      const { requestId } = action.meta
      if (state.loading === 'pending' && state.currentRequestId === requestId) {
        state.loading = 'idle'
        state.error = action.error
        state.currentRequestId = undefined
      }
    }
  }
})

// Later, dispatch the thunk as needed in the app
dispatch(fetchUserById(123))
위 코드는 RTK 공식 문서에 나오는 코드이다. App에서 fetchUserById라는 thunk 함수를 dispatch하면, thunk는 fetchUserById action을 실행하고 비동기 로직을 처리한다.
그 후 비동기 로직이 실행되는 promise에 결과에 따라 fulfilled, reject을 반환하면 reducer에서 받아 적절한 action을 처리하게 된다.
이렇게 해서 Redux Toolkit와 기본 API들에 대해 알아보았다!👏👏 공식문서가 굉장히 친절하게 잘 되어 있으니 관심 있으신 분들은 꼭 살펴보시는 것을 추천드린다😊