제작년 12월 내가 개발을 하리라 꿈에도 생각 못 했을 즈음 미디어아트 레퍼런스를 찾느라 여기저기 뒤져보았다가 발견한 Three.js. 이거다 싶어 개발에 뛰어들고!...(지금은 미디어아트와 전혀 관련없는 FE가 되었다). 그래서 나혼자(는 아니고 1분 코딩님의 강의를 들으며) 시작한 Three.js.
Three.js
🔗 공식 페이지
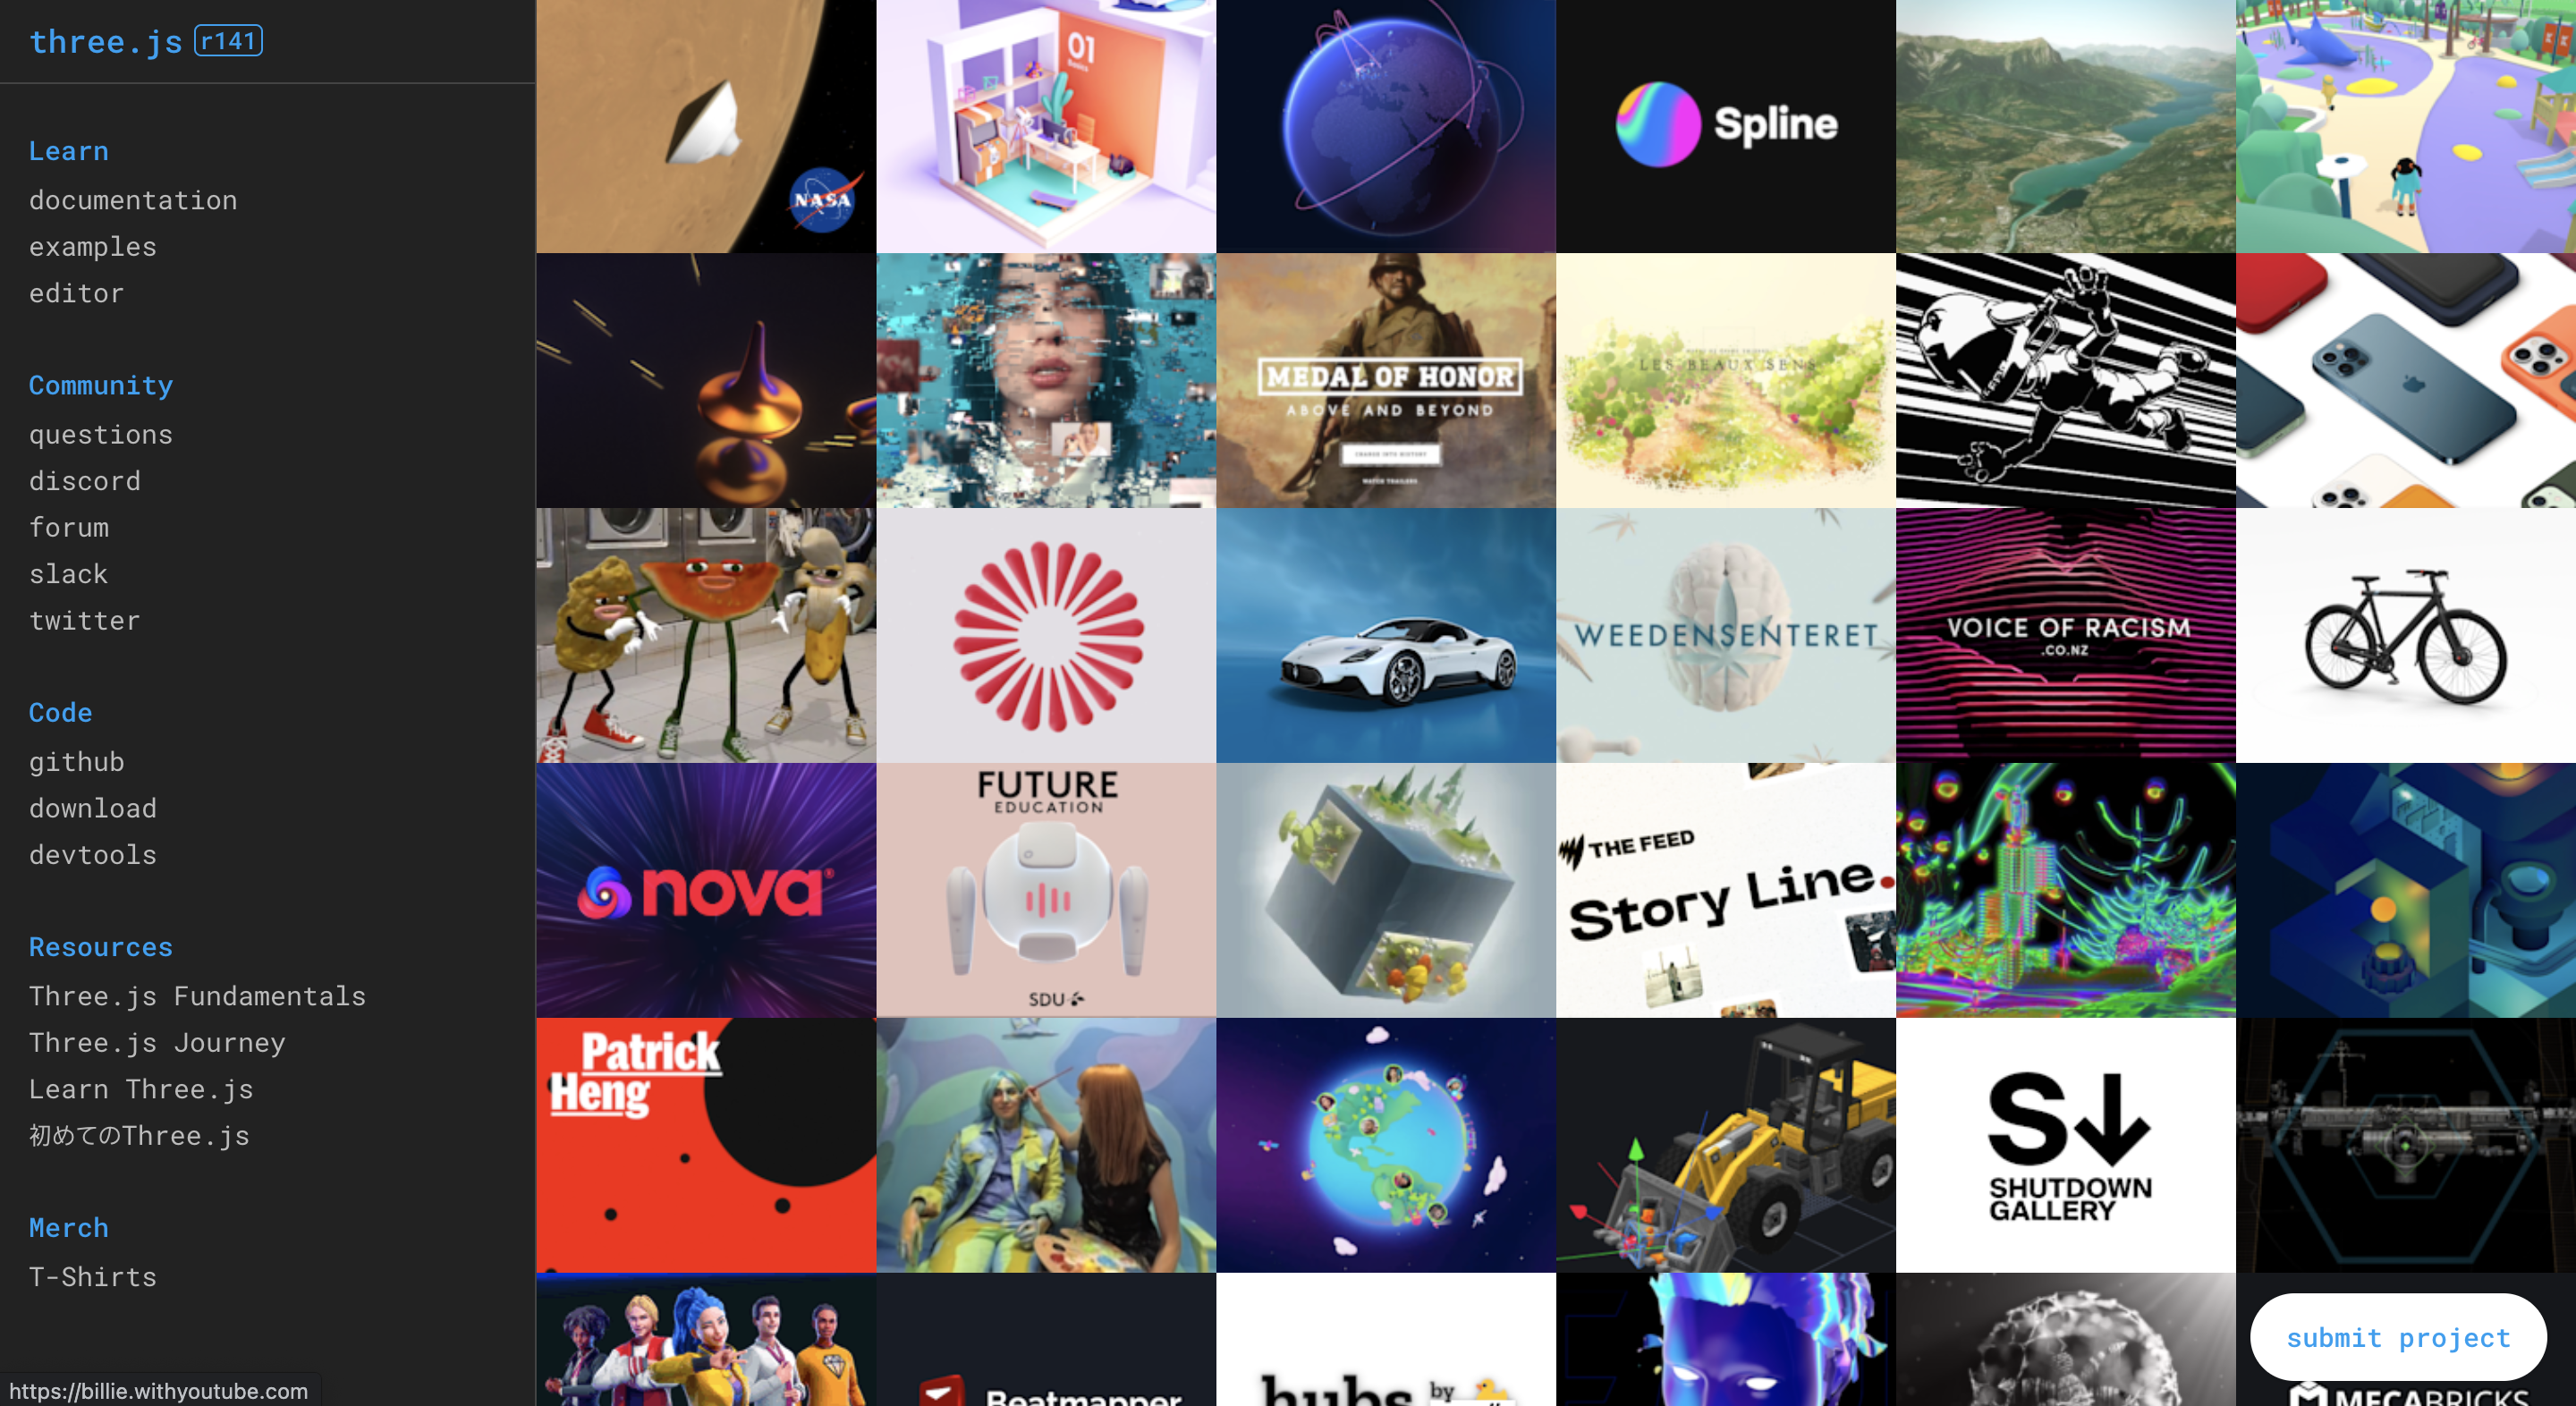
The aim of the project is to create an easy to use, lightweight, cross-browser, general purpose 3D library.
Three.js는 javascript를 기반으로 웹 컨텐츠의 한 부분으로서 그래픽 처리 장치(GPU)에서 가속되는 3차원 컨텐츠를 만들 수 있도록 해 준다. 이는 WebGL의 출현으로 인하여 가능하게 되었다.
공식페이지 메인에는 Three.js를 사용한 여러 프로젝트들을 만나볼 수 있다. 그 중에 맘에 든 두 사이트를 소개한다. 나는 이 두 사이트를 보고 Three.js에 흥미를 가지게 되었다.
🔗 http://networkeffect.io/
🔗 https://tonite.dance/
시작하기
1️⃣ three 라이브러리 설치
먼저 Three.js 라이브러리를 설치한다.
npm i three
2️⃣ html 파일 생성
공식 홈페이지에서는 html 파일 (index.html) 과 Three.js 관련 코드가 들어갈 js 파일을 생성하라고 되어 있다. 나의 경우는 webpack을 이용해 프로젝트를 진행한다.
공식 홈페이지
<!DOCTYPE html>
<html>
	<head>
		<meta charset="utf-8">
		<title>My first three.js app</title>
		<style>
			body { margin: 0; }
			canvas { display: block; }
		</style>
	</head>
	<body>
		<script src="js/three.js"></script>
		<script>
			// Our Javascript will go here.
		</script>
	</body>
</html>
webpack 이용 코드
<!DOCTYPE html>
<html lang="en">
<head>
	<meta charset="UTF-8">
	<meta http-equiv="X-UA-Compatible" content="IE=edge">
	<meta name="viewport" content="width=device-width, initial-scale=1.0">
	<title>Document</title>
	<link rel="stylesheet" href="./main.css">
</head>
<body>
	<canvas id="three-canvas"></canvas>
</body>
</html>
3️⃣ Three.js를 다룰 js 파일 생성
Three.js는 3D 오브젝트를 다루기 때문에 오브젝트가 놓일 무대(scene), 무대를 비춰줄 조명(lignt), 그것을 볼 시야(camera) 그리고 시야에 담긴 뷰를 그릴 렌더러(renderer) 가 필요하다.
import * as THREE from 'three';

export default function example() {
  const canvas = document.querySelector('#three-canvas');
  const renderer = new THREE.WebGLRenderer({
    canvas,
    antialias: true,
  });
  renderer.setSize(window.innerWidth, window.innerHeight);
  renderer.setPixelRatio(window.devicePixelRatio > 1 ? 2 : 1);

  // Scene
  const scene = new THREE.Scene();
  scene.background = new THREE.Color('#d5cdc4');

  // Camera
  const camera = new THREE.PerspectiveCamera(
    75,
    window.innerWidth / window.innerHeight,
    0.1,
    1000
  );
  camera.position.y = 5;
  camera.position.z = 15;
  scene.add(camera);

  // Light
  const ambientLight = new THREE.AmbientLight('white', 0.5);
  scene.add(ambientLight);

  const directionalLight = new THREE.DirectionalLight('white', 1);
  directionalLight.position.x = 1;
  directionalLight.position.z = 2;
  scene.add(directionalLight);
}
캔버스 구축
const canvas = document.querySelector('#three-canvas');
먼저 브라우저에 그려질 캔버스에 선택자로 엘리먼트를 지정해준다.
렌더러 생성
const renderer = new THREE.WebGLRenderer({
canvas,
antialias: true,
});
renderer.setSize(window.innerWidth, window.innerHeight);
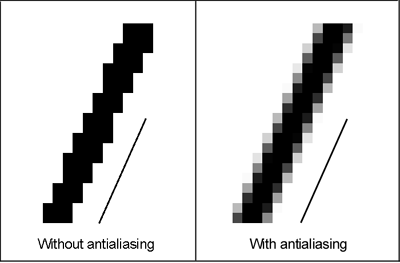
renderer.setPixelRatio(window.devicePixelRatio > 1 ? 2 : 1);첫 번째 파라미터로 렌더러가 그려질 canvas를 설정하고 두 번째는 antialiasing을 설정해줬다. antialiasing은 계단현상을 방지해주는 기능인데 대략 이해하자면 다음 이미지와 같다.
이렇게 하면 html 파일에 넣어둔 canvas 태그에 render가 되는데 렌더가 되는 영역을 설정해주기 위해 setSize()를 사용한다. 추가로 setPixelRatio() 로 디바이스의 DPI에 따라 픽셀 비율을 지정할 수 있다.
무대(scene) 생성
const scene = new THREE.Scene();
scene.background = new THREE.Color('#d5cdc4');
scene을 만들어준다. 배경은 좋아하는 색으로 벽지 바른다고 생각하면 된다.
카메라(camera) 설정
const camera = new THREE.PerspectiveCamera(
  75,
  window.innerWidth / window.innerHeight,
  0.1,
  1000
);
camera.position.y = 5;
camera.position.z = 15;
scene.add(camera);
Three.js의 camera는 몇 가지 종류가 있는데 그 중 PerspectiveCamera는 사람 눈으로 보는 시야와 유사해서 자주 쓰인다. 그래서 화면 외곽으로 빠질수록 왜곡이 조금 있다.
PerspectiveCamera는 PerspectiveCamera( fov : Number, aspect : Number, near : Number, far : Number ) 네 가지 인자를 받는다.
fov: field of view, 시야각
aspect: 화면 종횡비
near: 보여지는 시작점(가까운 정도)
far: 보여지는 끝점(먼 정도)
오브젝트(mesh)는 near과 far 사이에 위치해야 보인다. 무대(scene)에 필요한 카메라부터는 scene에 add() 해주어야 한다.
조명(lignt) 생성
const ambientLight = new THREE.AmbientLight('white', 0.5);
scene.add(ambientLight);

const directionalLight = new THREE.DirectionalLight('white', 1);
directionalLight.position.x = 1;
directionalLight.position.z = 2;
scene.add(directionalLight);
연극을 할 때도 여러 조명을 쓰는 것과 마찬가지로 light의 종류도 다양하다. 이번에 예시로 든 AmbientLight는 방향이 없이 전체적으로 빛을 묻어나오게 하는 라이트이고, DirectionalLight는 방향이 설정된 기본적인 라이트이다.그래서 DirectionalLight에는 위치를 설정해 mesh의 그림자도 만들 수 있다.
이렇게 하면 3D 오브젝트를 다룰 무대가 세팅된다...! 무대만.
(scene.background = new THREE.Color('#d5cdc4'); 에 갖다 부은 페인트 색만 보이면 성공)
학부때 마야나 씨포디 같은 3D툴을 조금 다뤄봐서 세팅에 대한 이해가 나름 수월했는데 처음부터 3D를 코드로 접했다면 쉽지 않았을 듯 하다. 하지만 차근차근 따라가다보면 브라우저에 그려지는 아웃풋을 보며 쾌감을 느낄 수 있겠다!
그렇다면 다음에는 작고 귀여운 정육면체 mesh를 이 무대에 올려보자. 나... 또 이 포스팅이 마지막이 되지 않기로 약속...
📑 reference
https://threejs.org/docs/index.html#manual/en/introduction/Creating-a-scene
https://studiomeal.com/

디자이너 출신에게 뷰는 너무 작은 세계같습니다 three js 화이팅!