TextField로 문자열을 입력받는 방법과 포커스를 제어하는 방법
TextField
- 한 줄 입력에 특화되어있다.
- iOS에서는 title이 곧 placeholder
- macOS에서는 첫번째 파라미터가 label로 사용됨
@State private var email: String = ""
...
var body: some View {
Form {
Section {
//title, 입력값저장변수, placeholder
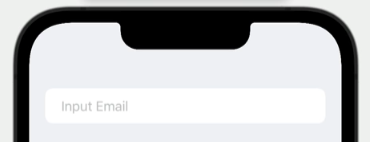
TextField("Email", text: $email, prompt: Text("Input Email"))
}
}
}자동 대문자화 끄기, 자동수정 끄기
TextField("Email", text: $email, prompt: Text("Input Email"))
.textInputAutocapitalization(.never)
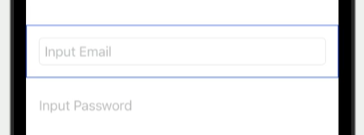
.disableAutocorrection(true)SecureField

- 비밀번호 등 마스킹이 필요한 입력에 사용
SecureField("password", text: $password, prompt: Text("Input Password"))
	.textInputAutocapitalization(.never)
    .disableAutocorrection(true)
@FocusState
- 기본값 저장 불가
- 포커스 설정에 사용하는 변수
- 가장 최근에 true가 된 곳으로 포커스됨
@FocusState private var emailFocused: Bool

var body: some View {
	Form {
    	Section {
			//title, 입력값저장변수, placeholder
			TextField("Email", text: $email, prompt: Text("Input Email"))
            .focused($emailFocused)
		}
	}
}
//포커스를 설정하는 부분
Button {
emailFocused = true
} label: {
...
}포커스 이동시키기
- 키보드의 enter 키 입력 시 다음 입력으로 포커스 이동하는 방법
.submitLabel(): 엔터키의 이름 변경
.onSubmit{}: 엔터키 작동 방식 설정
@State private var email: String = ""
@State private var password: String = ""

@FocusState private var emailFocused: Bool
@FocusState private var passwordFocused: Bool
...
var body: some View {
	Form {
    	Section {
			//title, 입력값저장변수, placeholder
			TextField("Email", text: $email, prompt: Text("Input Email"))
            	.textInputAutocapitalization(.never)
    			.disableAutocorrection(true)
                .submitLabel(.next)
                .onSubmit {
                	passwordFocused = true
                }

            SecureField("password", text: $password, prompt: Text("Input Password"))
				.textInputAutocapitalization(.never)
    			.disableAutocorrection(true)
                .submitLabel(.done)
                .onSubmit {
                	//제출 버튼 누르는 것과 동일한 작업
                }
		}
	}
}
포커스가 필요한 입력창이 많을 경우
1. Hashable 열거형 선언
enum FieldType: Hashable {
	case email
    case password
}
2. @FocusState 변수 선언
//포커스 해제 시 nil
@FocusState private var focusedField: FieldType?
3. focused 모디파이어의 파라미터 설정
TextField("Email", text: $email, prompt: Text("Input Email"))
	.focused($focusedField, equals: .email)
...
SecureField("Password", text: $password, prompt: Text("Input password"))
	.focused($focusedField, equals: .password)
입력창이 있는 뷰로 넘어갈 시 키보드 자동 출력
onAppear 모디파이어 사용
- 다만, 딜레이를 추가해야 함
var body: some View {
	Form {
    }
    .onAppear {
    	DispatchQueu.main.asyncAfter(deadline: .now() + 0.1) {
    		focusedField = .email
        }
    }
}
TextField 커스터마이징
TextField Style
- border 추가하기
TexField(...)
	.textFieldStyle(.roundedBorder)
Content Type
- password autofill을 이용하려면 명시적으로 입력되는 contentType을 지정해주어야 함
- 종류에 대한 공식문서
//계정인 경우
TexField(...)
	.textContentType(.username)
Keyboard Type
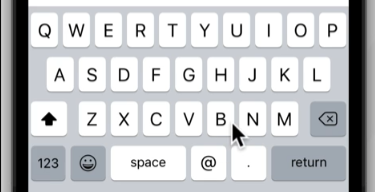
- 이메일 입력에 적합한 키보드(@를 표시해주기) 로 설정하는 방법
TexField(...)
	.keyboardType(.emailAddress)
Input Format
- 입력받는 텍스트의 타입을 Int라던지 다른 타입으로 받고싶을 때 사용
.dateTime등 여러가지 존재- 입력한 값이 타입과 일치하지 않으면 무시함
TextField("Number", value: $number, format: .number, prompt: Text("0~10"))
성장하기 위한 기록