List
-UIKit에서는 tableview와 같은 것
동적 목록
Identifiable 프로토콜
- 리스트에 데이터를 표시하기 위해서는 데이터 구조체가
Identifiable프로토콜을 채용해야 한다. - 혹은, 특정 속성을 지정해서 이 속성으로 구분하도록 지정
//name속성을 사용하여 구분
List(items, id: \.name) { item in
	Text(item.name)
    Text(item.category)
}
//Identifiable 프로토콜 채택
struct AppleProduct: Identifiable, Hashable {
let id = UUID()
let name: String
let summary: String
let category: String
let price: Int
}- list의 경우
Hashable프로토콜을 요구하는 경우가 많으므로 Identifiable과 함께 사용하는 것이 좋다.
section
정적
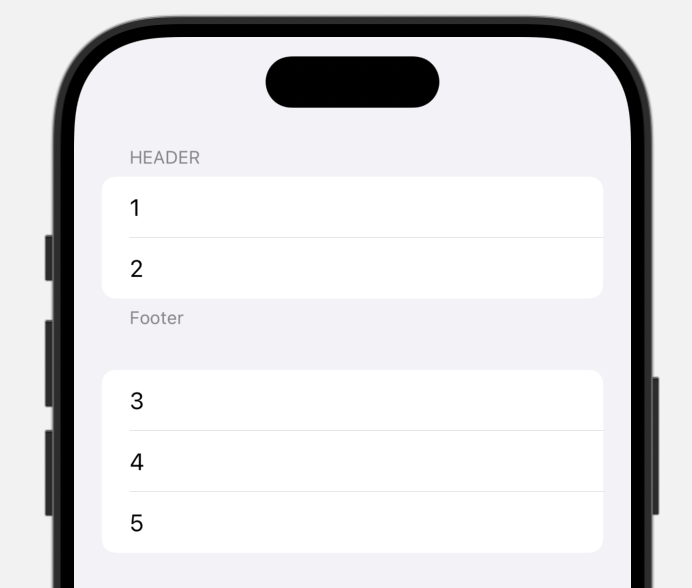
List {
     Section {
              Text("1")
              Text("2")
     } header: {
              Text("Header")
     } footer: {
              Text("Footer")
     }
     Text("3")
     Text("4")
     Text("5")
}
동적
struct CategorizedProduct: Identifiable, Hashable {
    let id = UUID()
    let header: String
    let footer: String?
    let list: [AppleProduct]
}- ForEach 사용
List {
ForEach(items) { section in
Section {
ForEach(section.list) { item in
Text(item.name)
}
} header: {
Text(section.header)
} footer: {
if let footer = section.footer {
Text(footer)
}
}
}
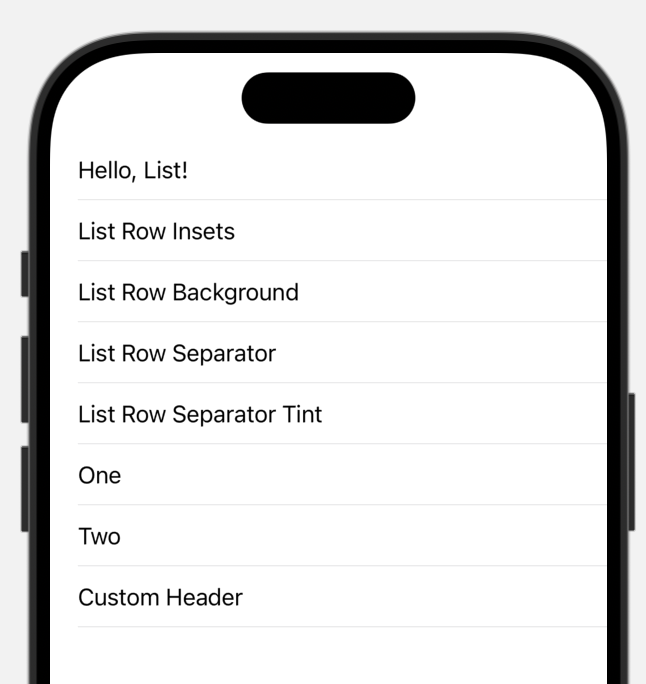
}Customizing List
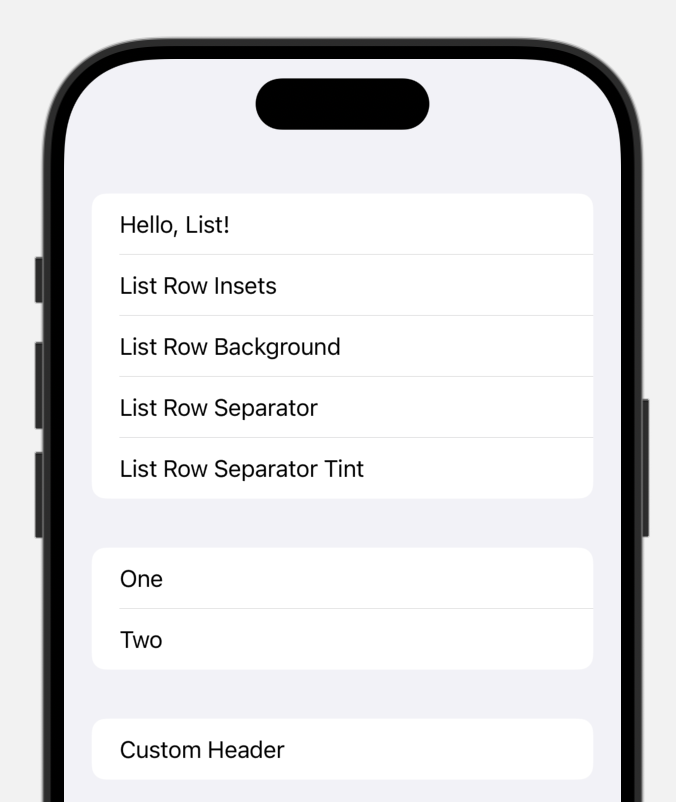
.listStyle
insetGrouped
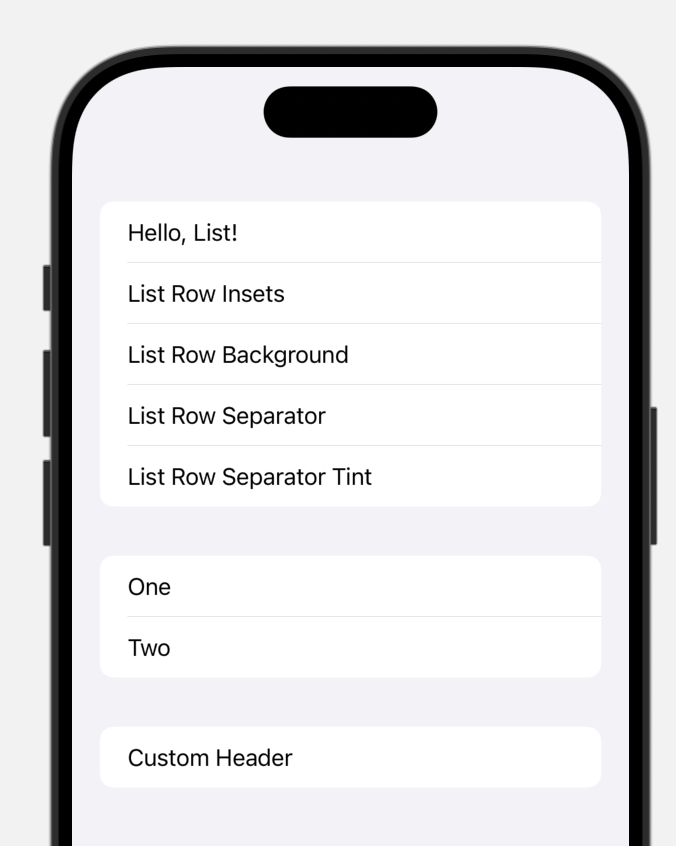
- 기본 스타일이다
List {
	...
}
.listStyle(.insetGrouped)
grouped
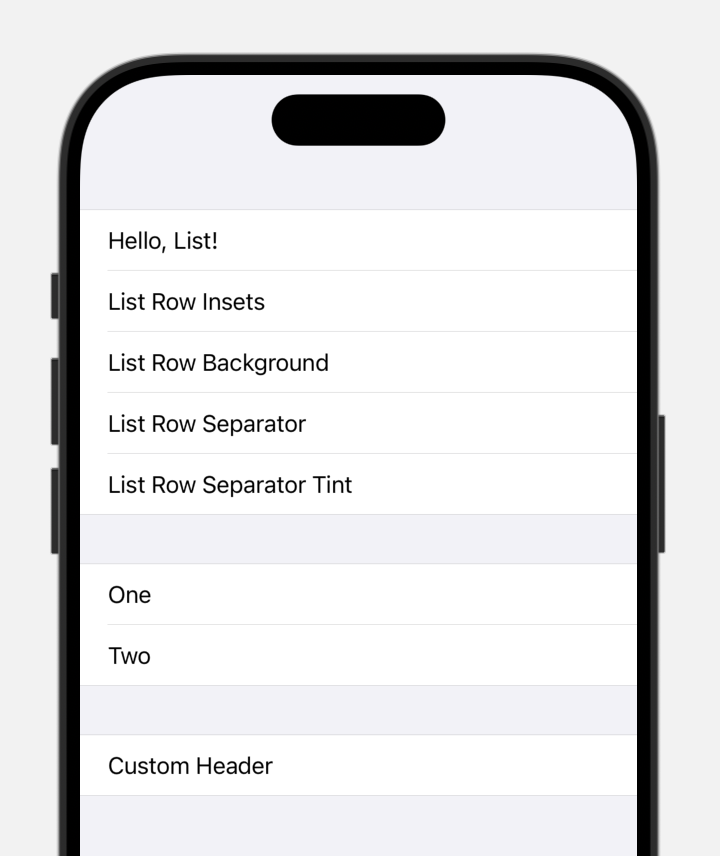
plain
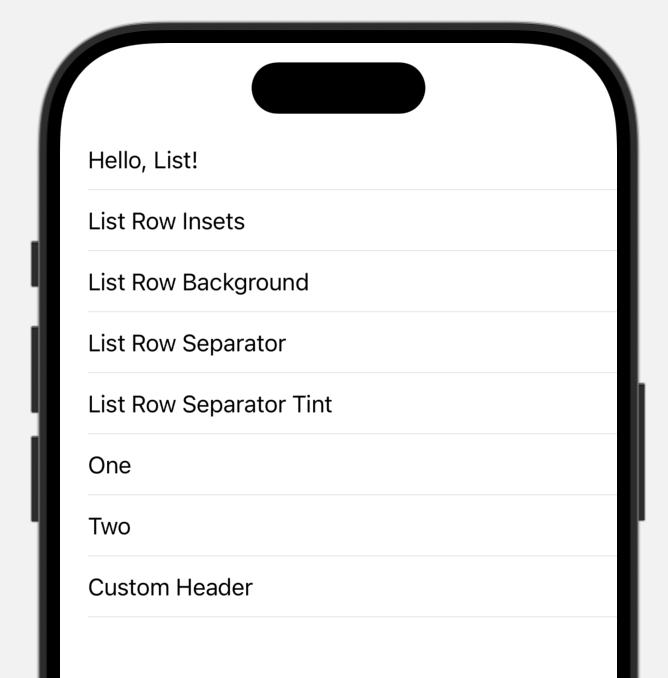
inset
sidebar
- 기존에는 화살표가 표시되며 섹션을 접었다 펼 수 있었으나 현재는 iphone에서는 automatic과 동일한듯
셀 여백(rowInset)
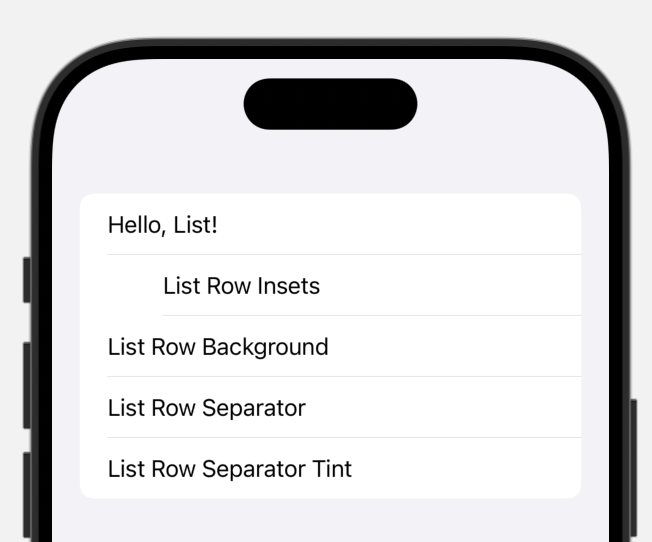
//개별 여백
 List {
                Section() {
                    Text("Hello, List!")
                    Text("List Row Insets")
                        .listRowInsets(EdgeInsets(top: 0, leading: 60, bottom: 0, trailing: 0))
//전체 여백
List {
Section() {
Text("Hello, List!")
Text("List Row Insets")
Text("List Row Background")
Text("List Row Separator")
Text("List Row Separator Tint")
}
.listRowInsets(EdgeInsets(top: 0, leading: 60, bottom: 0, trailing: 0))- 만약 개별 inset과 그룹 inset이 동시에 있다면 내부의 개별 inset의 적용 우선순위가 더 높다
- 값은 중첩되지 않는다.
- list 외부가 아닌 아닌 list 내부에서 사용해야 한다.
 이렇게 하면 적용 안된다.
백그라운드
List {
                Section() {
                    Text("Hello, List!")
                    Text("List Row Insets")
                        .listRowBackground(Color.yellow)
List {
                Section() {
                    Text("Hello, List!")
                    Text("List Row Insets")
                    Text("List Row Background")
                    Text("List Row Separator")
                    Text("List Row Separator Tint")
                }
                .listRowInsets(EdgeInsets(top: 0, leading: 60, bottom: 0, trailing: 0))
                .listRowBackground(Color.yellow)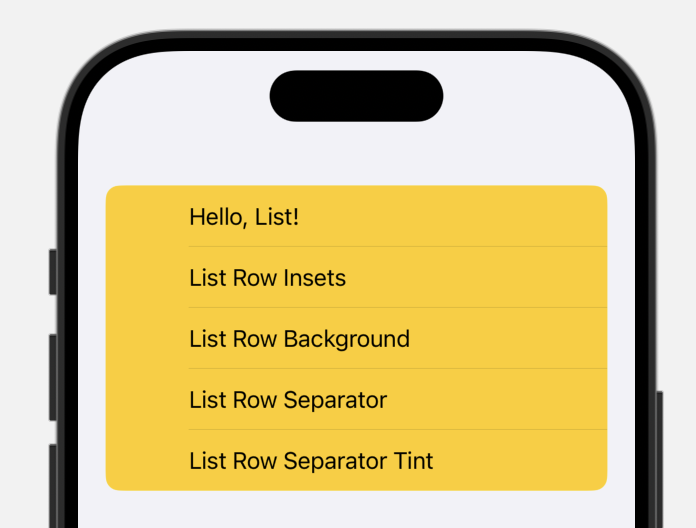
rowSeparator
 List {
                Section() {
                    Text("Hello, List!")
                    Text("List Row Insets")
                    Text("List Row Background")
                    Text("List Row Separator")
                        .listRowSeparator(.hidden)
                    Text("List Row Separator Tint")
                }
- 위, 아래의 구분선이 모두 숨겨진다.
- 한 쪽만 숨기고싶다면,
edges파라미터를 숨기면 된다.
.listRowSeparator(.hidden, edges: .bottom)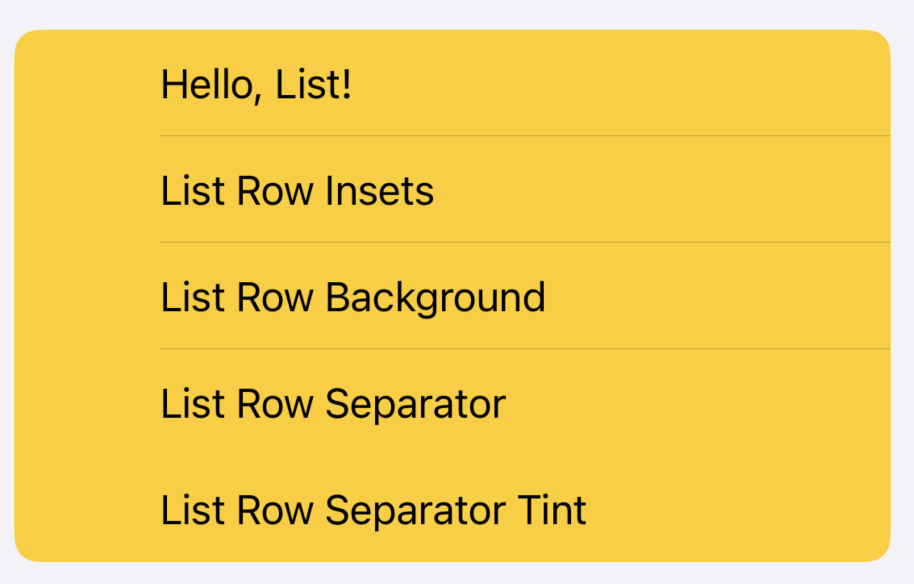
color
List {
                Section() {
                    Text("Hello, List!")
                    Text("List Row Insets")
                    Text("List Row Background")
                    Text("List Row Separator")
                        .listRowSeparator(.hidden, edges: .bottom)
                    Text("List Row Separator Tint")
                }
                .listRowInsets(EdgeInsets(top: 0, leading: 60, bottom: 0, trailing: 0))
                .listRowBackground(Color.yellow)
                .listRowSeparatorTint(.red)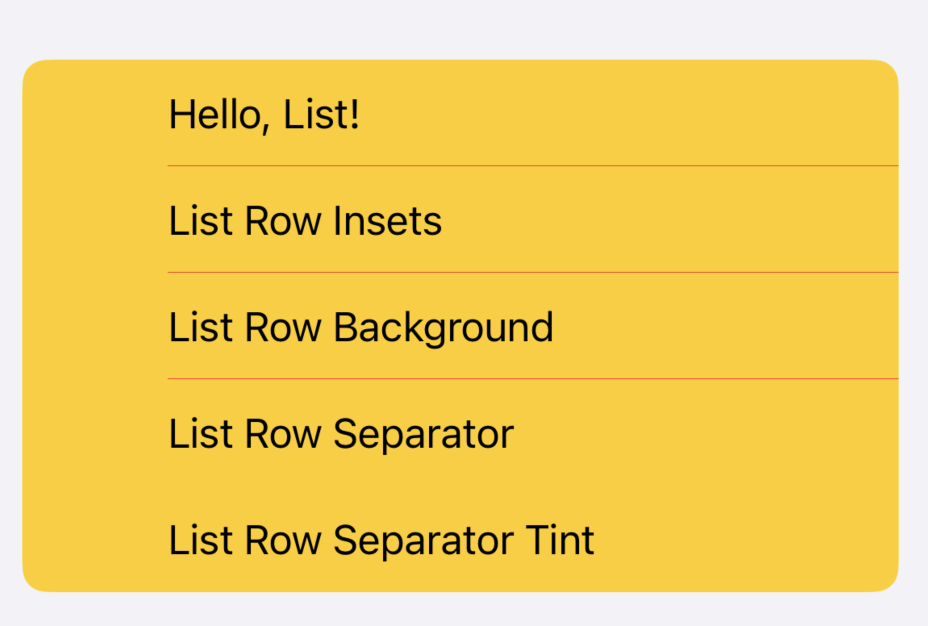
- 마찬가지로
edges파라미터로 적용 범위 설정 가능 - separator 컬러는 눈에 띄지 않는 한가지색으로 지정하는 것이 좋다.
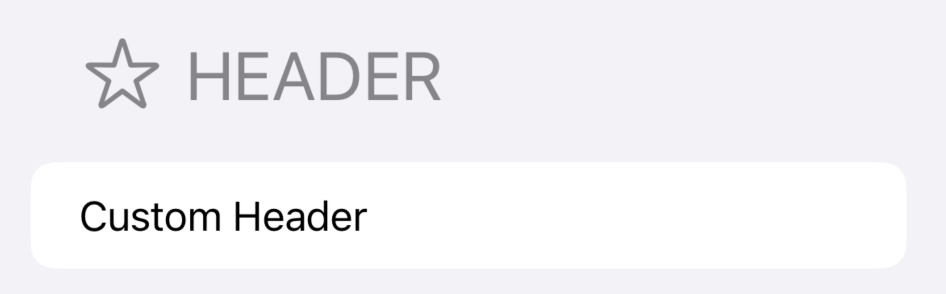
customheader
Section() {
                    Text("Custom Header")
                } header: {
                    CustomHeaderView(title: "header", imageName: "star")
                }

성장하기 위한 기록