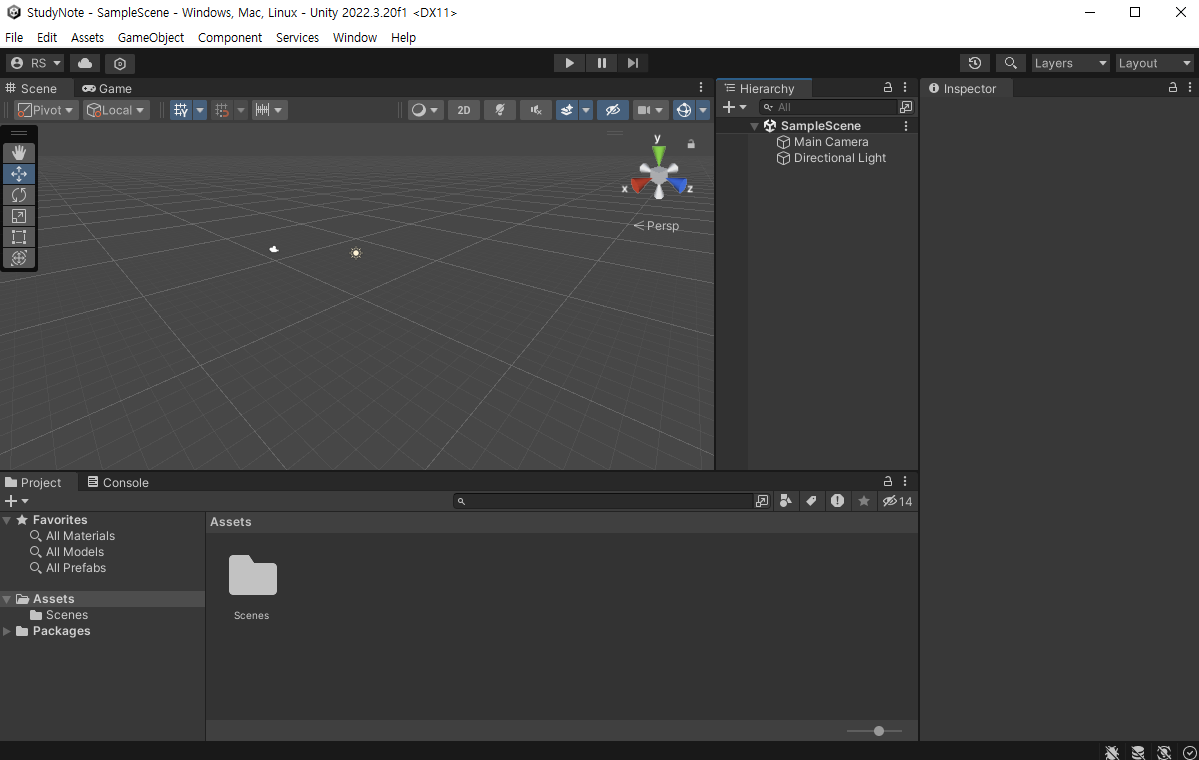
하루 공부 시간을 저장하는 윈도우 앱은 구하기 힘들어서 만들어보기로 했다.
프로젝트를 새로 만들어주고
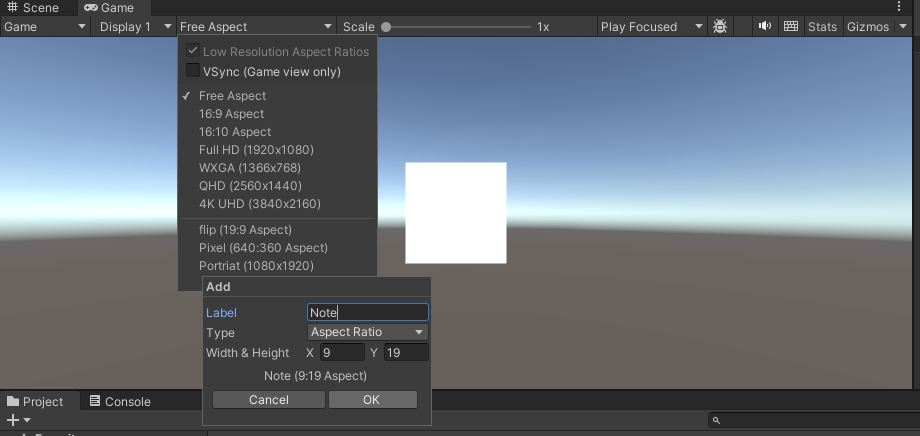
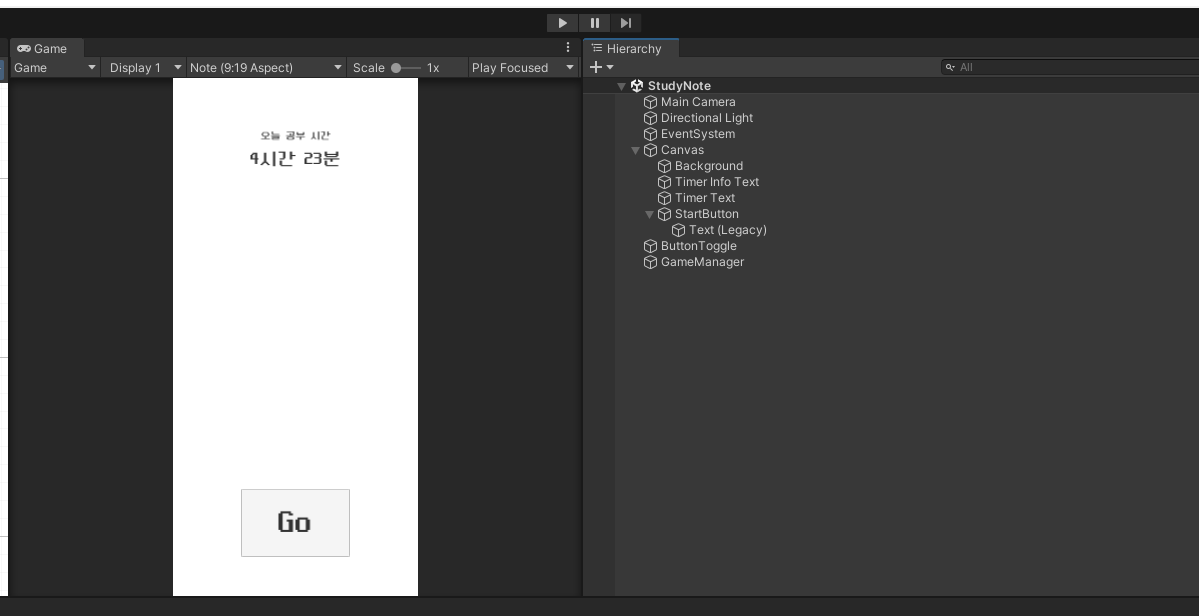
작업에 편하게 Game View 화면 9 : 19 로 설정
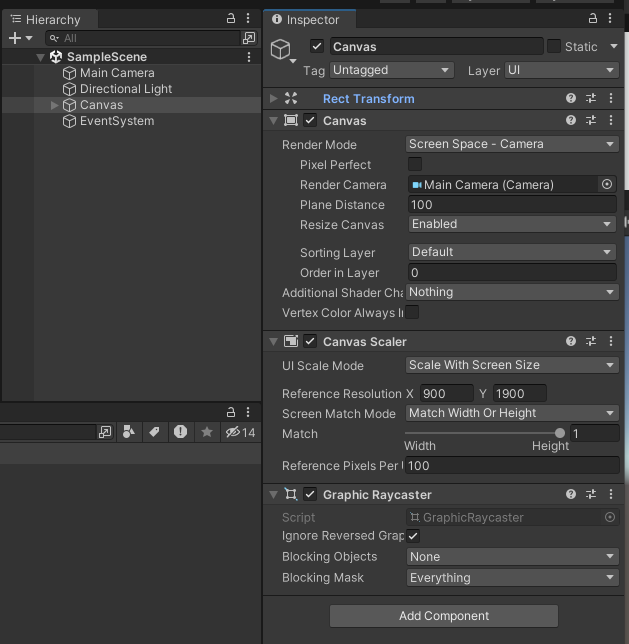
캔버스 설정도 해주고 ~
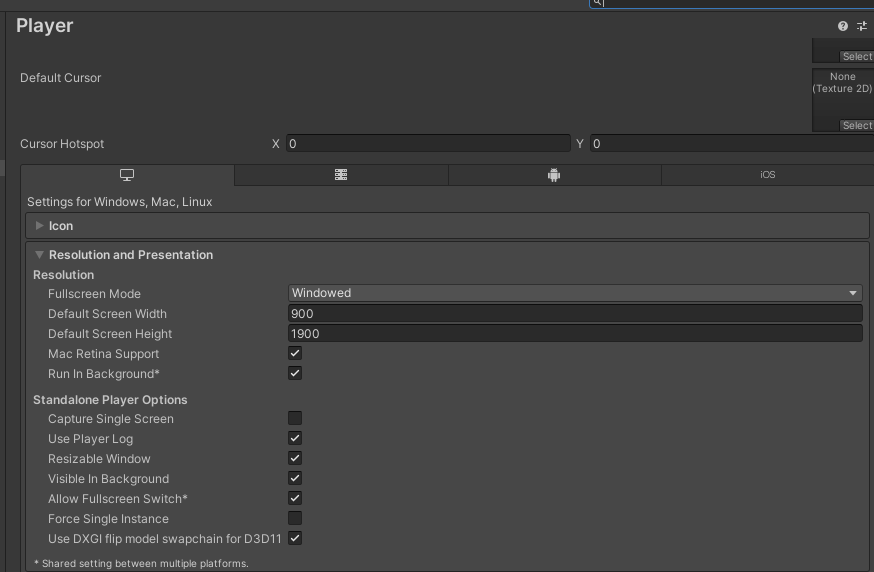
빌드시 너무 커서 크기 조절이 가능하게끔 설정할 것이다.
Player Setting 에서 Screen Width, Height, Resizable Window 설정.
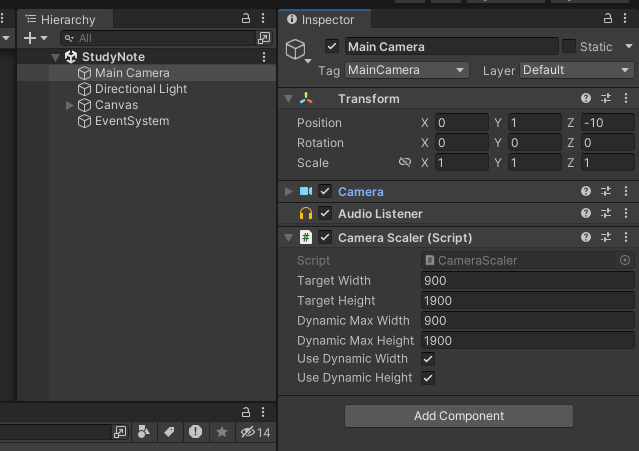
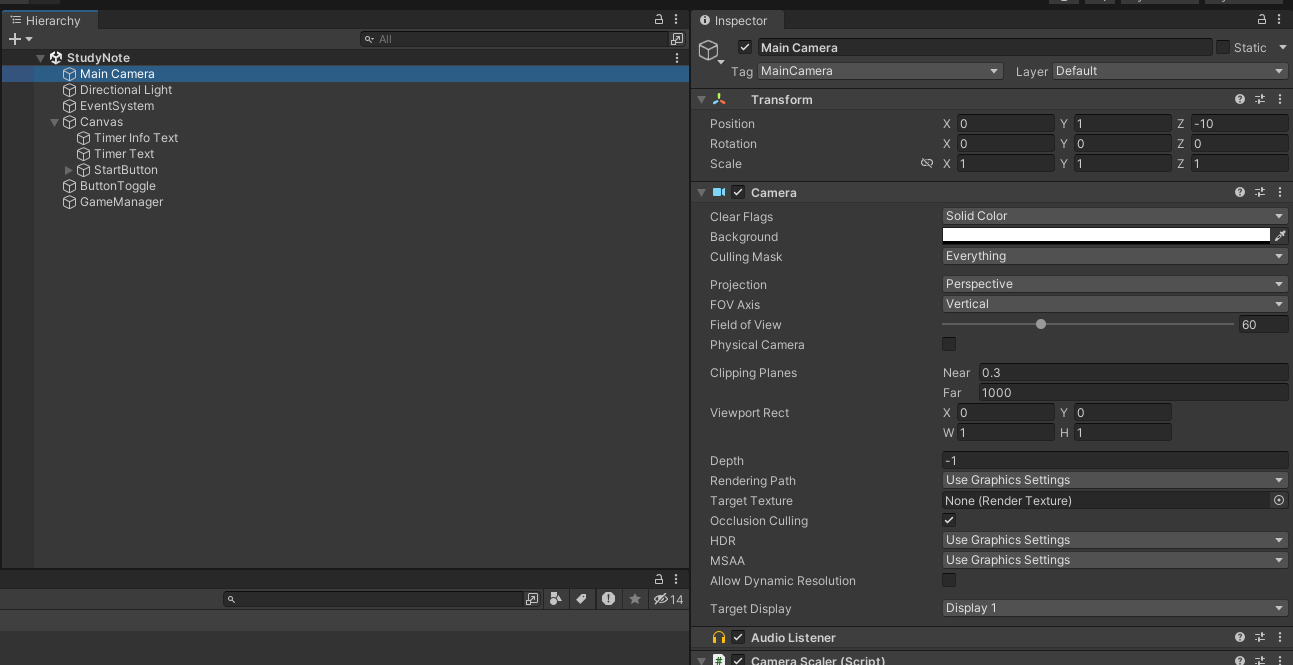
CameraScaler 코드를 짜주고,
using UnityEngine;

[RequireComponent(typeof(Camera))]
public class CameraScaler : MonoBehaviour
{
    [SerializeField] protected int targetWidth = 900;
    [SerializeField] protected int targetHeight = 1900;

    [SerializeField] protected int dynamicMaxWidth = 900;
    [SerializeField] protected int dynamicMaxHeight = 1900;

    [SerializeField] protected bool useDynamicWidth = false;
    [SerializeField] protected bool useDynamicHeight = false;

    private Camera cam;
    private int lastWidth = 0;
    private int lastHeight = 0;

    private float orthoSize;

    protected void Awake()
    {
        cam = GetComponent<Camera>();
        orthoSize = cam.orthographicSize;
    }

    protected void Update()
    {
        if (Screen.width != lastWidth || Screen.height != lastHeight)
        {
            UpdateCamSize();
            lastWidth = Screen.width;
            lastHeight = Screen.height;
        }
    }

    private void UpdateCamSize()
    {
        float targetAspect;
        float screenAspect = (float)Screen.width / (float)Screen.height;
        float ortoScale = 1f;

        if (useDynamicWidth)
        {
            float minTargetAspect = (float)targetWidth / (float)targetHeight;
            float maxTargetAspect = (float)dynamicMaxWidth / (float)targetHeight;
            targetAspect = Mathf.Clamp(screenAspect, minTargetAspect, maxTargetAspect);
        }
        else
        {
            targetAspect = (float)targetWidth / (float)targetHeight;
        }

        float scaleValue = screenAspect / targetAspect;

        Rect rect = new();
        if (scaleValue < 1f)
        {
            if (useDynamicHeight)
            {
                float minTargetAspect = (float)targetWidth / (float)dynamicMaxHeight;
                if (screenAspect < minTargetAspect)
                {
                    scaleValue = screenAspect / minTargetAspect;
                    ortoScale = minTargetAspect / targetAspect;
                }
                else
                {
                    ortoScale = scaleValue;
                    scaleValue = 1f;
                }
            }

            rect.width = 1;
            rect.height = scaleValue;
            rect.x = 0;
            rect.y = (1 - scaleValue) / 2;
        }
        else
        {
            scaleValue = 1 / scaleValue;
            rect.width = scaleValue;
            rect.height = 1;
            rect.x = (1 - scaleValue) / 2;
            rect.y = 0;
        }

        cam.orthographicSize = orthoSize / ortoScale;
        cam.rect = rect;
    }
}
메인 카메라에 스크립트를 달아줬다.
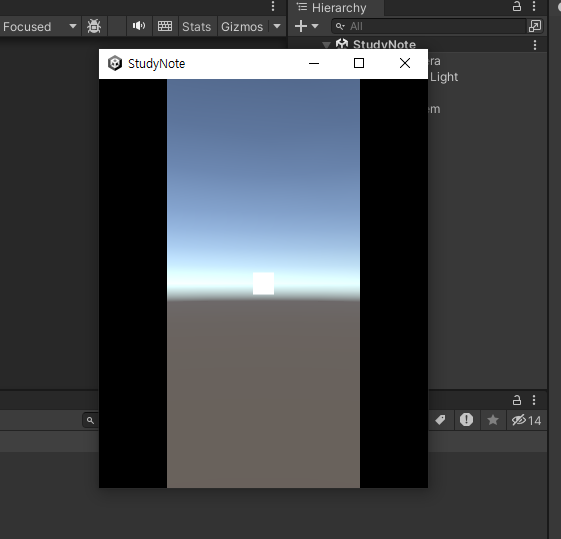
좋다 이제 스크린 크기 설정이 완료됐다.
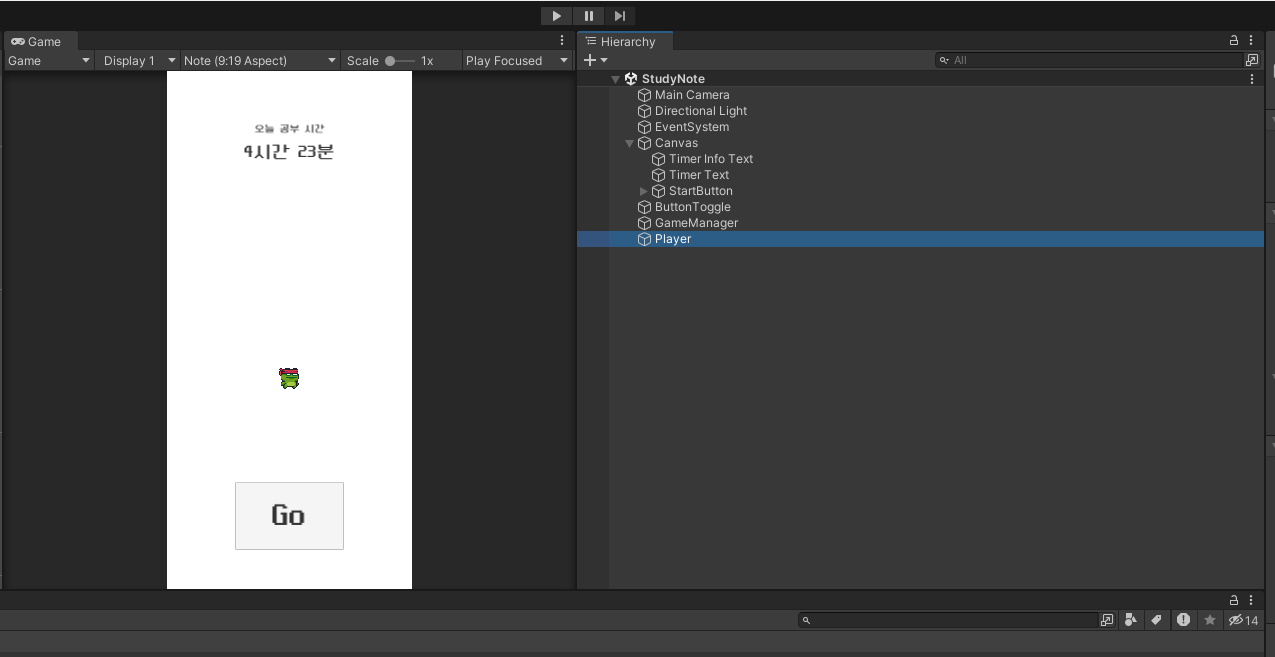
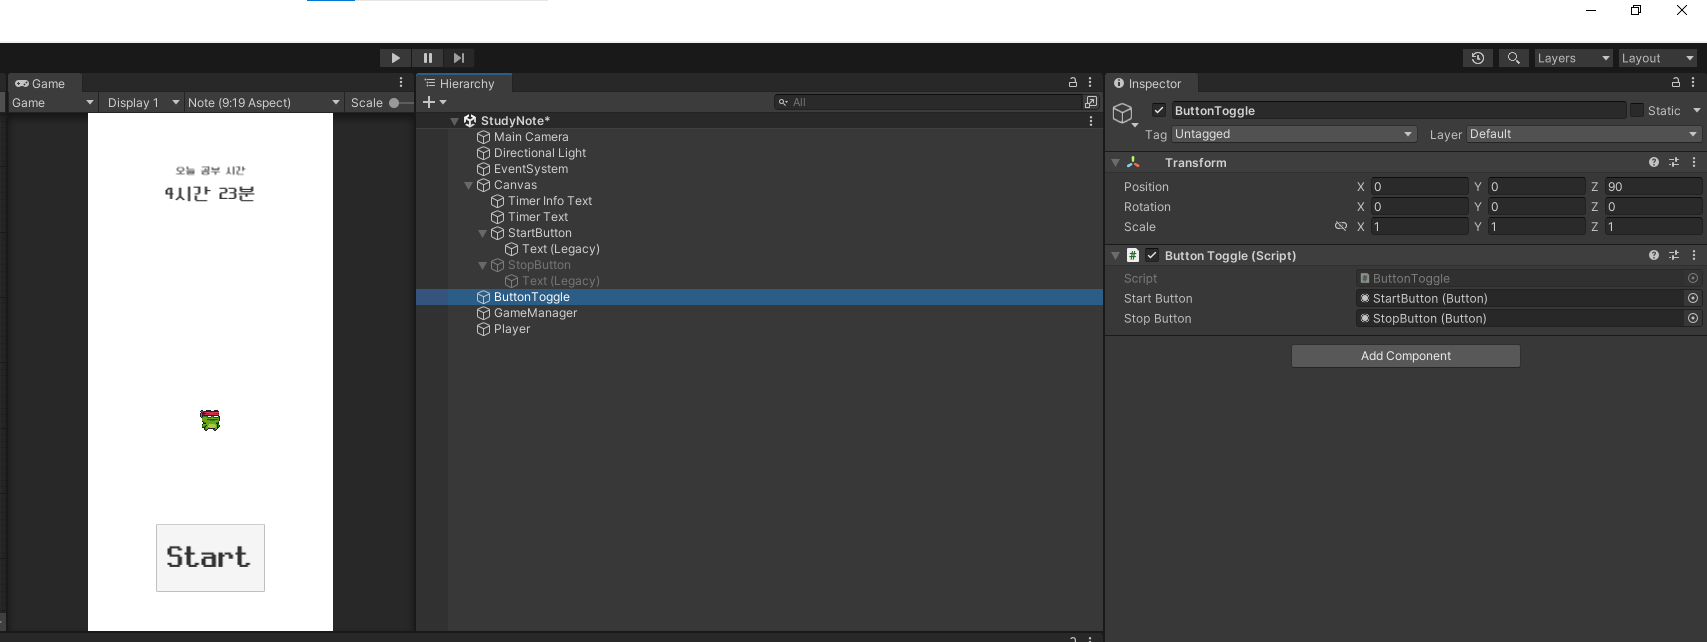
기본적인 UI 배치는 이렇게 했다.
너무 밋밋하니까 가운데에 게임 캐릭터를 하나 추가할 것이다.
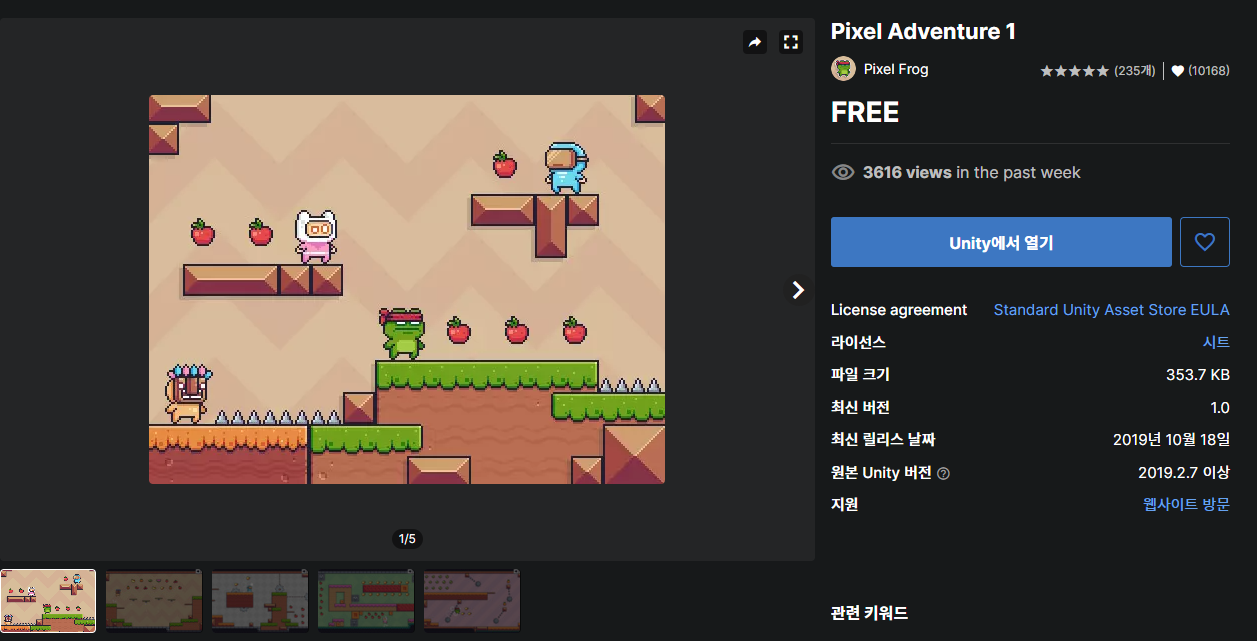
아래 에셋을 다운받았다.
https://assetstore.unity.com/packages/2d/characters/pixel-adventure-1-155360
UI에서 배경을 빼주고 카메라에 추가했다.
귀여운 플레이어를 추가해주고 스크립트를 짜보자.
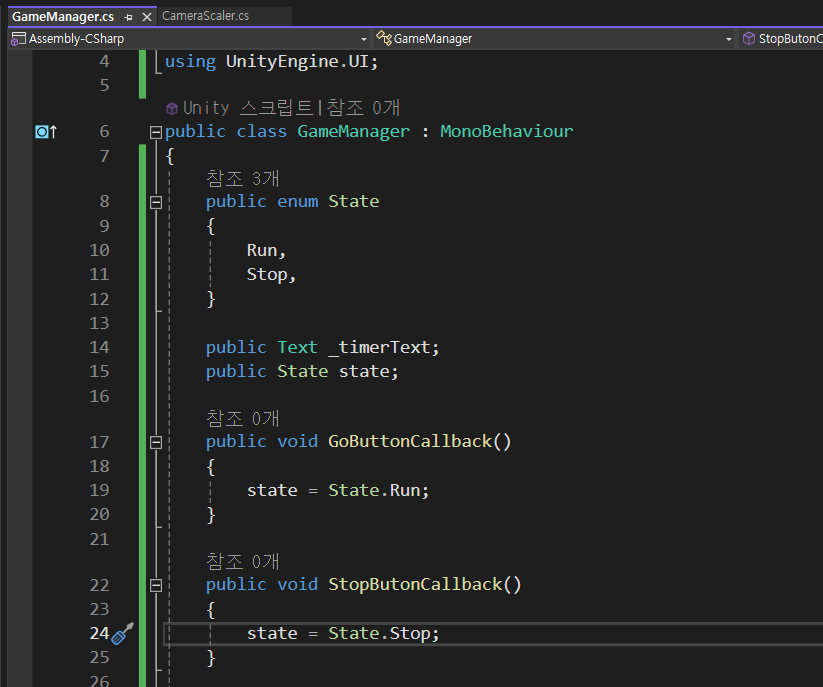
GameManager에 State를 추가해주고, 이 State에 따라 플레이어를 움직이게 할 것이다.
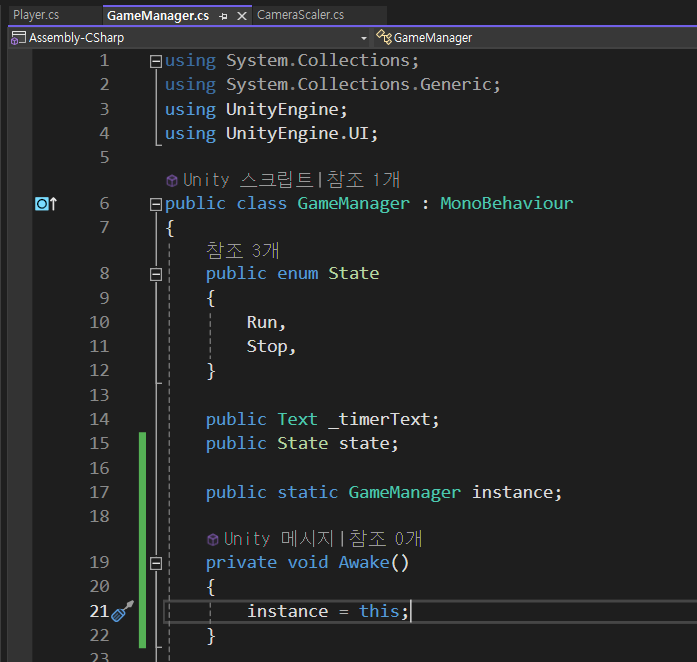
그리고 또한, Player에서 GameManager에 편하게 접근하기 위해 GameManager를 SingleTon으로 바꿔줬다.
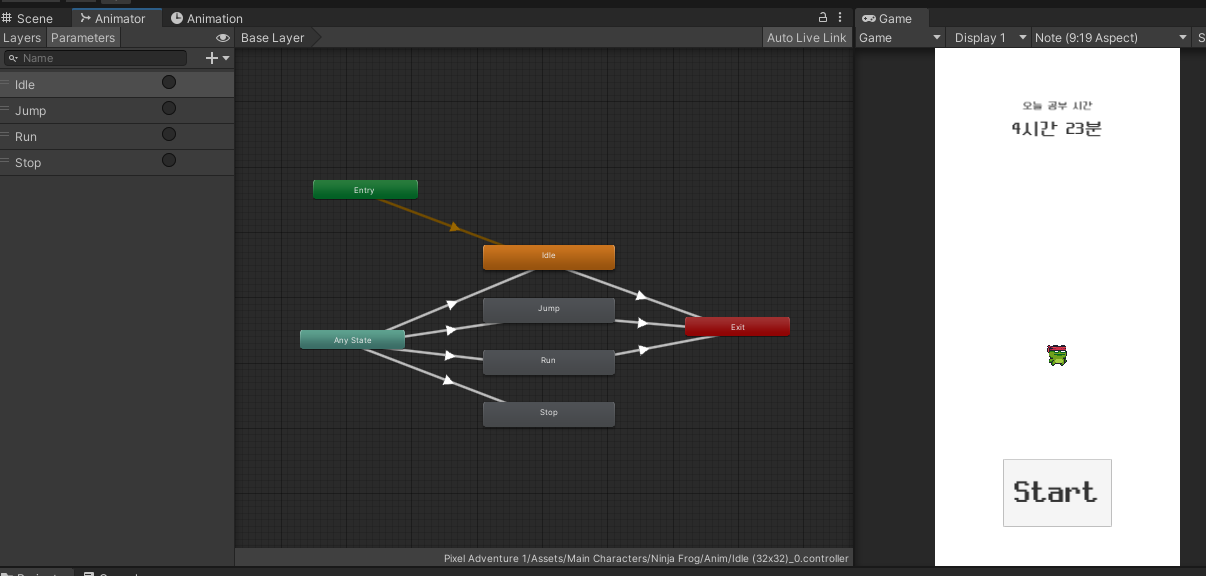
Player 애니메이션을 추가해주고. GameManager의 State 변화에 따라 동작하게 해주었다.
using System.Collections;
using System.Collections.Generic;
using UnityEngine;
public class Player : MonoBehaviour
{
public Animator _anim;
private void Start()
{
// 3초마다 랜덤으로 애니메이션 트리거를 실행
StartCoroutine(PlayRandomAnimation());
}
public void Update()
{
if (GameManager.instance.state != GameManager.State.Run)
{
_anim.SetTrigger("Stop");
}
}
IEnumerator PlayRandomAnimation()
{
while (true)
{
if (GameManager.instance.state == GameManager.State.Run)
{
int randomAnim = Random.Range(0, 3);
switch (randomAnim)
{
case 0:
_anim.SetTrigger("Idle");
break;
case 1:
_anim.SetTrigger("Jump");
break;
case 2:
_anim.SetTrigger("Run");
break;
}
}
// 3초 대기
yield return new WaitForSeconds(3f);
}
}
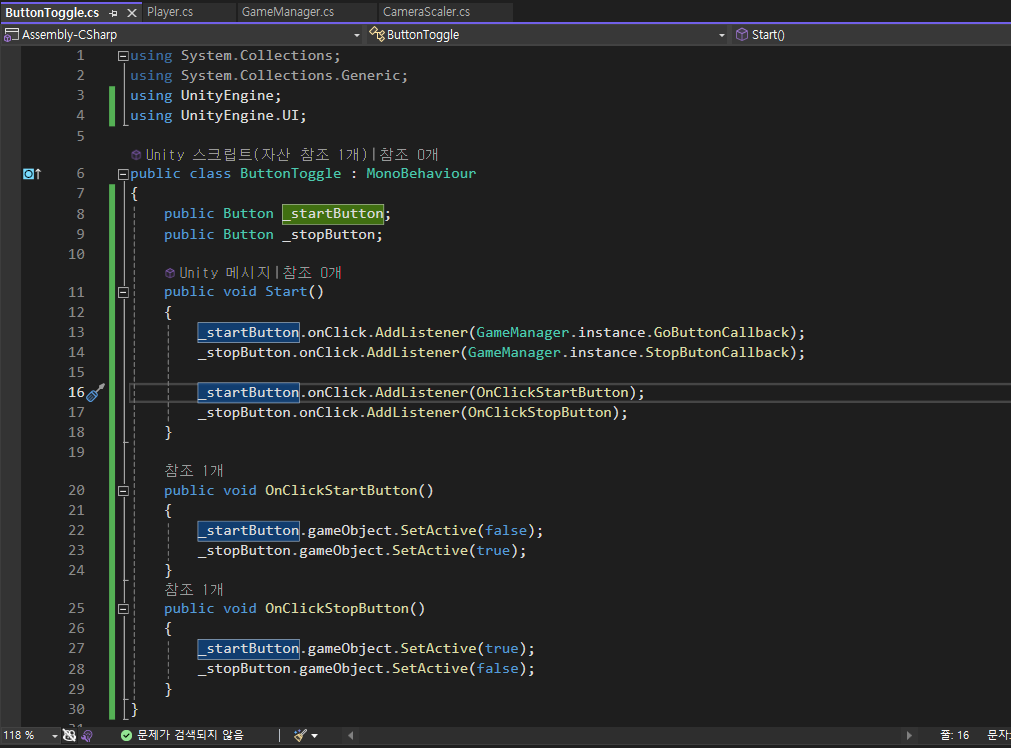
}StartButton, StopButton Toggle 스크립트도 만들었다.
게임 매니저의 스크립트를 아래와 같이 바꿔주면 완성된다.
using System.Collections;
using System.Collections.Generic;
using UnityEngine;
using UnityEngine.UI;

public class GameManager : MonoBehaviour
{
    public enum State
    {
        Run,
        Stop,
    }

    public Text _timerText;
    public State state;

    public static GameManager instance;

    private float elapsedTime = 0f; // Time in seconds
    private bool isTimerRunning = false;

    private void Update()
    {
        if (state == State.Run && isTimerRunning)
        {
            elapsedTime += Time.deltaTime;
            UpdateTimerDisplay(elapsedTime);
        }
    }

    private void Awake()
    {
        instance = this;
        FindObjectOfType<ButtonToggle>().Init();
        FindObjectOfType<Player>().Init();
    }

    public void StartButtonCallback()
    {
        state = State.Run;
        isTimerRunning = true; // Start or resume the timer
    }

    public void StopButonCallback()
    {
        state = State.Stop;
        isTimerRunning = false; // Pause the timer
    }

    private void UpdateTimerDisplay(float time)
    {
        // Convert time to hours, minutes, seconds
        int hours = Mathf.FloorToInt(time / 3600);  // 1 hour = 3600 seconds
        int minutes = Mathf.FloorToInt((time % 3600) / 60);  // 1 minute = 60 seconds
        int seconds = Mathf.FloorToInt(time % 60);

        // Format the string as "4 hours 12 minutes 12 seconds"
        _timerText.text = string.Format("{0:D2}시간 {1:D2}분 {2:D2}초", hours, minutes, seconds);
    }

    public void InitButtonCallback()
    {

    }
}
완성 !

Better than doing nothing