1. 학습 목표
- Ajax를 이용해 웹페이지에서 서버와 비동기 통신하는 방법 대해 알아본다.
- Bootstrap, OPEN API 등을 활용해서 자신의 웹페이지를 만들어본다.
2. 9주차 수업 후기
💡 6주차 수업 듣고 느낀점 이야기, 각자 진행상황 공유회사에서도 프론트 엔드 공부를 조금씩 하고 있는데, 이번 기회에 Vue를 제대로 사용할 수 있어서 좋았던 것 같습니다. API를 연결하고, DOM를 구성해 나가면서 프론트엔드의 아주 기초 중 기초를 어느 정도 해봤다고 말할 수 있을 수준이 된 것 같습니다.
3. 실습
수업 예제 코드
- 버튼 onClick 예제
<html> <head> <title>getElementById 예제</title> </head> <body> <p id="para">어떤 글</p> <button onclick="changeColor('blue');">blue</button> <button onclick="changeColor('red');">red</button> <script> function changeColor(newColor) { var elem = document.getElementById('para'); elem.style.color = newColor; } </script> </body> </html> - 버튼 클릭 이벤트 핸들러 예제
<html> <head> <title>getElementById 예제</title> </head> <body> <p id="para">어떤 글</p> <button id="btn_blue">blue</button> <button id="btn_red">red</button> <script> function changeColor(newColor) { var elem = document.getElementById('para'); elem.style.color = newColor; } document.getElementById('btn_blue').addEventListener('click', function(event){ var elem = document.getElementById('para'); elem.style.color = 'blue'; }); document.getElementById('btn_red').addEventListener('click', ()=>changeColor('red')); </script> </body> </html> - jQuery Ajax 예제
-
예시 API 사이트
<html>

<head>
  <title>getElementById 예제</title>
</head>

<body>
  <p id="para">어떤 글</p>
  <button id="btn_blue">blue</button>
  <button id="btn_red">red</button>

  <script src="https://ajax.googleapis.com/ajax/libs/jquery/3.6.0/jquery.min.js"></script>
  <script>
    function changeColor(newColor) {
      var elem = document.getElementById('para');
      elem.style.color = newColor;
    }

    document.getElementById('btn_blue').addEventListener('click', function (event) {
      var elem = document.getElementById('para');
      elem.style.color = 'blue';

      $.ajax({
        url: 'https://jsonplaceholder.typicode.com/posts/1',
        type: 'GET',
        success: function (data) {
          console.log(data);
          console.log(data.title);

          document.getElementById('para').innerText = data.title;

        },
        error: function (error) {
          console.error(error);
        }
      });

      /*
      $.ajax({
        url: 'https://jsonplaceholder.typicode.com/posts',
        type: 'GET',
        success: function (data) {
          console.log(data);
          console.log(data[0]);
          document.getElementById('para').innerText = data[0].title;

        },
        error: function (error) {
          console.error(error);
        }
      });
      */

    });

    document.getElementById('btn_red').addEventListener('click', () => changeColor('red'));

  </script>

</body>

</html>
-
과제 체크리스트
- 앱런칭 프로젝트 전 부족한 부분 복습하기
- API 설계 및 구현 과제 보충해서 더 발전시키기
- (선택) 자신이 만든 API 또는 OPEN API 활용해서 웹페이지 만들기
- 과제 결과물 아래에 첨부해주세요! ( 캡쳐사진, 동영상, 배포 링크 등의 형태로 제출 )
API 명세서
과제 수행 내용
기존에 준비해놨던 야놀자 API의 Front-end 페이지를 Vue.js를 사용해 SPA로 개발해봤습니다.
Github 링크
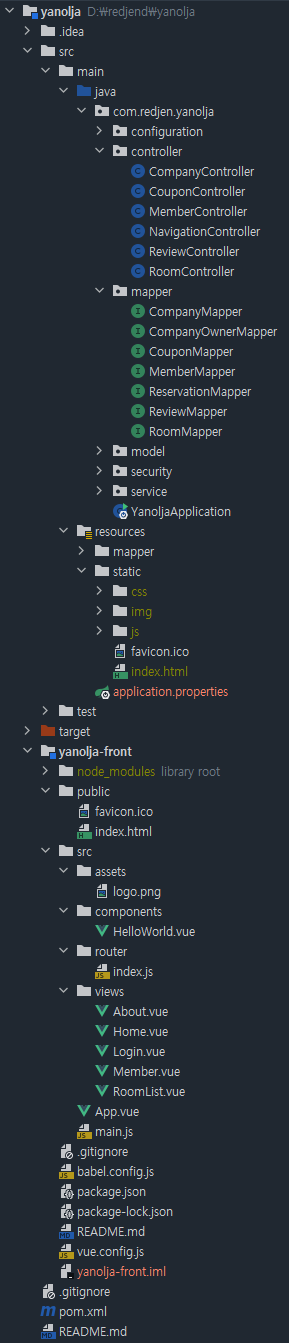
프로젝트 전체 구조는 상기와 같이 개발했습니다.
Front : Vue 3 + BootstrapVue
Back : Spring Boot 2.5.6 + MyBatis 3 + AWS RDS (MySQL)
프론트 빌드 툴은 npm을 사용했고, 빌드한 index.html 파일이 Spring 내부의 src/main/resources/static 폴더 안에 떨어지게 해서 화면이 보여지게 했습니다.
intellij 빌드 환경은 다음과 같이 구성했습니다.
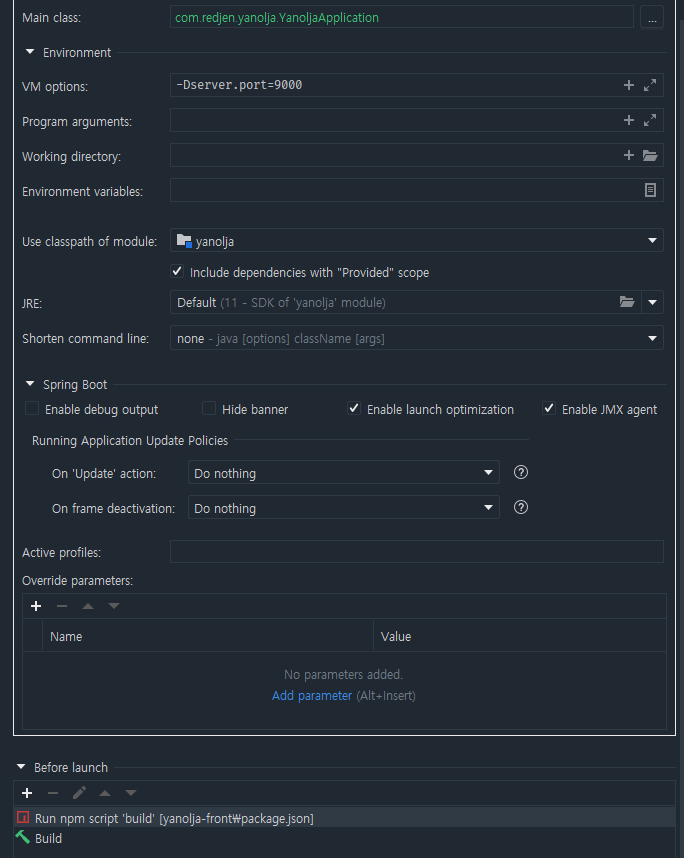
tomcat 서버는 9000번 포트에서 작동하게 했고, npm run serve로는 기본 8080 포트에서 작동하게 하였고, 다음과 같이 vue.config.js 파일을 작성하여 프록시를 적용, CORS 문제를 해결하였습니다.
module.exports = {
outputDir: path.resolve(__dirname, "../" + "src/main/resources/static"),
devServer: {
proxy: {
'/api': {
target: 'localhost:9000',
ws: true,
changeOrigin: true
},
}
}
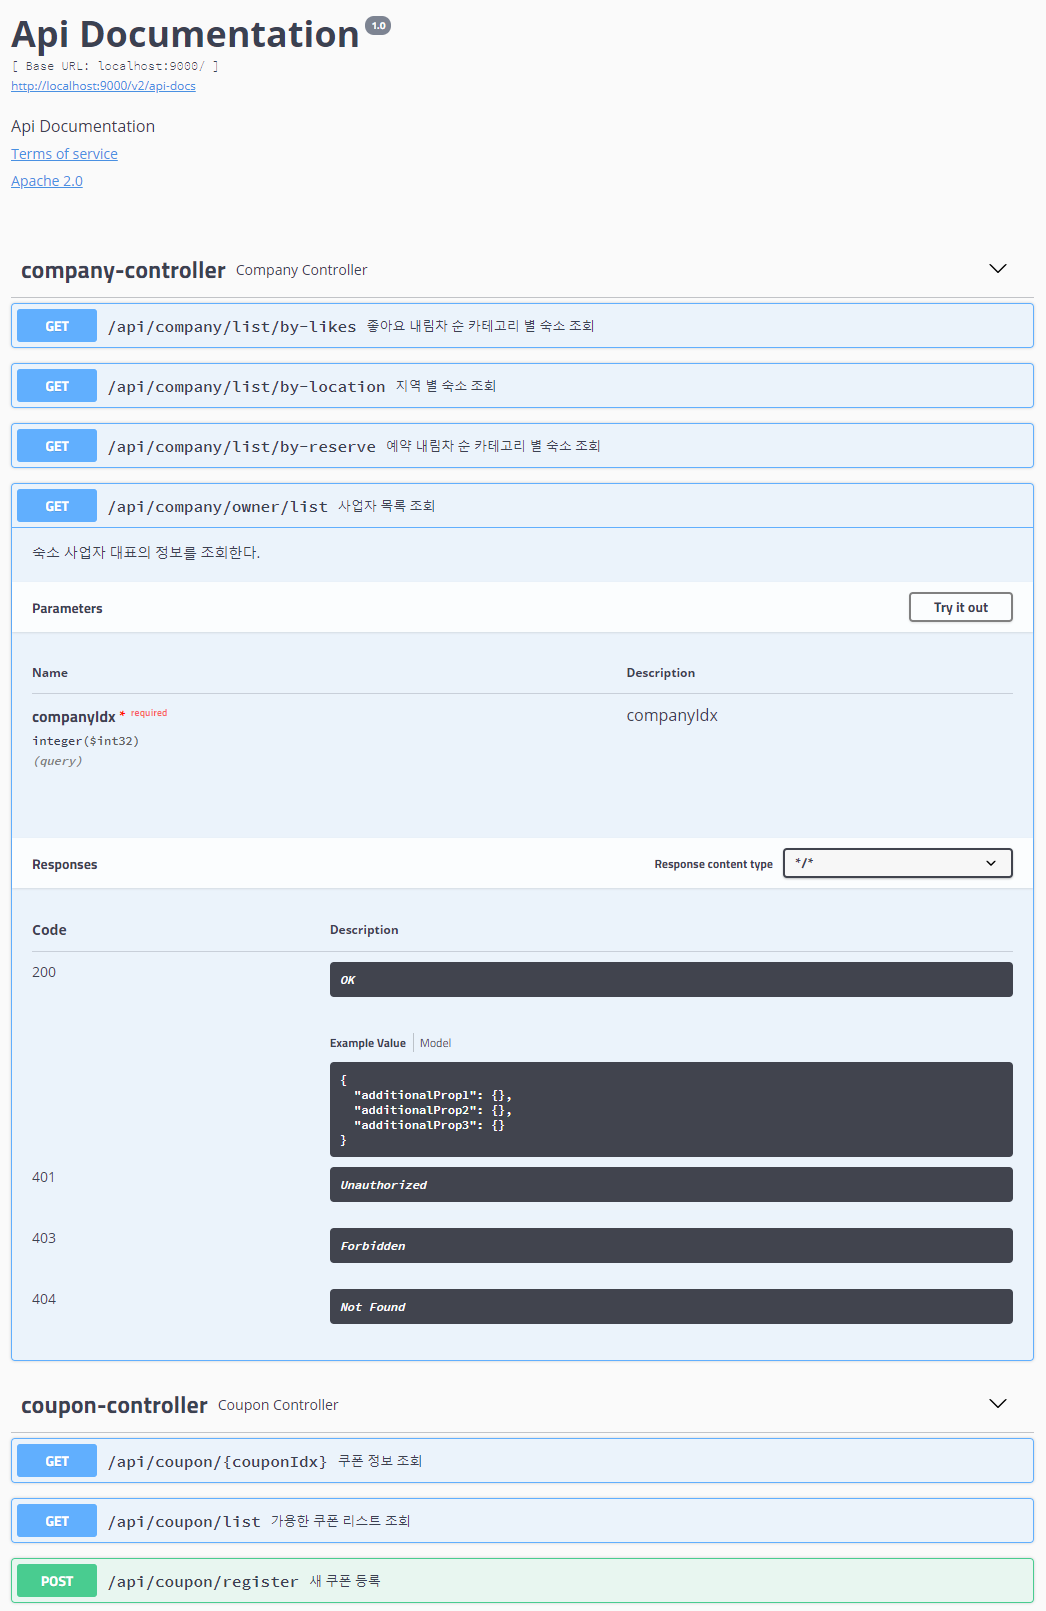
}이전에 적용한 Swagger도 잘 작동하고 있는 모습입니다.
간단하게 만들어 본 못생긴 툴바와 메인 화면의 모습입니다.
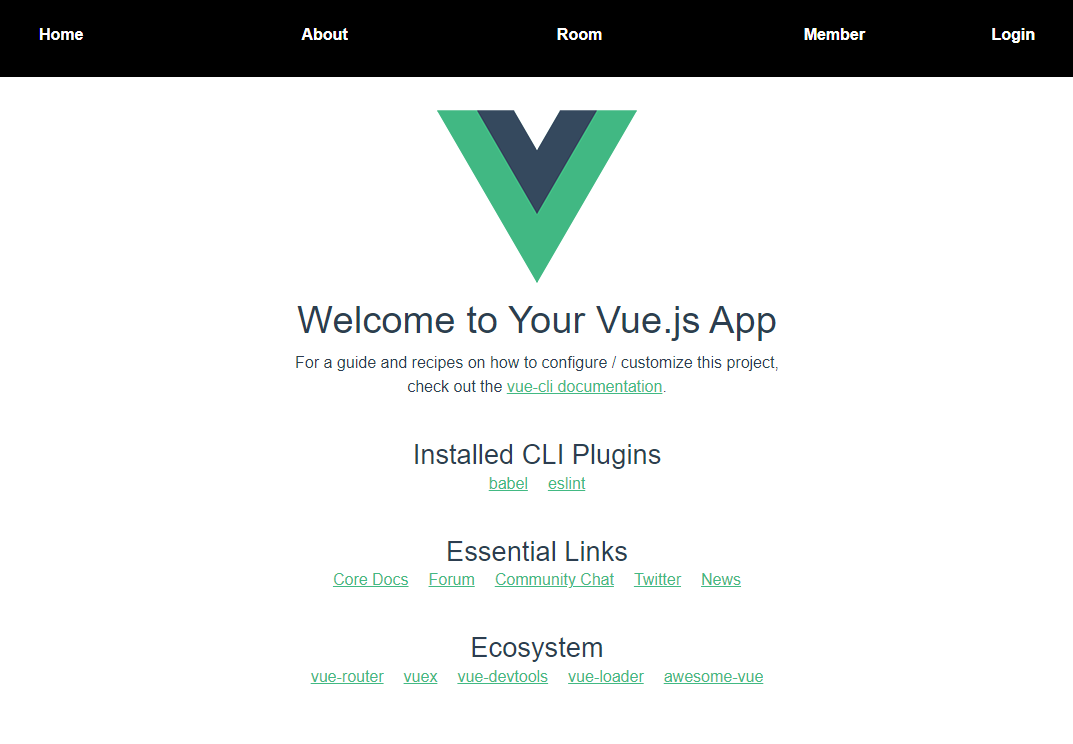
이 글을 정리하다가 BootstrapVue에 b-navbar라는 게 있는 줄 알았습니다 😂 조만간 툴바의 리뉴얼을 진행할 예정입니다. https://bootstrap-vue.org/docs/components/navbar 참고!
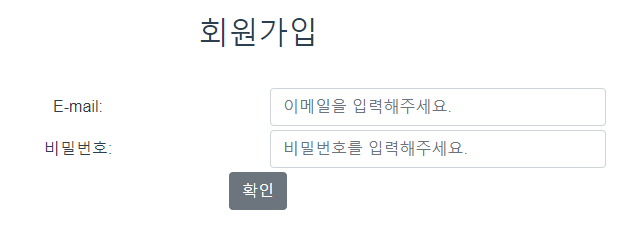
/member에서는 회원가입을 진행할 수 있게 구성했습니다.
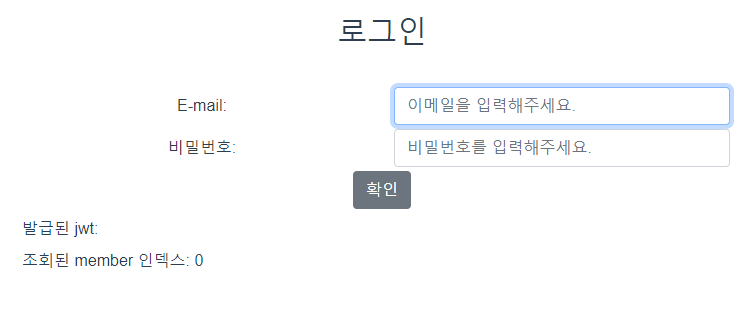
마찬가지로 /login에서는 로그인을 할 수 있게 구성했습니다. 백엔드에서 리턴해주는 jwtKey 값과 member 인덱스 값을 화면에 출력만 해보게 일단 구현해 둔 상태입니다.
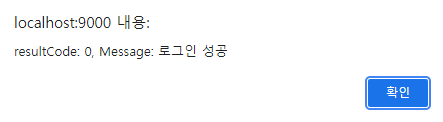
로그인이 성공되었음을 알리는 alert 창도 나오고~
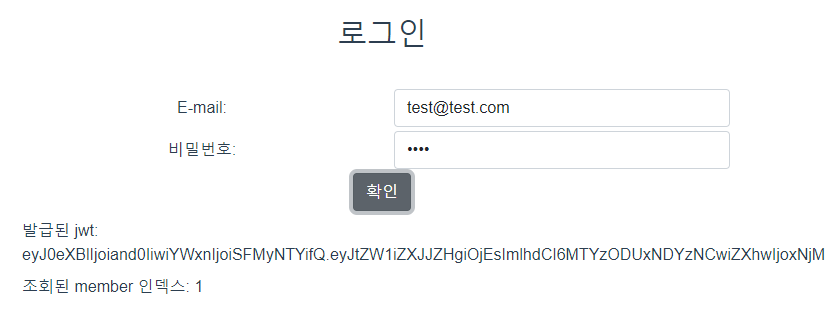
아래와 같이 jwtKey를 로그인의 리턴 값으로 받아오게 했습니다.
jwtKey를 사용해서 로그인 상태를 구현하는 방법에 대해 찾아보니 옵션이 3가지 정도 있는 것 같았습니다.
- refreshToken을 사용하는 방법
- jwt를 localStorage에 저장하는 방법
- jwt를 cookie에 저장하는 방법
refreshToken을 사용해서 jwt를 사용하는 것이 보안상 가장 안전하기 때문에, 가능한 한 추후 구현을 할 때 고려하려 합니다.
/room으로 이동해서 예약하고자 하는 시간을 선택하고, 그 시간에 예약이 가능한 방 정보를 불러오도록 구성해봤습니다.
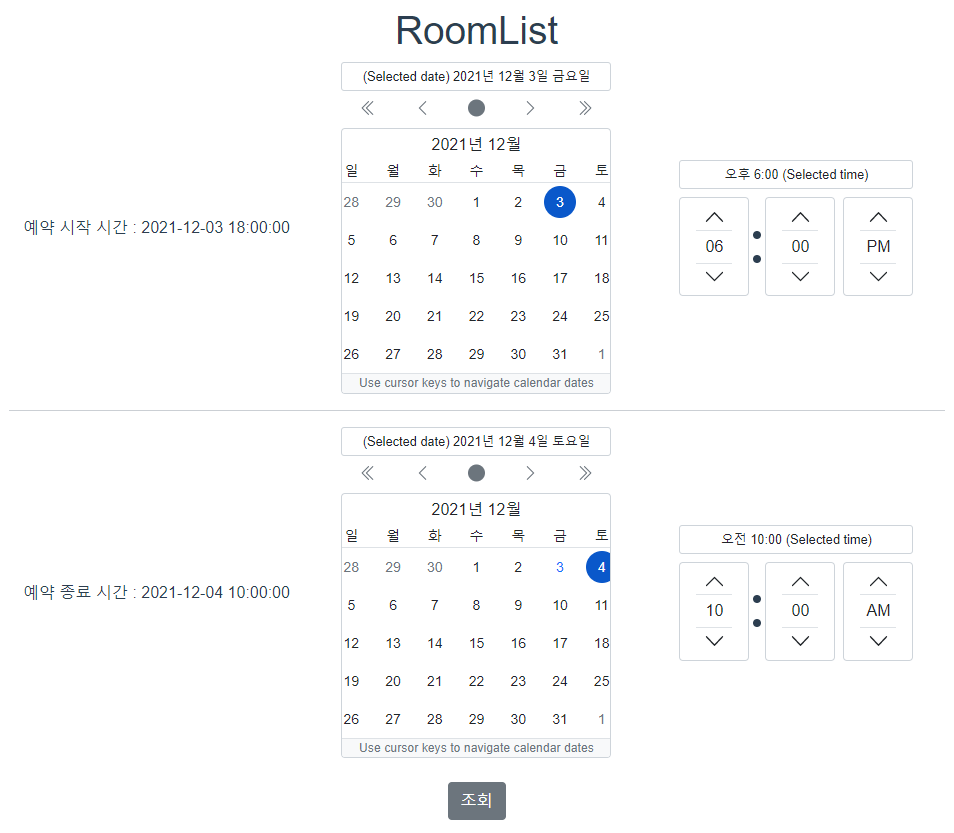
조회 버튼을 클릭하면

이렇게 예약 가능한 방들의 정보가 표로 나오게 했습니다. v-if를 사용해서 조회버튼을 클릭했을 때 시간 선택이 아닌 표를 그리도록 하였고, 아래는 axios로 api를 연결한 자바스크립트 함수입니다.
getRoomListAvailable() {
      const conditionStart = this.startDate + " " + this.startTime
      const conditionEnd = this.endDate + " " + this.endTime

      const params = new URLSearchParams([[ "conditionStart", conditionStart], ["conditionEnd", conditionEnd]])
      axios
        .get("http://localhost:9000/api/room/search/available", { params})
        .then(res => {
          this.roomSearchResult = res.data.data
          this.toggleSearched()
        })
        .catch(err => {
          alert(err)
        })
    }
추후에 표로 출력된 숙소 정보를 클릭하였을 때 예약 절차를 밟을 수 있는 페이지로 안내할 예정입니다.
8주차에 너무 바빠서 정리를 못했던 자기 소개 페이지입니다.
https://themewagon.com/themes/titan 부트스트랩 테마를 사용해서 단순 구현했습니다.
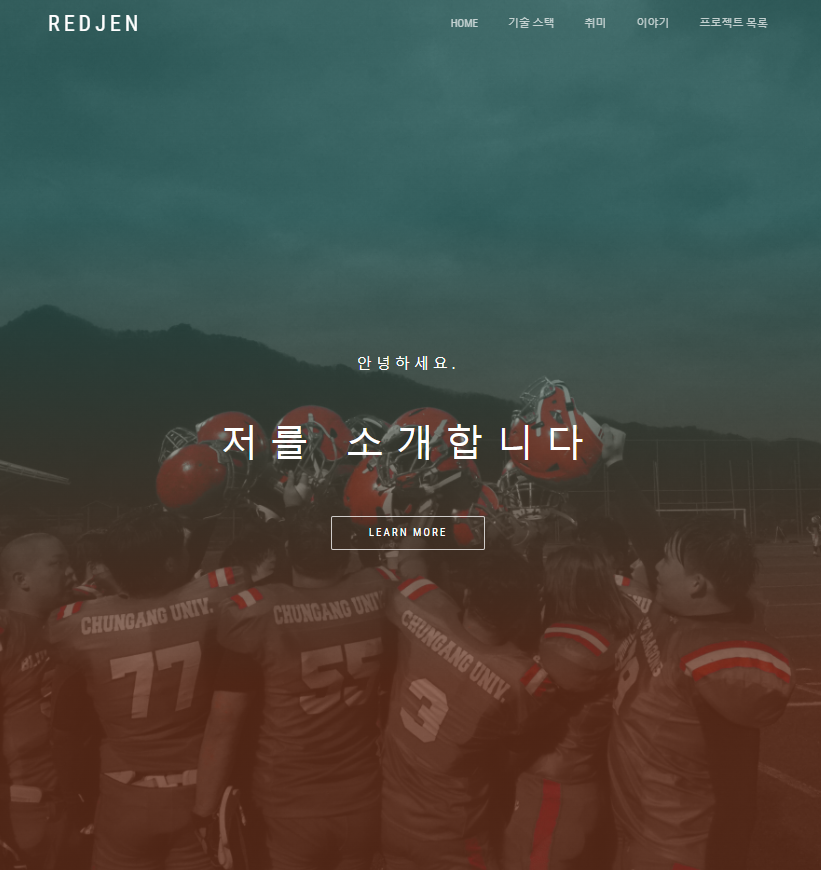
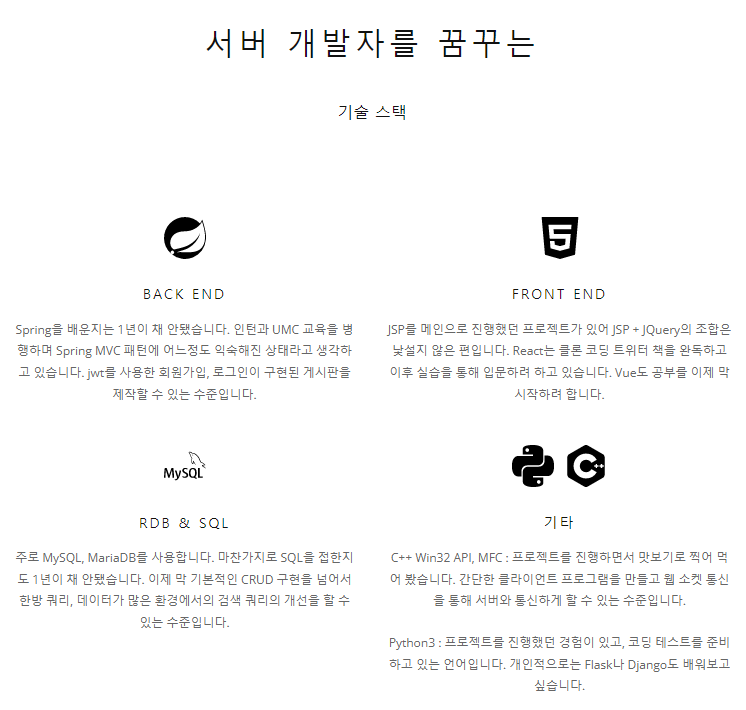


https://redjen.shop 에 올렸다가 AWS 프리티어 요금 제한 알림이 와서 지금은 인스턴스를 내려놓은 상태입니다 🙂
4. 핵심 키워드
- 정적 / 동적 웹페이지 동적 웹 페이지란?
- HTML DOM
- 웹 브라우저 렌더링 [Browser] 브라우저 렌더링 브라우저 렌더링과 최적화 - chanyeong
- Ajax
- 동기 / 비동기 서버 측 JS - 동기와 비동기 1 : 개요
- SPA(Single Page Application) 웹 SPA(Single Page Application) 에 대해서
5. 참고 자료