어제 간단한 채팅을 구현했었는데 이제 스타일링과 나머지 부족한 부분을 채워넣는 작업을 마저 진행하고자 한다.
노드 서버는 잠시 끄고 index.html을 라이브 서버로 켜주었다.
<div class="wrapper">
  <div class="user-container">
    <label for="nickname">대화명</label>
    <input type="text" id="nickname" />
  </div>
  <div class="display-container">
    <ul class="chatting-list">
      <!-- 채팅하나씩 li로 집어 넣을 것 -->
      <li class="sent">
        <span class="profile">
          <span class="user">아이유</span>
          <img class="image" src="https://placeimg.com/50/50/any" alt="any" />
        </span>
        <span class="message">안녕</span>
        <span class="time">오후 2:10</span>
      </li>
      <li class="received">
        <span class="profile">
          <span class="user">아이유</span>
          <img class="image" src="https://placeimg.com/50/50/any" alt="any" />
        </span>
        <span class="message">안녕</span>
        <span class="time">오후 2:10</span>
      </li>
    </ul>
  </div>
  <div class="input-container">
    <span>
      <input type="text" class="chatting-input" />
      <button class="send-button">전송</button>
    </span>
  </div>
</div>
css 스타일을 입혀서 작업할 것이기 때문에 html의 요소를 추가 및 수정하였다.
li 태그 스타일도 확인하기 위해 임의로 작성해 두었다.
* {
  margin: 0;
  padding: 0;
}

html,
body {
  height: 100%;
}

.wrapper {
  height: 100%;
  width: 100%;
  display: flex;
  flex-direction: column;
  overflow: hidden;
}

.user-container {
  background: #a9bdce;
  flex: 1;
  display: flex;
  justify-content: flex-start;
  align-items: center;
  padding: 0.5rem;
}

.user-container label {
  font-size: 14px;
  margin-right: 1rem;
}

.user-container input {
  border-radius: 3px;
  border: none;
  height: 100%;
}

.display-container {
  background: #b2c7d9;
  flex: 12;
  overflow-y: scroll;
}

.input-container {
  flex: 1;
  display: flex;
  justify-content: stretch;
  align-items: center;
  padding: 3px;
}

.input-container span {
  display: flex;
  justify-content: flex-start;
  align-items: center;
  padding: 0.3rem;
  width: 100%;
  height: 100%;
}

.chatting-input {
  font-size: 12px;
  height: 100%;
  flex: 8;
  border: none;
}

.send-button {
  flex: 1;
  background: #ffeb33;
  border: none;
  height: 100%;
  border-radius: 3px;
}

.chatting-list li {
  width: 90%;
  padding: 0.3rem;
  display: flex;
  justify-content: flex-start;
  align-items: flex-end;
  margin-top: 0.5rem;
}

.profile {
  display: flex;
  flex-direction: column;
  align-items: center;
  justify-content: center;
  flex: 1;
}

.profile .user {
  font-size: 10px;
  margin-bottom: 0.2rem;
}

.profile .image {
  border-radius: 50%;
  object-fit: cover;
  width: 50px;
  height: 50px;
}

.message {
  border-radius: 5px;
  padding: 0.5rem;
  font-size: 12px;
  margin: 0 5px;
  flex: 7;
}

.time {
  font-size: 10px;
  margin: 0 5px;
}

.sent {
  flex-direction: row-reverse;
  float: right;
}

.sent .message {
  background: #ffeb33;
}

.received .message {
  background: #fff;
}
스타일 작성까지 완료하면 다음과 같은 화면이 완성된다.
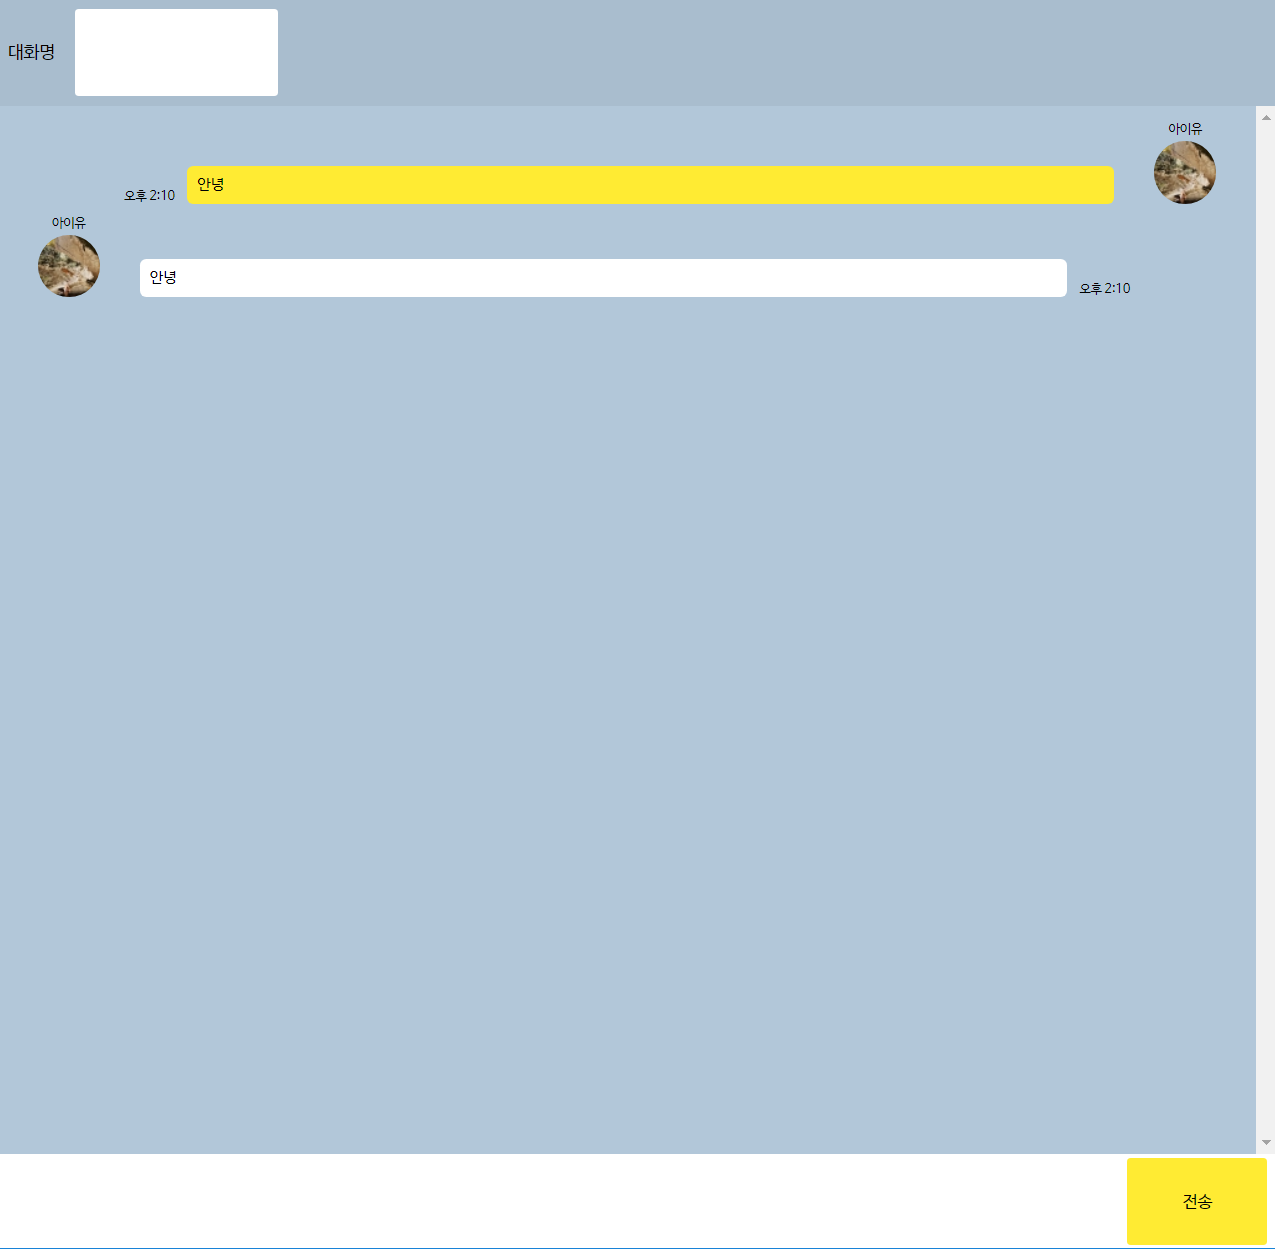
스타일링은 조금 더 손보면 좋겠지만 우선은 기능 구현 공부에 중점을 두고자 생략하기로 했다.
이제 라이브 서버를 끄고 다시 nodemon으로 서버를 켜준 후 app.js 파일을 수정해주었다.
socket.on('chatting', (data) => {
  const { name, msg, time } = data;
  const item = new LiModel(name, msg, time);
  item.makeLi();
});

function LiModel(name, msg, time) {
  this.name = name;
  this.msg = msg;
  this.time = time;

  this.makeLi = () => {
    const li = document.createElement('li');
    li.classList.add(nickname.value === this.name ? 'sent' : 'received');
    const dom = `<span class="profile">
    <span class="user">${this.name}</span>
    <img class="image" src="https://placeimg.com/50/50/any" alt="any" />
  </span>
  <span class="message">${this.msg}</span>
  <span class="time">${this.time}</span>`;

    li.innerHTML = dom;
    chatList.appendChild(li);
  };
}
LiMode이라는 생성자를 만들고 채팅을 칠 때마다 유저의 이름, 메시지, 현재 시간을 li에 넣어서 추가하도록 하는 코드이다.
위 코드는 아직 현재 시간에 대한 코드는 없는 상태이다.
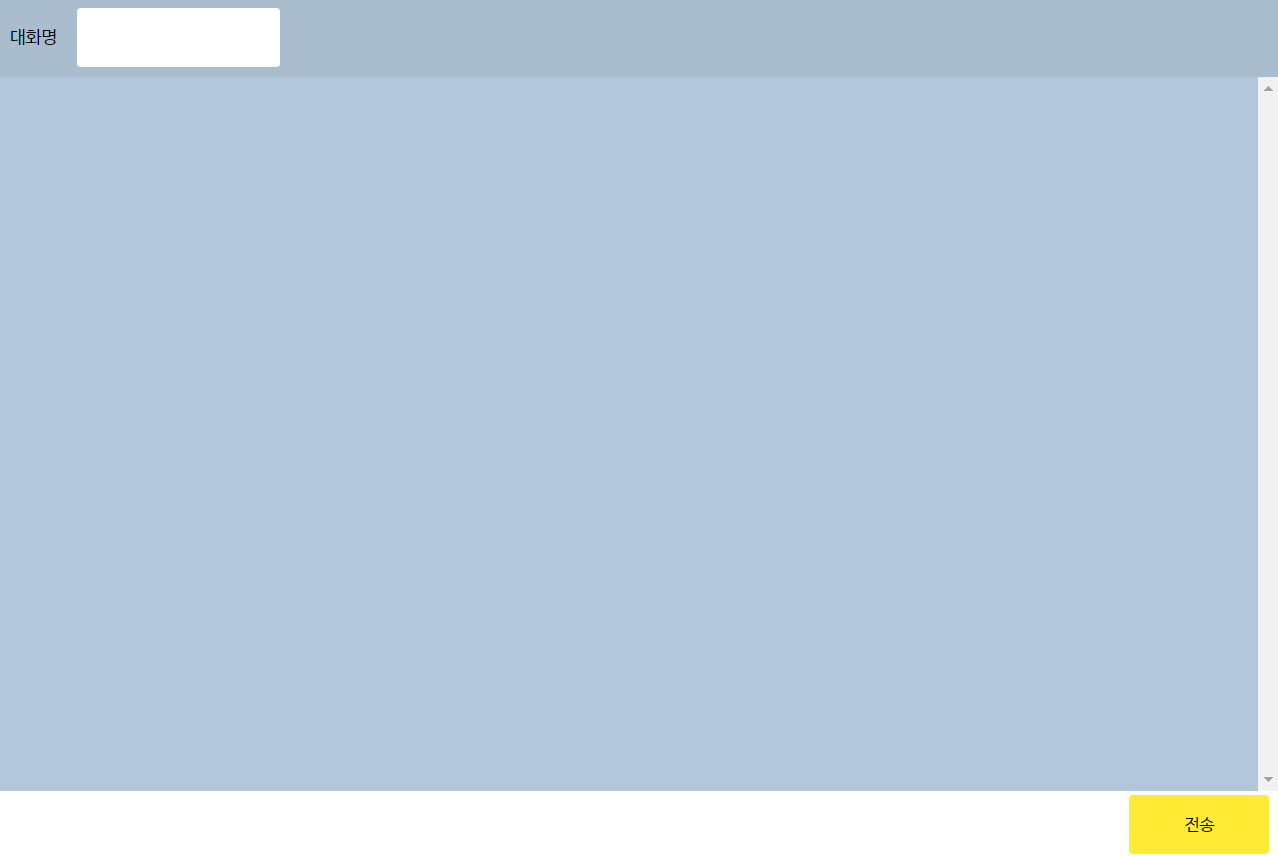
html에서 스타일링을 위해 작성해 놓았던 li는 모두 지우고 테스트 해보았다.

웹 서버를 두개 띄워놓고 테스트 해보았다.
이제 시간 부분과 채팅 데이터가 쌓였을 때 스크롤 부분을 처리해 볼 것이다.
moment 라이브러리 사용하기
/* app.js */
const moment = require('moment');

io.on('connection', (socket) => {
  socket.on('chatting', (data) => {
    const { name, msg } = data;
    io.emit('chatting', {
      name,
      msg,
      time: moment(new Date()).format('h:mm A'),
    });
  });
});
모먼트 라이브러리를 불러온 후, 클라이언트로 받아온 data 파라미터 부분(io.on)을 조금 수정해서 추가해주면 된다.
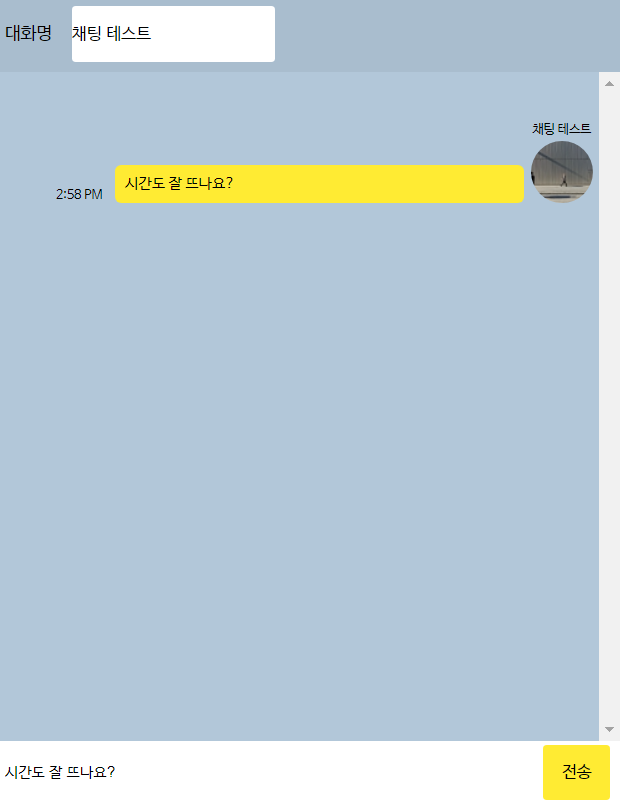
이제 채팅을 보낸 시간도 잘 나오는 것을 확인할 수 있다.
채팅이 쌓였을 때 스크롤의 가장 맨 밑으로 이동되는 코드도 추가해주면 된다.
/* chat.js */
const displayContainer = document.querySelector('.display-container');

socket.on('chatting', (data) => {
  const { name, msg, time } = data;
  const item = new LiModel(name, msg, time);
  item.makeLi();
  displayContainer.scrollTo(0, displayContainer.scrollHeight);
});
scrollTo 메소드를 사용하면 끝!
현재는 마우스로 전송 버튼을 클릭했을 때만 메시지가 보내지기 때문에 enter쳤을 때 메시지가 전송되는 것까지 추가하면,
chatInput.addEventListener('keypress', (e) => {
  if (e.keyCode === 13) {
    send();
  }
});

function send() {
  const param = {
    name: nickname.value,
    msg: chatInput.value,
  };
  socket.emit('chatting', param);
}

sendButton.addEventListener('click', send);
클릭 이벤트의 콜백함수로 들어가는 부분을 따로 함수로 빼서 작성하고 keypress (13번이 엔터) 이벤트 리스너를 추가하면 된다.
여기까지 데브리님 영상을 보며 만든 채팅앱이 완성되었다.
추가적으로 ngrok이라는 라이브러리에 대해서도 설명해주시는데 만든 채팅앱 같은 것들을 다른 컴퓨터로 확인할 때 유용하게 쓰일 수 있는 라이브러리라고 한다!
ngrok도 써보고 웹 소켓에 대한 부분도 추가적으로 공부하면 좋을 것 같다.
참고 자료
데브리 - 바닐라 자바스크립트 채팅 앱! 초보도 할 수 있다! Node JS (express), Socket.io, Flex