🚩 javascript
form, 정규식 관련 응용 예제
- 22일 작성했던 form 예제 이어서 작성
✒️ 코드작성
입력
css
* { margin: 0; padding: 0; }
article { width: 60%; margin: 80px auto; }
h2 { padding: 10px 0; }
input { height: 30px; border: 1px solid #ccc; background: #f7f7f7 ; }
input:focus {
  outline: none;
  border: 1px solid #bbe2f1;
  background: #daeff7;
}
button {
  height: 32px;
  border: 0;
  padding: 0px 20px;
  background: powderblue;
  cursor: pointer;
  vertical-align: bottom;
}
a { text-decoration: none; color: #111; }
li { list-style: none; padding: 10px; }

.form1 li { border-bottom: 1px solid #ccc; }
input[type="text"] {
  height: 30px;
  border: 1px solid #ccc;
  background: #f7f7f7;
}
input[type="text"]:focus {
  outline: none;
  border: 1px solid #bbe2f1;
  background: #daeff7;
}

input[type="submit"],
input[type="reset"] {
  height: 32px;
  border: 1px solid #ccc;
  padding: 0 20px;
  background: #ececec;
  cursor: pointer;
  vertical-align: bottom;
}

.form2 div {
  margin-bottom: 40px;
}
.form2 p {
  height: 100px;
  border: 1px solid #ccc;
  overflow-y: scroll;
  font-size: 12px;
  padding: 10px;
}

#form3 span {
  display: inline-block;
  width: 50px;
}
#form3 li:nth-child(3) { padding-left: 170px; }
#form3 #result {
  color: red;
  border-top: 1px solid #ccc;
  padding-top: 10px;
}
html
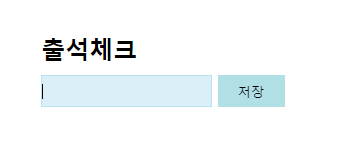
<article class="form1">
  <h2>출석체크</h2>
  <div>
    <input type="text" />
    <button>저장</button>
  </div>
  <ul></ul>
</article>

<article class="form2">
  <h2>약관 동의</h2>
  <form action="" id="checkForm">
    <div>
      <h4><input type="checkbox" id="terms1" /> 이용약관 동의(필수)</h4>
      <p>
        <strong>여러분을 환영합니다.</strong><br />
        네이버 서비스 및 제품(이하 ‘서비스’)을 이용해 주셔서 감사합니다. 본 약관은 다양한 네이버 서비스의 이용과 관련하여 네이버 서비스를 제공하는 네이버
        주식회사(이하 ‘네이버’)와 이를 이용하는 네이버 서비스 회원(이하 ‘회원’) 또는 비회원과의 관계를 설명하며, 아울러 여러분의 네이버 서비스 이용에 도움이
        될 수 있는 유익한 정보를 포함하고 있습니다.<br /><br />네이버 서비스를 이용하시거나 네이버 서비스 회원으로 가입하실 경우 여러분은 본 약관 및 관련
        운영 정책을 확인하거나 동의하게 되므로, 잠시 시간을 내시어 주의 깊게 살펴봐 주시기 바랍니다.<br /><br />다양한 네이버 서비스를 즐겨보세요.<br />네이버는
        www.naver.com을 비롯한 네이버 도메인의 웹사이트 및 응용프로그램(어플리케이션, 앱)을 통해 정보 검색, 다른 이용자와의 커뮤니케이션, 콘텐츠 제공, 상품
        쇼핑 등 여러분의 생활에 편리함을 더할 수 있는 다양한 서비스를 제공하고 있습니다.여러분은 PC, 휴대폰 등 인터넷 이용이 가능한 각종 단말기를 통해
        각양각색의 네이버 서비스를 자유롭게 이용하실 수 있으며, 개별 서비스들의 구체적인 내용은 각 서비스 상의 안내, 공지사항, 네이버 웹고객센터(이하
        ‘고객센터’) 도움말 등에서 쉽게 확인하실 수 있습니다.<br /><br />네이버는 기본적으로 여러분 모두에게 동일한 내용의 서비스를 제공합니다. 다만,
        '청소년보호법' 등 관련 법령이나 기타 개별 서비스 제공에서의 특별한 필요에 의해서 연령 또는 일정한 등급을 기준으로 이용자를 구분하여 제공하는
        서비스의 내용, 이용 시간, 이용 횟수 등을 다르게 하는 등 일부 이용을 제한하는 경우가 있습니다. 자세한 내용은 역시 각 서비스 상의 안내, 공지사항,
        고객센터 도움말 등에서 확인하실 수 있습니다. <br />
      </p>
    </div>
    <div>
      <h4><input type="checkbox" id="terms2" /> 개인정보 수집 및 이용 동의(필수)</h4>
      <p>
        개인정보보호법에 따라 네이버에 회원가입 신청하시는 분께 수집하는 개인정보의 항목, 개인정보의 수집 및 이용목적, 개인정보의 보유 및 이용기간, 동의
        거부권 및 동의 거부 시 불이익에 관한 사항을 안내 드리오니 자세히 읽은 후 동의하여 주시기 바랍니다.<br /><br />
        1. 수집하는 개인정보<br />
        이용자는 회원가입을 하지 않아도 정보 검색, 뉴스 보기 등 대부분의 네이버 서비스를 회원과 동일하게 이용할 수 있습니다. 이용자가 메일, 캘린더, 카페,
        블로그 등과 같이 개인화 혹은 회원제 서비스를 이용하기 위해 회원가입을 할 경우, 네이버는 서비스 이용을 위해 필요한 최소한의 개인정보를 수집합니다.<br /><br />
        회원가입 시점에 네이버가 이용자로부터 수집하는 개인정보는 아래와 같습니다.<br />
        - 회원 가입 시 필수항목으로 아이디, 비밀번호, 이름, 생년월일, 성별, 휴대전화번호를, 선택항목으로 본인확인 이메일주소를 수집합니다.<br />단, 비밀번호
        없이 회원 가입 시에는 필수항목으로 아이디, 이름, 생년월일, 휴대전화번호를, 선택항목으로 비밀번호를 수집합니다.<br />만약 이용자가 입력하는
        생년월일이 만14세 미만 아동일 경우에는 법정대리인 정보(법정대리인의 이름, 생년월일, 성별, 중복가입확인정보(DI), 휴대전화번호)를 추가로
        수집합니다.<br />- 단체아이디로 회원가입 시 단체아이디, 비밀번호, 단체이름, 이메일주소, 휴대전화번호를 필수항목으로 수집합니다. 그리고 단체
        대표자명을 선택항목으로 수집합니다.<br />
      </p>
    </div>
    <div>
      <h3><input type="checkbox" id="all" /> 이용약관, 개인정보 수집 및 이용에 모두 동의합니다.</h3>
    </div>
    <input type="reset" value="취소" />
    <input type="submit" id="btnSubmit" value="확인" />
  </form>
</article>

<article id="form3">
  <h2>가격 총 금액</h2>
  <form action="">
    <ul>
      <li><span>신발</span> <input type="text" id="shoes" /></li>
      <li><span>옷</span> <input type="text" id="cloth" /></li>
      <li><input type="submit" valur="총 금액" /></li>
    </ul>
  </form>
  <div id="result">총 금액 출력</div>
</article>
js
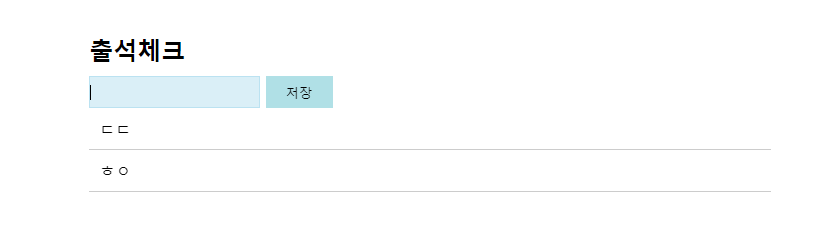
// form1
const inputForm1 = document.querySelector(".form1 input")
const btnForm1 = document.querySelector(".form1 button")
const ulForm1 = document.querySelector(".form1 ul")

btnForm1.onclick = function(){
  if (inputForm1.value != "") { // 입력한 내용이 있을 때
    const createLi = document.createElement("li"); // li태그 생성
    createLi.append(inputForm1.value); // 생성된 li의 input 입력값을 삽입 (맨 뒤)
    // value - 값
    ulForm1.prepend(createLi); // 위에서 만든 li를 ul에 삽입 (맨 앞)
    console.log(ulForm1);
    inputForm1.value = ""; // 저장 버튼을 누르면 input을 비움 (reset)
    inputForm1.focus(); // input에 focus를 맞춤
  }
};

// form2
all.onclick = function () {
  terms1.checked = this.checked;
  terms2.checked = this.checked;
}; //화살표 함수에서는 this를 쓸 수 없음, 쓰고 싶을때는 all.checked

btnSubmit.onclick = function () {
  if (!terms1.checked || !terms2.checked) {
    alert("모든 약관 동의에 체크해주세요");
    return; //함수에서 빠져나가게 한다
  }
  checkForm.action = "https://www.naver.com";
};

// form3
form3.onsubmit = function (e) {
  e.preventDefault();

  let total = Number(shoes.value) + Number(cloth.value);
  console.log("합계 값은? ", total);

  let total2 = total.toString().replace(/\B(?<!\.\d*)(?=(\d{3})+(?!\d))/g, ",");
  result.textContent = `합계 값 :  ${total2} 원`;

  /*
          정규식 - 문자열에서 특정 문자 조합을 찾기 위한 패턴(ex)숫자 3자리마다 콤마 찍기)
        */
};
출력
- 이미지로 대체

offset
✒️ 코드 작성
입력
css
* { margin:0; padding:0; box-sizing:border-box; }
article { position: relative; margin:50px; border: 2px solid black;}
h2 { padding:20px 0 ;}
p { position:absolute; top:0; left:0;
    width:0; height:0;
    border:10px solid red; transition:0.5s ease-in; }
.offset2 img { height:200px; }
html
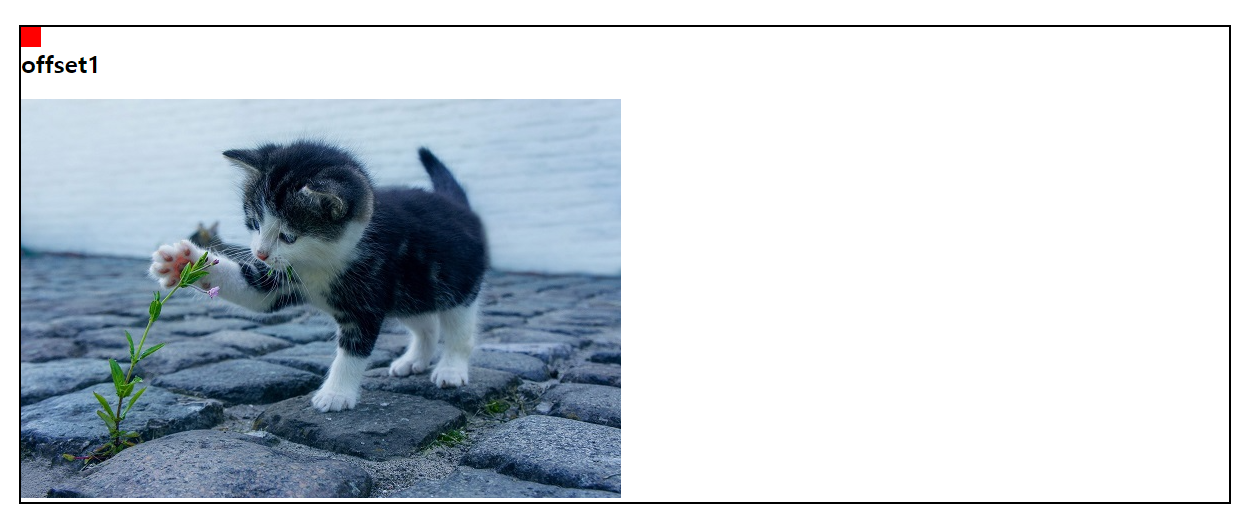
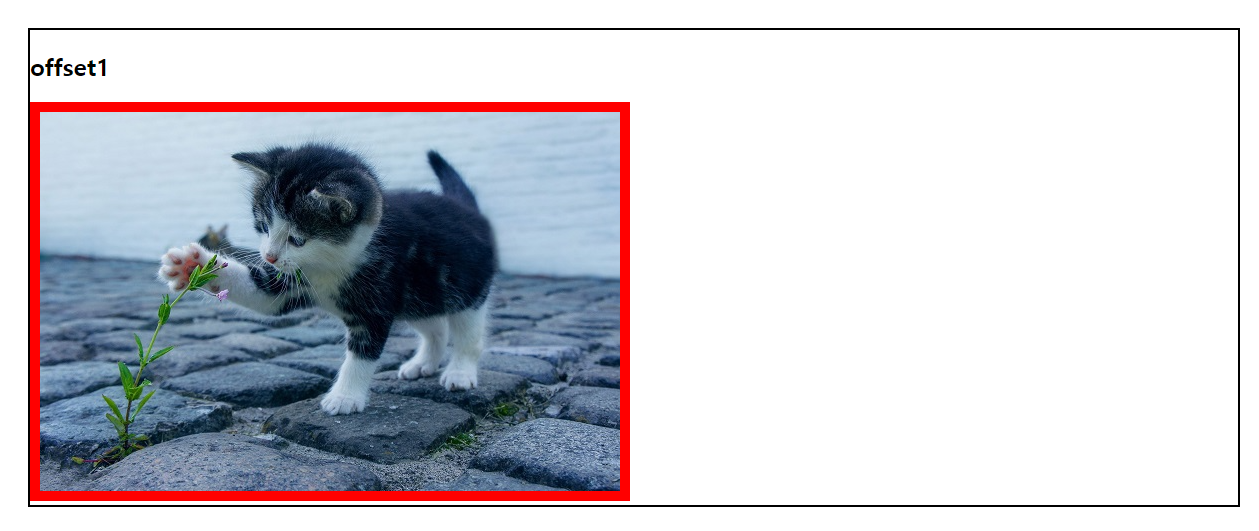
<article class="offset1">
  <h2>offset1</h2>
  <img src="../img/pic7.jpg" alt="">
  <p></p>
</article>
js
const offset1Img = document.querySelector('.offset1 img');
const offset1P = document.querySelector('.offset1 p');

offset1Img.onclick = function(){
  const aaa = offset1Img.offsetWidth;
  console.log(aaa)

  offset1P.style = `width: ${aaa}px;
height: ${this.offsetHeight}px;
top: ${this.offsetTop}px;
left: ${this.offsetLeft}px;
`;
}

/*
    A.offsetWidth     -A의 가로크기 (결과값은 정수. padding,border포함)
    A.offsetTop       -offsetParent 기준으로 위에서 부터 얼마 떨어져있는지

    A.offsetParent - A의 가장 가까운 조상요소(css설정 기준)
    */
출력
- 이미지로 대체
🚩 jQuery
tab 메뉴 응용1
📝 설명
- 어제 한 tab 메뉴 응용 이어서 작성하여 완성
✒️ 사용법
입력
css
/* basic.css */
@charset "UTF-8";

body {
  font-family: Verdana, Geneva, Tahoma, sans-serif;
  background: #d3d3d3;
}

header { background: #fff; }
header div {
  max-width: 1000px;
  margin: auto;
  height: 80px;
}
header h1 {
  font-size: 3em; /* 16px * 3 */
  line-height: 80px;
}

main { background: #818181; padding: 100px 0; }
.tab {
  width: 450px;
  margin: auto;
}
.tabMenu { display: flex; }
.tabMenu li {
  flex: 1; /* 1:1:1 */
  border: 1px solid #505050;
  color: #fff;
  background: #aaa;
  height: 40px;
  line-height: 40px;
  text-align: center;
  border-right: none;
}
.tabMenu li:last-child { border-right: 1px solid #505050; }
.tabMenu li.active {
  background: #fff;
  color: #000;
}

.tabBody {}
.tabBody > div {
  height: 300px;
  font-size: 2em;
  display: flex;
  justify-content: center;
  align-items: center;
}
.tabBody > div:nth-child(1) { background: powderblue; }
.tabBody > div:nth-child(2) { background: thistle; }
.tabBody > div:nth-child(3) { background: palegoldenrod; }


footer { padding: 30px 0; }
footer div {
  max-width: 1000px;
  margin: auto;
  text-align: right;
}
footer small {
  color: #fff;
  font-size: 0.8em;
}
html
<header>
<div>
<h1>jQuery - tab</h1>
</div>
</header>
<main>
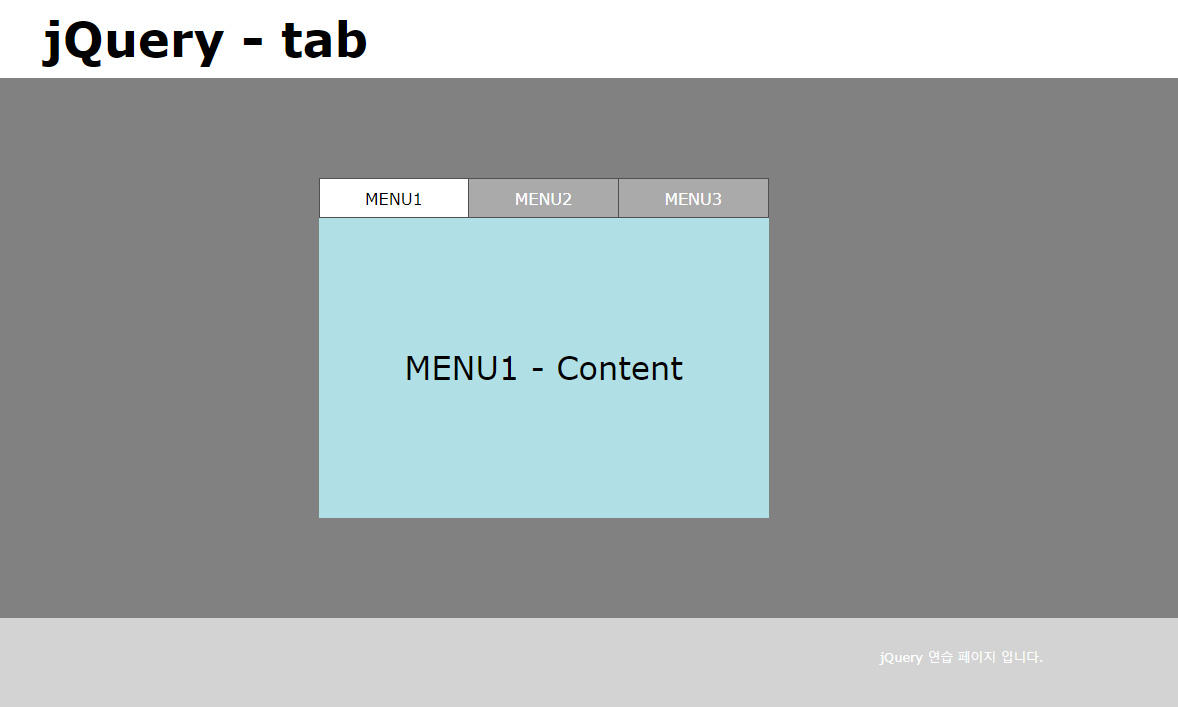
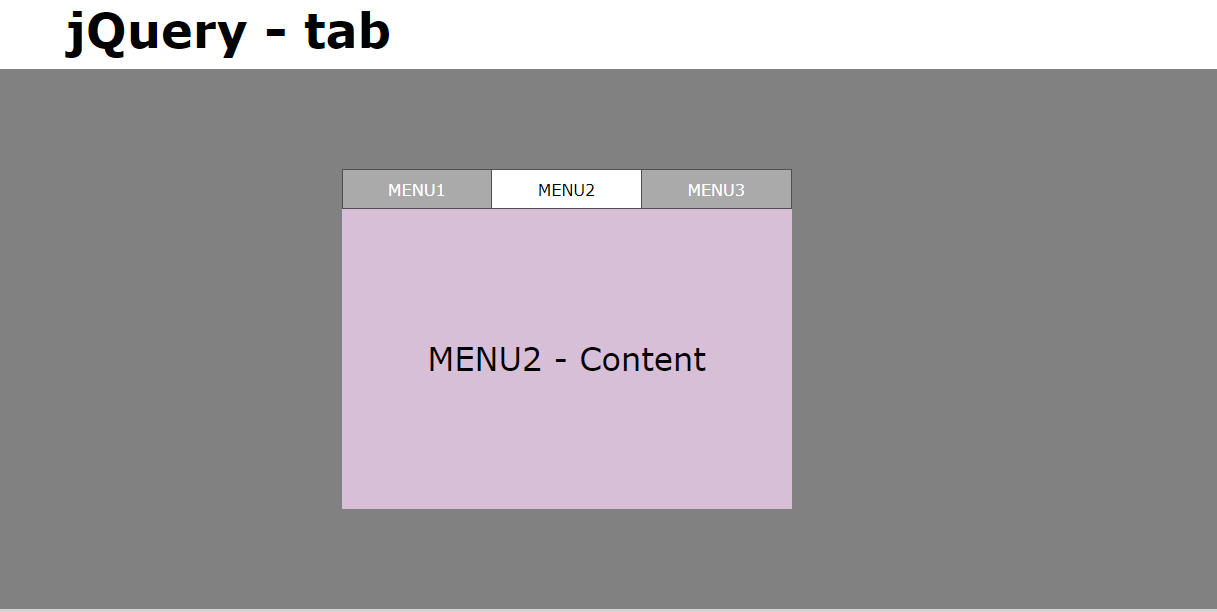
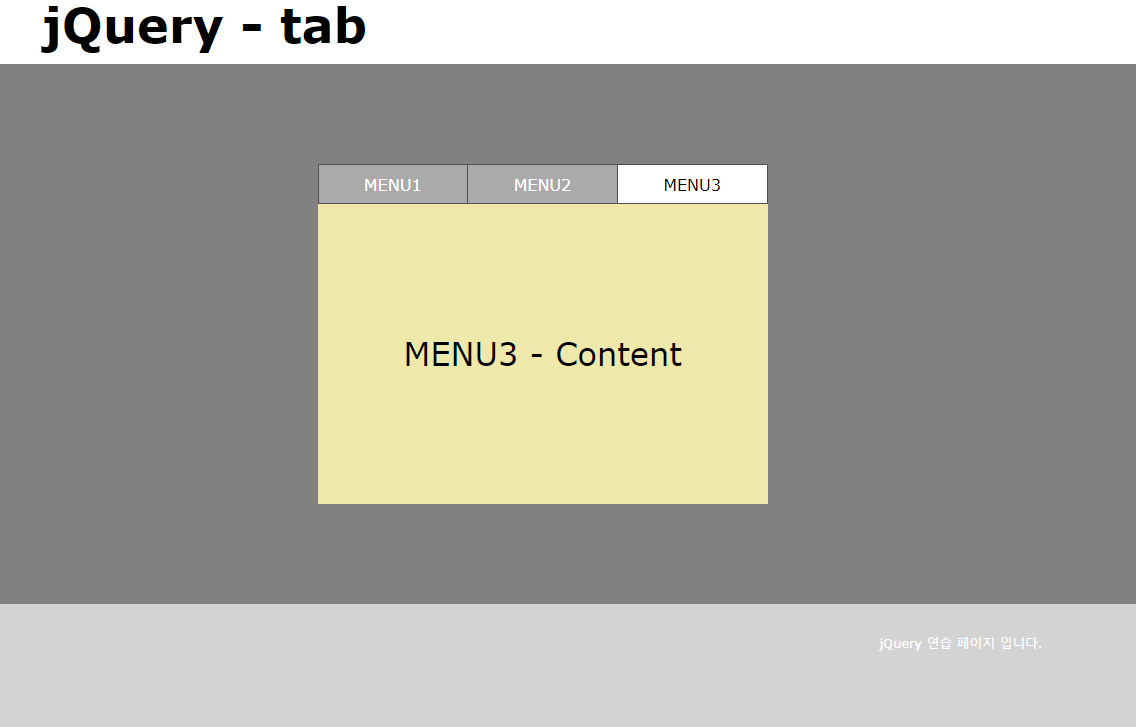
<div class="tab">
<ul class="tabMenu">
<li class="active">MENU1</li>
<li>MENU2</li>
<li>MENU3</li>
</ul>
<div class="tabBody">
<div>MENU1 - Content</div>
<div>MENU2 - Content</div>
<div>MENU3 - Content</div>
</div>
</div>
</main>
<footer>
<div><small>jQuery 연습 페이지 입니다.</small></div>
</footer>js
$(".tabBody > div:gt(0)").hide(); // div들 중에서 0번째 보다 큰 div를 안보이게 (첫 번째 것만 보임)
$(".tabBody > div:first-child").show();

$(".tabMenu li").click(function () {
  let num = $(this).index(); // 몇 번째 li를 클릭했는지 알아와서 변수 num에 집어넣음
  console.log(num);

  $(".tabMenu li").removeClass("active"); // 3개의 li 전부 클래스 active 제거
  $(this).addClass("active");

  $(".tabBody > div").hide();
  $(".tabBody > div").eq(num).show();
});


/*
  A.index() - A가 몇 번째 순서인지 알아온다 (0부터 시작)

  * 제이쿼리 필터 셀렉터(메소드로도 사용)
  - A:gt(b) : b보다 큰 순서의 A(들) (0부터 시작함)
  - A:lt(b) : b보다 작은 순서의 A(들) (0부터 시작함)
  - A:eq(b) : b와 같은 순서의 A
  - A:last : A요소(엘리먼트)들 중 마지막 요소
  - A:first : A요소들 중 첫 번째 요소
  - A:has(b) : b요소를 포함하고 있는 A
  - A:not(b) : b요소를 포함하고 있지 않은 A

  - A.eq(b) : b번째 A를 뜻함
*/
출력
- 이미지로 대체
tab 메뉴 응용2
📝 설명
- 위에서 jQuery로 작성한 tab 메뉴 javscript로 변경
✒️ 사용법
입력
css
* { margin: 0; padding: 0; list-style: none; }
body { background: #e5ffff; }
article {
  margin: 80px 0;
  text-align: center;
}
button {
  border: 0;
  padding: 10px 20px;
  border-radius: 10px;
  background: #89b0dd;
  cursor: pointer;
}
h1 { margin-bottom: 10px; }
a { text-decoration: none; color: #333; }
ul::after { display: block; content: ""; clear: both; }

.tab { width:600px; margin:auto; }
.tabMenu  { display:flex; justify-content:center; margin-bottom:30px;  }
.tabMenu li { margin:0 20px  }
.tabMenu li a { font-size:1.5em; color:gray }
.tabMenu li.active a { color:black; border-bottom:3px solid black; }

.tabBody {}
.tabBody > div { display:none; border:1px solid gray; padding:20px; }
.tabBody > div img { max-width:100%; }
html
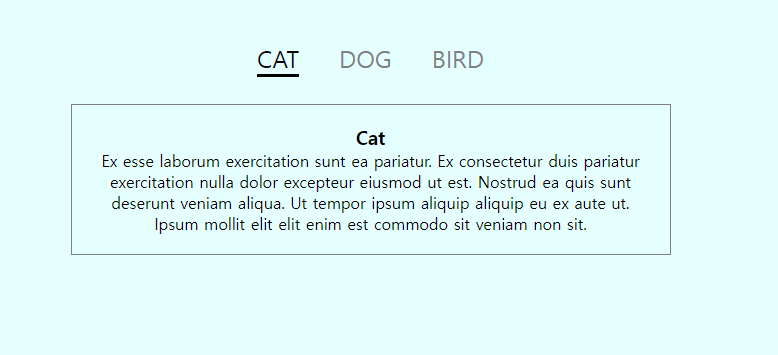
<article class="tab">
<ul class="tabMenu">
<li class="active"><a href="#">CAT</a></li>
<li><a href="#">DOG</a></li>
<li><a href="#">BIRD</a></li>
</ul>
<div class="tabBody">
<div>
<h3>Cat</h3>
<p>Ex esse laborum exercitation sunt ea pariatur. Ex consectetur duis pariatur exercitation nulla dolor excepteur eiusmod ut est. Nostrud ea quis sunt deserunt veniam aliqua. Ut tempor ipsum aliquip aliquip eu ex aute ut. Ipsum mollit elit elit enim est commodo sit veniam non sit.</p>
</div>
<div>
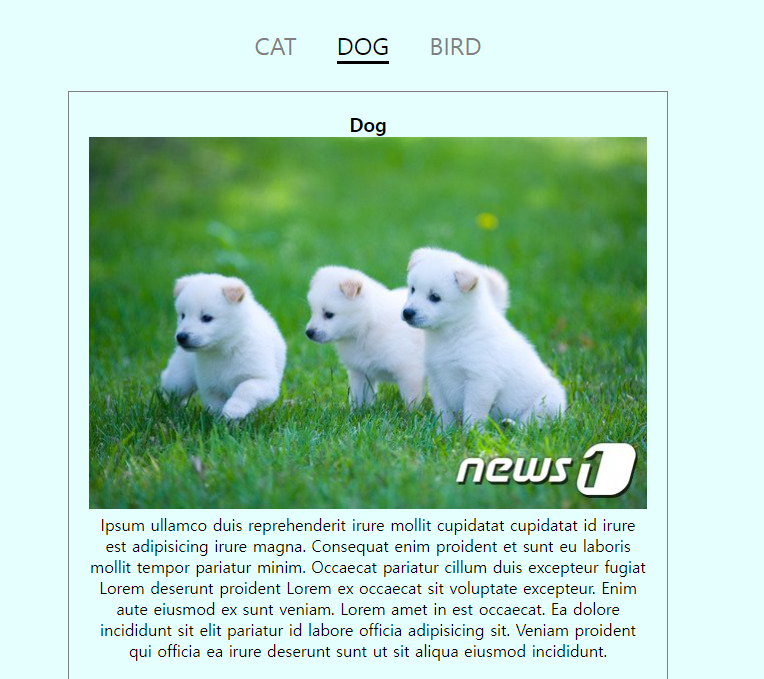
<h3>Dog<img src="./img/optimize.jpg" alt=""></h3>
<p>Ipsum ullamco duis reprehenderit irure mollit cupidatat cupidatat id irure est adipisicing irure magna. Consequat enim proident et sunt eu laboris mollit tempor pariatur minim. Occaecat pariatur cillum duis excepteur fugiat Lorem deserunt proident Lorem ex occaecat sit voluptate excepteur. Enim aute eiusmod ex sunt veniam. Lorem amet in est occaecat. Ea dolore incididunt sit elit pariatur id labore officia adipisicing sit. Veniam proident qui officia ea irure deserunt sunt ut sit aliqua eiusmod incididunt.</p>
</div>
<div>
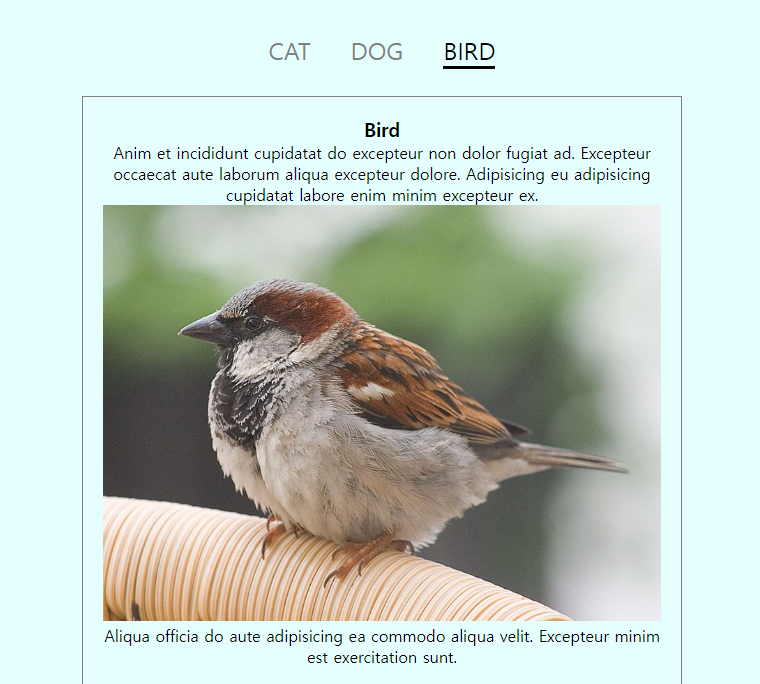
<h3>Bird</h3>
<p>
Anim et incididunt cupidatat do excepteur non dolor fugiat ad. Excepteur occaecat aute laborum aliqua excepteur dolore. Adipisicing eu adipisicing cupidatat labore enim minim excepteur ex.
<img src="./img/Passer_domesticus3.jpg" alt="">
Aliqua officia do aute adipisicing ea commodo aliqua velit. Excepteur minim est exercitation sunt.
</p>
</div>
</div>
</article>js
const elMenus = document.querySelectorAll(".tabMenu li");
const elBodies = document.querySelectorAll(".tabBody > div");

let num2 = 0;

elBodies[num2].style.display = "block";

elMenus.forEach(function(item, index){
  item.onclick = function(){
    // elMenus[num2].classList.remove("active");  // 아래와 동일한 코드
    elMenus.item(num2).classList.remove("active");
    elBodies[num2].style.display = "none"; // num2사용시 맨 아래부분에 작성

    this.classList.add("active");
    elBodies[index].style.display = "block"; // index 사용 시 해당 부분에 작성
    num2 = index;
  }
});
출력
- 이미지로 대체

공부하는 벨로그