🚩 classList 응용
예제1
✒️ 코드작성
입력
css
* { margin: 0; padding: 0; list-style: none; }
body { background: #e5ffff; }
article {
  margin: 80px 0;
  text-align: center;
}
button {
  border: 0;
  padding: 10px 20px;
  border-radius: 10px;
  background: #89b0dd;
  cursor: pointer;
}
h1 { margin-bottom: 10px; }
a { text-decoration: none; color: #333; }

.c01 > div {
  display: none;
  position: fixed;
  top: 0; left: 0;
  width: 100%;
  height: 100%;
  background: rgba(0, 0, 0, .5);
  z-index: 10;
}
.c01 > div > div {
  width: 500px;
  height: 500px;
  margin: 100px auto;
  background: #fff;
}
.c01 p {
  font-size: 30px;
  padding-top: 200px;
}
.c01 a {
  text-decoration: none;
  background: #ffff7c;
}
.c01.active > div { display: block; }
html
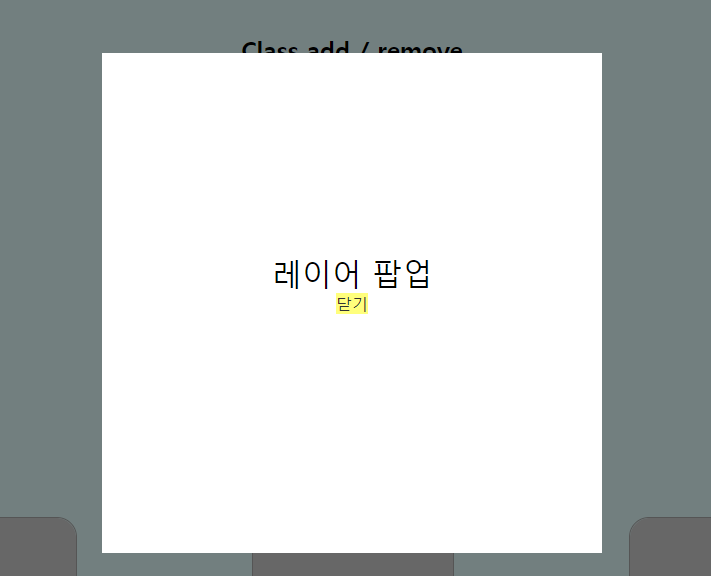
<article class="c01">
  <h1>Class add / remove</h1>
  <button>팝업버튼1</button>
  <div>
    <div>
      <p>레이어 팝업</p>
      <a href="#" class="close">닫기</a>
    </div>
  </div>
</article>
js
const elC01 = document.querySelector(".c01");
const elBtn1 = document.querySelector(".c01 button");
const elBtnClose1 = document.querySelector(".c01 .close");

elBtn1.onclick = () => {
  elC01.classList.add("active");
}
elBtnClose1.onclick = () => {
  elC01.classList.remove("active");
}
출력
- 이미지로 대체

예제2
✒️ 코드작성
입력
css
* { margin: 0; padding: 0; list-style: none; }
body { background: #e5ffff; }
article {
  margin: 80px 0;
  text-align: center;
}
button {
  border: 0;
  padding: 10px 20px;
  border-radius: 10px;
  background: #89b0dd;
  cursor: pointer;
}
h1 { margin-bottom: 10px; }
a { text-decoration: none; color: #333; }

.c02 > div {
  display: none;
  justify-content: center;
  align-items: center;
  position: fixed;
  left: 50%;
  top: 40%;
  transform: translate(-50%);
  width: 300px;
  height: 300px;
  background: rgba(0, 0, 0, .8);
  color: #fff;
  font-size: 30px;
}
.c02.active > div { display: flex; }
html
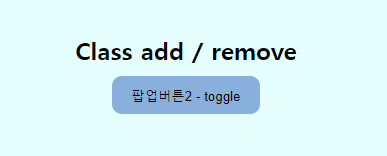
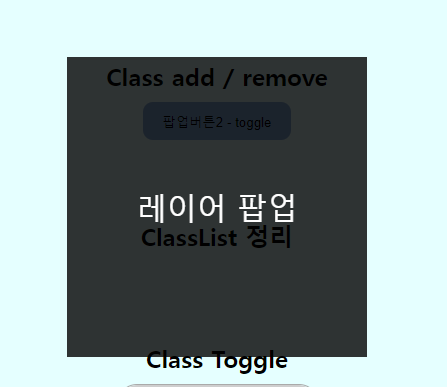
<article class="c02">
  <h1>Class add / remove</h1>
    <button>팝업버튼2 - toggle</button>
    <div>
      <p>레이어 팝업</p>
    </div>
</article>
js
const elC02 = document.querySelector(".c02");
const elBtn2 = document.querySelector(".c02 button");

/*
//toggle 방법1
let aa = 0; // 시작할 때 변수 aa에 0을 대입한다.
elBtn2.onclick = () => {
  // elC02.classList.add("active")
  if (aa == 0) {
    elC02.classList.add("active")
    aa = 5;
  } else {
    elC02.classList.remove("active");
    aa = 0;
  }
}
*/

/*
//toggle 방법2
elBtn2.onclick = () => {
  if (!elC02.classList.contains("active")) { // active가 없어야 추가됨
    elC02.classList.add("active")
  } else {
    elC02.classList.remove("active");
  }
}
*/

//toggle 방법3
elBtn2.onclick = () => {
elC02.classList.toggle("active");
}
출력
- 이미지로 대체
예제3
✒️ 코드작성
입력
css
* { margin: 0; padding: 0; list-style: none; }
body { background: #e5ffff; }
article {
  margin: 80px 0;
  text-align: center;
}
button {
  border: 0;
  padding: 10px 20px;
  border-radius: 10px;
  background: #89b0dd;
  cursor: pointer;
}
h1 { margin-bottom: 10px; }
a { text-decoration: none; color: #333; }

.c03 > div {
  height: 0;
  background: #ffff7c;
  overflow: hidden;
  transition: .3s;
}
.c03 > div > div {
  /* white-space: nowrap;  줄바꿈❌ */
  white-space: pre-line; /* <br>태그를 사용하지 않아도 enter키 먹힘 */
  padding-top: 40px;
}
.c03.active > div { height: 260px; }
html
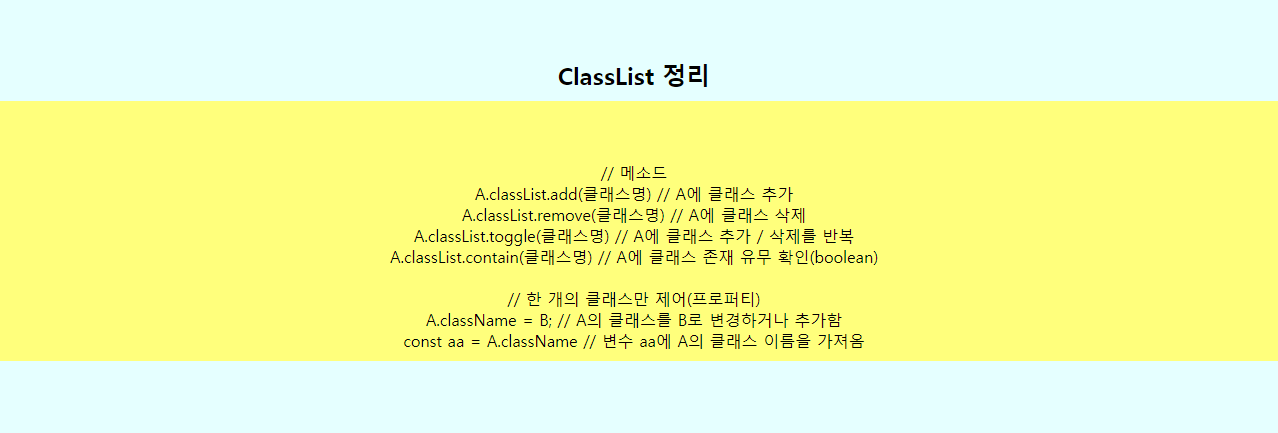
<article class="c03">
  <h1>ClassList 정리</h1>
  <div>
    <div>
      // 메소드
      A.classList.add(클래스명) // A에 클래스 추가
      A.classList.remove(클래스명) // A에 클래스 삭제
      A.classList.toggle(클래스명) // A에 클래스 추가 / 삭제를 반복
      A.classList.contain(클래스명) // A에 클래스 존재 유무 확인(boolean)

      // 한 개의 클래스만 제어(프로퍼티)
      A.className = B; // A의 클래스를 B로 변경하거나 추가함
      const aa = A.className // 변수 aa에 A의 클래스 이름을 가져옴
    </div>
  </div>
</article>
js
const elC03 = document.querySelector(".c03");

elC03.onmouseover = function () {
  elC03.classList.add("active");
}
elC03.onmouseout = function () {
  elC03.classList.remove("active");
}
출력
- 이미지로 대체

예제4
✒️ 코드작성
입력
css
* { margin: 0; padding: 0; list-style: none; }
body { background: #e5ffff; }
article {
margin: 80px 0;
text-align: center;
}
button {
border: 0;
padding: 10px 20px;
border-radius: 10px;
background: #89b0dd;
cursor: pointer;
}
h1 { margin-bottom: 10px; }
a { text-decoration: none; color: #333; }
.c04 {
width: 70%;
margin: auto;
}
.c04 .cards {
display: flex;
justify-content: space-between;
}
.cards > div {
width: 200px;
height: 300px;
}
.cards > div > p {
position: relative;
border: 1px solid #aaa;
width: 100%;
height: 100%;
border-radius: 20px;
transition: .5s;
transform-style: preserve-3d; /* 3D로 회전된 요소의 자식 요소도 3D 적용(자식도 같이 회전) */
}
.cards > div > p > span {
position: absolute;
top: 0; left: 0;
width: 100%;
height: 100%;
border-radius: 20px;
font-size: 4em; /* 16px(부모) * 4 */
display: flex;
justify-content: center;
align-items: center;
backface-visibility: hidden; /* 3D로 회전된 요소의 뒷면을 숨김 */
}
.cards > div > p > span:nth-child(1) {
background: #cecece;
transform: rotateY(0deg);
}
.cards > div > p > span:nth-child(2) {
background: orange;
transform: rotateY(-180deg);
}
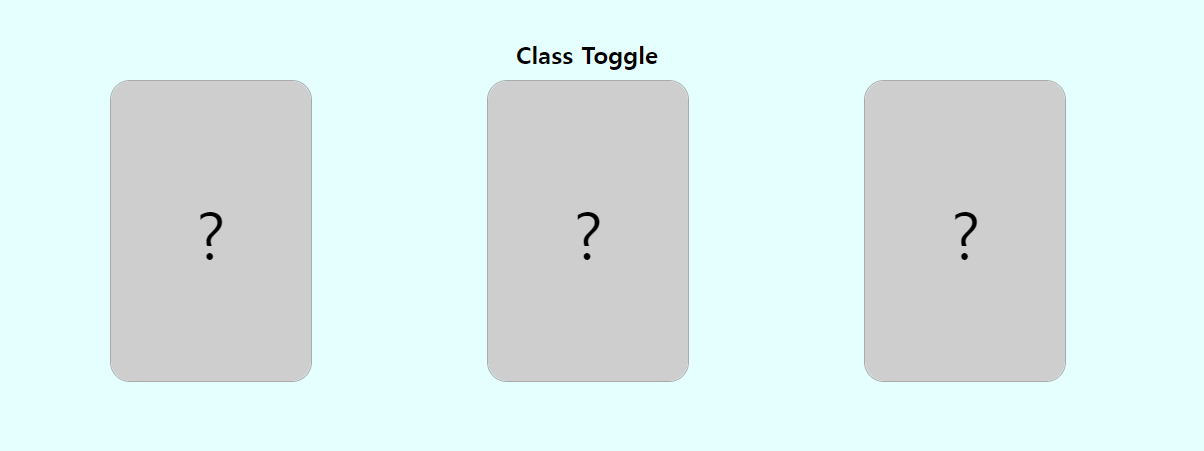
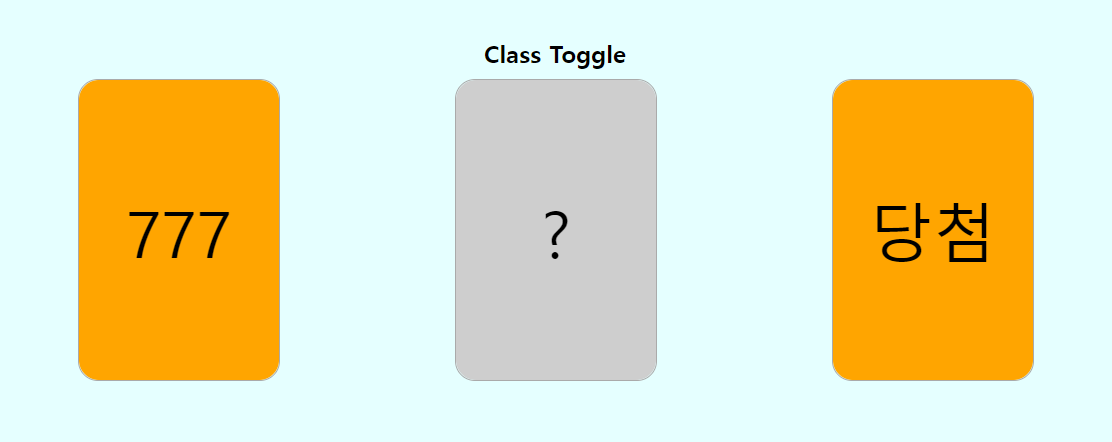
.cards > div.active > p { transform: rotateY(-180deg); }html
<article class="c04">
  <h1>Class Toggle</h1>
  <div class="cards">
    <div>
      <p>
        <span>?</span> <!-- 앞면 -->
        <span>777</span> <!-- 뒷면 -->
      </p>
    </div>

    <div>
      <p>
        <span>?</span> <!-- 앞면 -->
        <span>꽝</span> <!-- 뒷면 -->
      </p>
    </div>

    <div>
      <p>
        <span>?</span> <!-- 앞면 -->
        <span>당첨</span> <!-- 뒷면 -->
      </p>
    </div>
  </div>
</article>
js
const elCard = document.querySelectorAll(".cards > div");
console.log(elCard[1]);

// for문
// for (let i = 0; i < 3; i++) {
//   elCard[i].onclick = () => {
//     elCard[i].classList.toggle("active");
//   }
// }

// forEach()
elCard.forEach(function(item) {
  item.onclick = function () {
    this.classList.toggle("active");
  }
});

// A.forEach(function(item) { 실행구 }); // 배열 A의 각각의 item에 실행
출력
- 이미지로 대체
예제5
✒️ 코드작성
입력
css
* { margin: 0; padding: 0; list-style: none; }
body { background: #e5ffff; }
article {
  margin: 80px 0;
  text-align: center;
}
button {
  border: 0;
  padding: 10px 20px;
  border-radius: 10px;
  background: #89b0dd;
  cursor: pointer;
}
h1 { margin-bottom: 10px; }
a { text-decoration: none; color: #333; }

.c05 a {
  display: inline-block;
  padding: 20px;
  background-color: #89b0dd;
}
.c05 nav {
  position: fixed;
  top: 0;
  right: 0;
  width: 30%;
  height: 100%;
  background: rgba(0, 0, 0, .7);
  color: #fff;
  transform: translate(100%);
  transition: .3s ease-in;
}
.c05 nav h2 { padding: 50px 0; }
.c05 nav li { line-height: 2.5em; }
.c05 nav.active {
  transform: translate(0%);
}
html
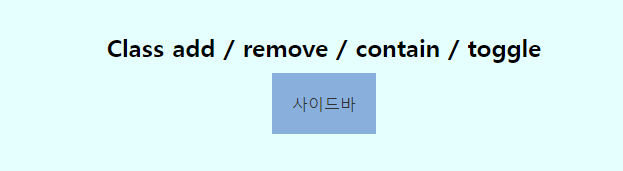
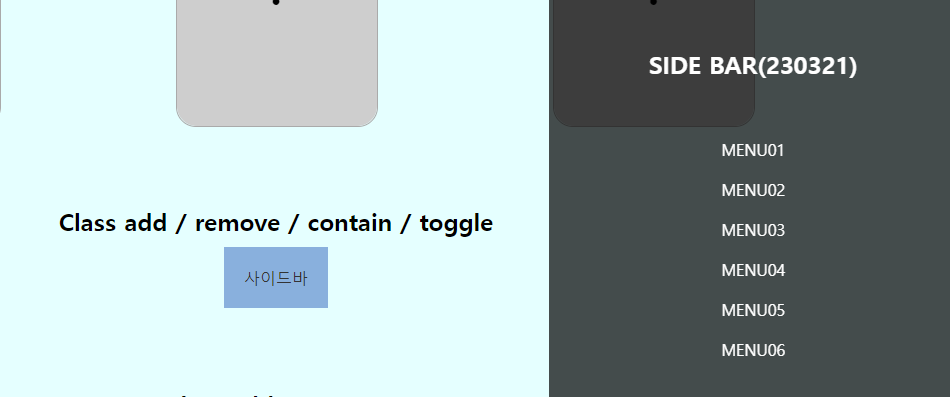
<article class="c05">
  <h1>Class add / remove / contain / toggle</h1>
  <a href="">사이드바</a>
  <nav>
    <h2>SIDE BAR(230321)</h2>
    <ul>
      <li>MENU01</li>
      <li>MENU02</li>
      <li>MENU03</li>
      <li>MENU04</li>
      <li>MENU05</li>
      <li>MENU06</li>
    </ul>
  </nav>
</article>
js
const elBtn5 = document.querySelector(".c05 a");
const elNav5 = document.querySelector(".c05 nav");

elBtn5.onclick = function(e) {
  e.preventDefault();
  // 해당 이벤트에 대한 기본동작을 실행하지 않게 함 (a태그 화면 이동)

  // elNav5.classList.toggle("active");

  // toggle()과 똑같이 동작. 안 될시 사용
  if(!elNav5.classList.contains("active")) {
    elNav5.classList.add("active");
  } else {
    elNav5.classList.remove("active");
  }
}
출력
- 이미지로 대체
예제6
✒️ 코드작성
입력
css
* { margin: 0; padding: 0; list-style: none; }
body { background: #e5ffff; }
article {
margin: 80px 0;
text-align: center;
}
button {
border: 0;
padding: 10px 20px;
border-radius: 10px;
background: #89b0dd;
cursor: pointer;
}
h1 { margin-bottom: 10px; }
a { text-decoration: none; color: #333; }
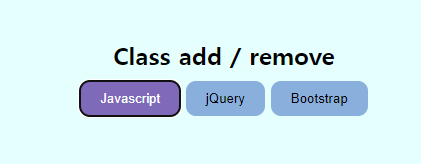
.c06 button.active {
background: #7f69b9;
color: #fff;
}html
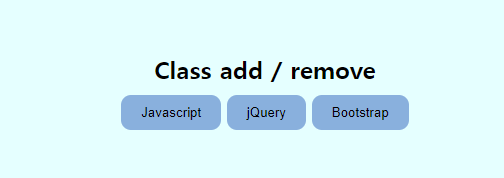
<article class="c06">
  <h1>Class add / remove</h1>
  <div>
    <button>Javascript</button>
    <button>jQuery</button>
    <button>Bootstrap</button>
  </div>
</article>
js
const elBtn6 = document.querySelectorAll(".c06 button");
// console.log(elBtn6);
let num = 0;

// A.forEach(function(item, index) { 실행구 }); // 배열 A의 각각의 item에 실행
// 클릭할 때 마다 버튼 색상 변경(on/off). 단, 한 개씩만 변경되도록
elBtn6.forEach(function(item, n){
  item.onclick = function() {
    console.log(n); // 인덱스의 순번 출력
    elBtn6[num].classList.remove("active"); // 버튼 중 해당 숫자가 들어간 버튼의 클래스를 없앰
    this.classList.add("active");
    num = n;

    // 버튼을 클릭할 때 몇 번째 버튼인지 알아와서(n) 해당 값을 num 안에 넣어줌
  }
});
출력
- 이미지로 대체
예제7
✒️ 코드작성
입력
css
* { margin: 0; padding: 0; list-style: none; }
body { background: #e5ffff; }
article {
  margin: 80px 0;
  text-align: center;
}
button {
  border: 0;
  padding: 10px 20px;
  border-radius: 10px;
  background: #89b0dd;
  cursor: pointer;
}
h1 { margin-bottom: 10px; }
a { text-decoration: none; color: #333; }

.c07 { width: 700px; margin: 0 auto 150px; }
.c07 .view img { width: 100%; }
.c07 .list { margin-top: 20px; }
.c07 .list img { width: 20%; vertical-align: middle; }
.c07 .list img.active { border: 2px solid #ec3838; }
html
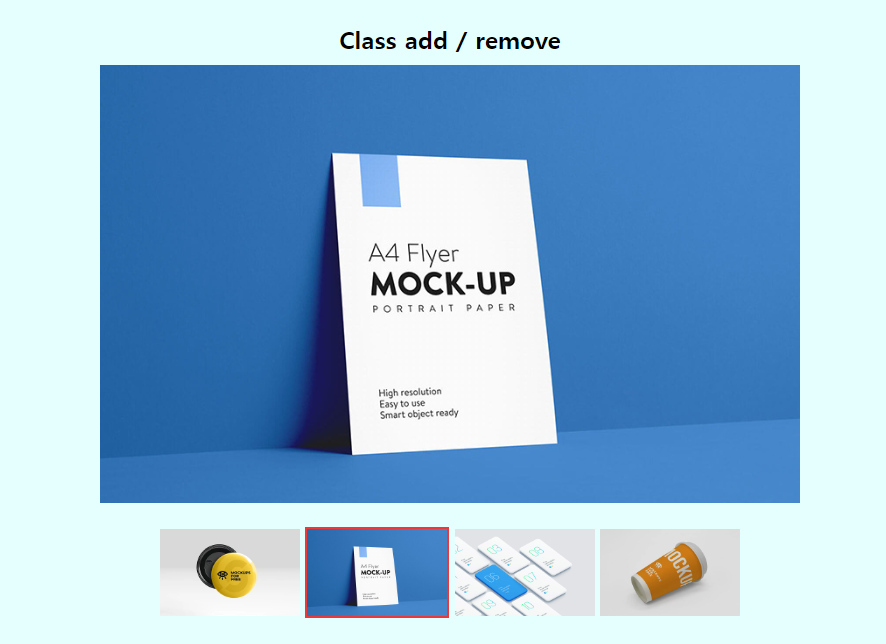
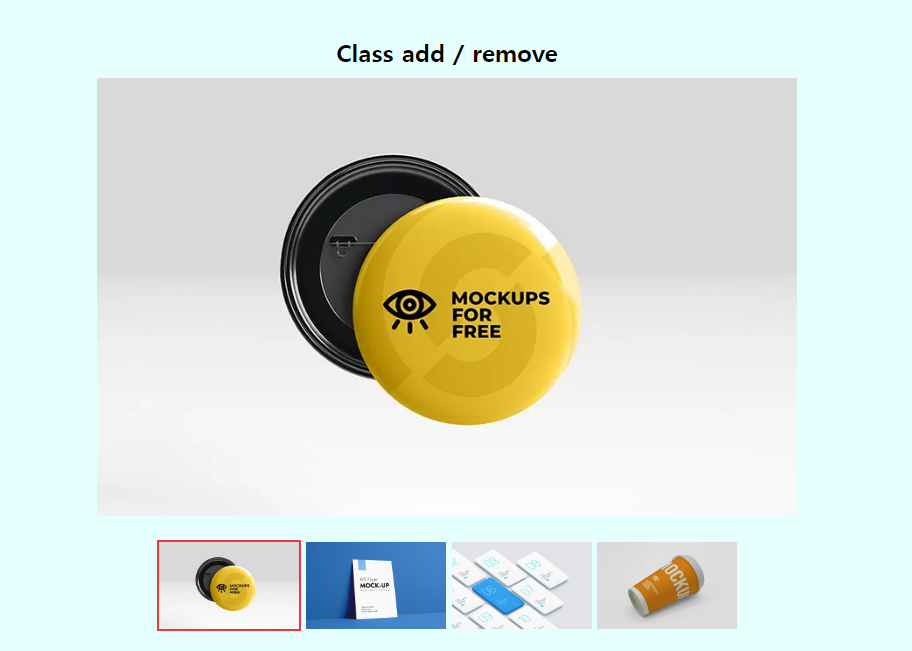
<article class="c07">
  <h1>Class add / remove</h1>
  <div>
    <figure class="view">
      <img src="../img/pic1.jpg" alt="">
    </figure>
    <figure class="list">
      <img src="../img/pic1.jpg" alt="" class="active">
      <img src="../img/pic2.jpg" alt="">
      <img src="../img/pic3.jpg" alt="">
      <img src="../img/pic4.jpg" alt="">
    </figure>
  </div>
</article>
js
const elView = document.querySelector(".view img");
const elBtn7 = document.querySelectorAll(".list img");
console.log("elBtn7 : ", elBtn7);

let num2 = 0;

elBtn7.forEach(function(img, index){
  img.onclick = function () {
    elBtn7[num2].classList.remove("active");
    elBtn7[index].classList.add("active"); // = this.classList.add("active");
    num2 = index;

    elView.src = elBtn7[index].src;
    // 위와 동일한 코드임. - elView.src = this.src;
  }
});
출력
- 이미지로 대체
🚩 jQuery
📝 설명
- 자바스크립트 언어를 간편하게 사용할 수 있도록 단순화시킨 오픈 소스 기반의 자바스크립트 라이브러리
✒️ 사용법
입력
css
body {
  font-family: Verdana, Geneva, Tahoma, sans-serif;
  background: #d3d3d3;
}

header { background: #fff; }
header div {
  max-width: 1000px;
  margin: auto;
  height: 80px;
}
header h1 {
  font-size: 3em; /* 16px * 3 */
  line-height: 80px;
}

main { background: #818181; }
main > div {}
.inner {
  font-size: 5em;
  text-align: center;
}

footer { padding: 30px 0; }
footer div {
  max-width: 1000px;
  margin: auto;
  text-align: right;
}
footer small {
  color: #fff;
  font-size: 0.8em;
}
html
<header>
  <div>
    <h1>Practice jQuery</h1>
  </div>
</header>

<main>
  <div>
    <div class="inner">
      Practice jQuery
    </div>
  </div>
</main>

<footer>
  <div><small>jQuery 연습 페이지 입니다.</small></div>
</footer>
js
document.querySelector("small").style.color = "coral";
document.querySelector("small").style.fontSize = "1em";

// $("선택자").css("속성", "속성값");
// $("선택자").css(key: value, key: value, key: value... );
// 자바스크립트에서 쓸 수 있는 속성값은 "" 생략
$("main > div").css("padding", "150px 0");
$(".inner").css("color", "orangered");
$("h1").css({ color: "darkgreen", textAlign: "right", fontVariant: "small-caps" });

$("h1, small").css({"text-decoration": "underline overline"});
출력
- 이미지로 대체

🔗 참고 링크 & 도움이 되는 링크

공부하는 벨로그