
queryKey & 의존성배열
전에 작성한 post blog의 코드를 보자.
// Post.jsx
import { useState } from "react";
import { useQuery } from "react-query";

import { PostDetail } from "./PostDetail";
const maxPostPage = 10;

async function fetchPosts() {
  const response = await fetch("https://jsonplaceholder.typicode.com/posts?_limit=10&_page=0");
  return response.json();
}

export function Posts() {
  const [currentPage, setCurrentPage] = useState(0);
  const [selectedPost, setSelectedPost] = useState(null);

  const { data, isLoading, isError, error } = useQuery("post", fetchPosts, { staleTime: 10000 });
  if (isLoading) return <h2>Loading...</h2>;
  if (isError)
    return (
      <>
        <h2>Error!</h2>
        <p>{error.toString()}</p>
      </>
    );

  return (
    <>
      <ul>
        {data.map((post) => (
          <li key={post.id} className='post-title' onClick={() => setSelectedPost(post)}>
            {post.title}
          </li>
        ))}
      </ul>
      <div className='pages'>
        <button disabled onClick={() => {}}>
          Previous page
        </button>
        <span>Page {currentPage + 1}</span>
        <button disabled onClick={() => {}}>
          Next page
        </button>
      </div>
      <hr />
      {selectedPost && <PostDetail post={selectedPost} />}
    </>
  );
}
맨 아래에 post 클릭하면 postDetail 컴포넌트에 데이터를 보내게 된다.
// PostDetail.jsx
import { useQuery } from "react-query";

async function fetchComments(postId) {
  const response = await fetch(`https://jsonplaceholder.typicode.com/comments?postId=${postId}`);
  return response.json();
}

async function deletePost(postId) {
  const response = await fetch(`https://jsonplaceholder.typicode.com/postId/${postId}`, {
    method: "DELETE",
  });
  return response.json();
}

async function updatePost(postId) {
  const response = await fetch(`https://jsonplaceholder.typicode.com/postId/${postId}`, {
    method: "PATCH",
    data: { title: "REACT QUERY FOREVER!!!!" },
  });
  return response.json();
}

export function PostDetail({ post }) {

  const { data, isLoading, isError, error } = useQuery("fetchComments", () =>
    fetchComments(post.id)
  );
  if (isLoading) return <h2>Loading...</h2>;
  if (isError)
    return (
      <>
        <h2>Error!</h2>
        <p>{error.toString()}</p>
      </>
    );
  return (
    <>
      <h3 style={{ color: "blue" }}>{post.title}</h3>
      <button>Delete</button> <button>Update title</button>
      <p>{post.body}</p>
      <h4>Comments</h4>
      {data.map((comment) => (
        <li key={comment.id}>
          {comment.email}: {comment.body}
        </li>
      ))}
    </>
  );
}
여기서 Detail 부분이 comment의 데이터를 불러오기 위해서는
const { data, isLoading, isError, error } = useQuery("fetchComments", () =>
    fetchComments(post.id)
  );
익명함수를 추가해 post 데이터를 받아온 값 안에 id를 넣어준다.
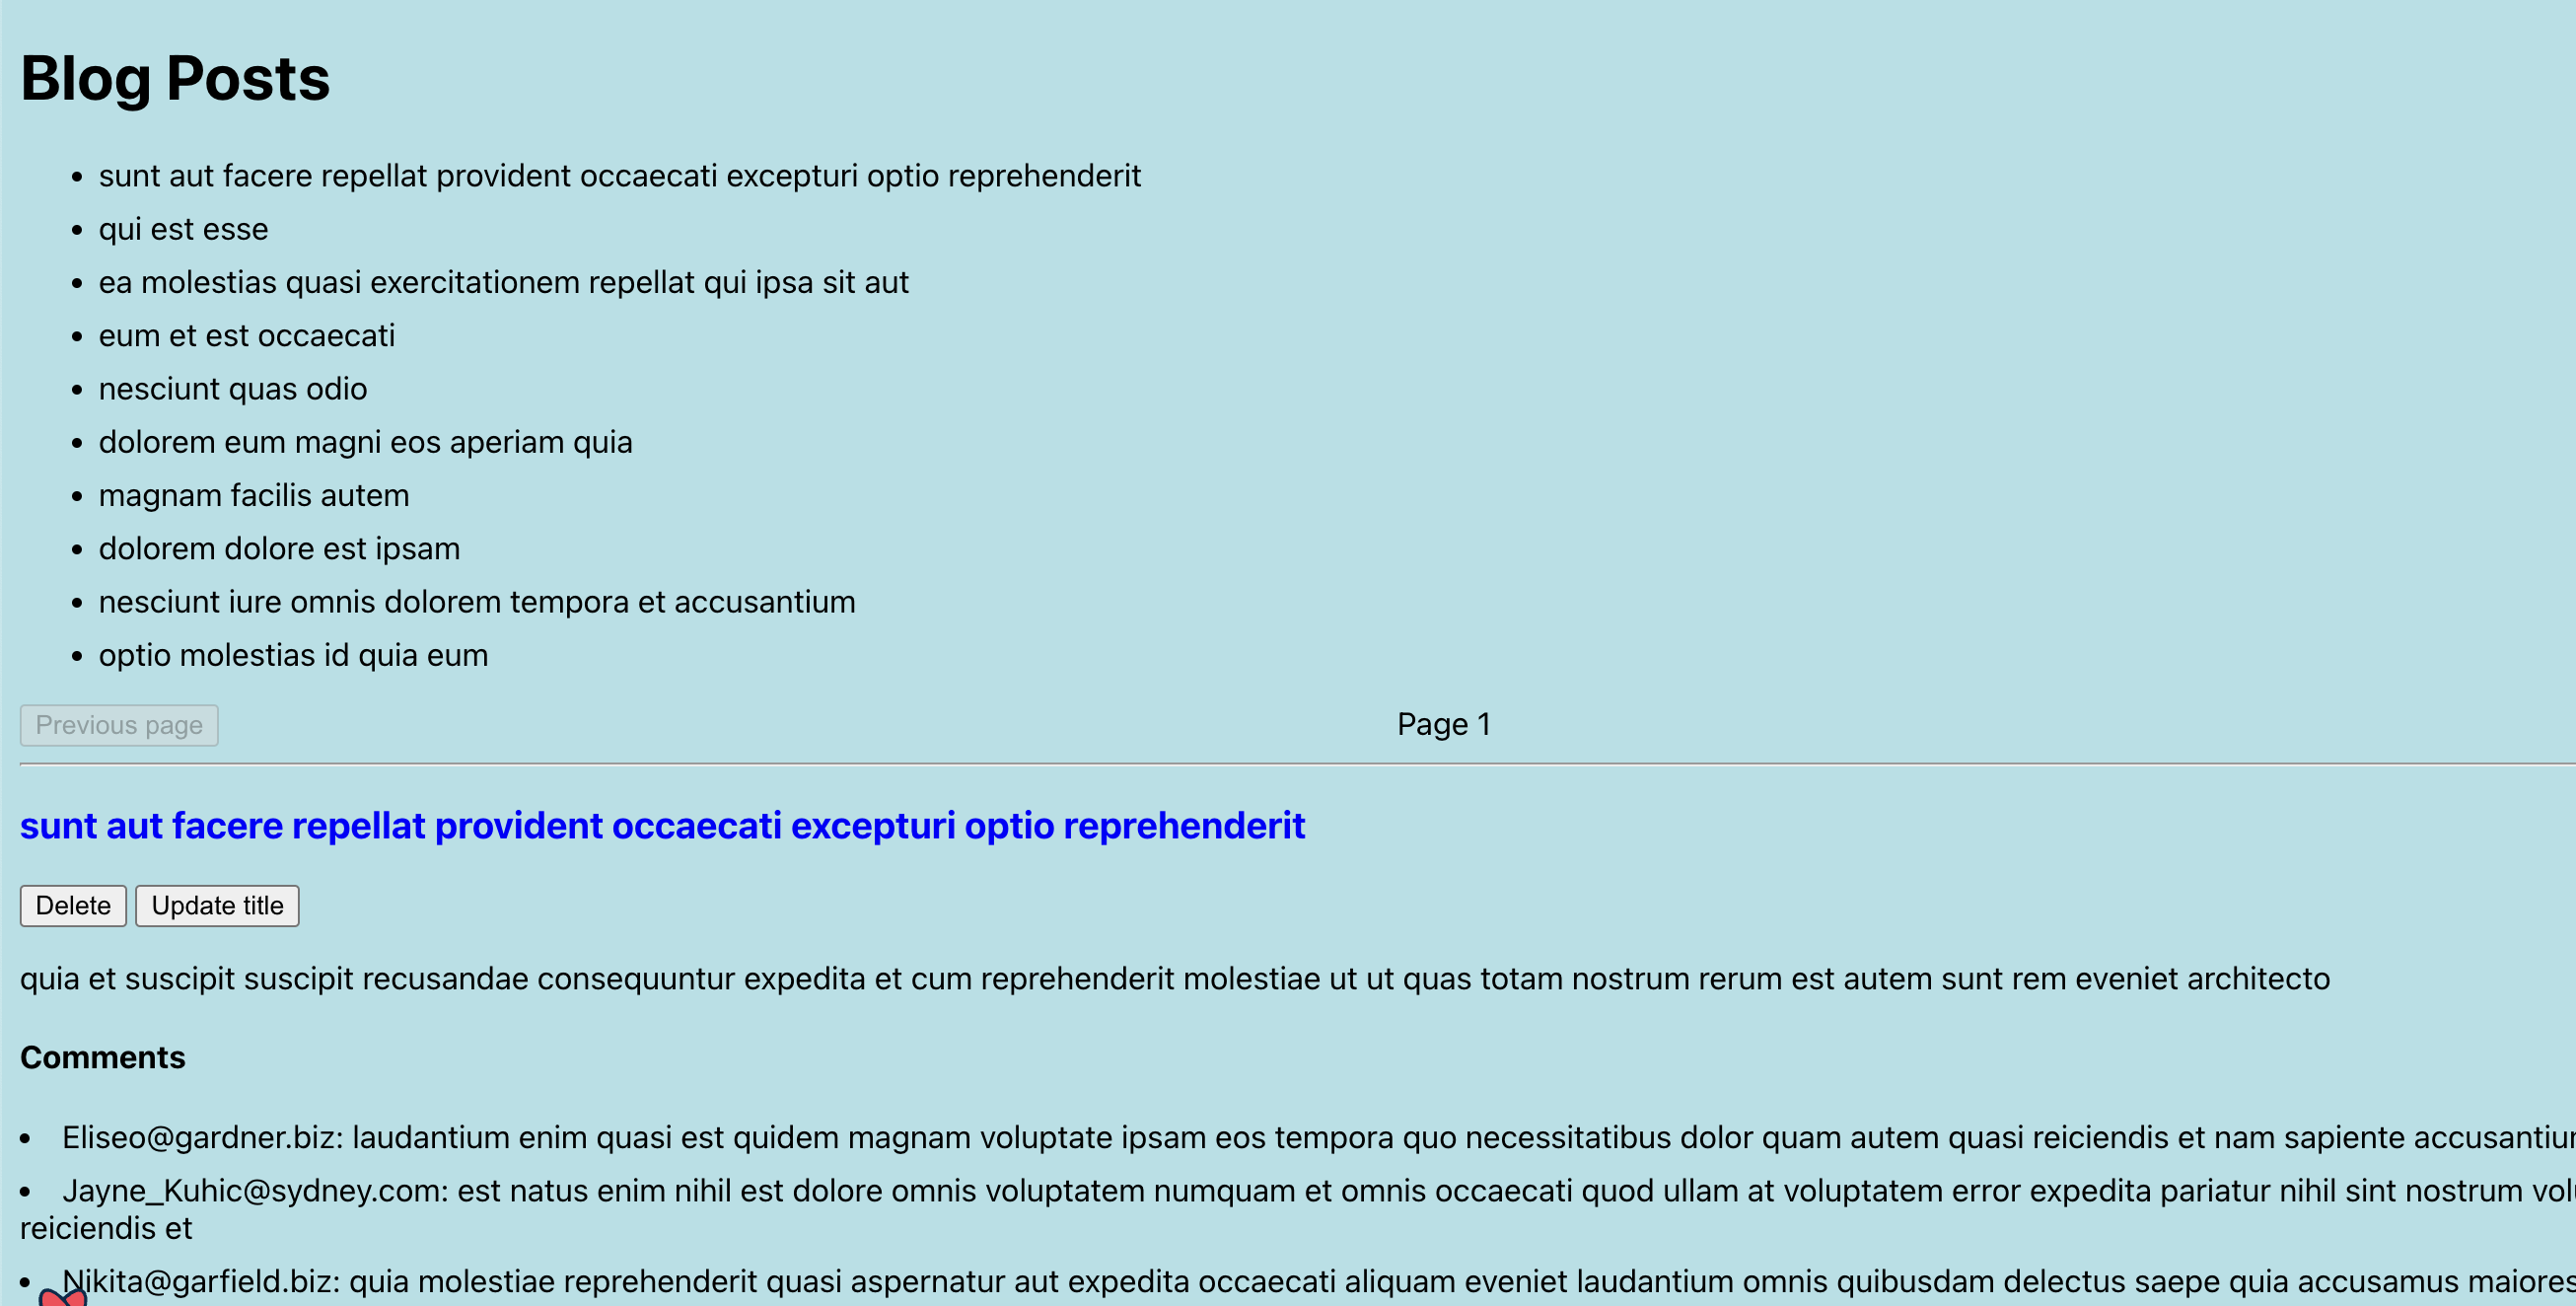
하지만 실행하면 어떤 post title을 눌러도 모두 같은 comment가 나오게 된다. 왜 이런걸까?
react-query의 캐시 관리 때문이다. comment를 불러오는 useQuery의 key가 "fetchComments"로 통일되어 있기 때문이다. react-query의 리페치 트리거는
- 컴포넌트를 다시 마운트하거나 윈도우를 다시 포커스할 때
- useQuery에서 반환되어 수동으로 리페칭을 실행할 때
- 따로 설정한 시간으로 리페칭을 자동 실행할 때
- 변이(Mutation)를 생성한 뒤 쿼리를 무효화할 시
- 클라이언트의 데이터가 서버의 데이터와 불일치할 때
즉, 블로그 게시물 제목을 클릭할 때는 이런 트리거가 일어나지 않는다. 데이터가 만료되어도 새 데이터를 가져오지 않는다.
새 블로그 게시물 제목을 클릭할 때마다 데이터를 무효화시켜서 데이터를 다시 가져오게 만들 수 있지만, 간단한 방법도 아닐뿐더러 react-query의 장점을 없애는 방법이다.
블로그의 두번째 title의 댓글에 대한 쿼리를 만들 때 캐시에서 블로그의 첫번째 title의 댓글을 제거하면 안된다. 같은 쿼리를 실행하는 게 아니고, 중복된 캐시 공간을 차지하지 않기 때문이다.
우리가 원하는 방향은 각 쿼리에 해당하는 캐시를 가져야한다. 그렇게 하기 위해서는 useEffect의 의존성 배열과 같이 ["fetchComments", post.id] queryKey를 추가해 주는 것이다.
queryKey가 변경되면, 즉 post.id가 업데이트 되면 새 쿼리를 생성하여 staleTime과 cacheTime을 가지게 되고 의존성 배열이 다르다면 완전히 다른 것으로 간주하게 된다.
const { data, isLoading, isError, error } = useQuery(["fetchComments", post.id], () =>
    fetchComments(post.id)
  );
이러한 식으로 변경하면,
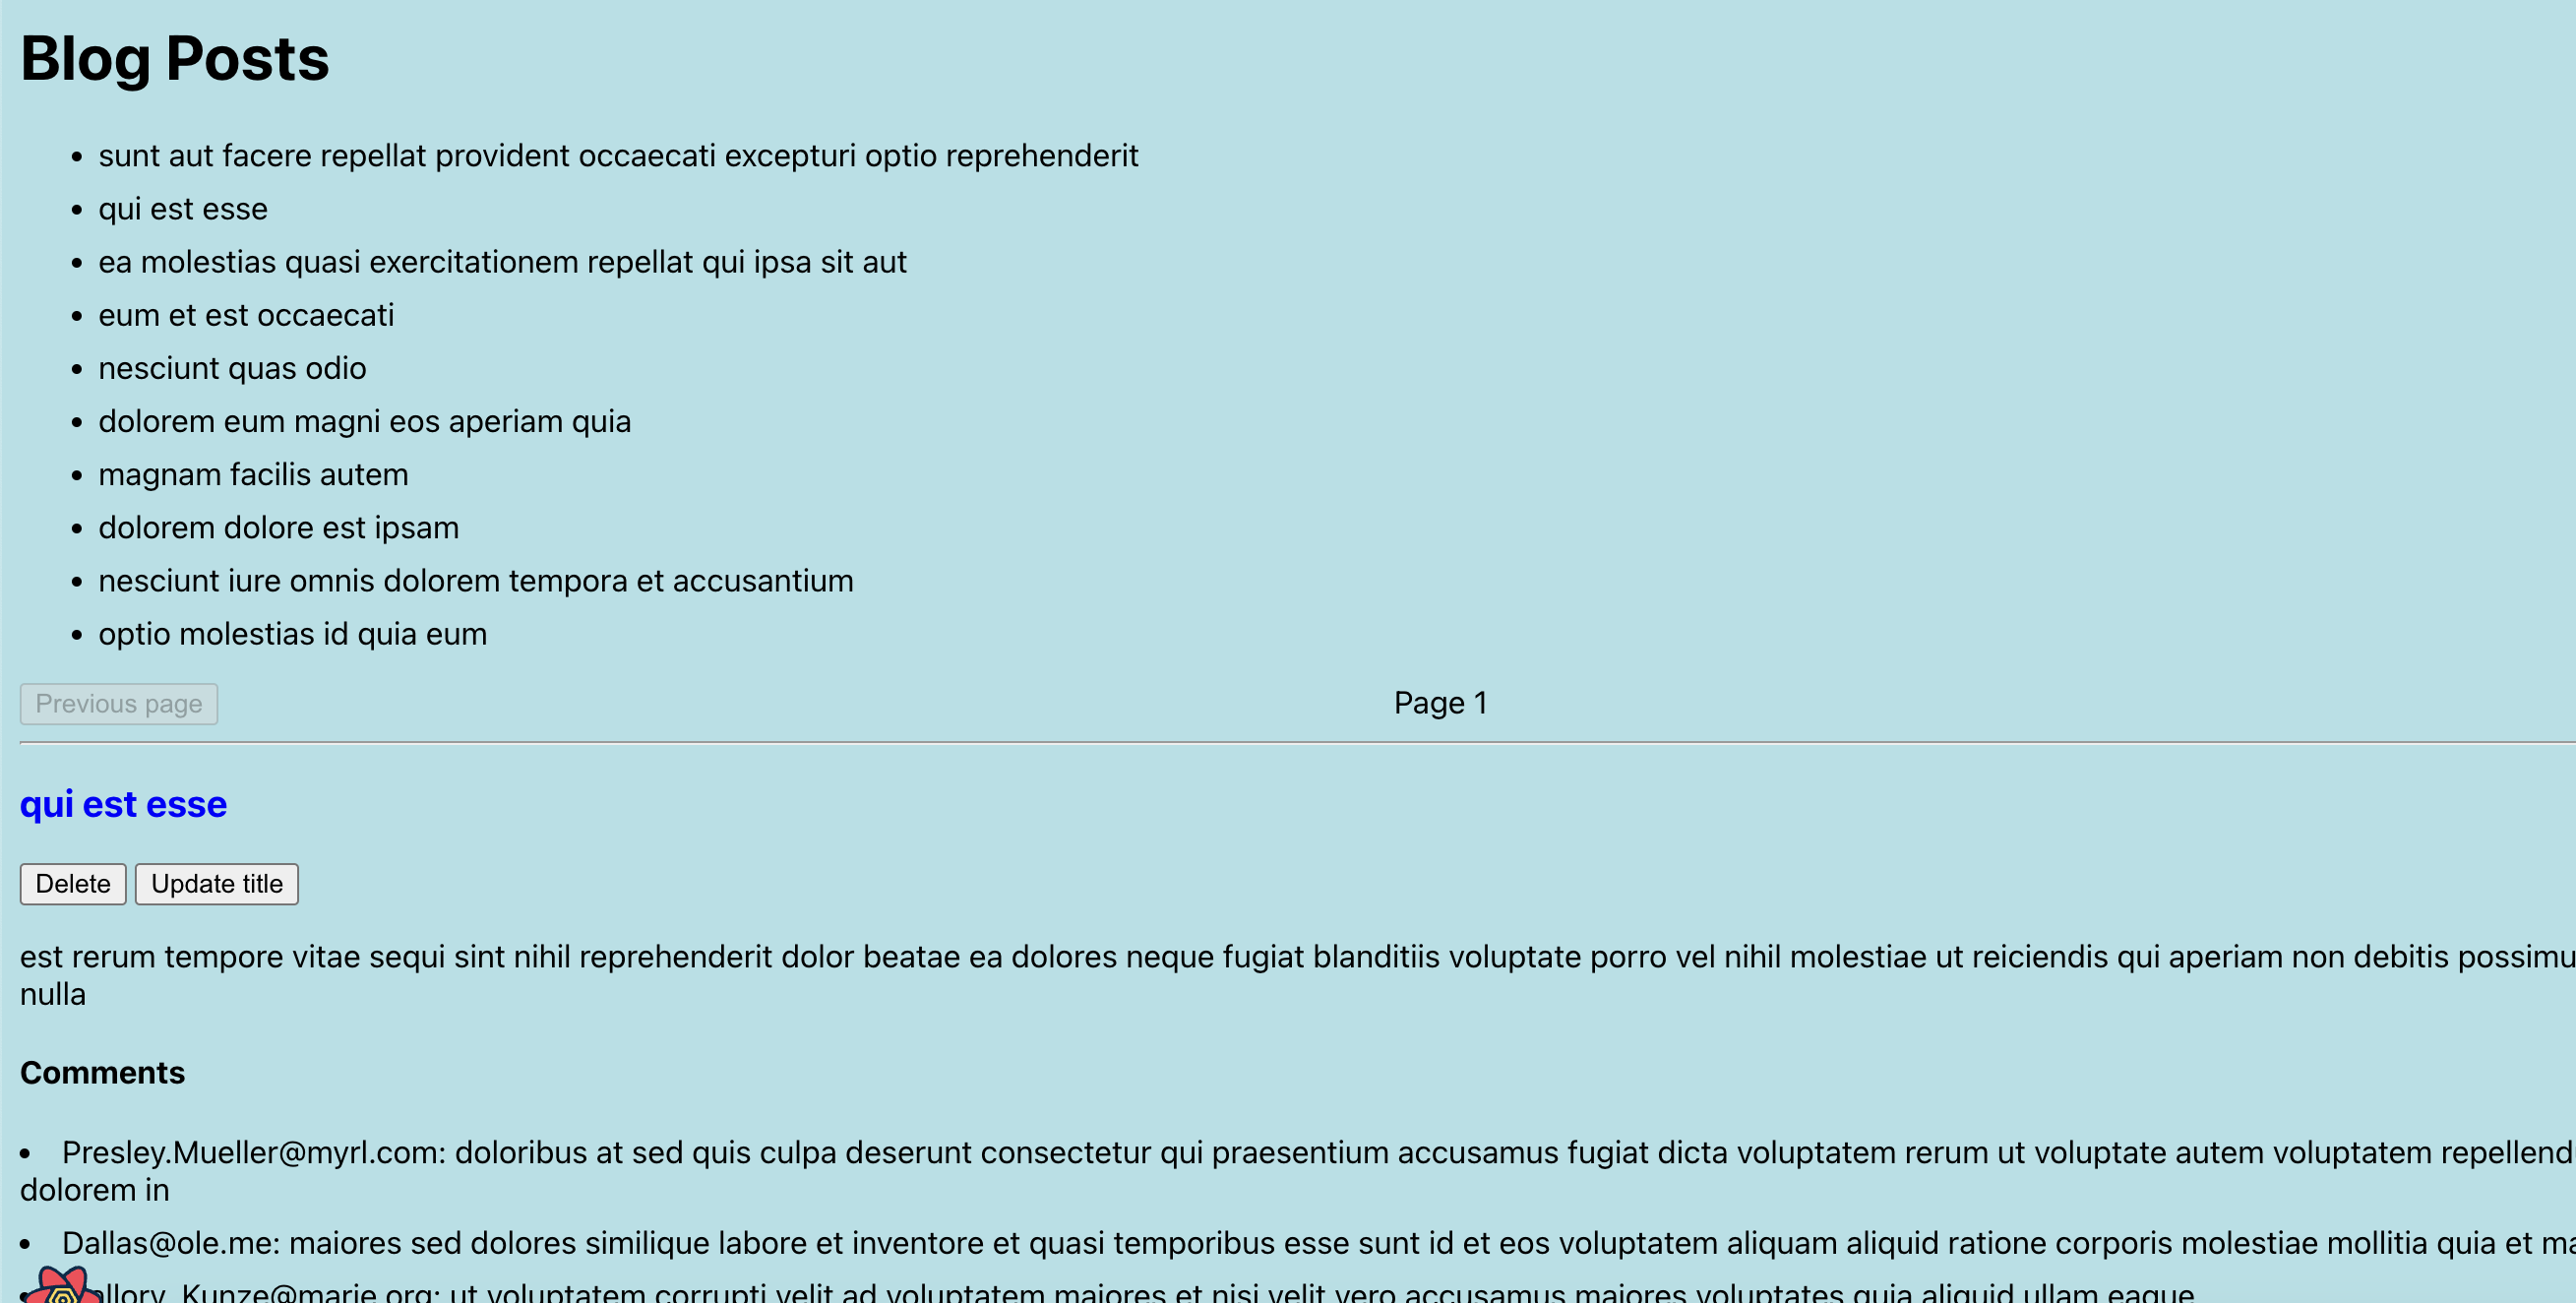

블로그 title의 첫번째 글의 댓글과 두번째 글의 댓글이 변경된 것을 확인할 수 있다.
