모든 UI의 기원은 네모박스다. 박스를 잘 그려아한다.
박스
return MaterialApp(
home: Scaffold(
appBar: AppBar( title: Text('앱임')),
body: Container(
width: 50, height: 50, color: Colors.blue,
),
)
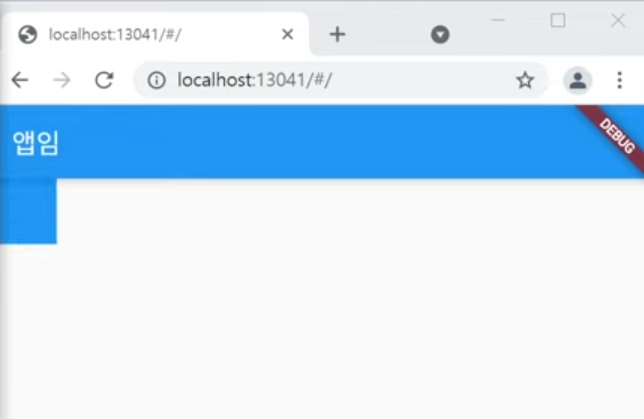
);body에 Container를 사용하여 파란색 상자를 하나 생성하자.
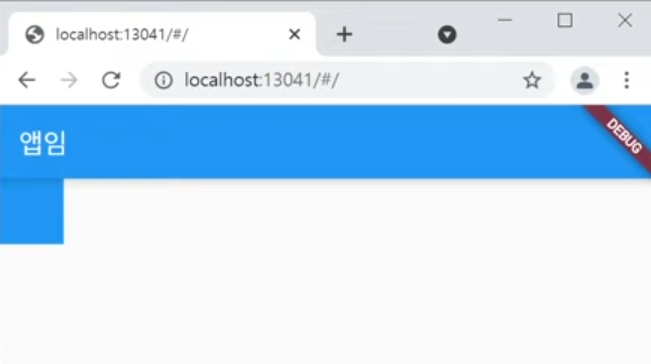
body의 좌측 상단에 파란색 상자가 하나 생성되었다.
여백을 주자.
여백
margin
    return MaterialApp(
      home: Scaffold(
        appBar: AppBar( title: Text('앱임')),
        body: Container(
          width: 50, height: 50, color: Colors.blue,
          margin: EdgeInsets.all(20),
        ),
      )
    );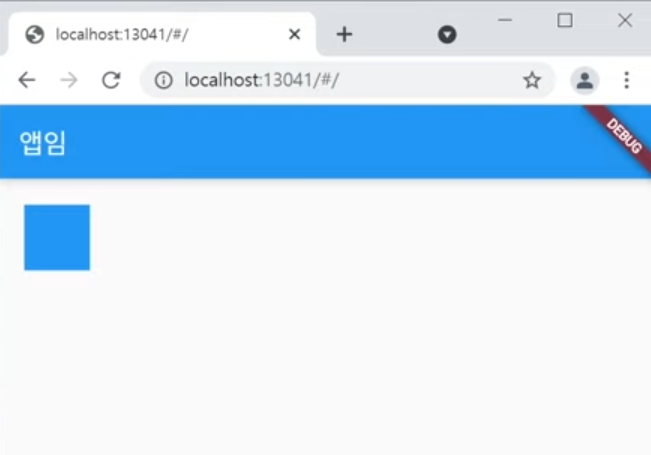
처음 생성한 파란 상자에 margin을 주자.
EdgeInsets를 사용하라고 한다.
EdgeInsets.all을 사용하여 모든 면에 20의 바깥 여백을 주었다.
padding
    return MaterialApp(
      home: Scaffold(
        appBar: AppBar( title: Text('앱임')),
        body: Container(
          width: 50, height: 50, color: Colors.blue,
          padding: EdgeInsets.all(20),
        ),
      )
    );
이번엔 margin 대신 padding을 주었다.
padding을 주면 이런 식으로 보인다.
겉으로 보기에는 변한 게 없지만, 사실 안쪽 여백이 생긴 것이다.
    return MaterialApp(
      home: Scaffold(
        appBar: AppBar( title: Text('앱임')),
        body: Container(
          width: 150, height: 50, color: Colors.blue,
          margin: EdgeInsets.all(20),
          child: Text('ddddd'),
        ),
      )
    );
상자의 width를 150으로 변경하고 Text를 넣어보자.
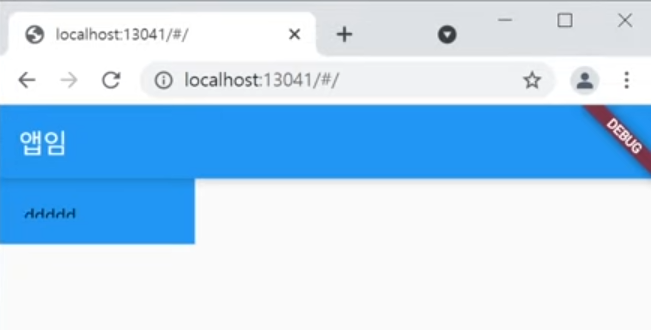
padding 때문에 안쪽으로 밀려나 text가 짤려서 그려지는 것을 확인할 수 있다.
fromLTRB
모든 면을 같은 사이즈로 주는 all 대신, 각각의 면에 사이즈를 개별로 줄 수 있는 fromLTRB 함수가 있다.
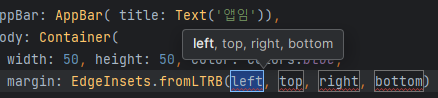
순서대로 left, top, right, bottom에 원하는 사이즈를 입력하면 된다.
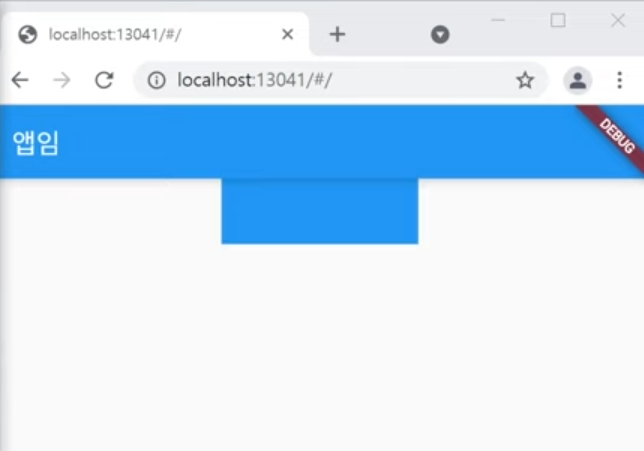
margin: EdgeInsets.fromLTRB(0, 30, 0, 0)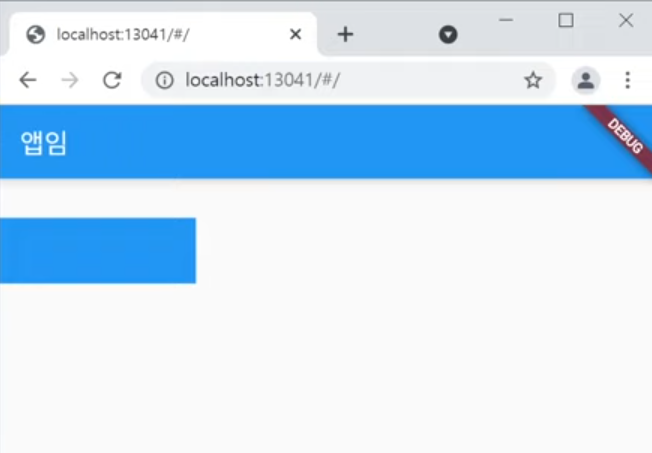
top만 30을 입력하였을 때의 결과물이다.
margin은 매우 자주 사용하니 꼭 외워두자.
decoration
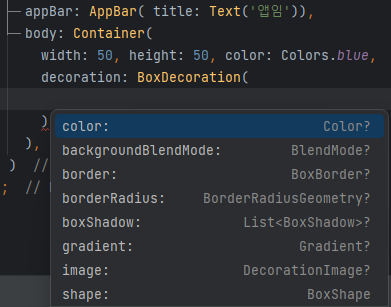
다른 옵션들은 decoration 안에서 작성해야 한다.
    return MaterialApp(
      home: Scaffold(
        appBar: AppBar( title: Text('앱임')),
        body: Container(
          width: 50, height: 50, color: Colors.blue,
          decoration: BoxDecoration(
            border: Border.all(color: Colors.black)
          ),
        ),
      )
    );
decoration 안에 border(테두리)를 입력하고 모든 면에 Colors.black을 작성하였다.
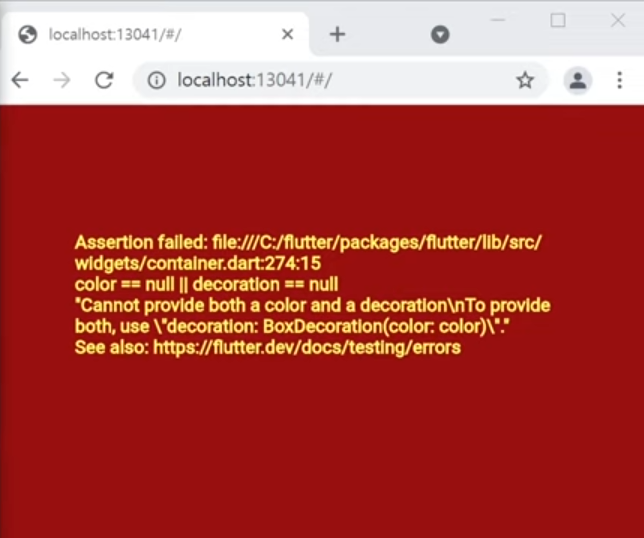
저장하고 적용하면 위와 같은 오류가 발생한다.
그 이유는 Container 위젯의 decoration과 color 속성을 동시에 사용할 수 없기 때문이다.
아래는 수정된 코드이다.
    return MaterialApp(
      home: Scaffold(
        appBar: AppBar( title: Text('앱임')),
        body: Container(
          width: 50, height: 50,
          decoration: BoxDecoration(
            border: Border.all(color: Colors.black)
          ),
        ),
      )
    );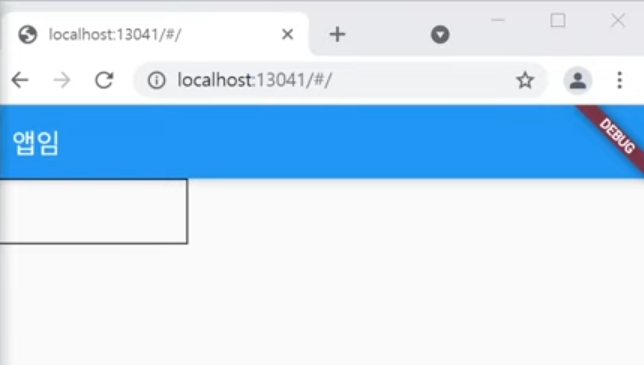
container의 Color를 제거하면 정상적으로 검정색 테두리가 생성된다.
border 외에도 borderRadius, boxShadow 등 decoration을 통해 작성할 수 있다.
테두리가 아닌 box에도 color를 적용하고 싶으면
decoration: BoxDecoration(
 color: Colors.blue,
 border: Border.all(color: Colors.black),
),
이렇게 작성하면 된다.
박스 위치 정렬
body에 바로 Container를 작성하였다.
    return MaterialApp(
      home: Scaffold(
        appBar: AppBar( title: Text('앱임')),
        body: Align(
          child: Container(
            width: 150, height: 50, color: Colors.blue,
          ),
        )
      )
    );
그 Container를 Align으로 감싸보자.
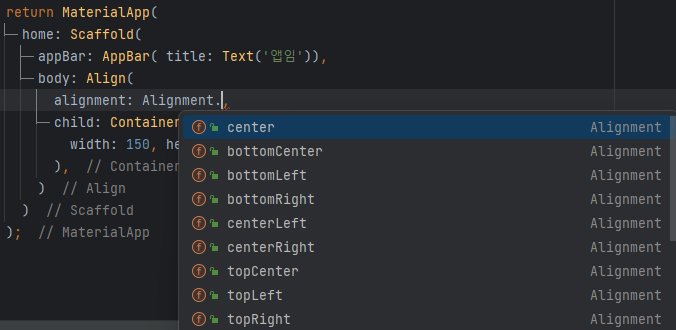
감싼 후, 위 사진처럼 여러가지의 Align을 적용시킬 수 있다.
body: Align(
  alignment: Alignment.topCenter,
  child: Container(
    width: 150, height: 50, color: Colors.blue,
  ),
)
topCenter를 적용해보았다.
박스를 만들다보면 가로로 꽉 채운 박스를 생성할 때가 있다.
child: Container(
  width: double.infinity, height: 50, color: Colors.blue,
),
그럴 땐 width 자리에 double.infinity를 작성하면 된다.
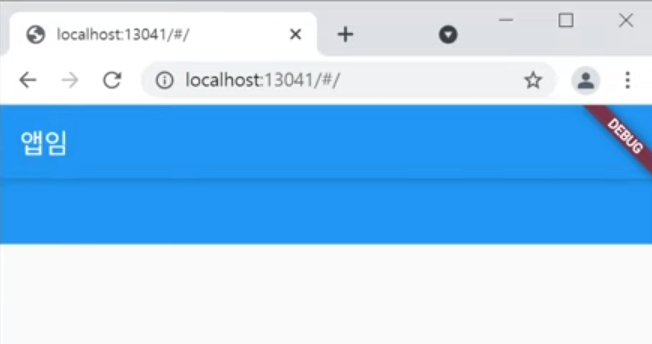
말 그대로 width는 부모 박스를 넘어가지 않는 무한이 된다.
출처 - 코딩애플