HA 설치
Home Assistant는 2가지로 나뉜다.
1. HA
2. HA Core
HA는 HA Core + Supervisor Addon이 추가된 형태이다.
본인은 HA를 설치하여 MQTT를 이용해 ESP32에 온습도 센서를 장착하여 모니터링 할 예정이다.
설치방법은 타 블로그를 보고 따라했다.
본인의 설치 환경은 Ubuntu 20.04.01 입니다.
# https://github.com/home-assistant/supervised-installer/
# https://youtu.be/pUlpfx0jaYA
# https://www.juanmtech.com/set-up-hassio-in-docker-and-in-an-ubuntu-server/

sudo apt install apt-transport-https ca-certificates curl gnupg-agent software-properties-common

curl -fsSL https://download.docker.com/linux/ubuntu/gpg | sudo apt-key add -

 sudo add-apt-repository "deb [arch=amd64] https://download.docker.com/linux/ubuntu $(lsb_release -cs) stable"

sudo apt update

sudo apt install docker-ce docker-ce-cli containerd.io

sudo apt install apparmor-utils avahi-daemon dbus jq network-manager socat

curl -Lo installer.sh https://raw.githubusercontent.com/home-assistant/supervised-installer/master/installer.sh
bash installer.sh --machine qemux86-64 # YOUR SYSTEM

docker container ls -a
이렇게 나오면 된다.
HA 설정
그리고 localhost:8123 으로 접속해보면 설정을 시작할 수 있다.
설정을 완료 후
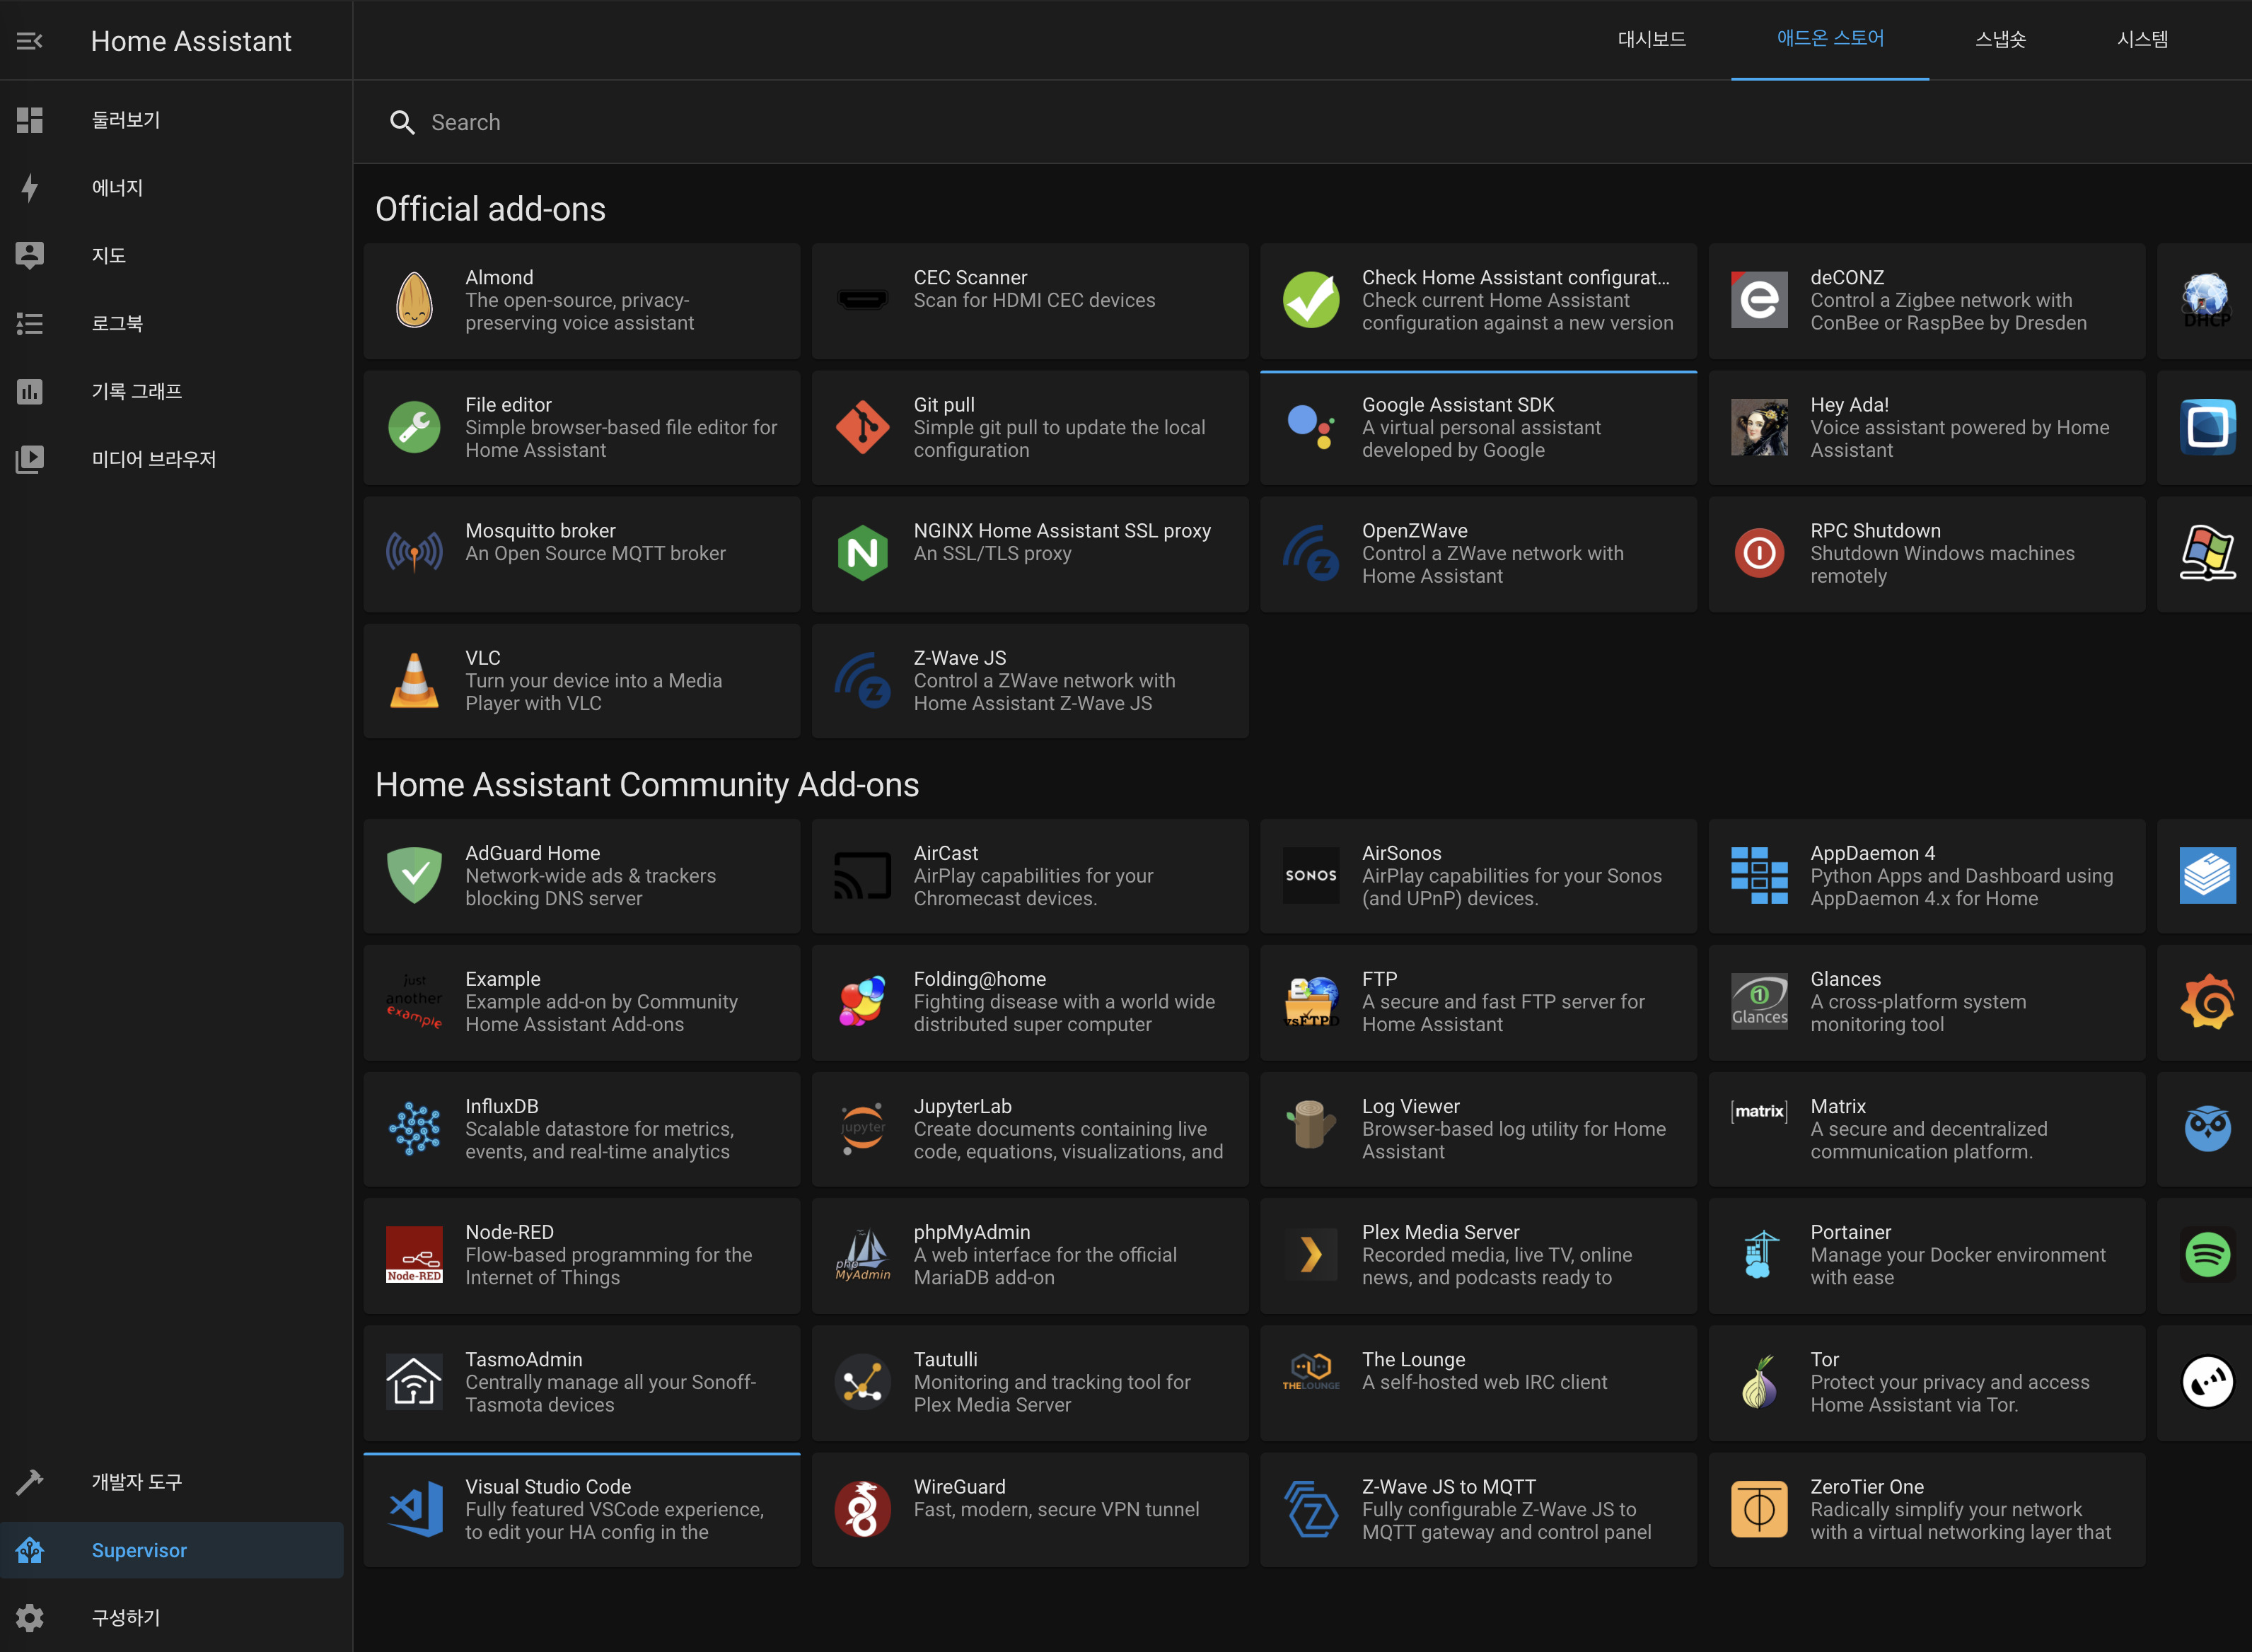
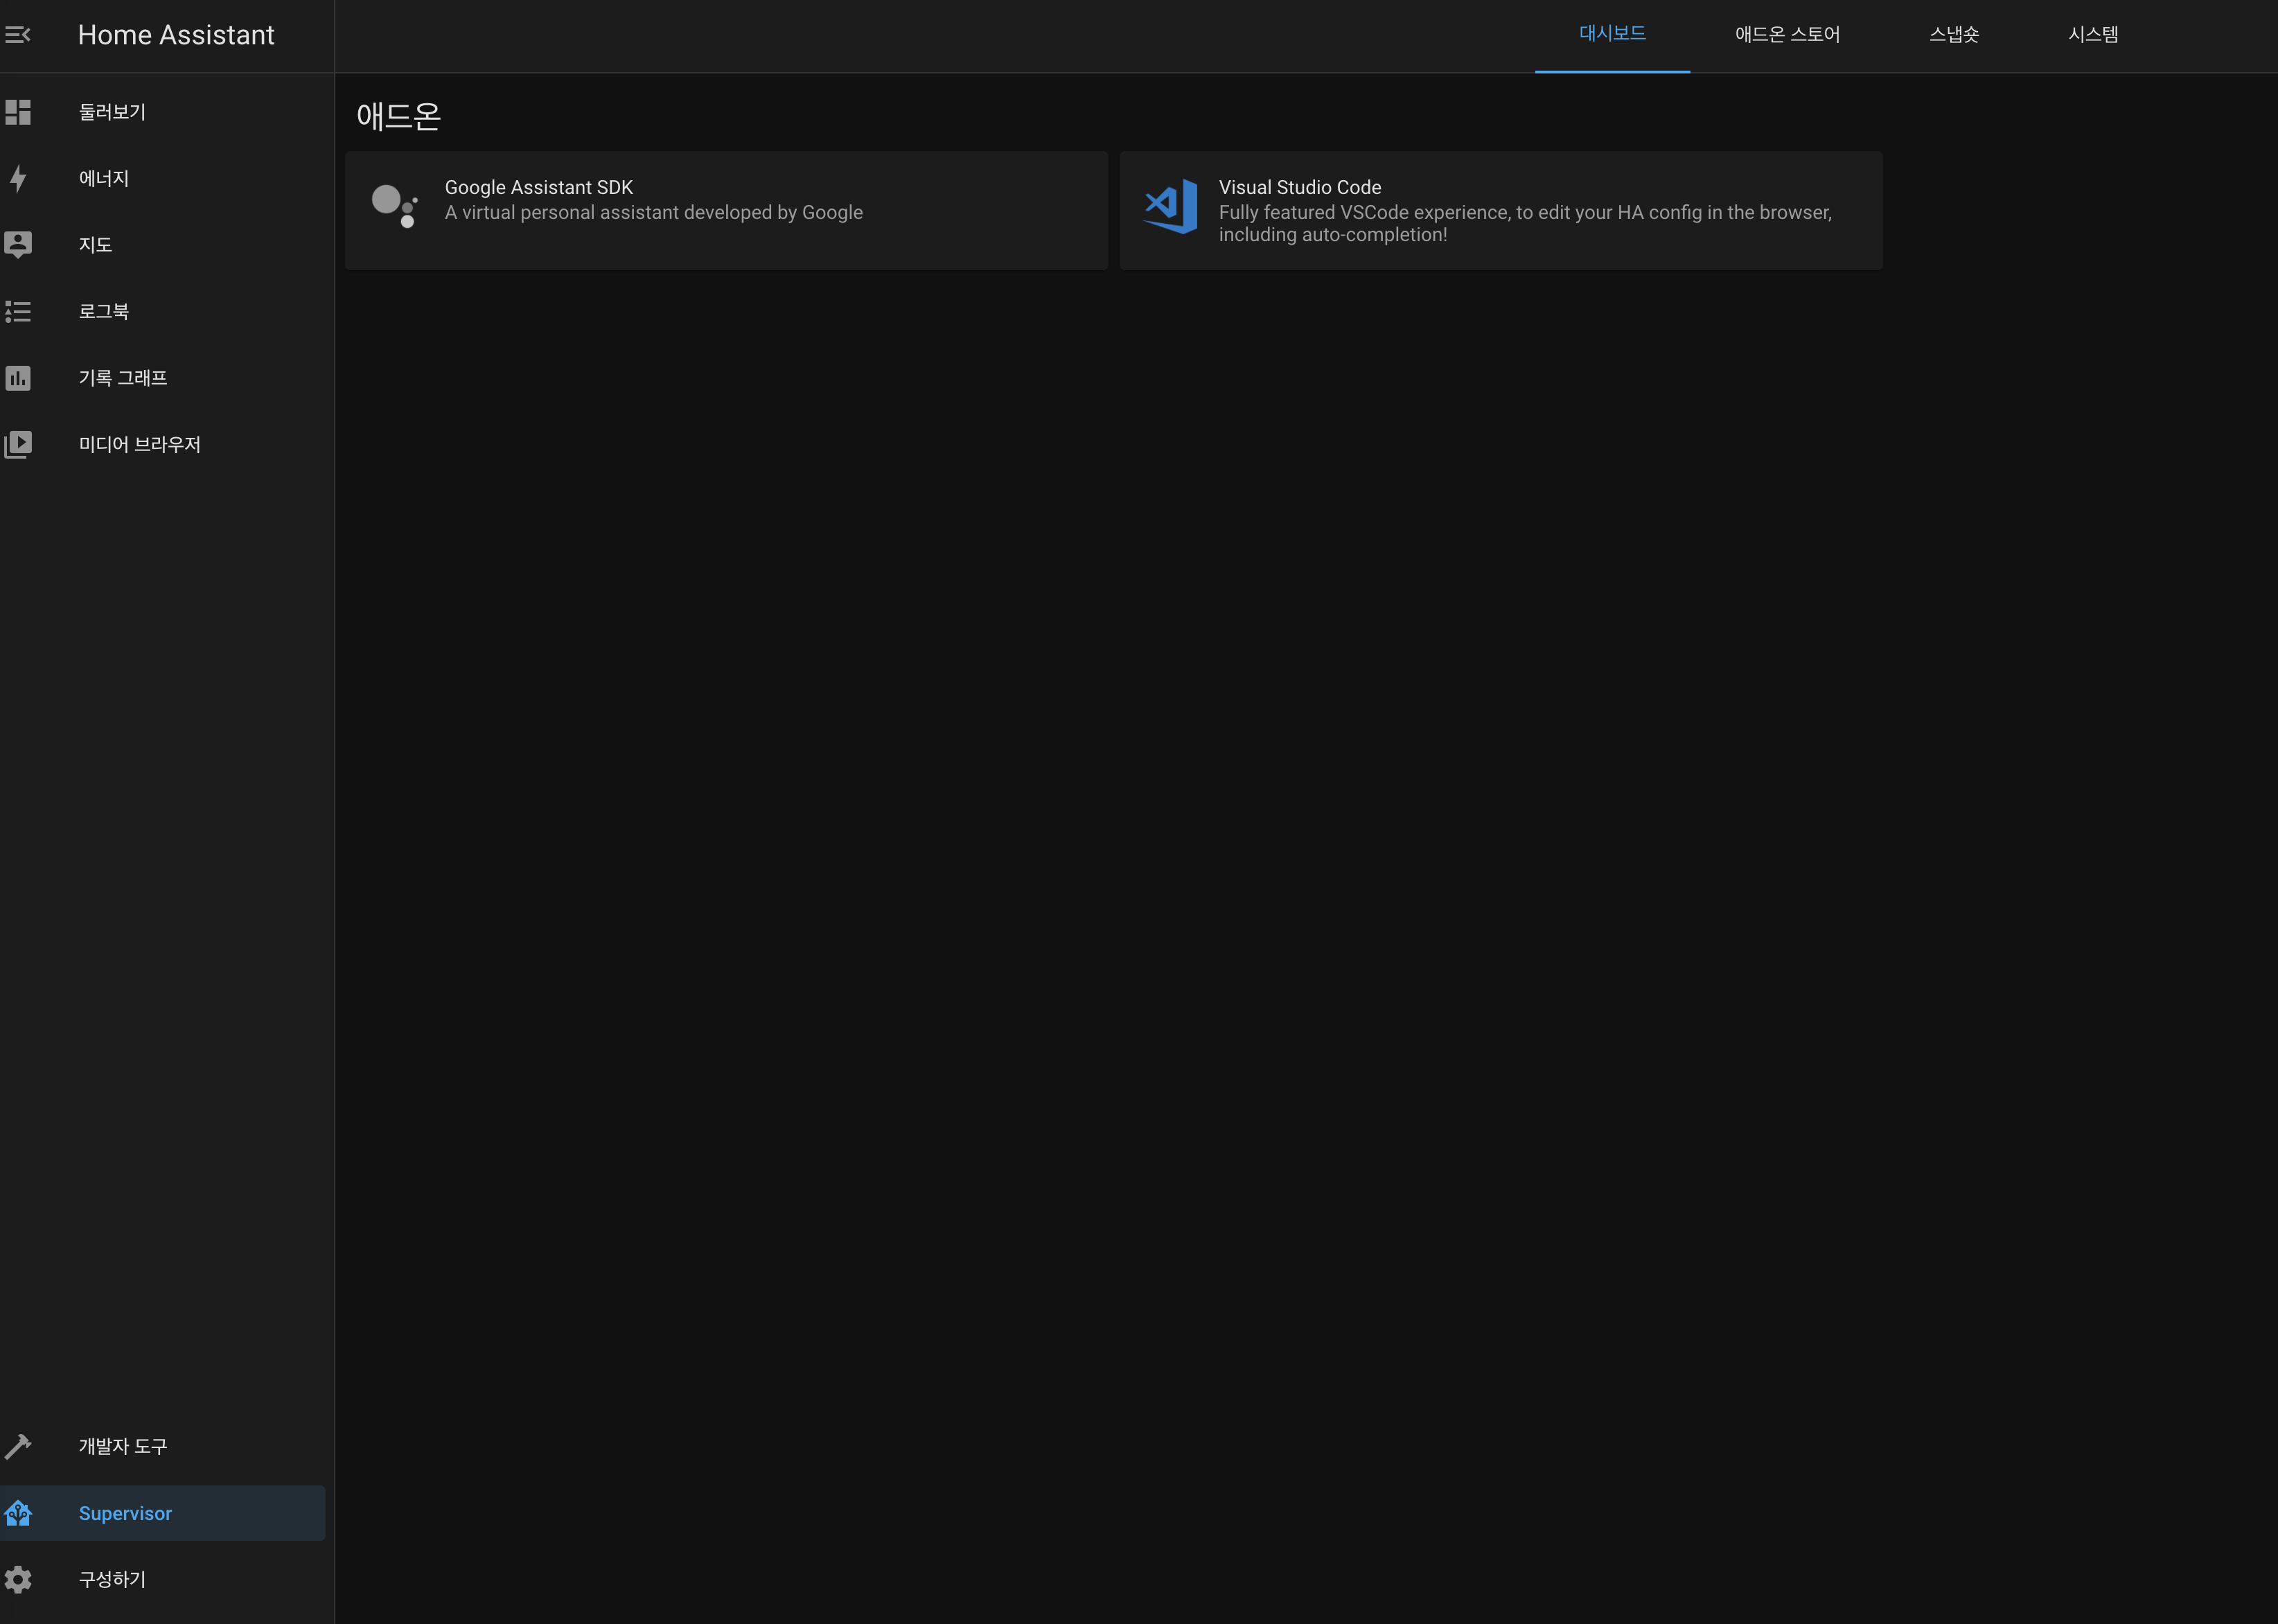
Supervisor - 애드온스토어 - Visual Studio Code를 설치하면 손쉽게 Sensor를 추가할 수 있다.
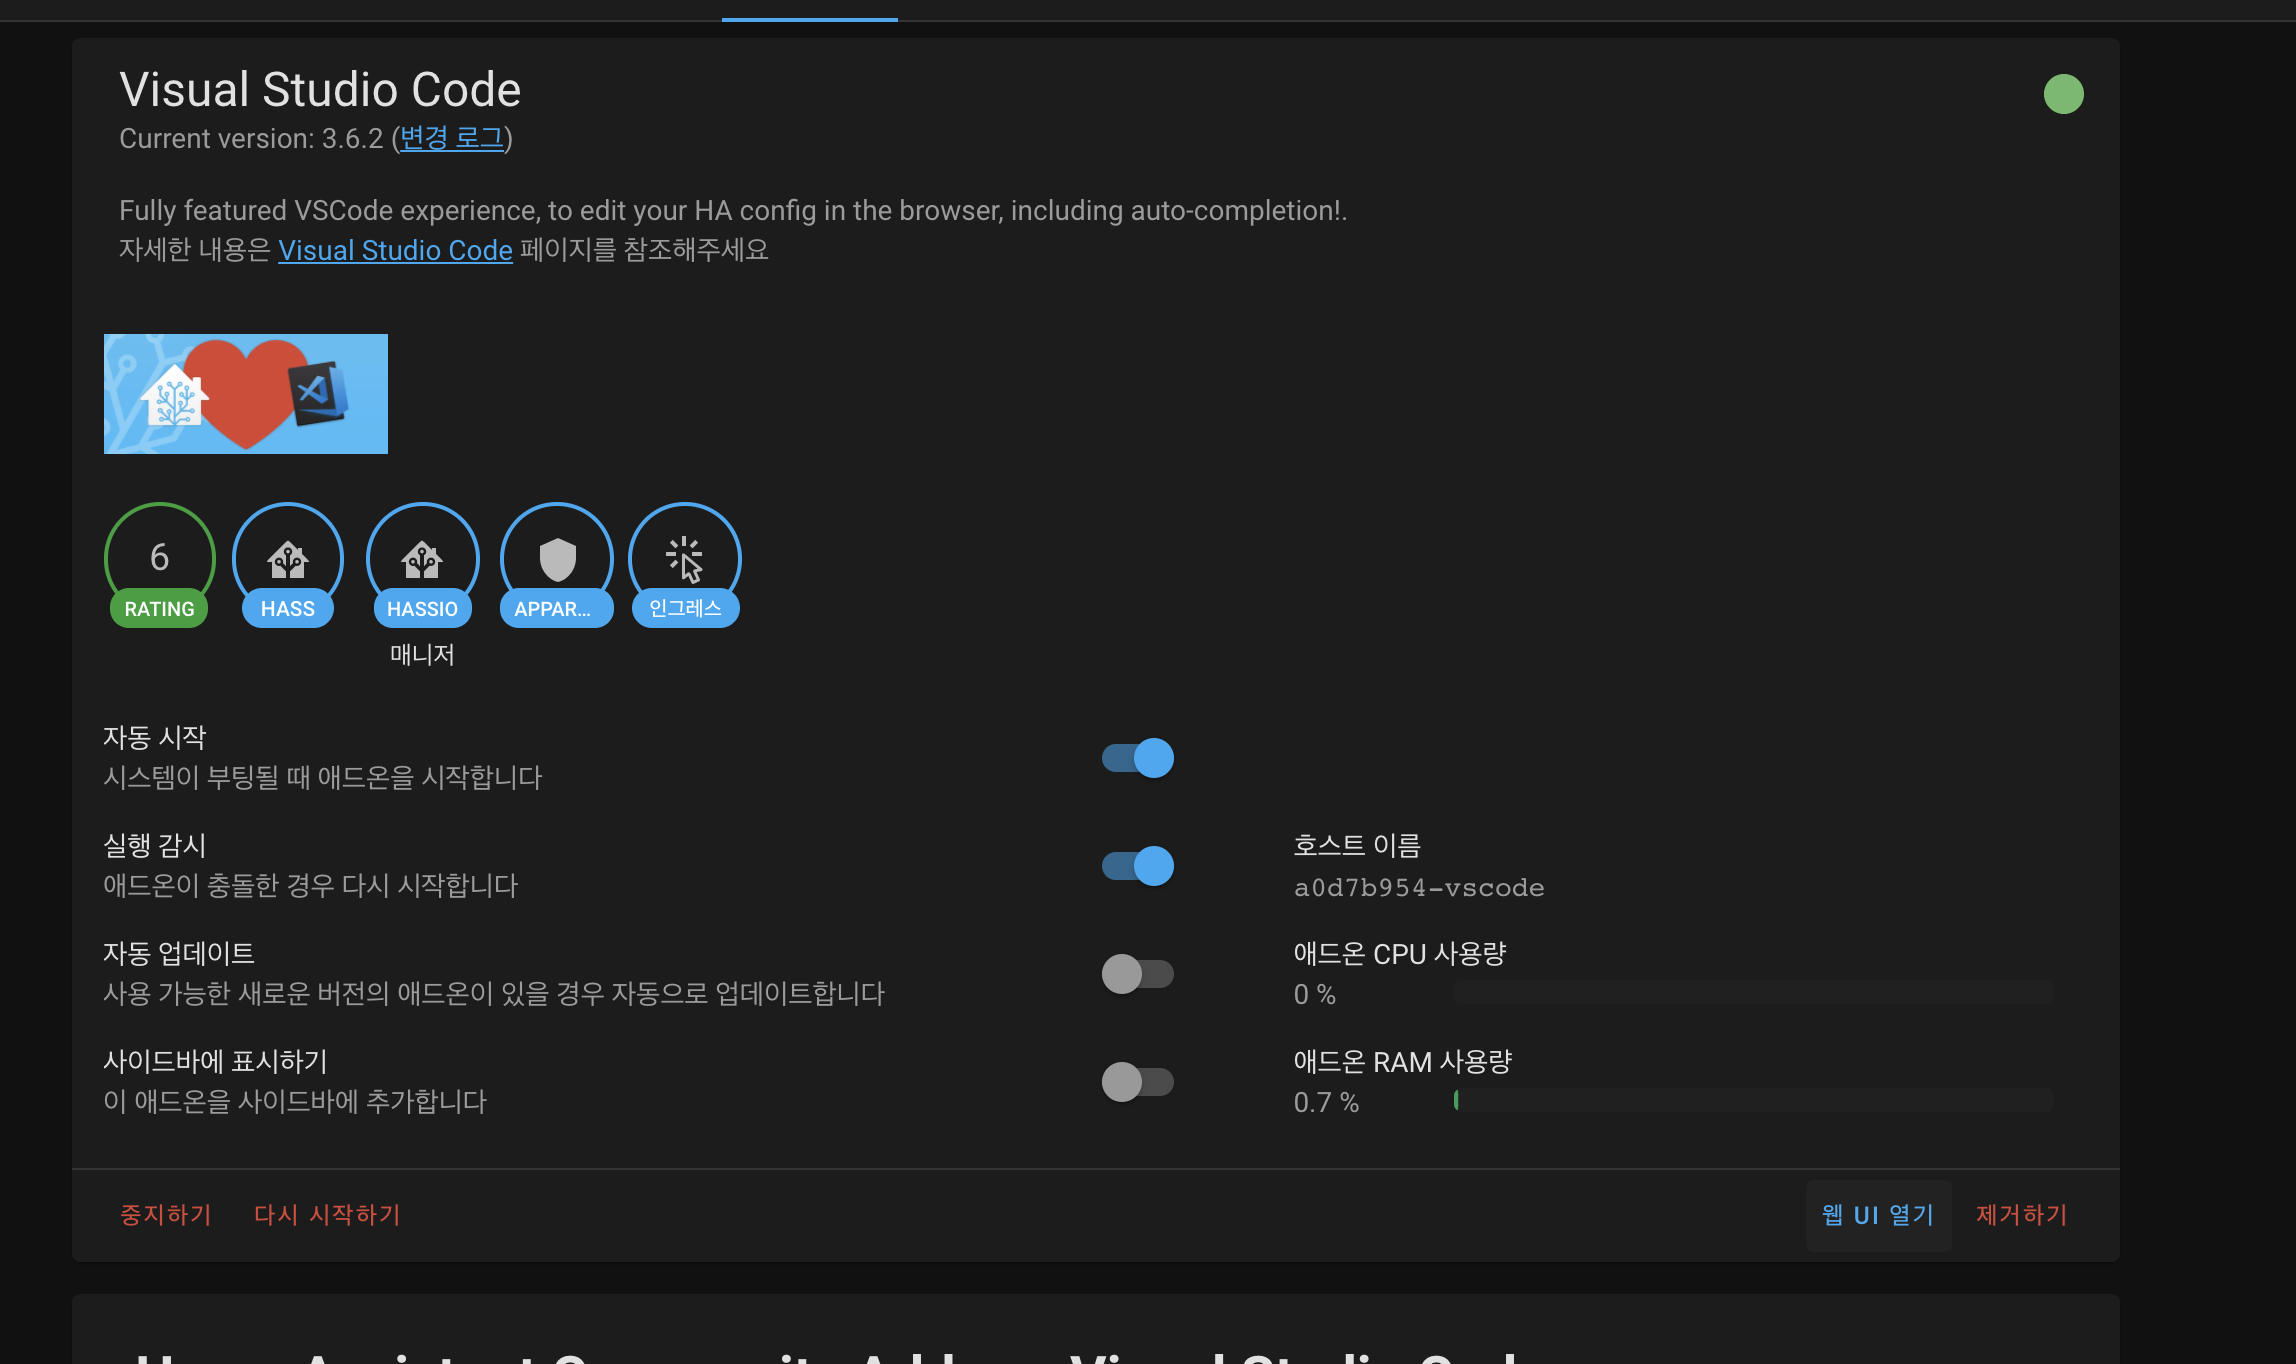
웹 UI 열기를 누르면 코드를 작성 할 수 있다.
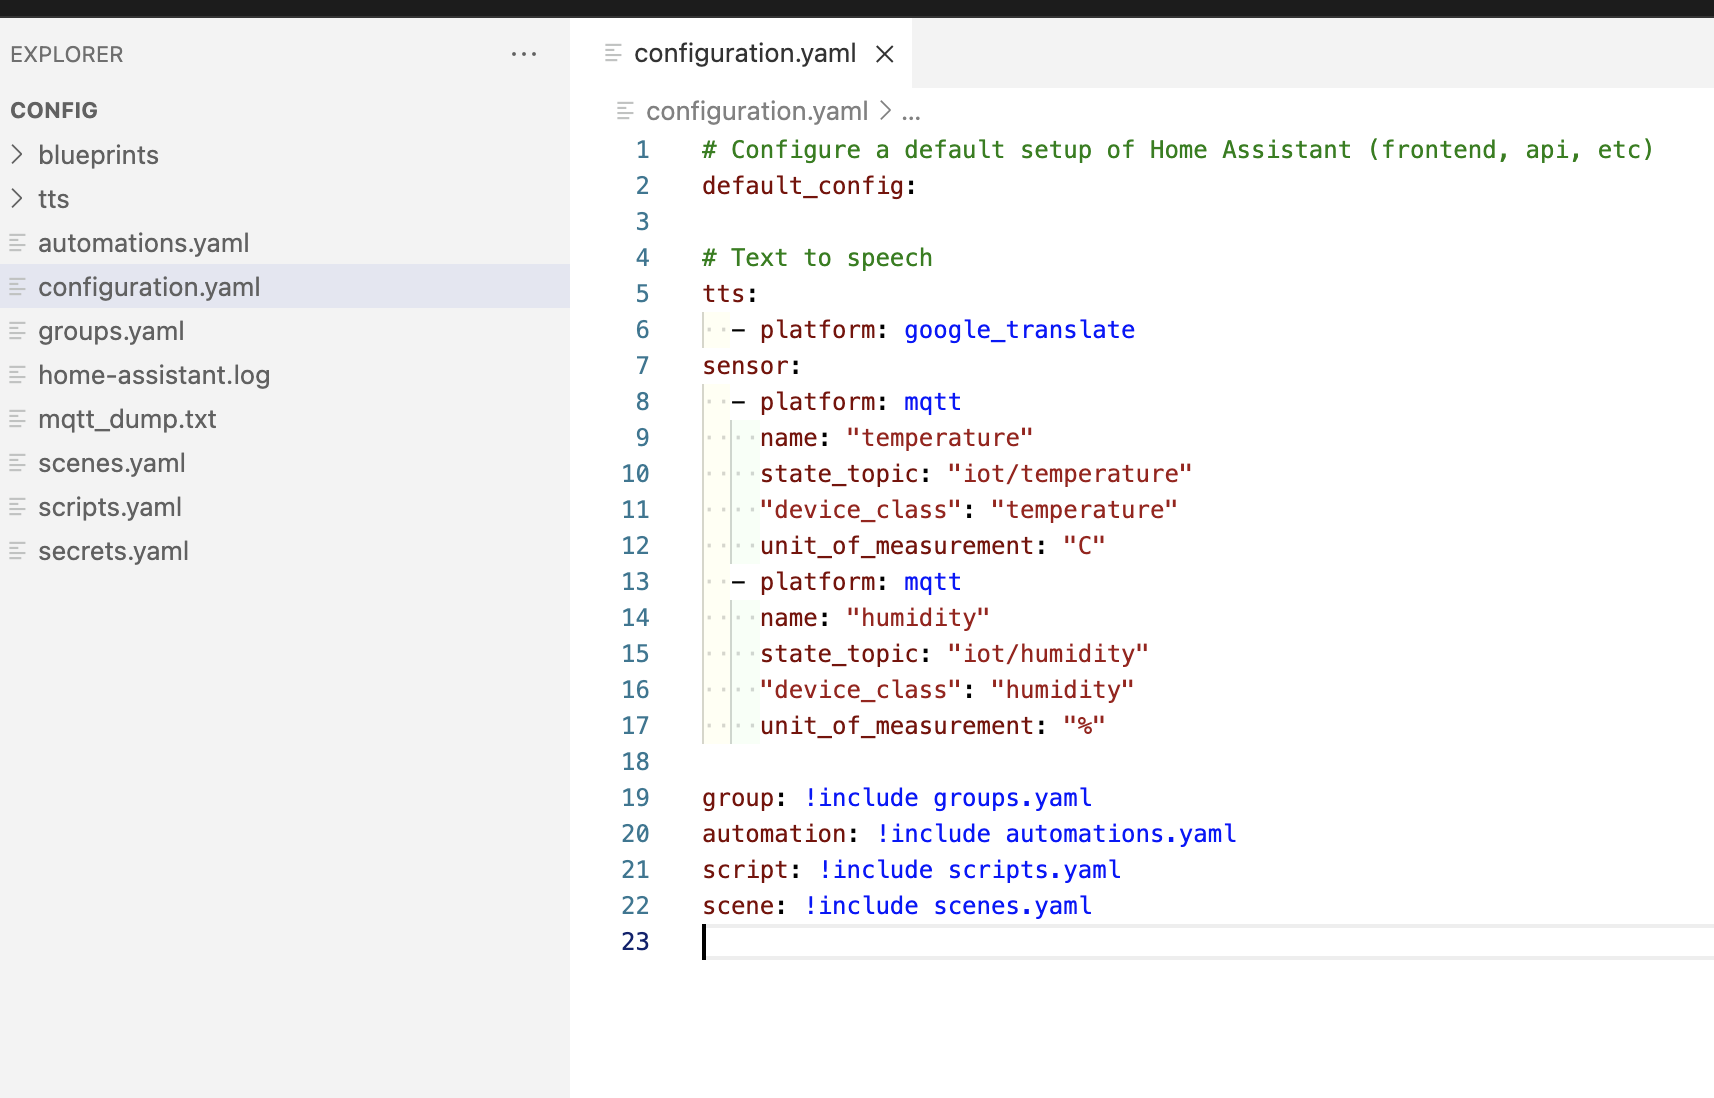
띄어쓰기로 몇시간을 고생했다.
Control + S (mac은 Command + S) 저장을 해야한다.
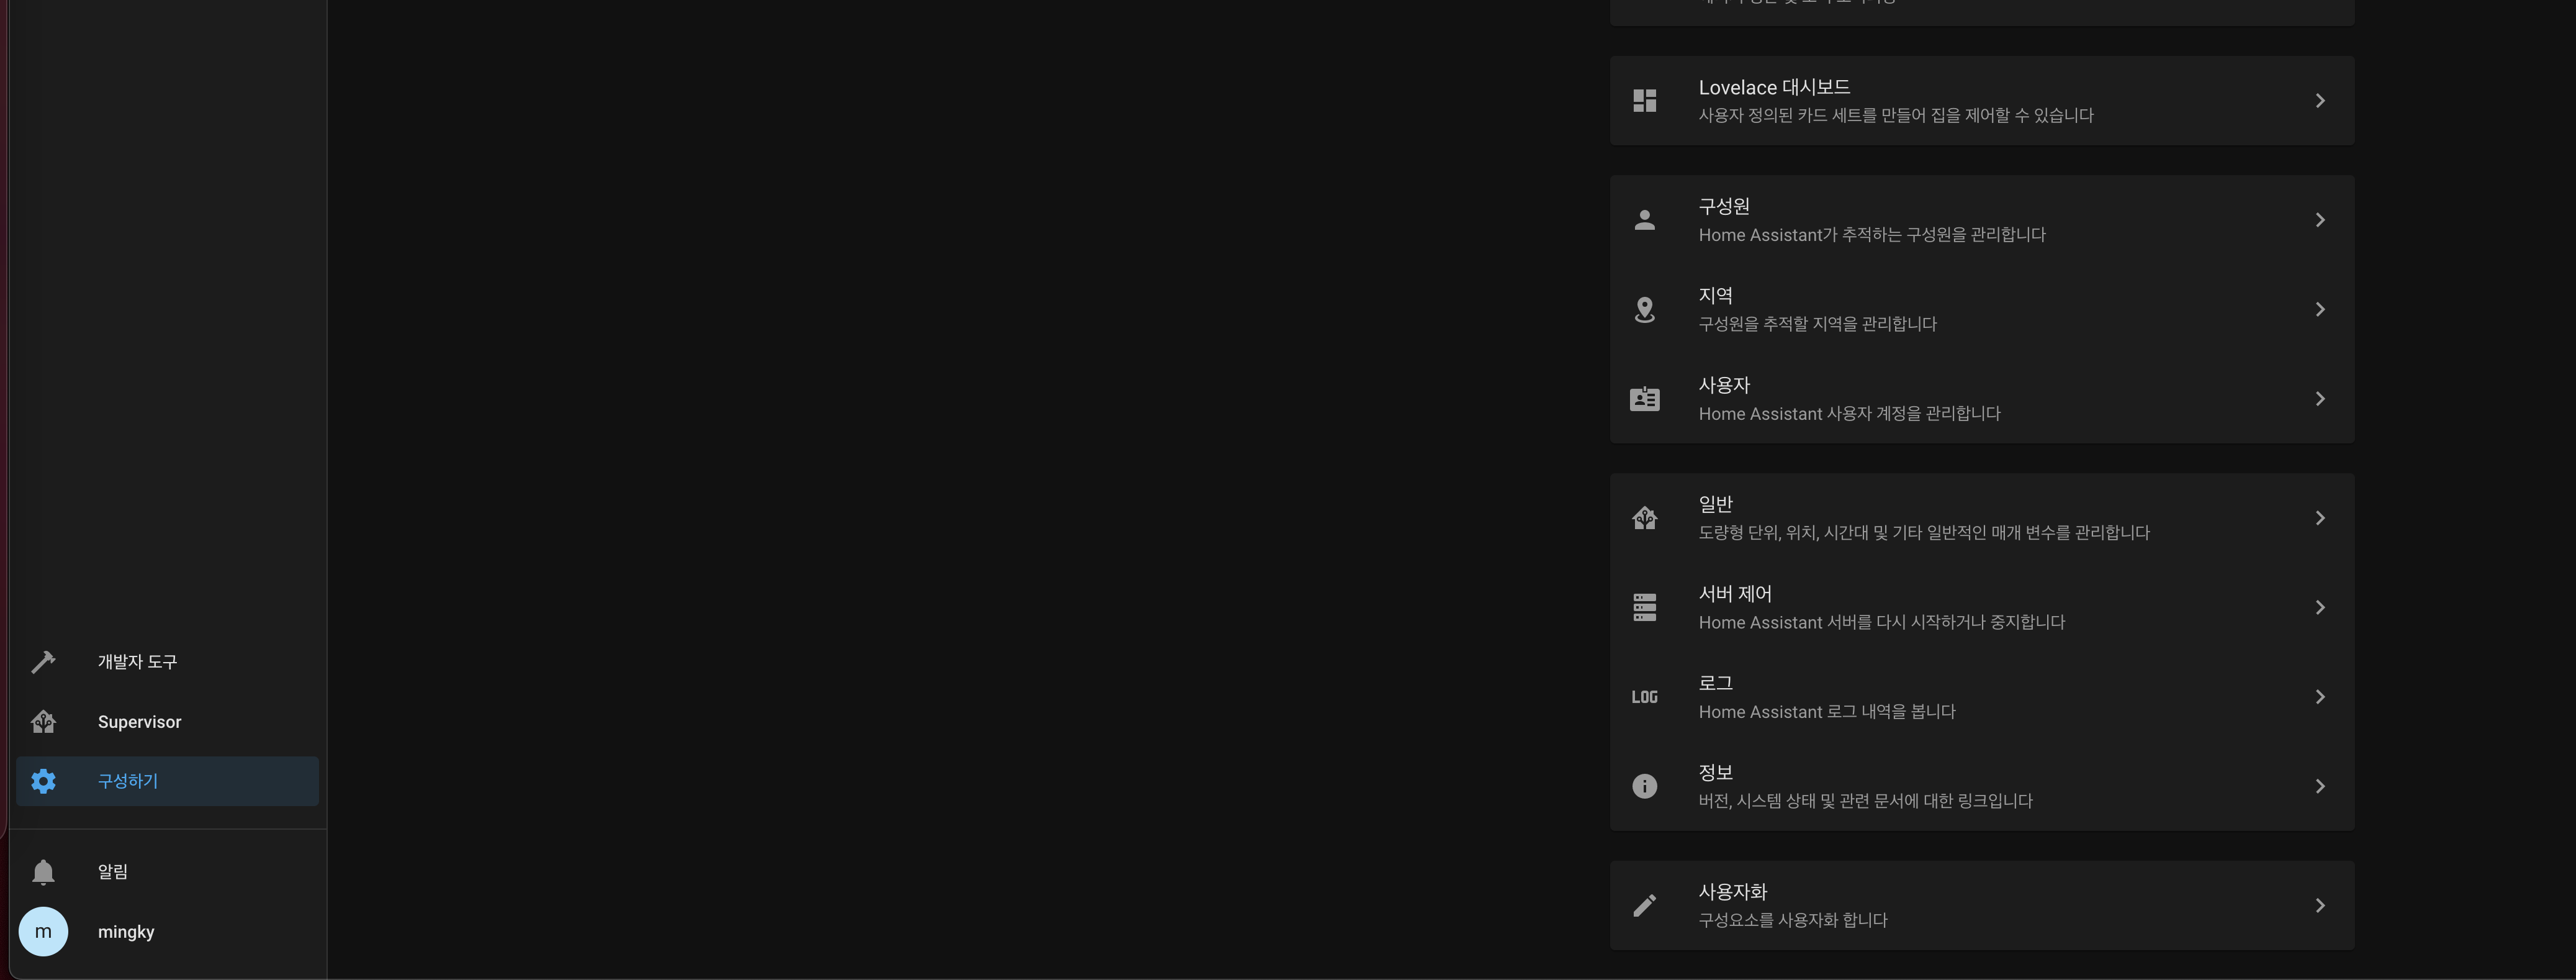
구성하기 - 서버제어
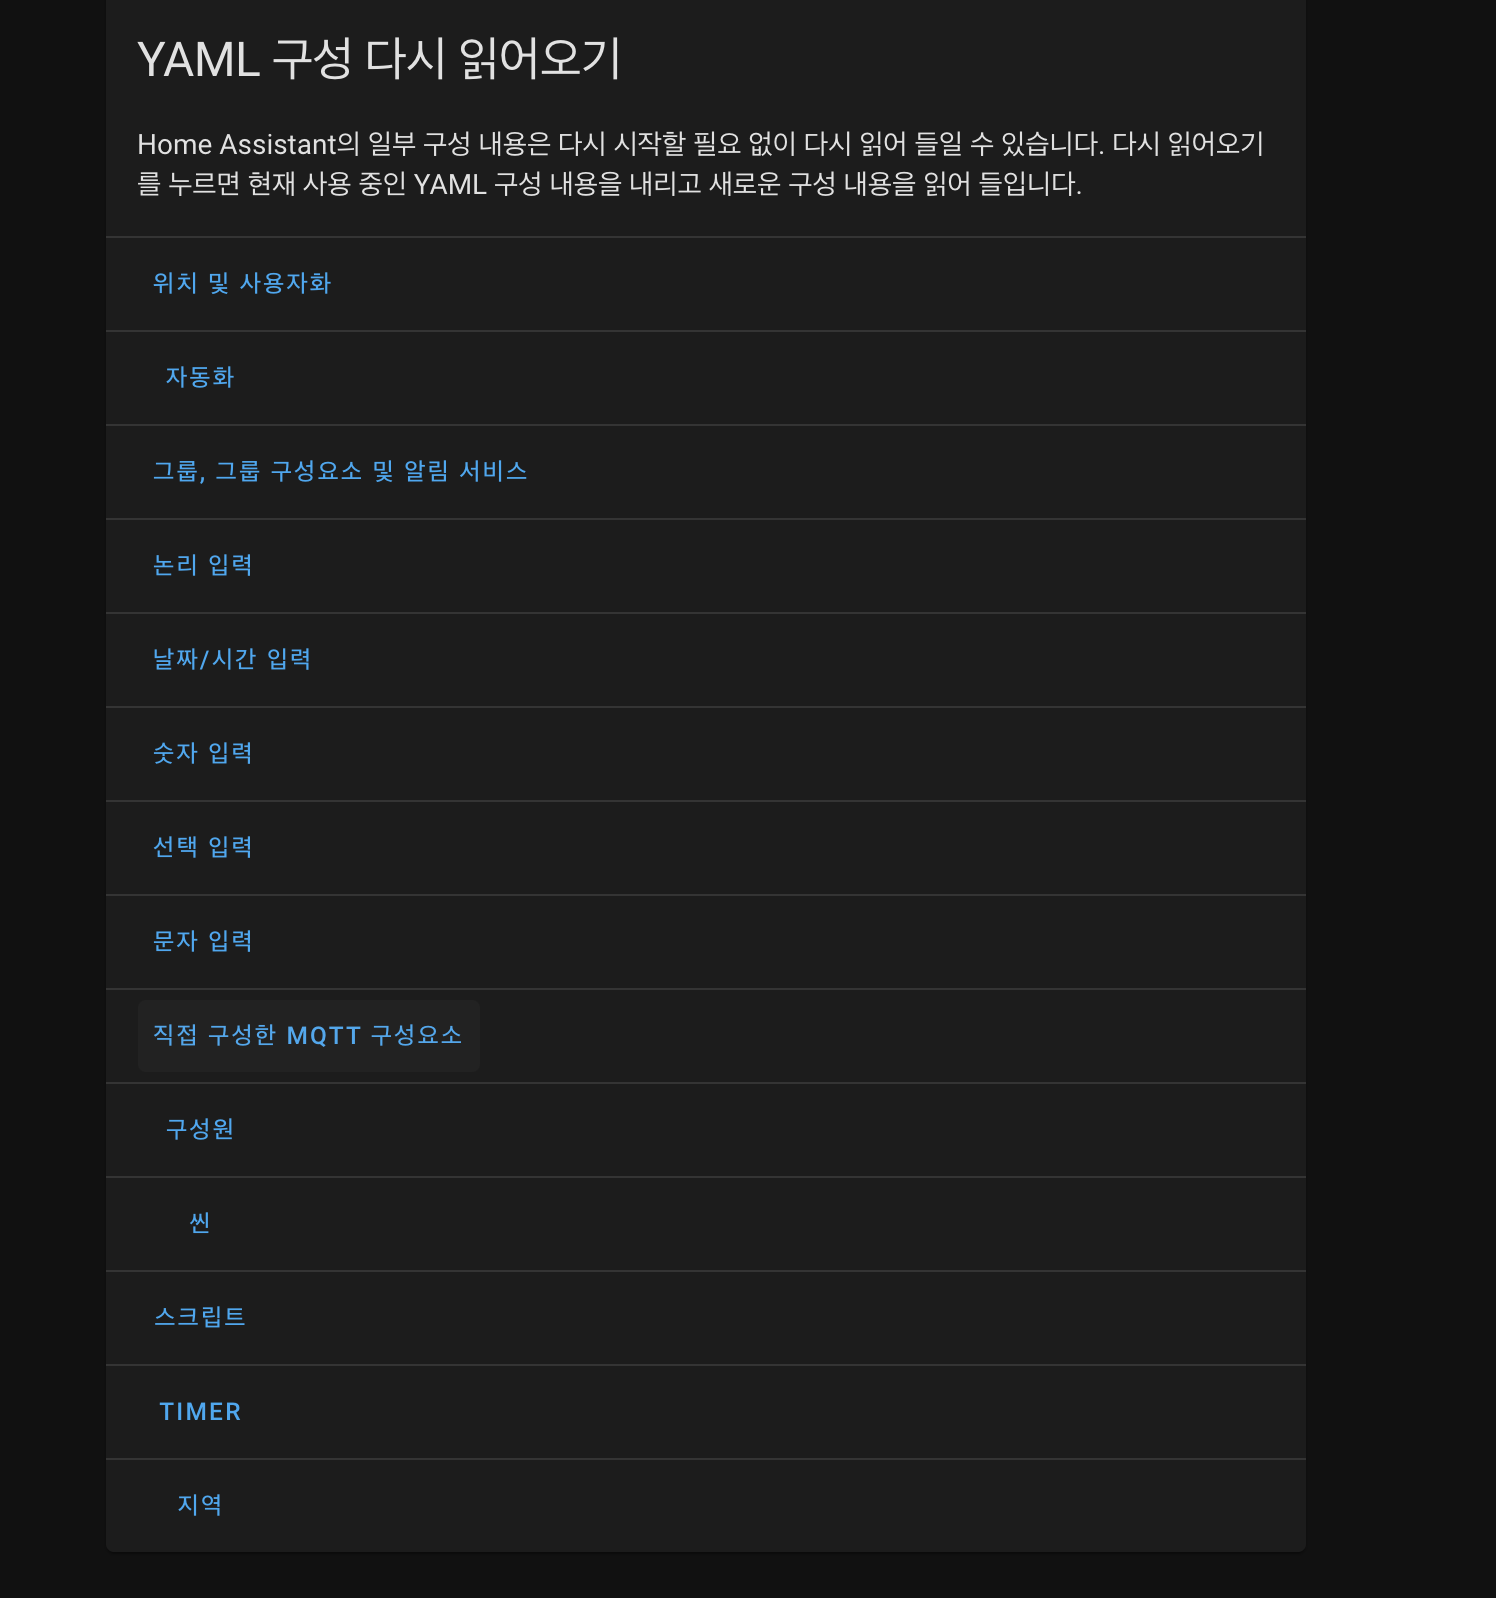
직접 구성한 MQTT 구성요소를 클릭하면 로딩 완료
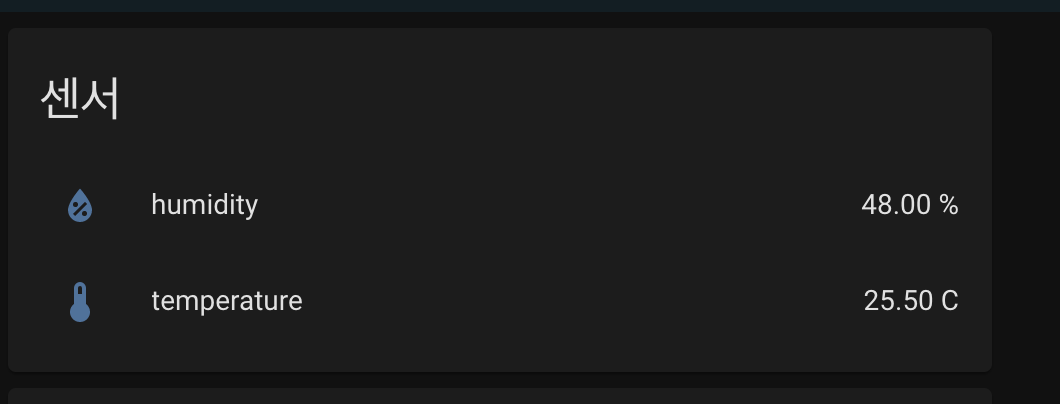
보드까지 완성 한다면 이런식으로 나오게 된다.

불편함을 해소하기 위해, 오늘도 디버깅을 합니다.
오래되어 동작하지 않는 것으로 보이네요
참고 링크
https://github.com/home-assistant/supervised-installer